|
|
|
|
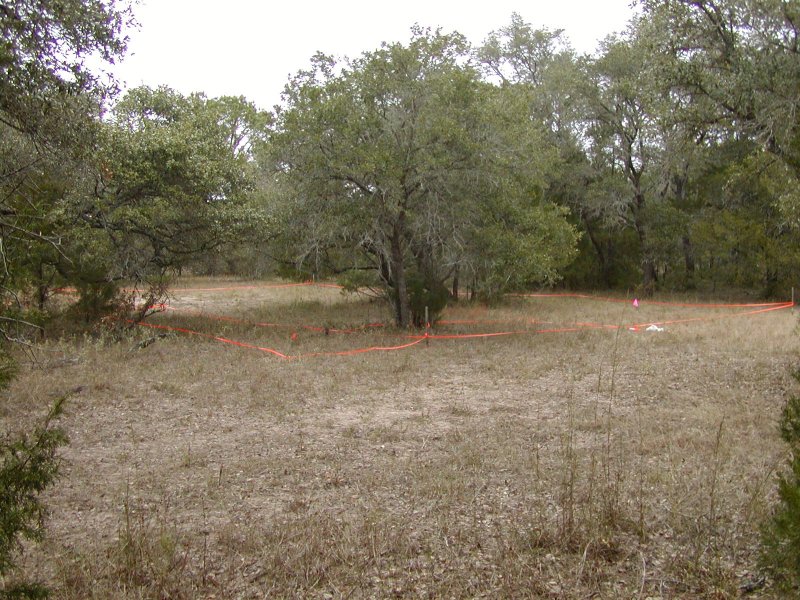
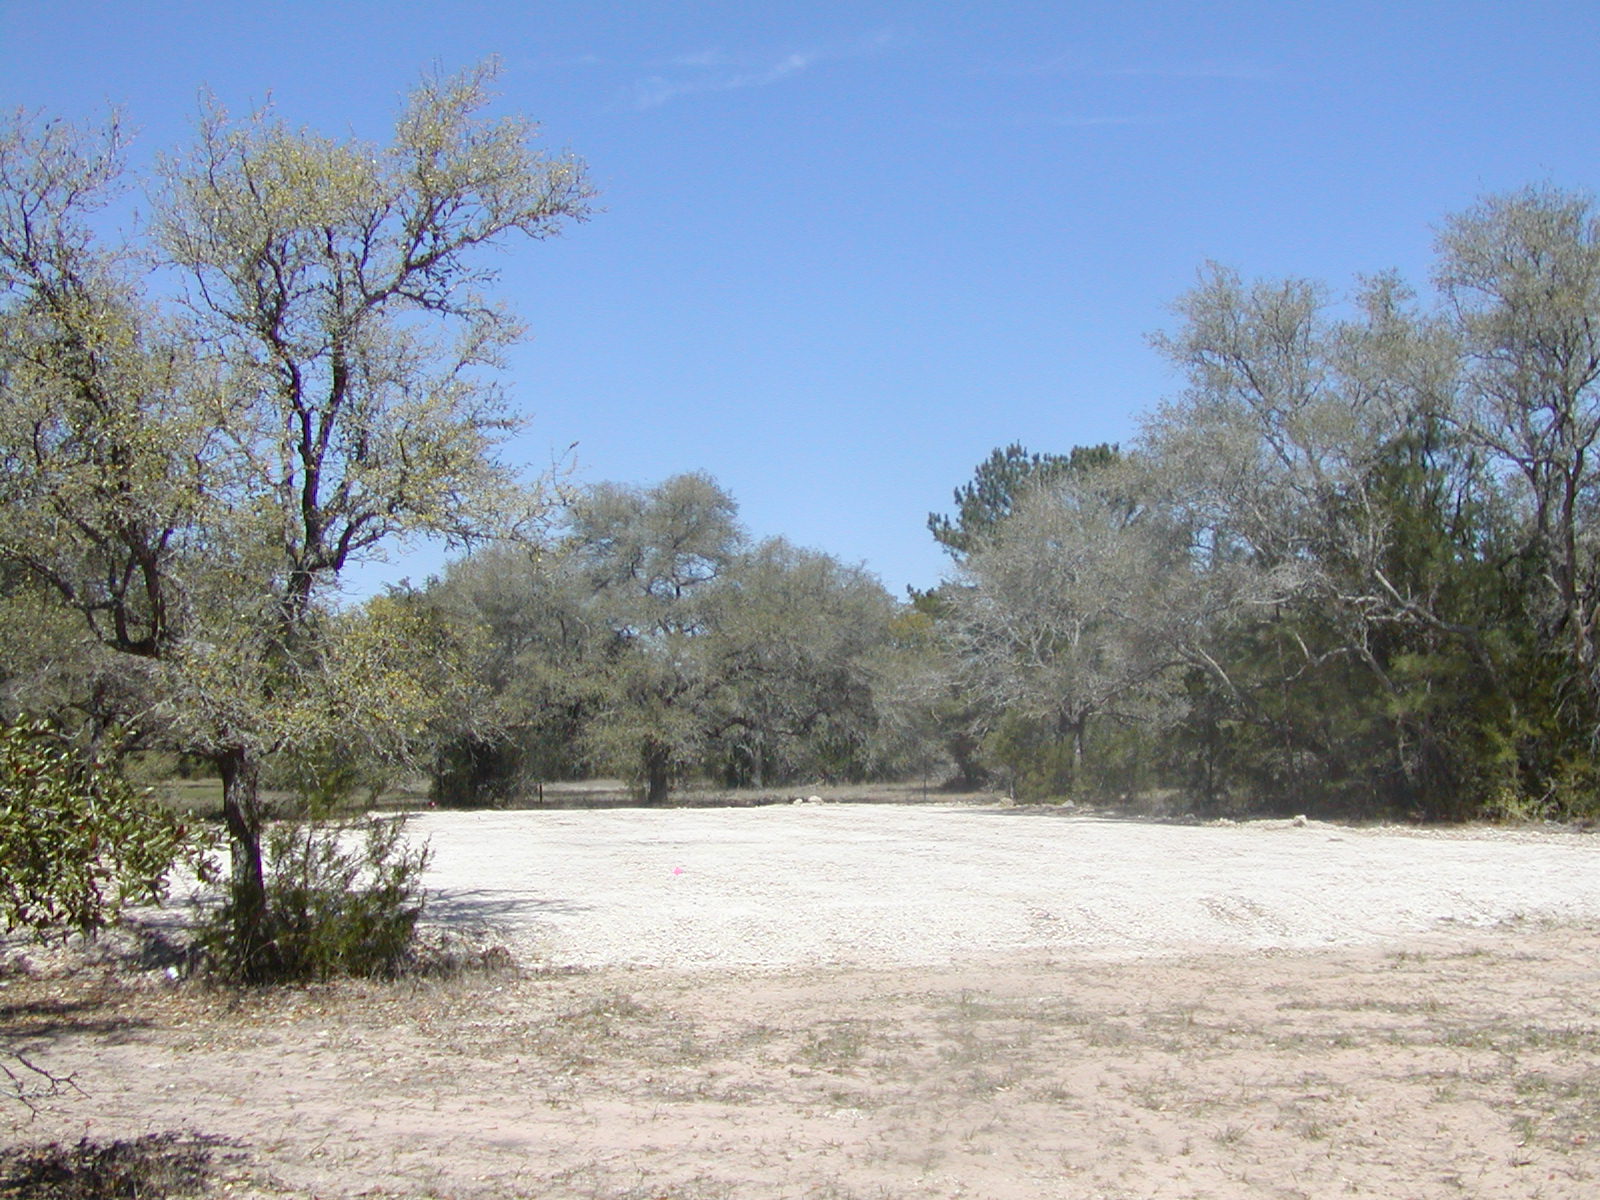
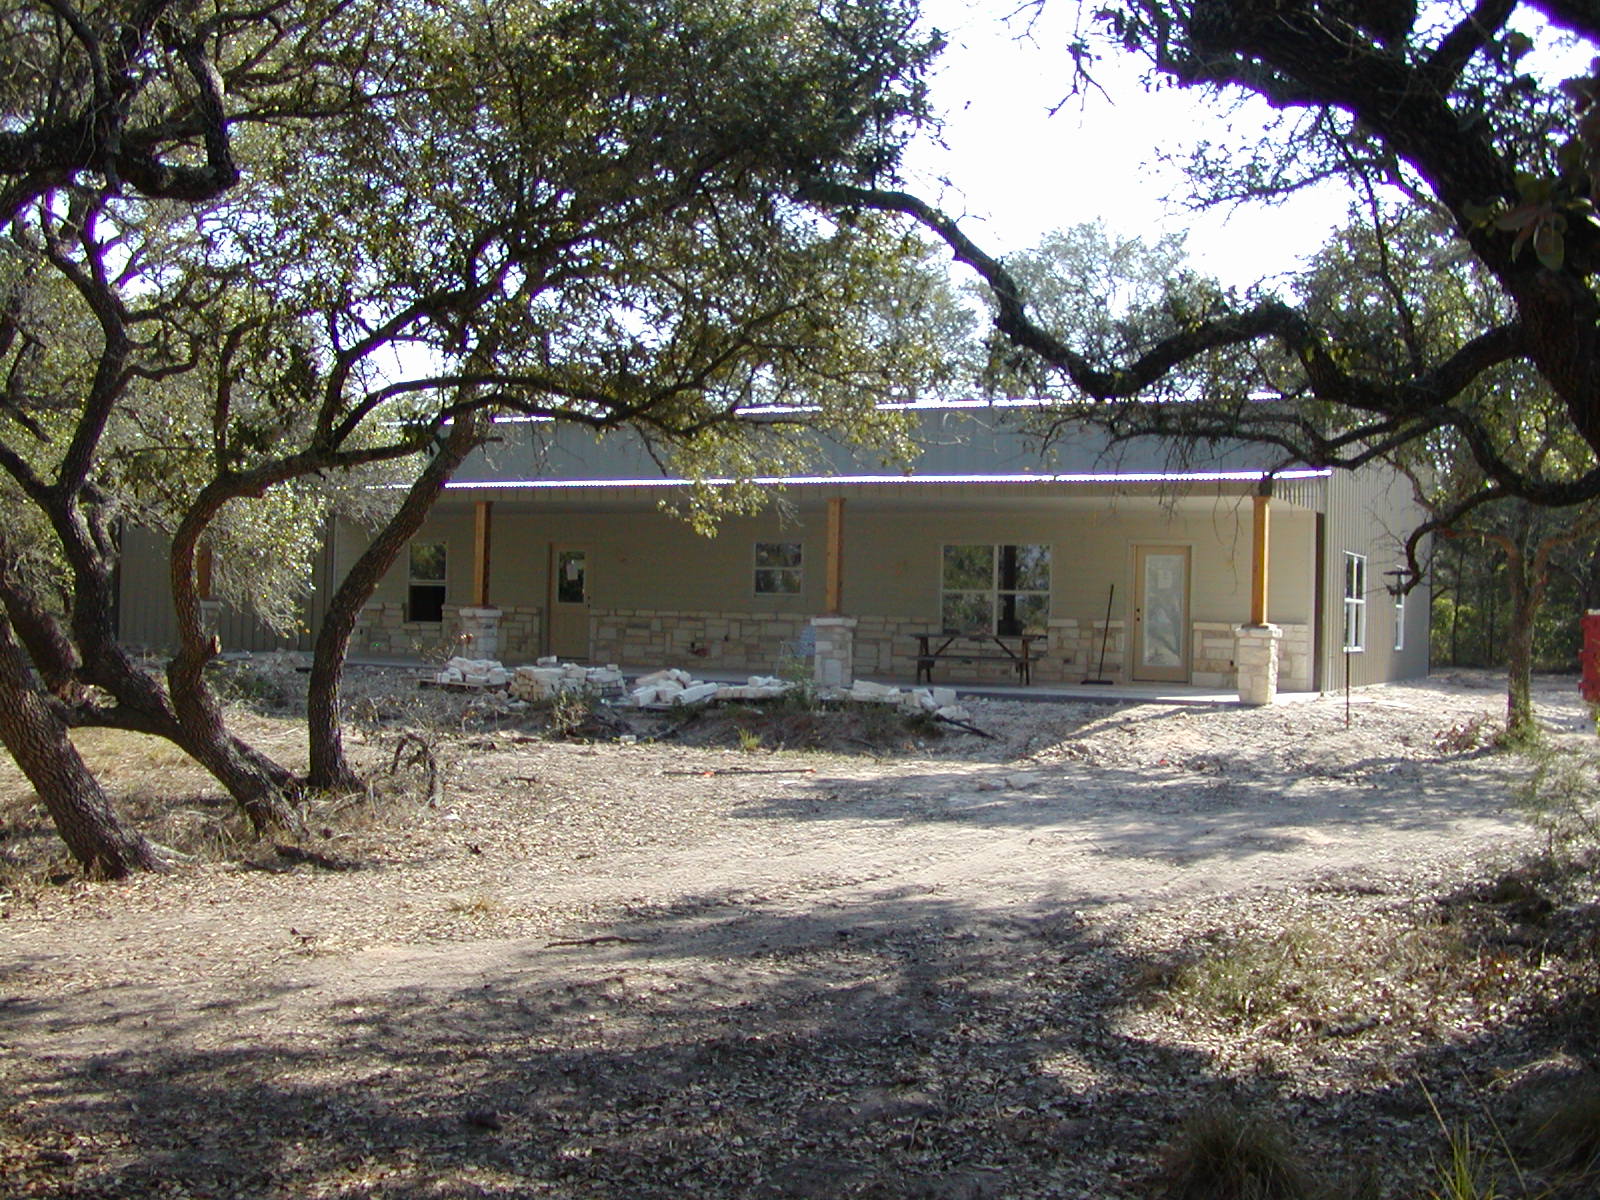
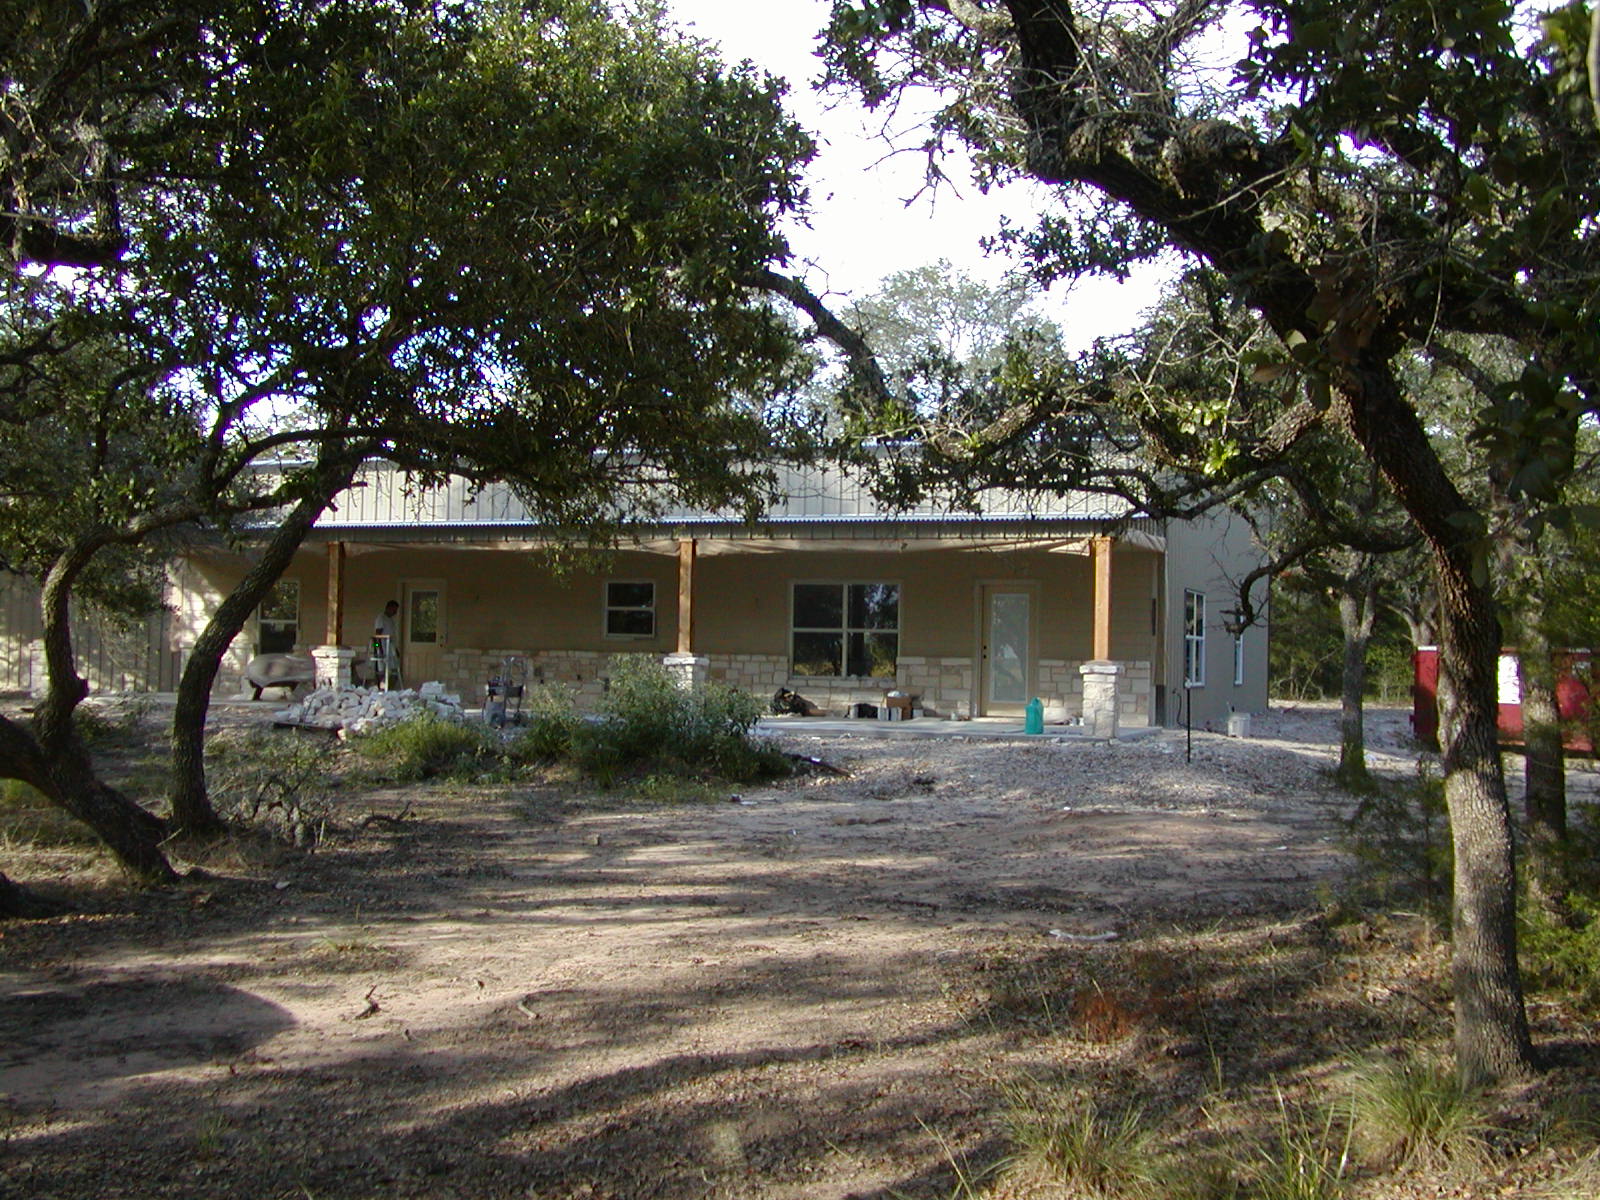
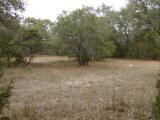
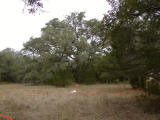
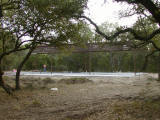
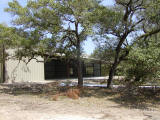
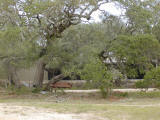
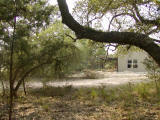
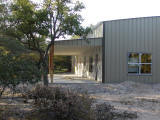
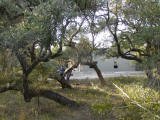
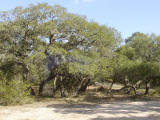
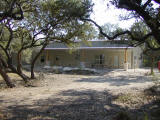
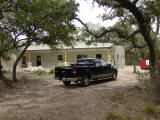
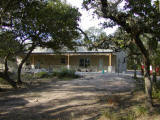
This is view from the southwest (the front door is near the small group of trees)
|
|
|
|
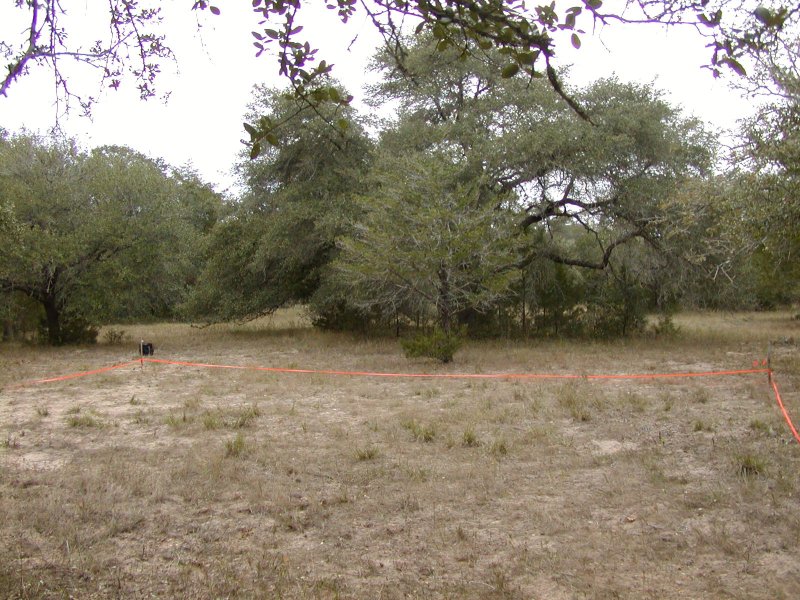
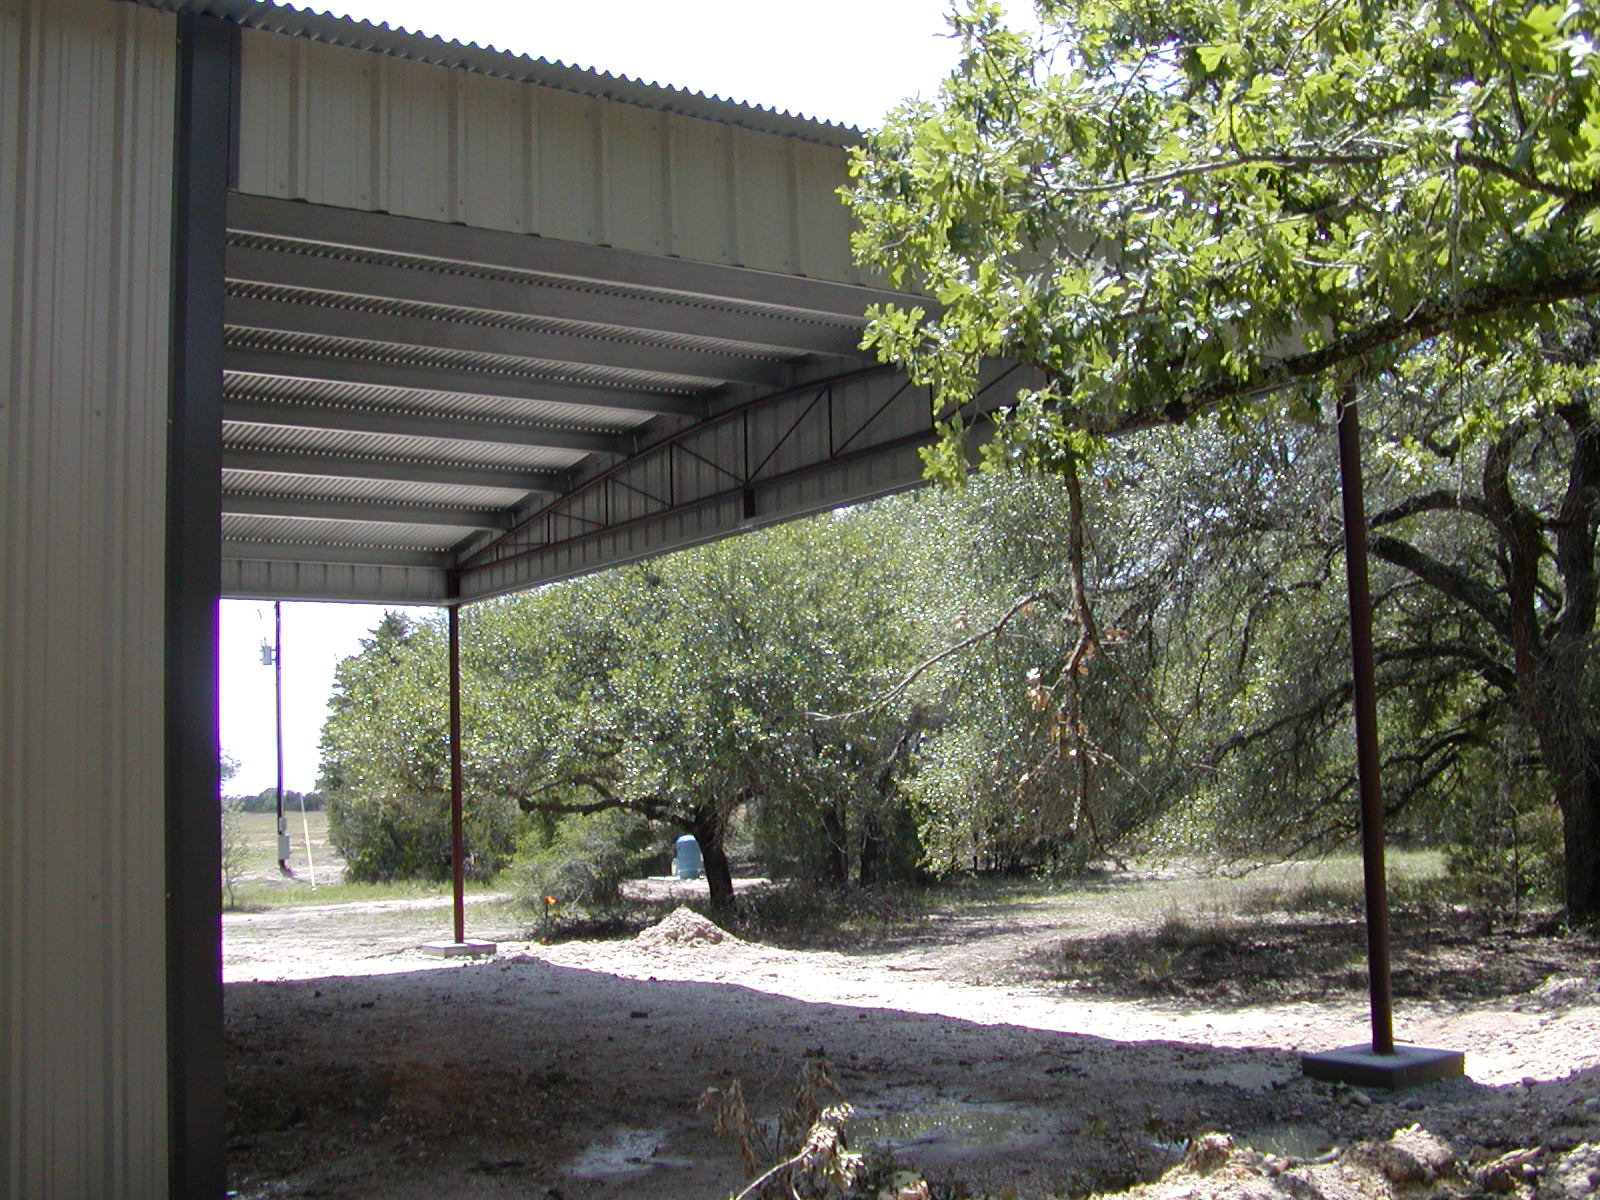
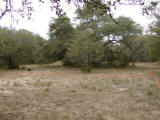
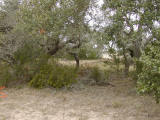
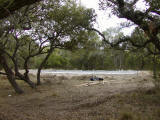
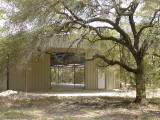
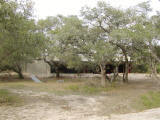
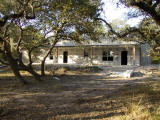
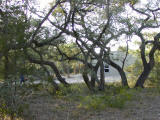
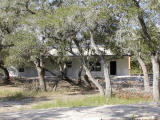
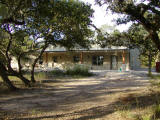
From the south, looking north -- there will be a nice couple of oaks to the north of the building overhang
|
|
|
|
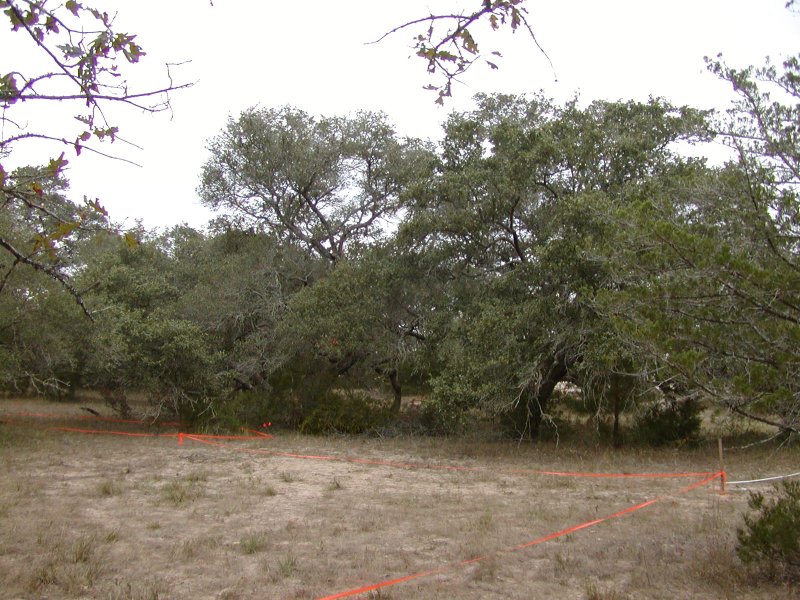
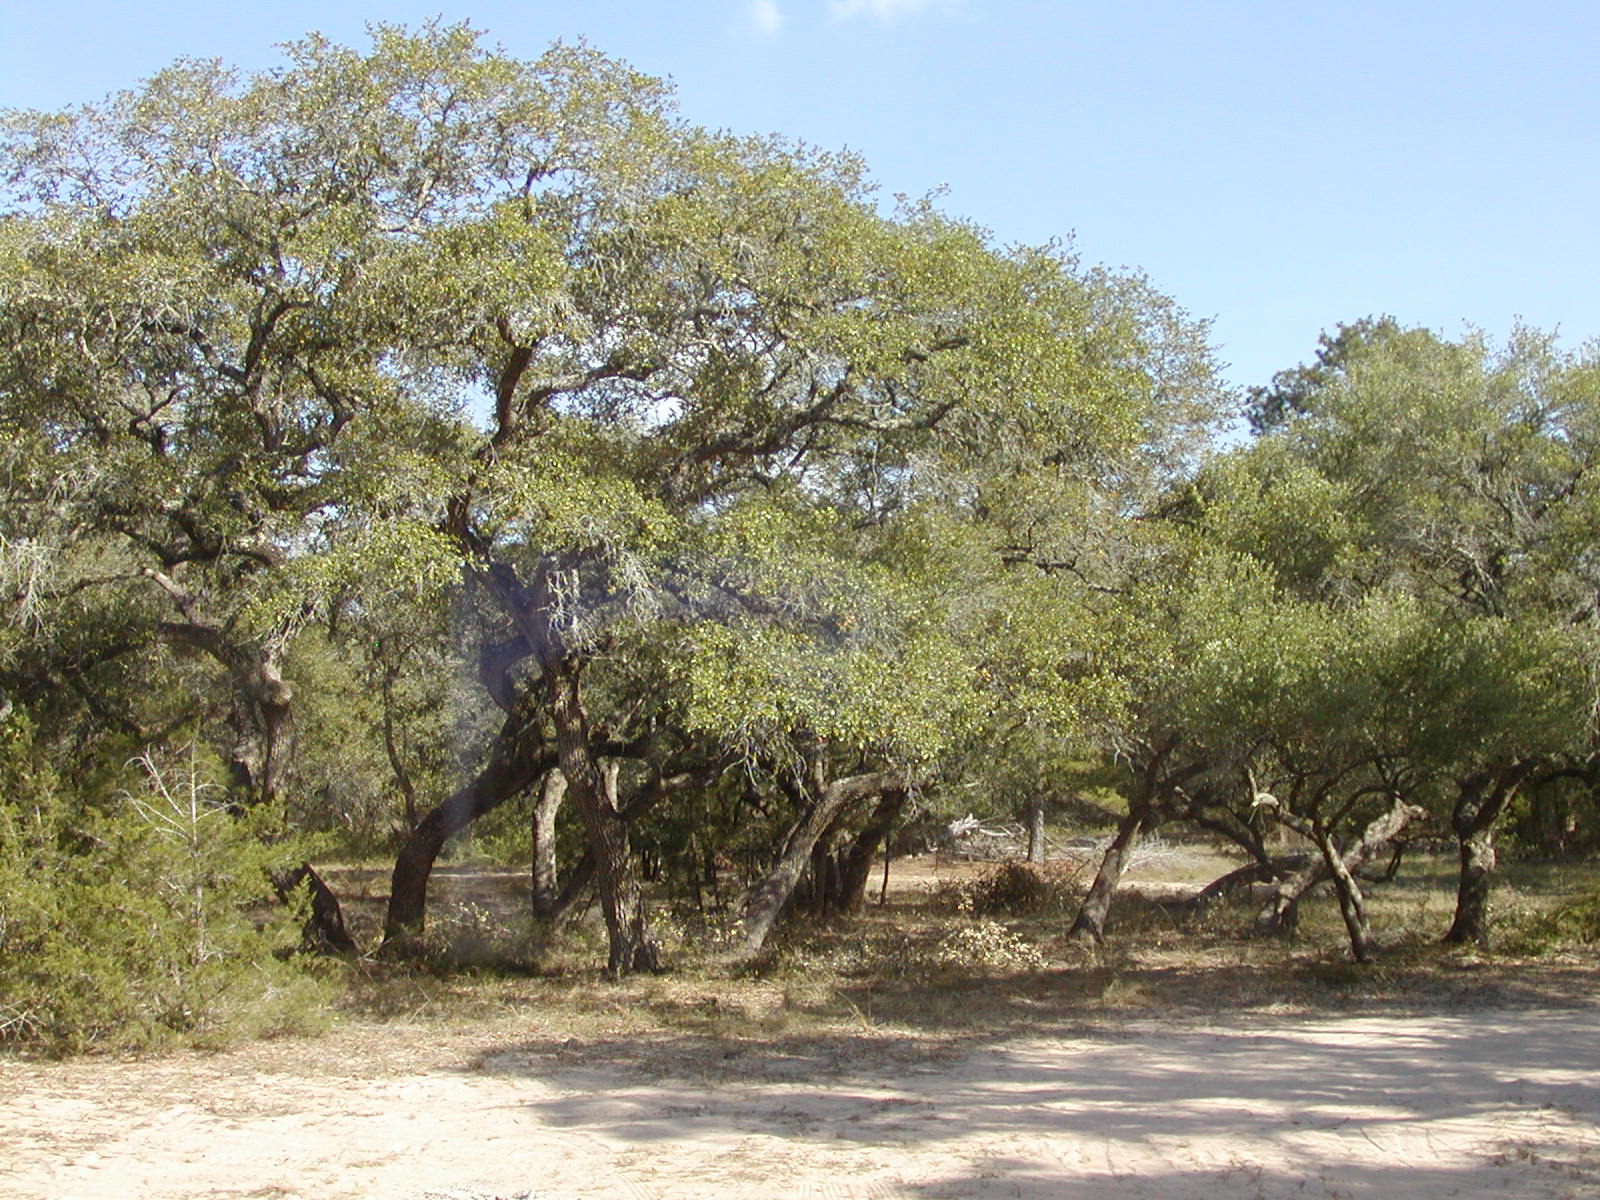
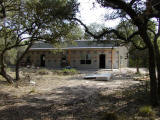
From the north looking south -- this big oak will be just off the living area and front porch
|
|

|
|
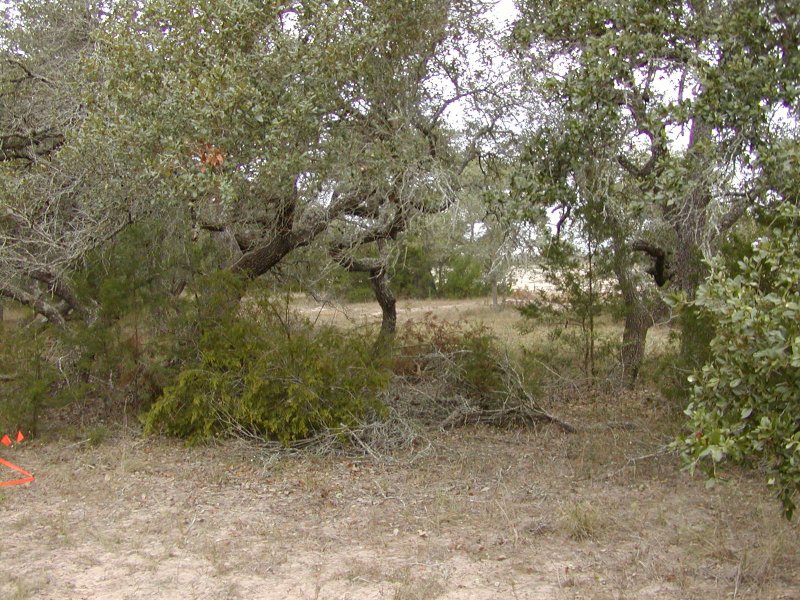
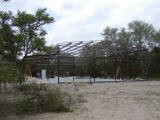
From the north-east corner (back of the shop, looking towards the pond) -- we'll clear those oaks out somewhat
|
|
|
|
|
|
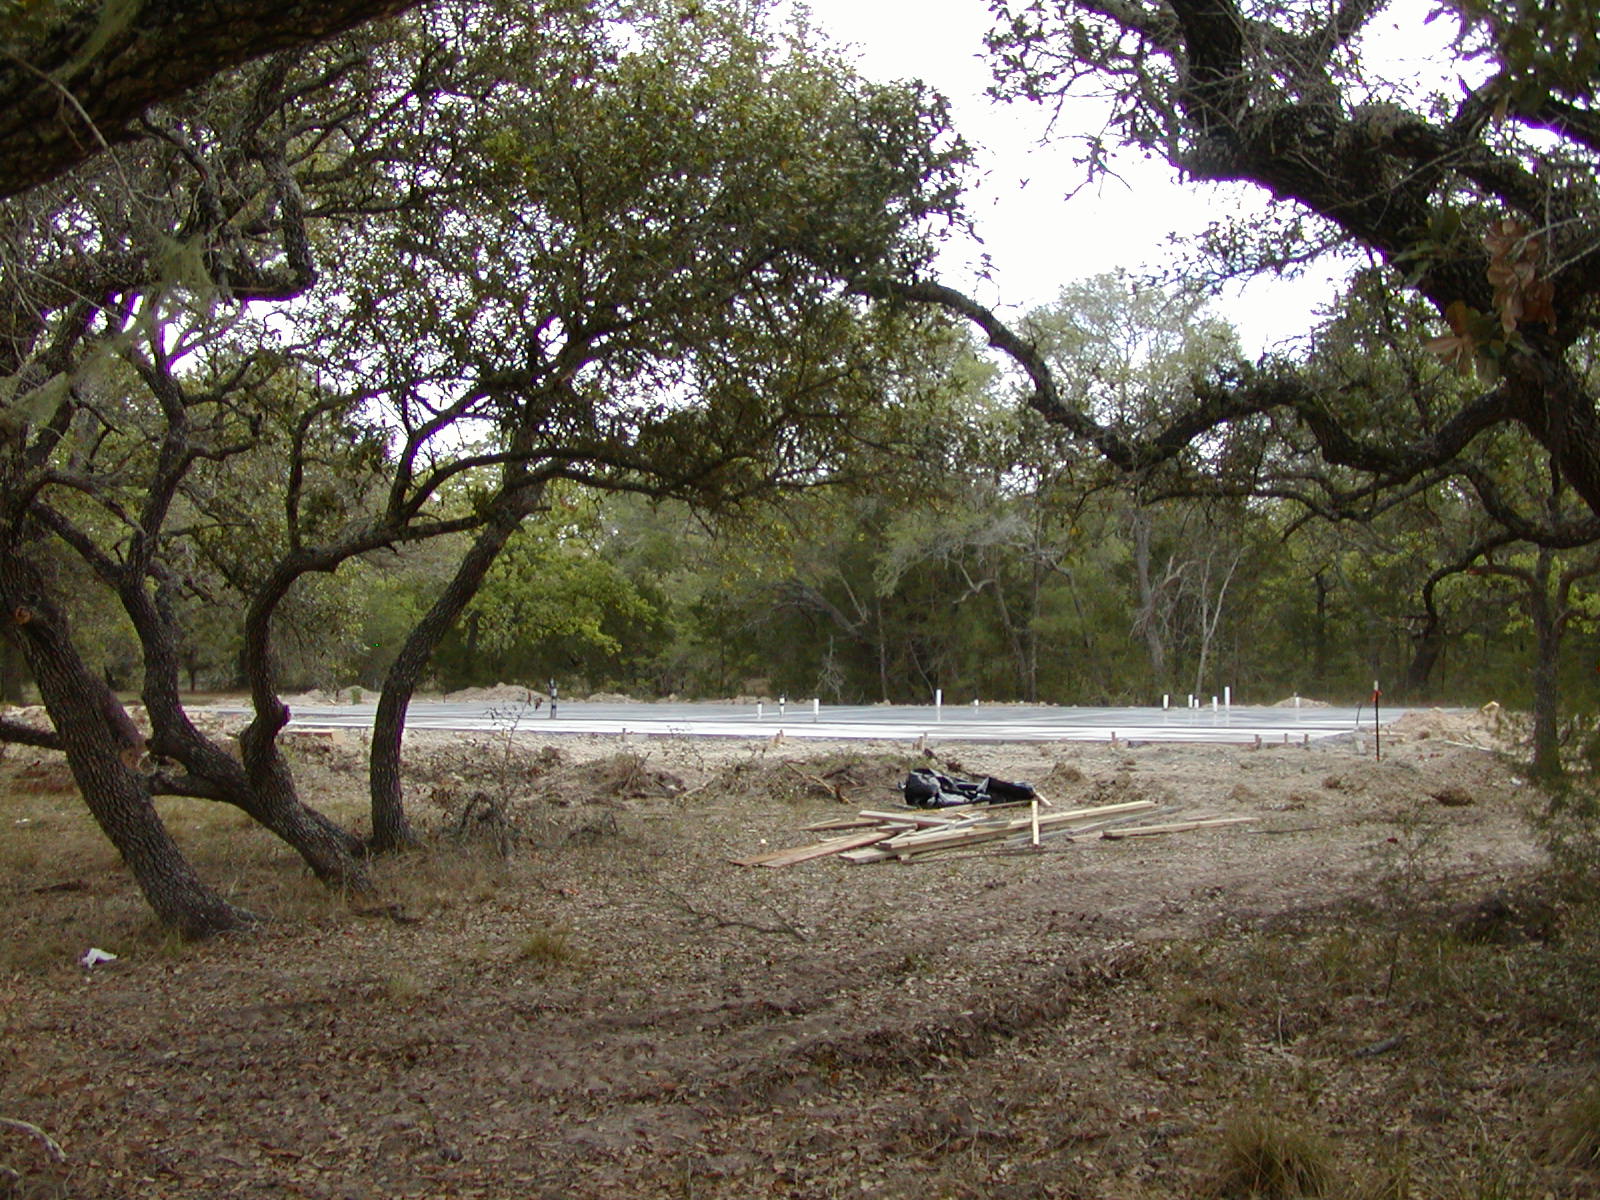
From the northwest corner, looking towards the pond
|
|

|
|
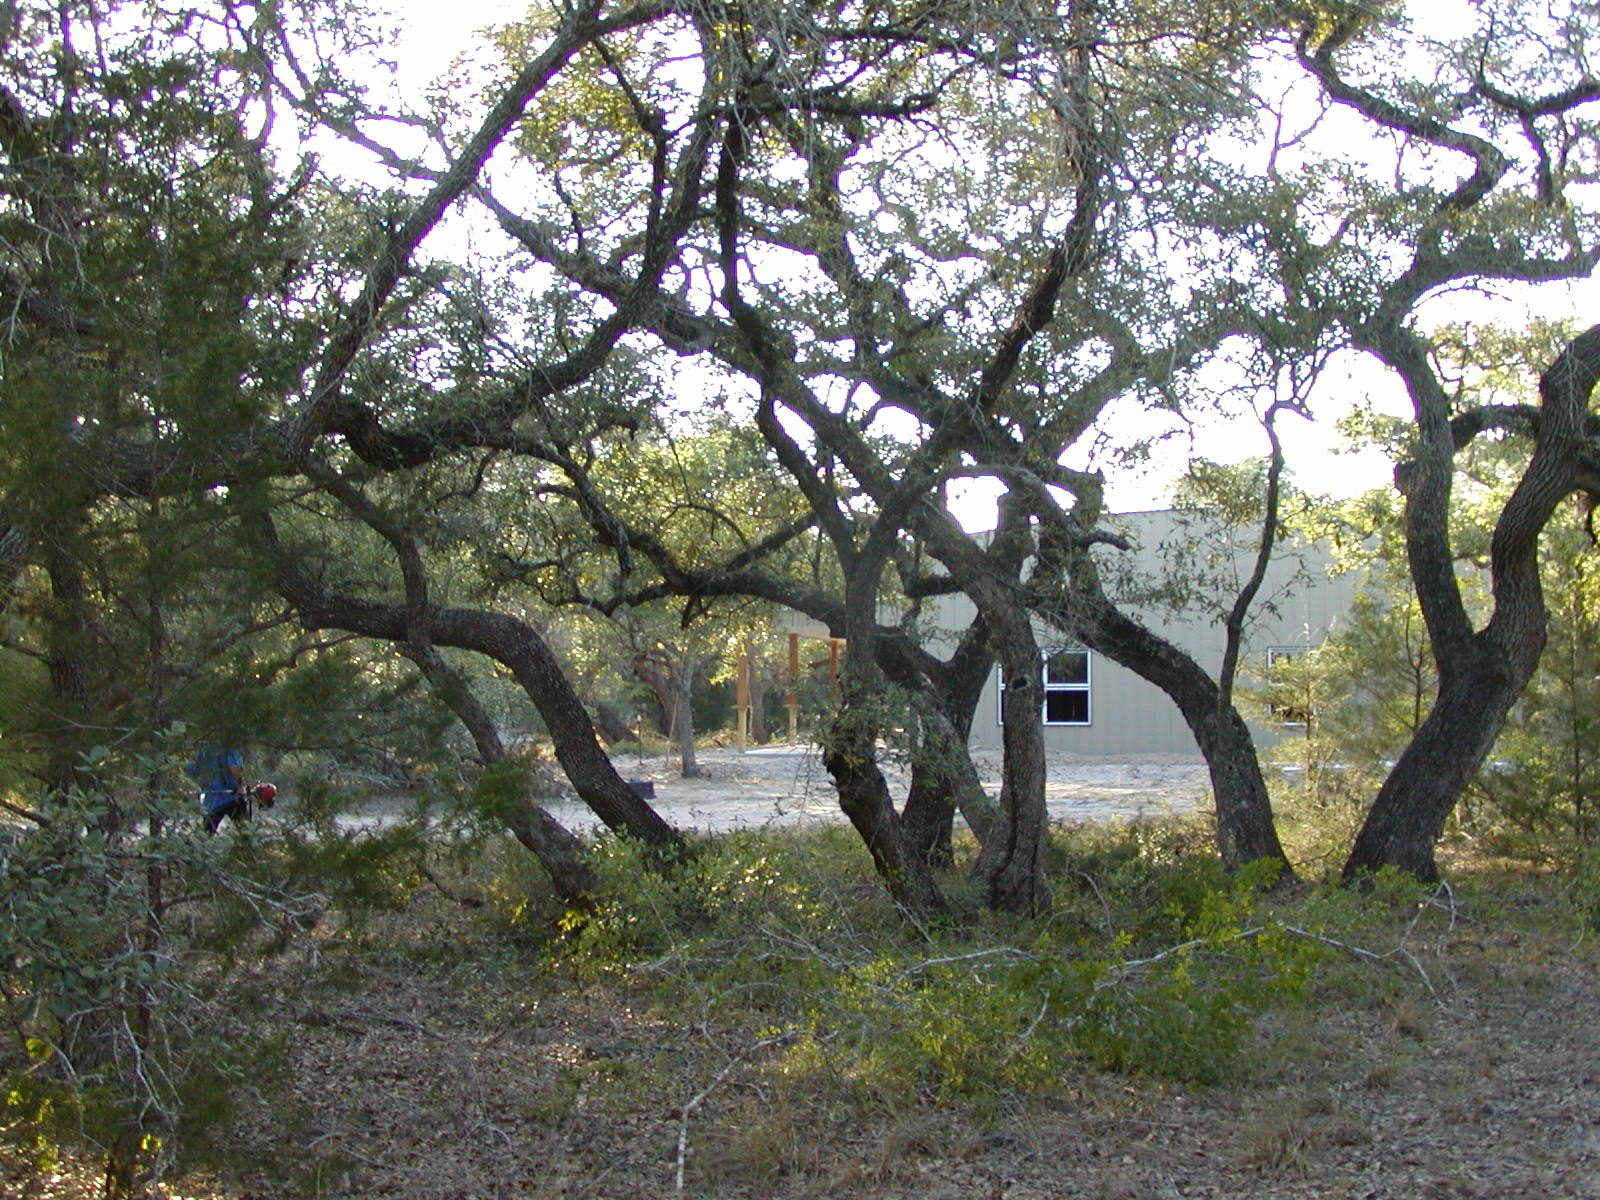
From the south-east (future driveway) -- that big tree in the middle is right in the middle of the third bedroom!
|
|
|
|
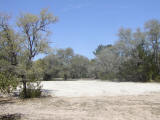
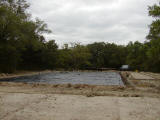
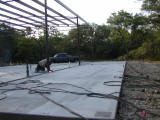
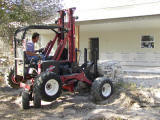
Dirt brought in for concrete pad (looking from the south)
|
|

|
|
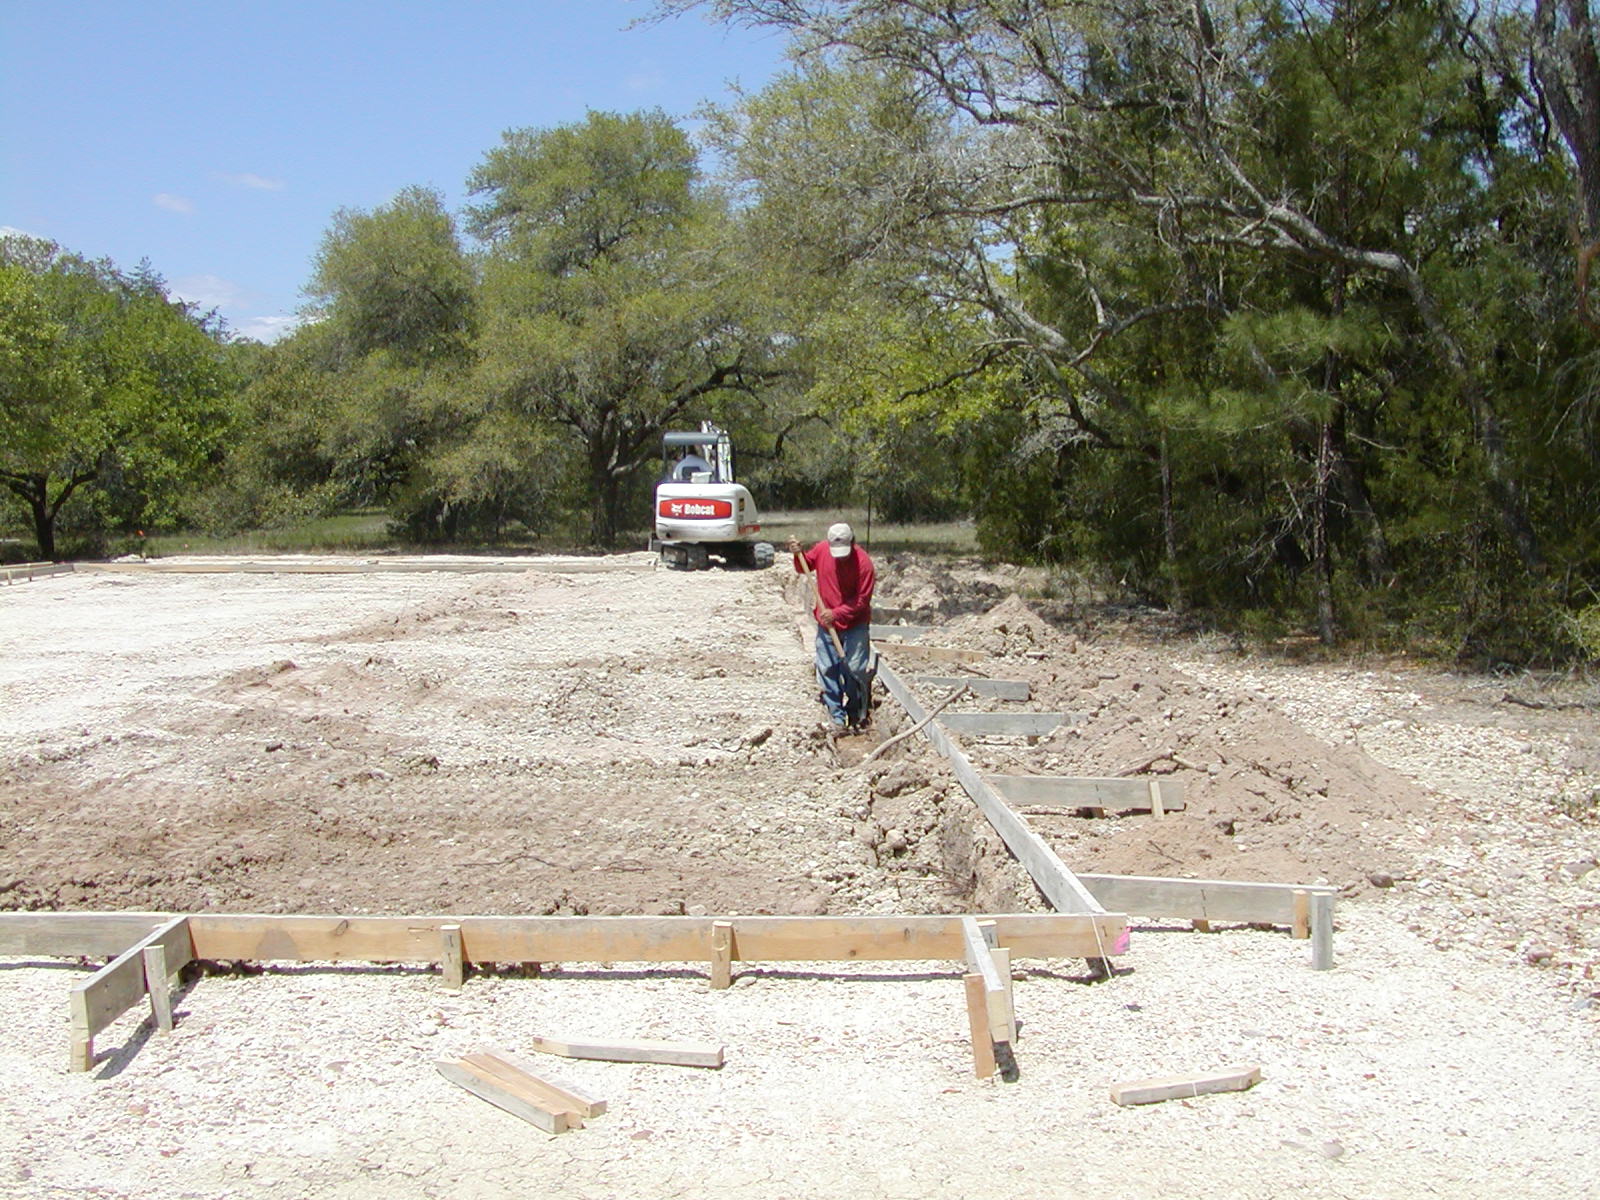
Project Lifecycle View #1 (dirt brought in for concrete pad)
|
|
|
|
|
|
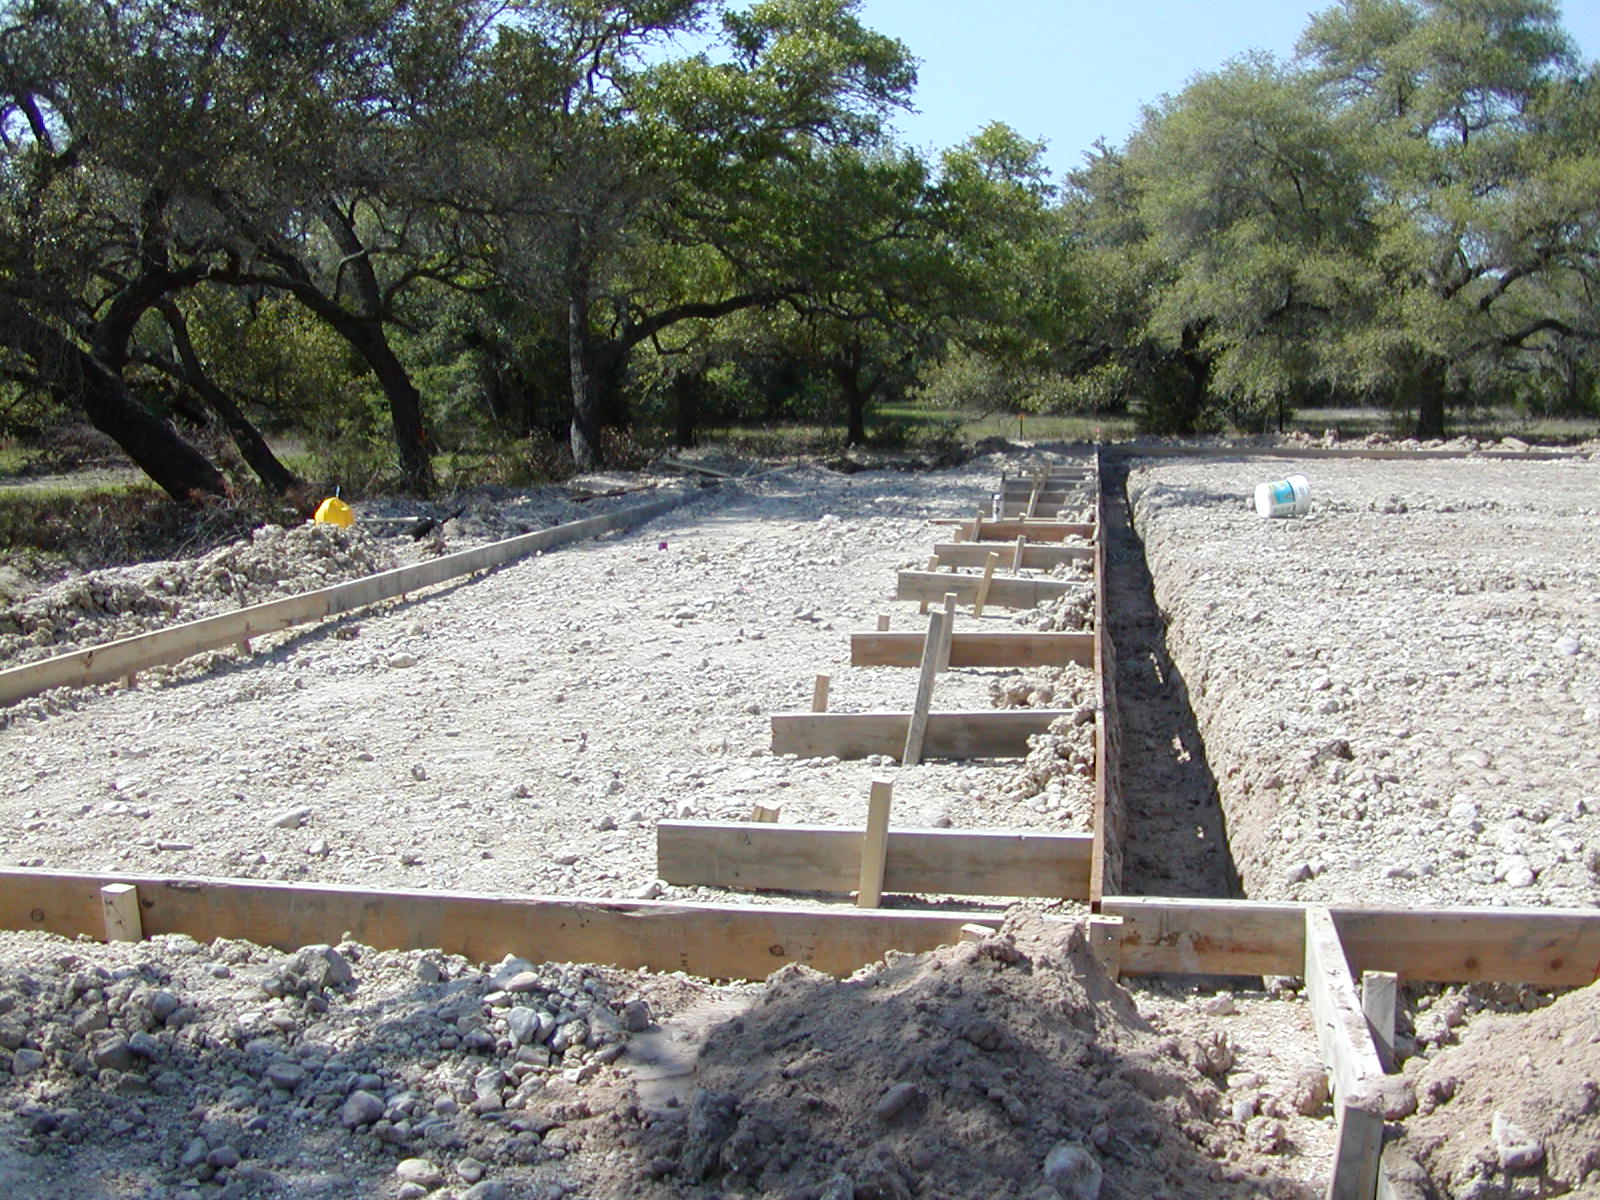
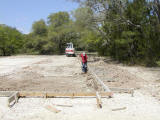
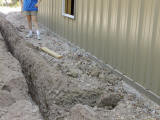
Digging the outside beams for the foundation (looking from the south)
|
|
|
|
Where the front porch ties to the building foundation
|
|

|
|
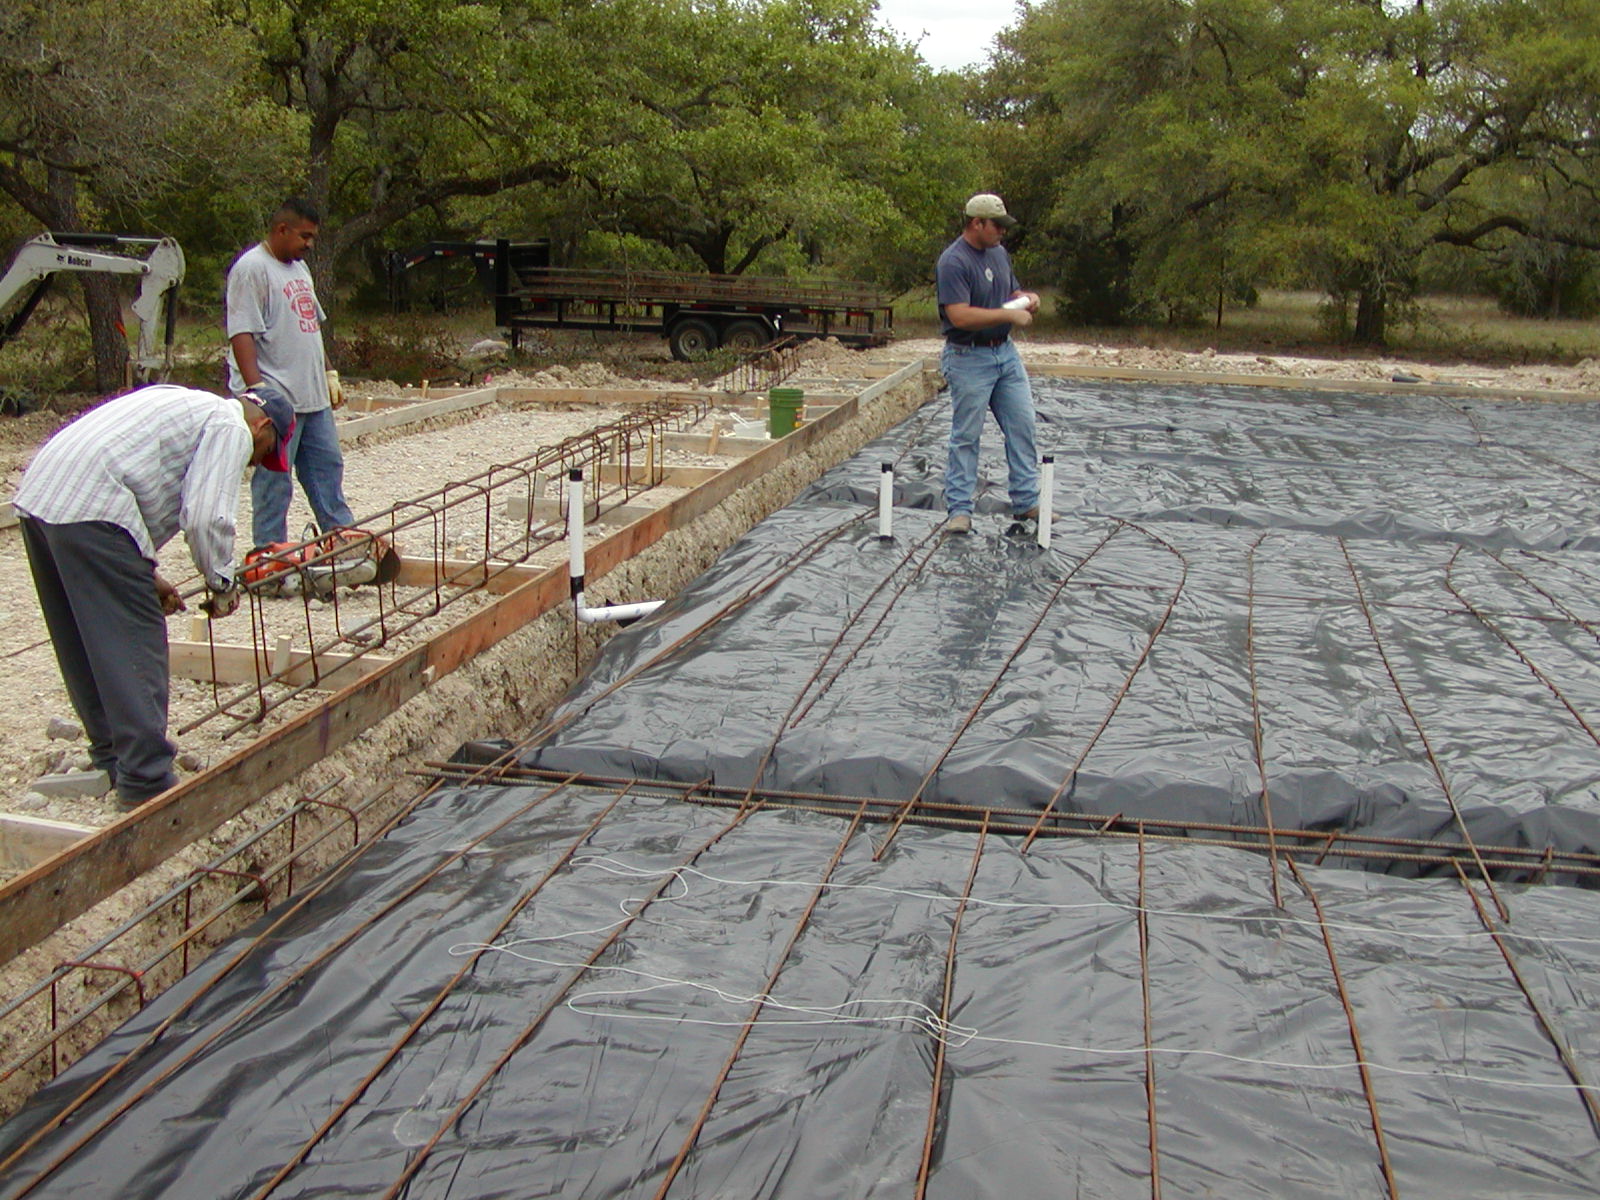
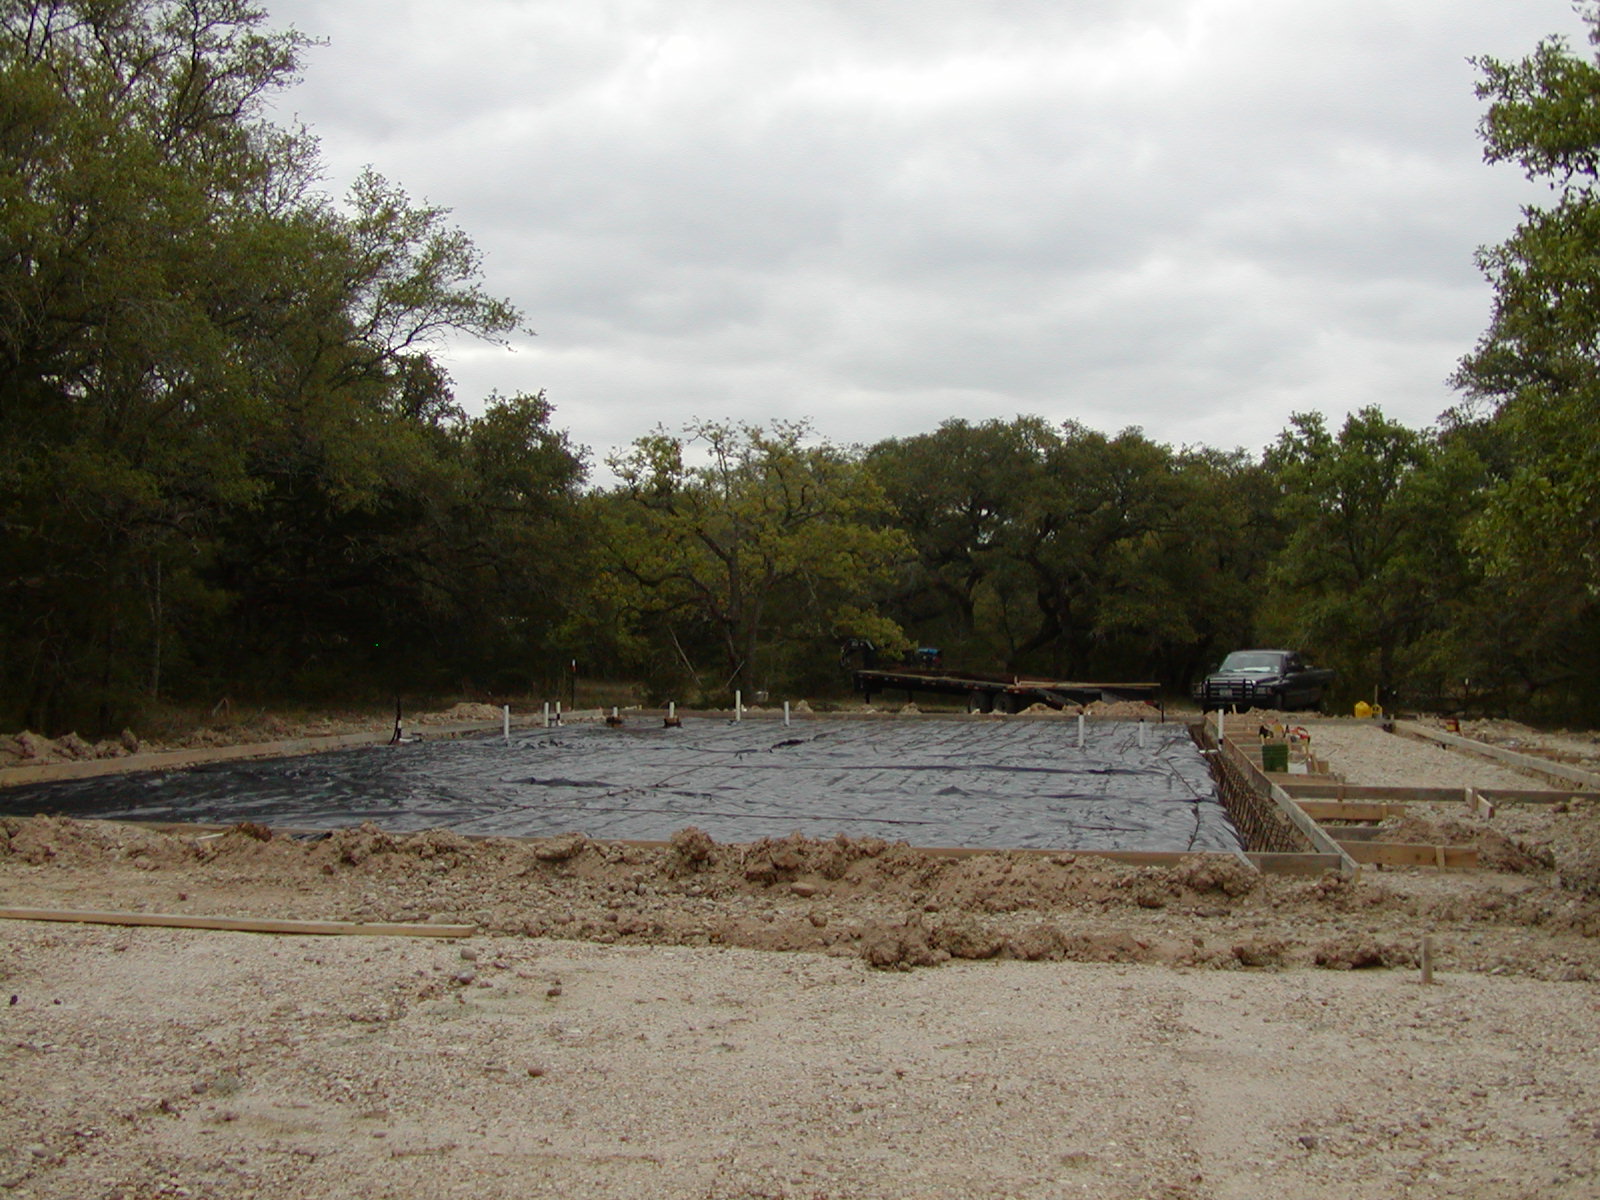
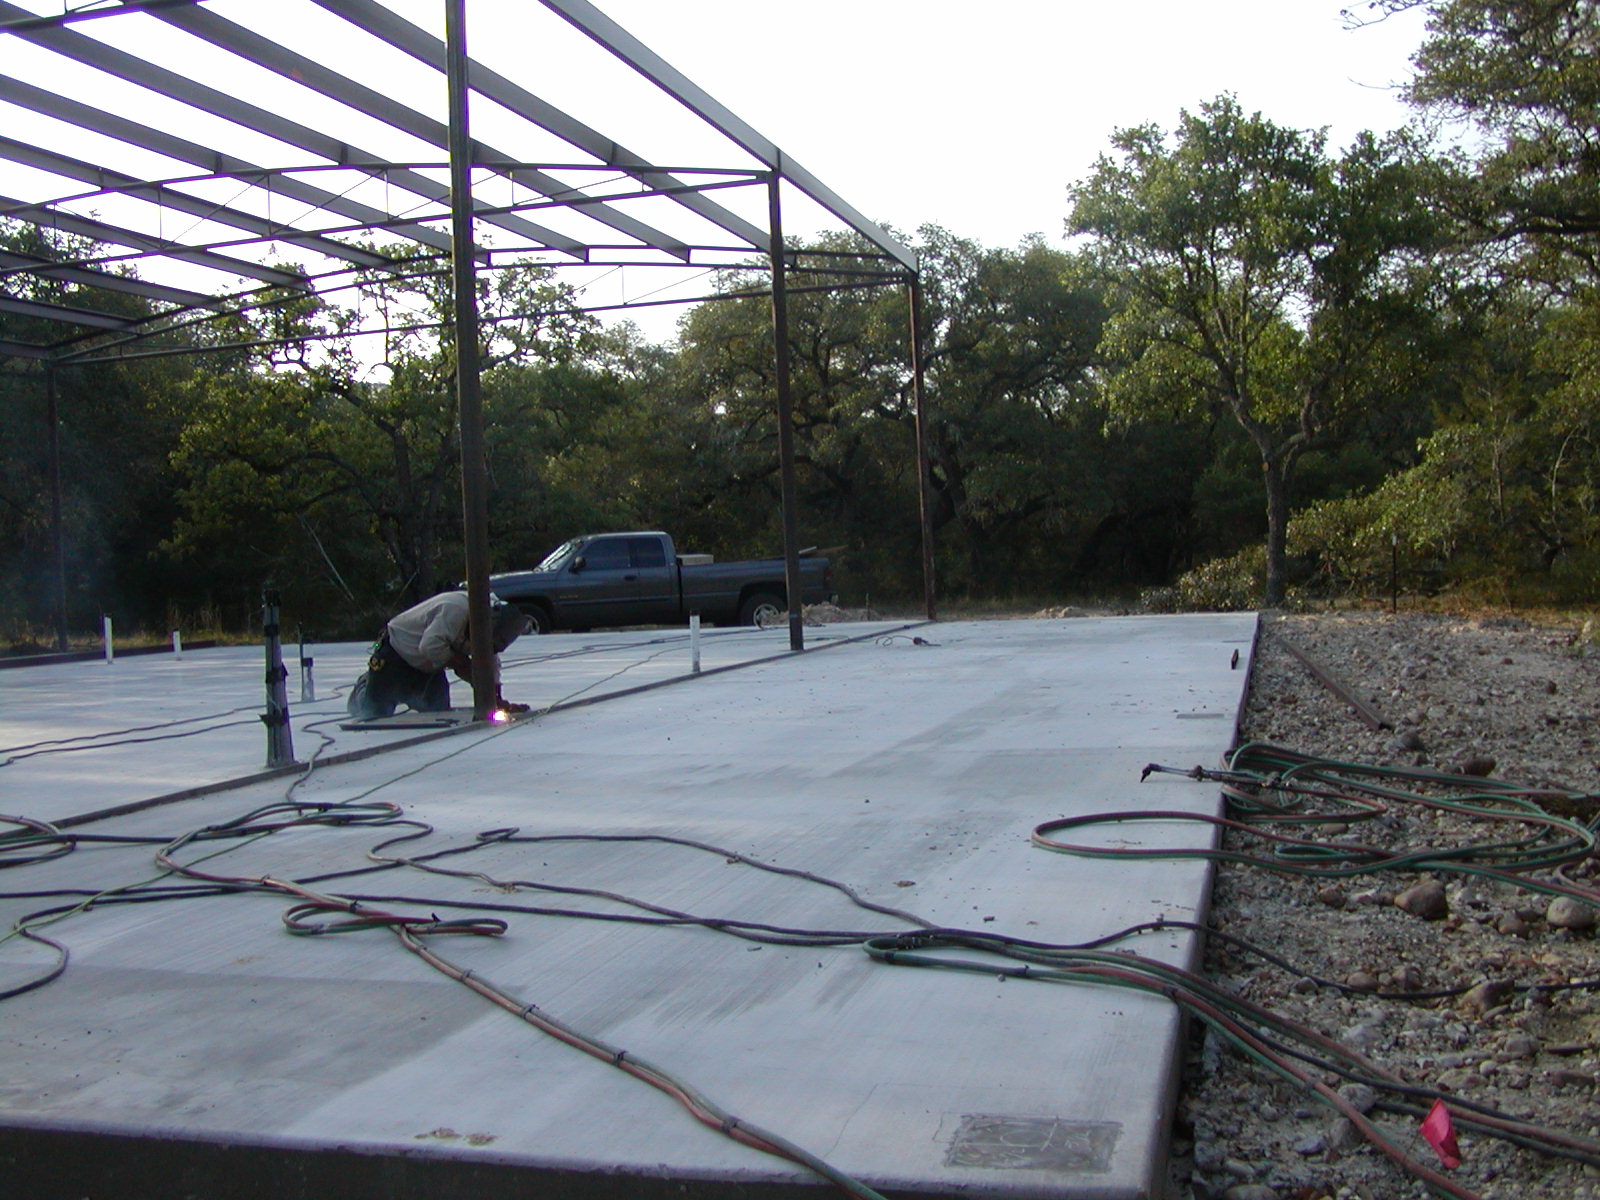
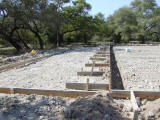
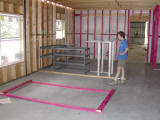
Plumbing in the foundation (better get it right before we pour concrete!)
|
|
|
|
ready to pour (looking from the south)
|
|
|
|
|
|
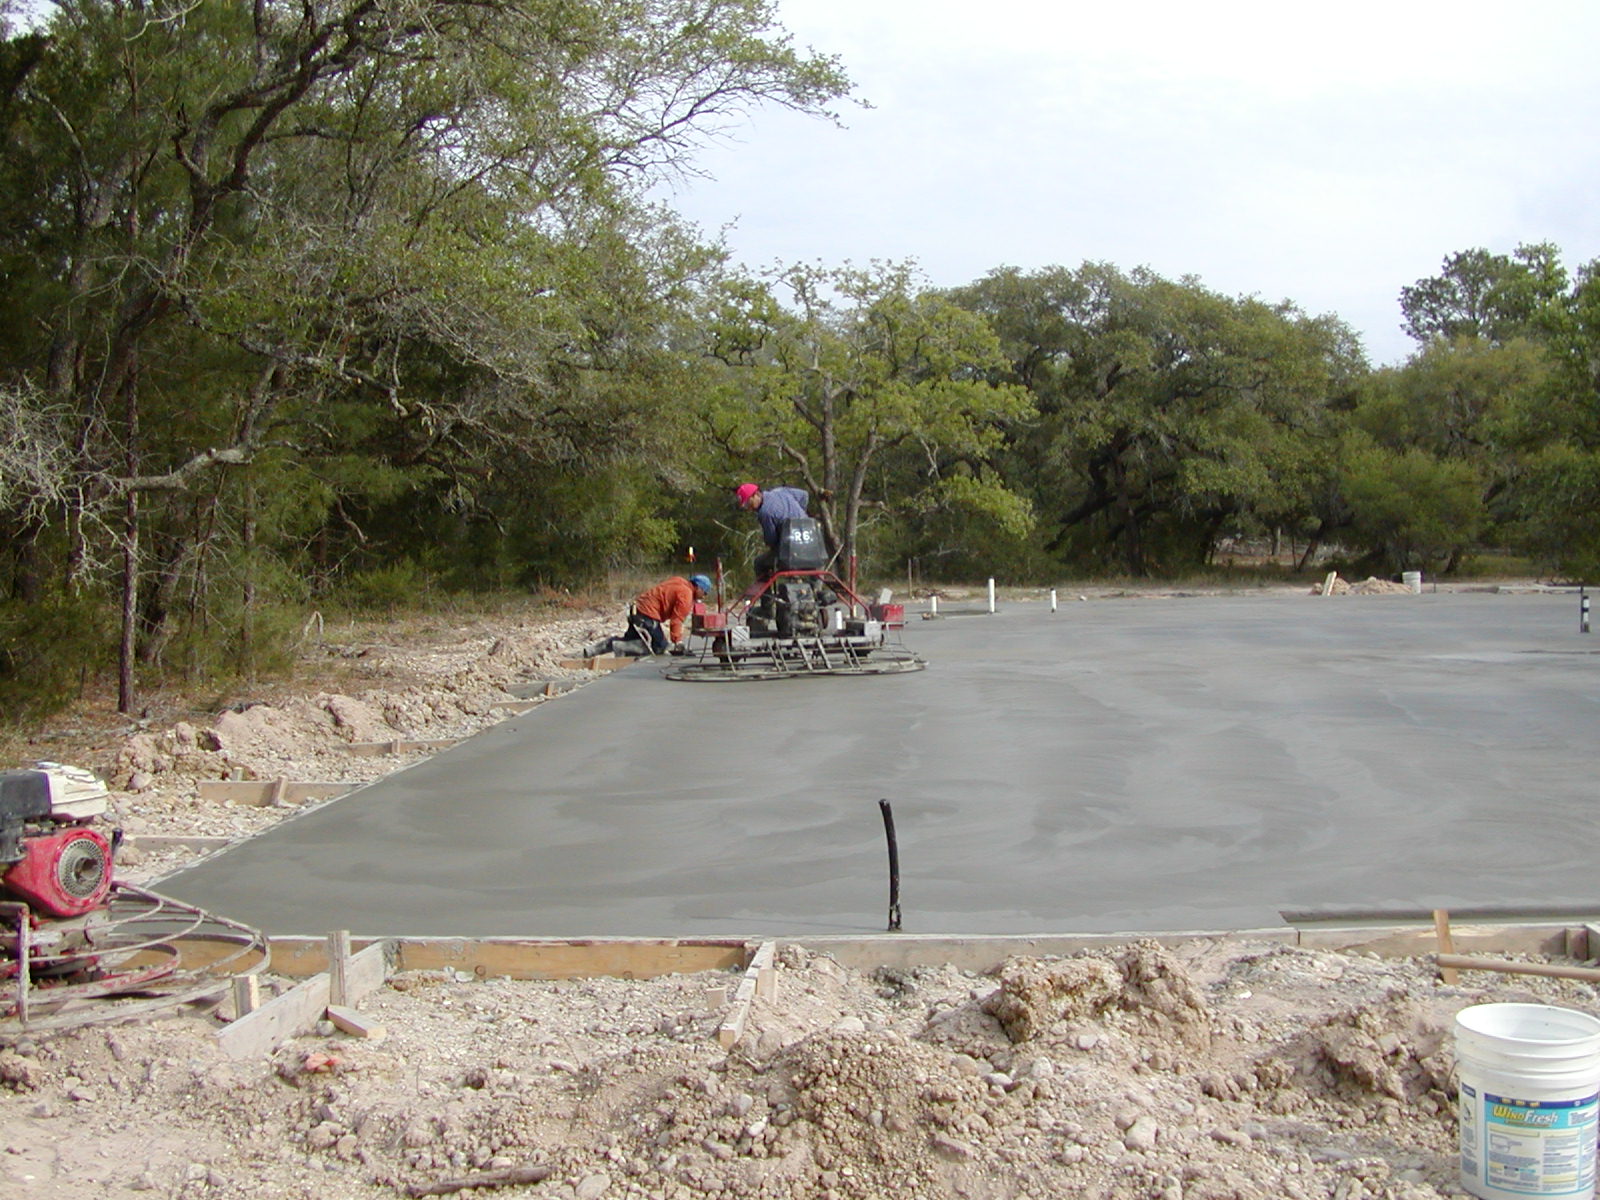
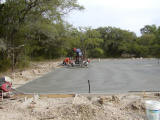
making it smooth with the little hovercraft
|
|

|
|
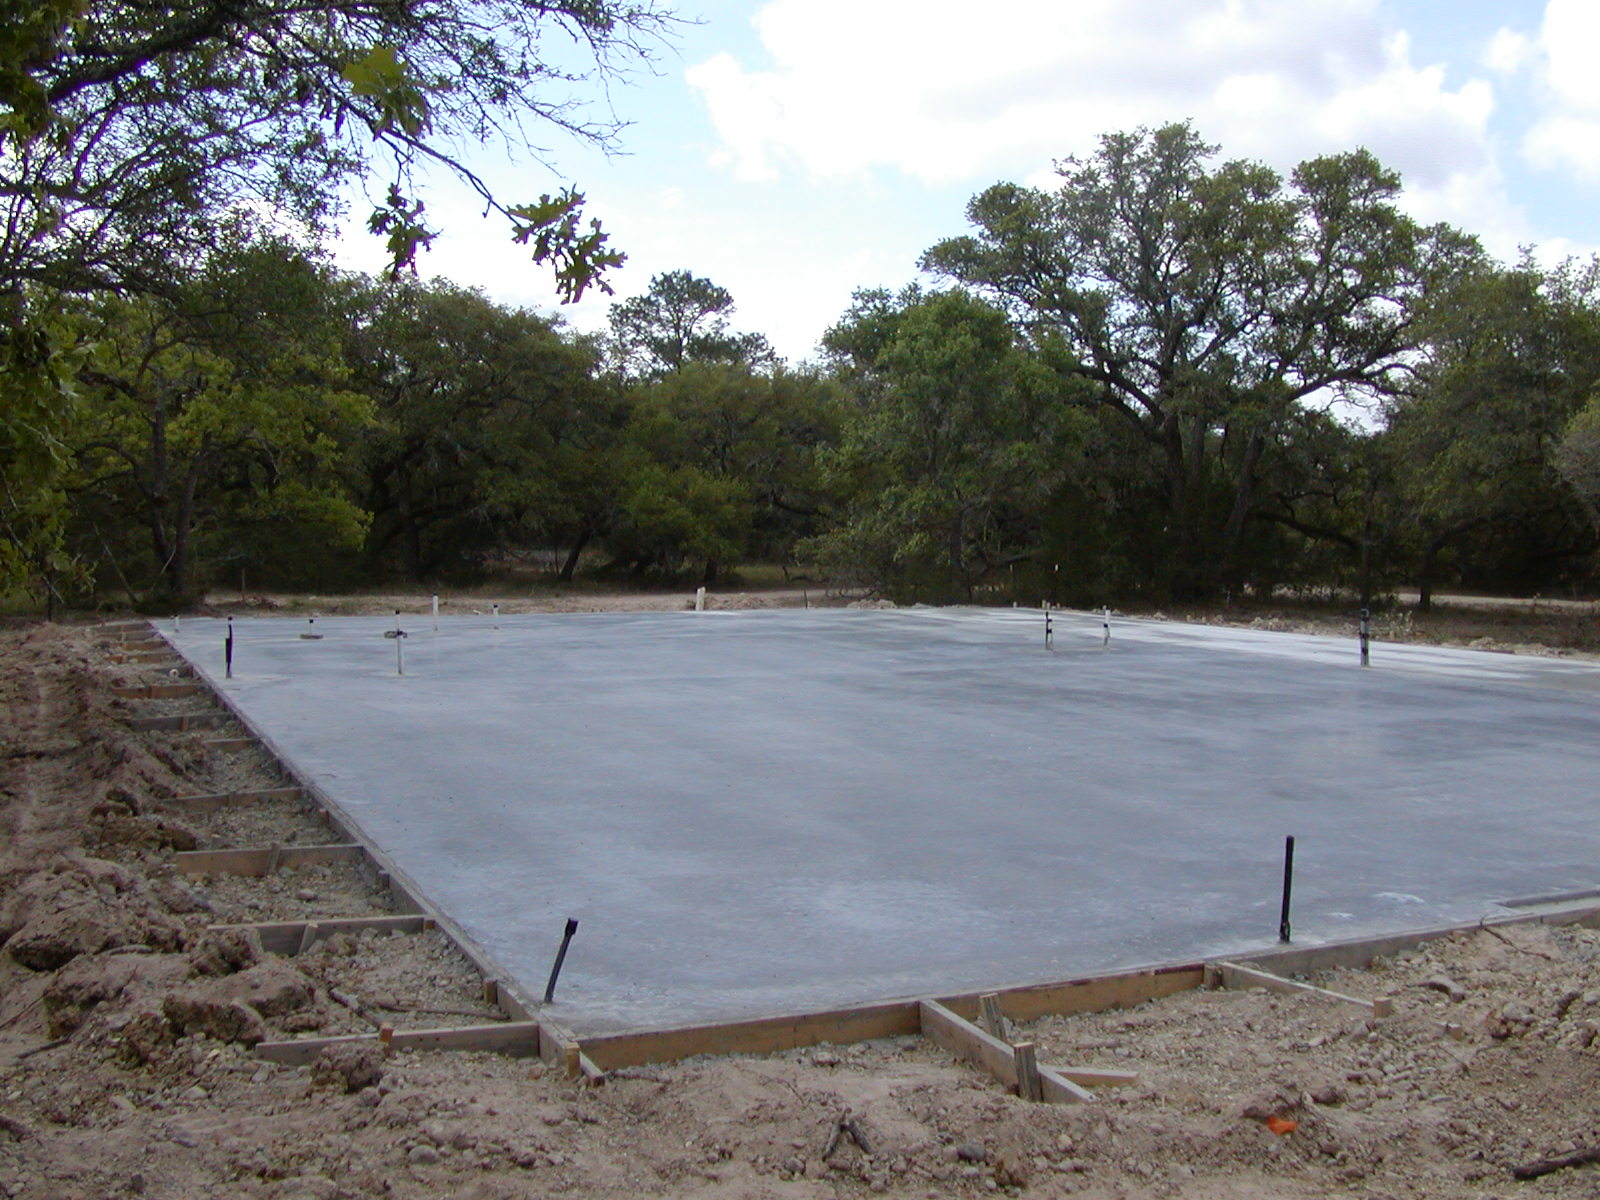
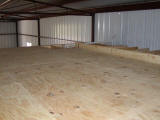
like an ice rink!
|
|
|
|
Project Lifecycle View #2 (foundation poured)
|
|
|
|
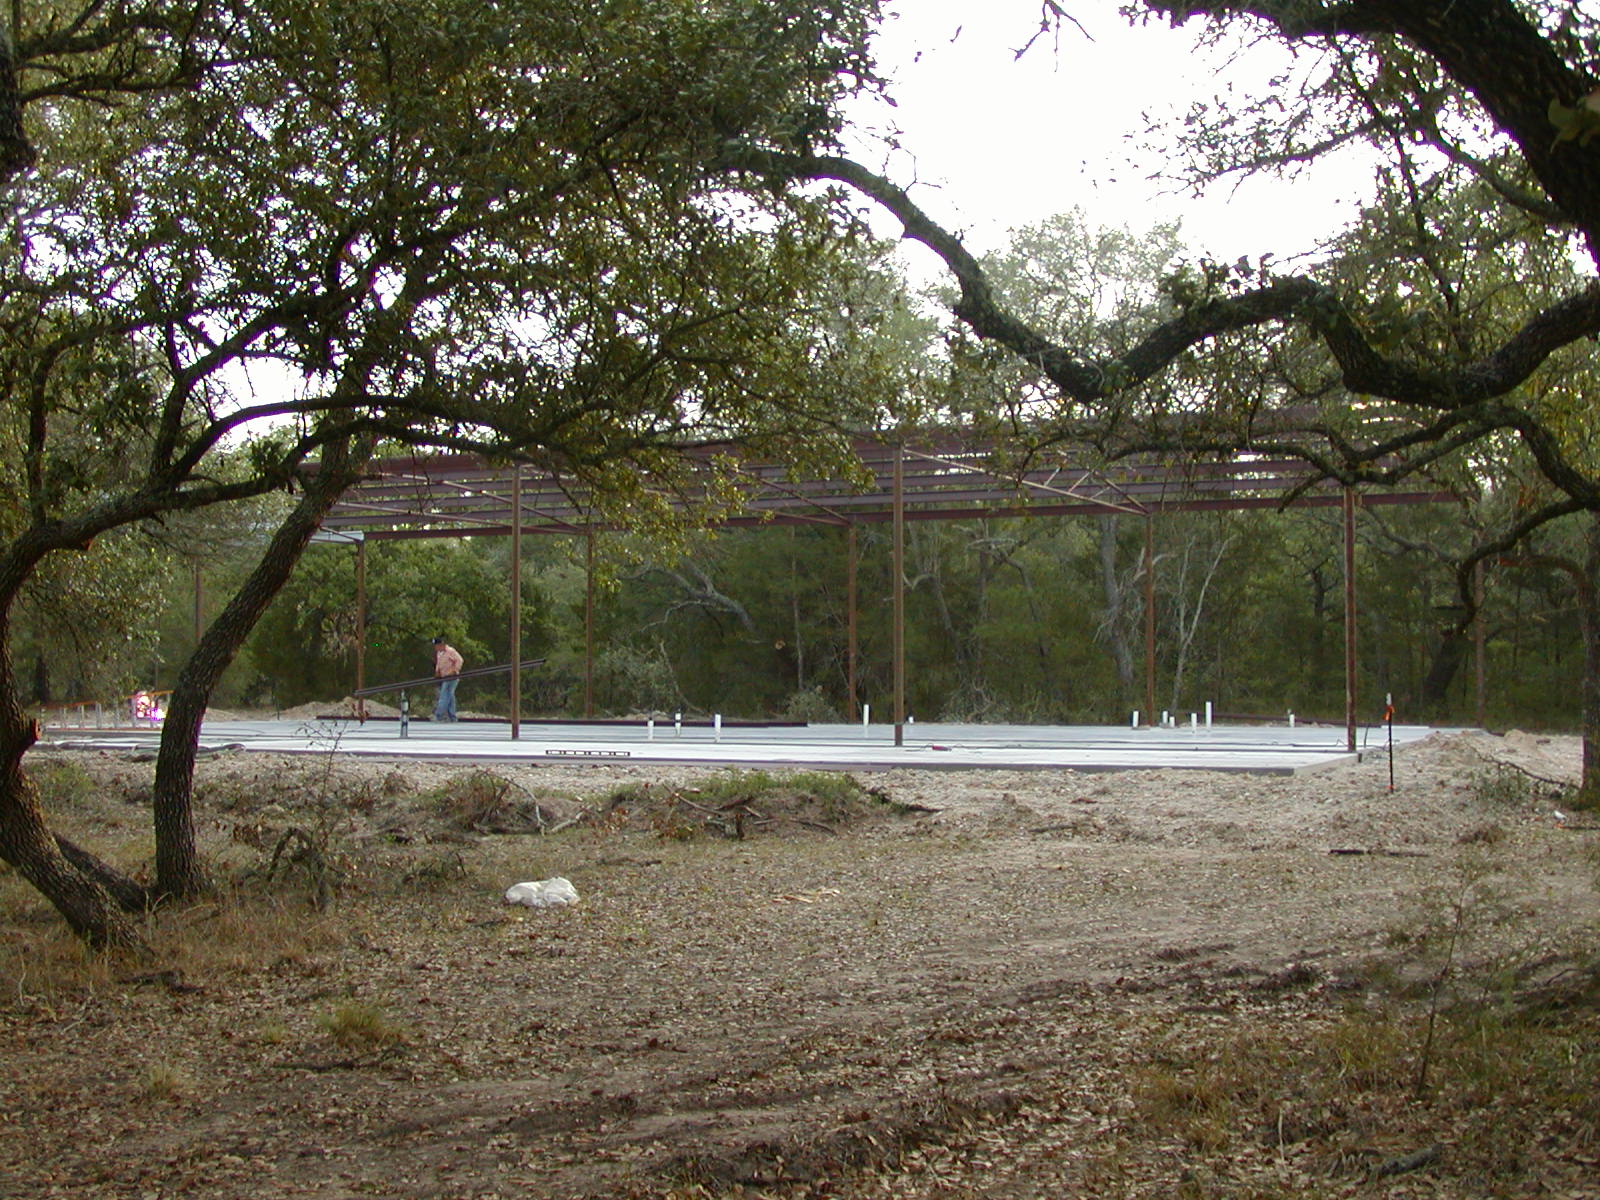
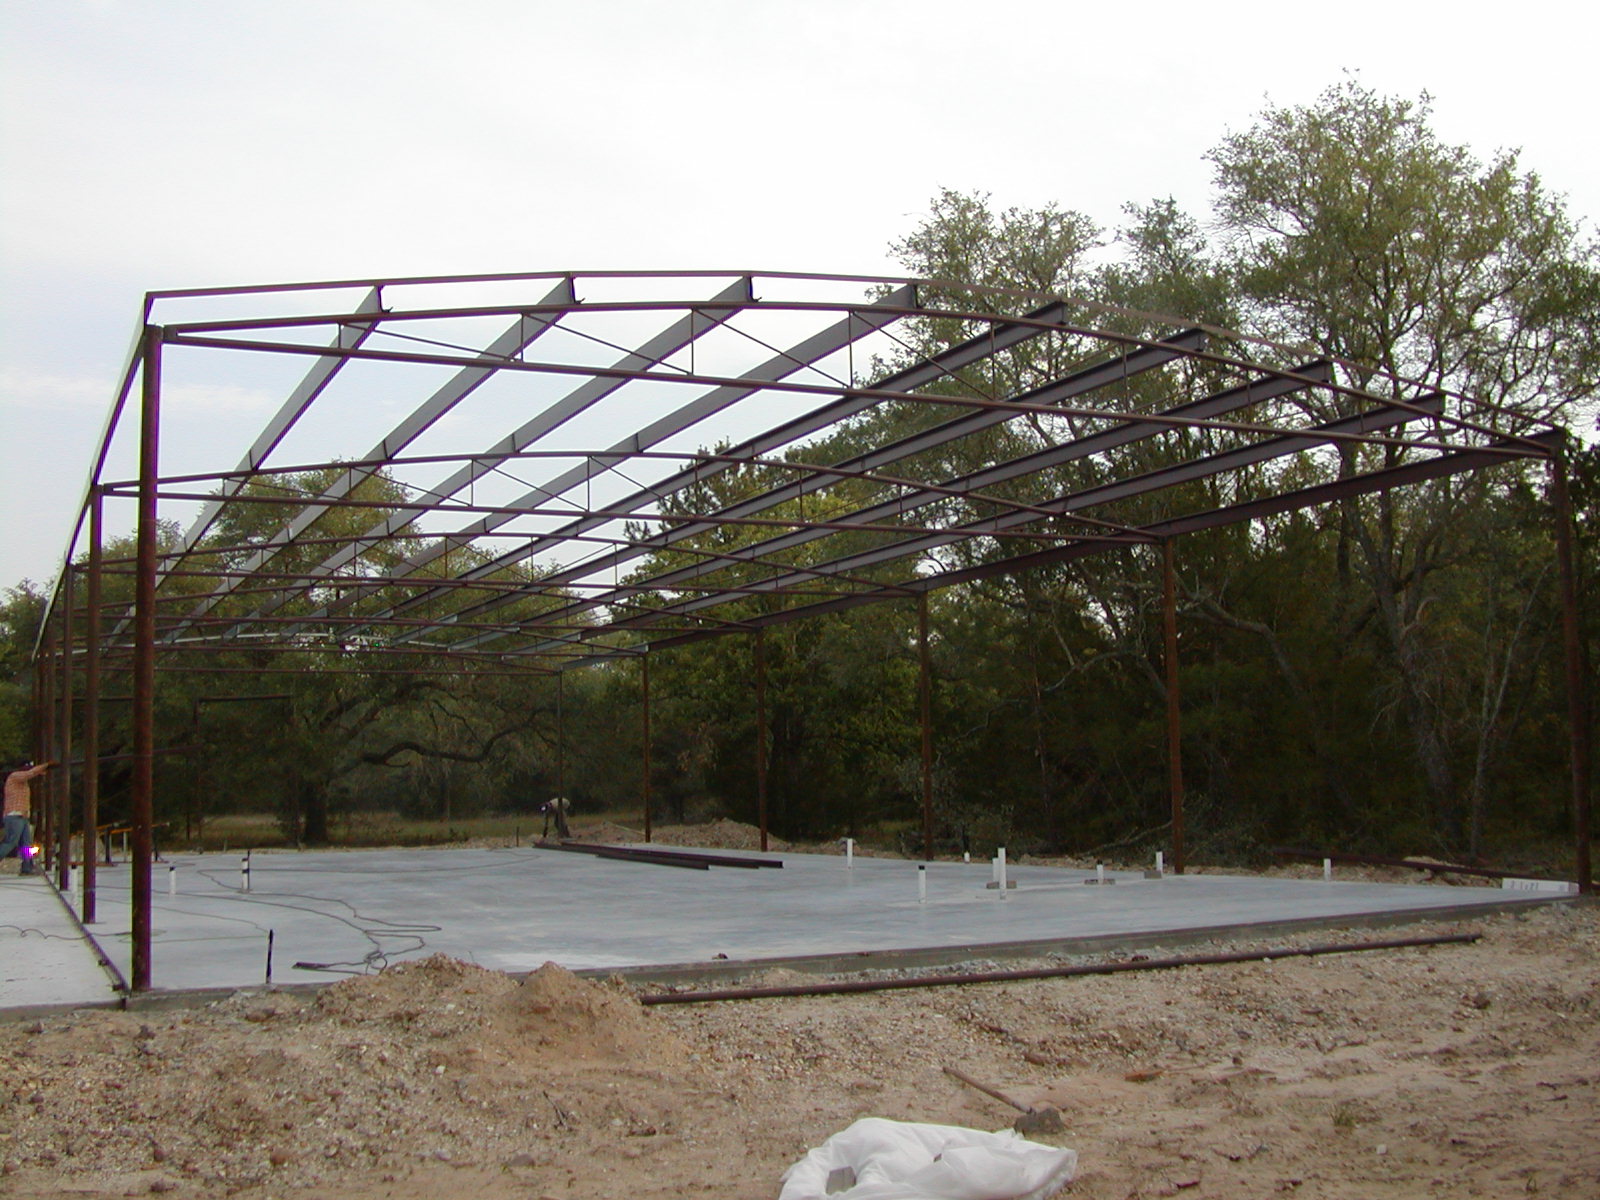
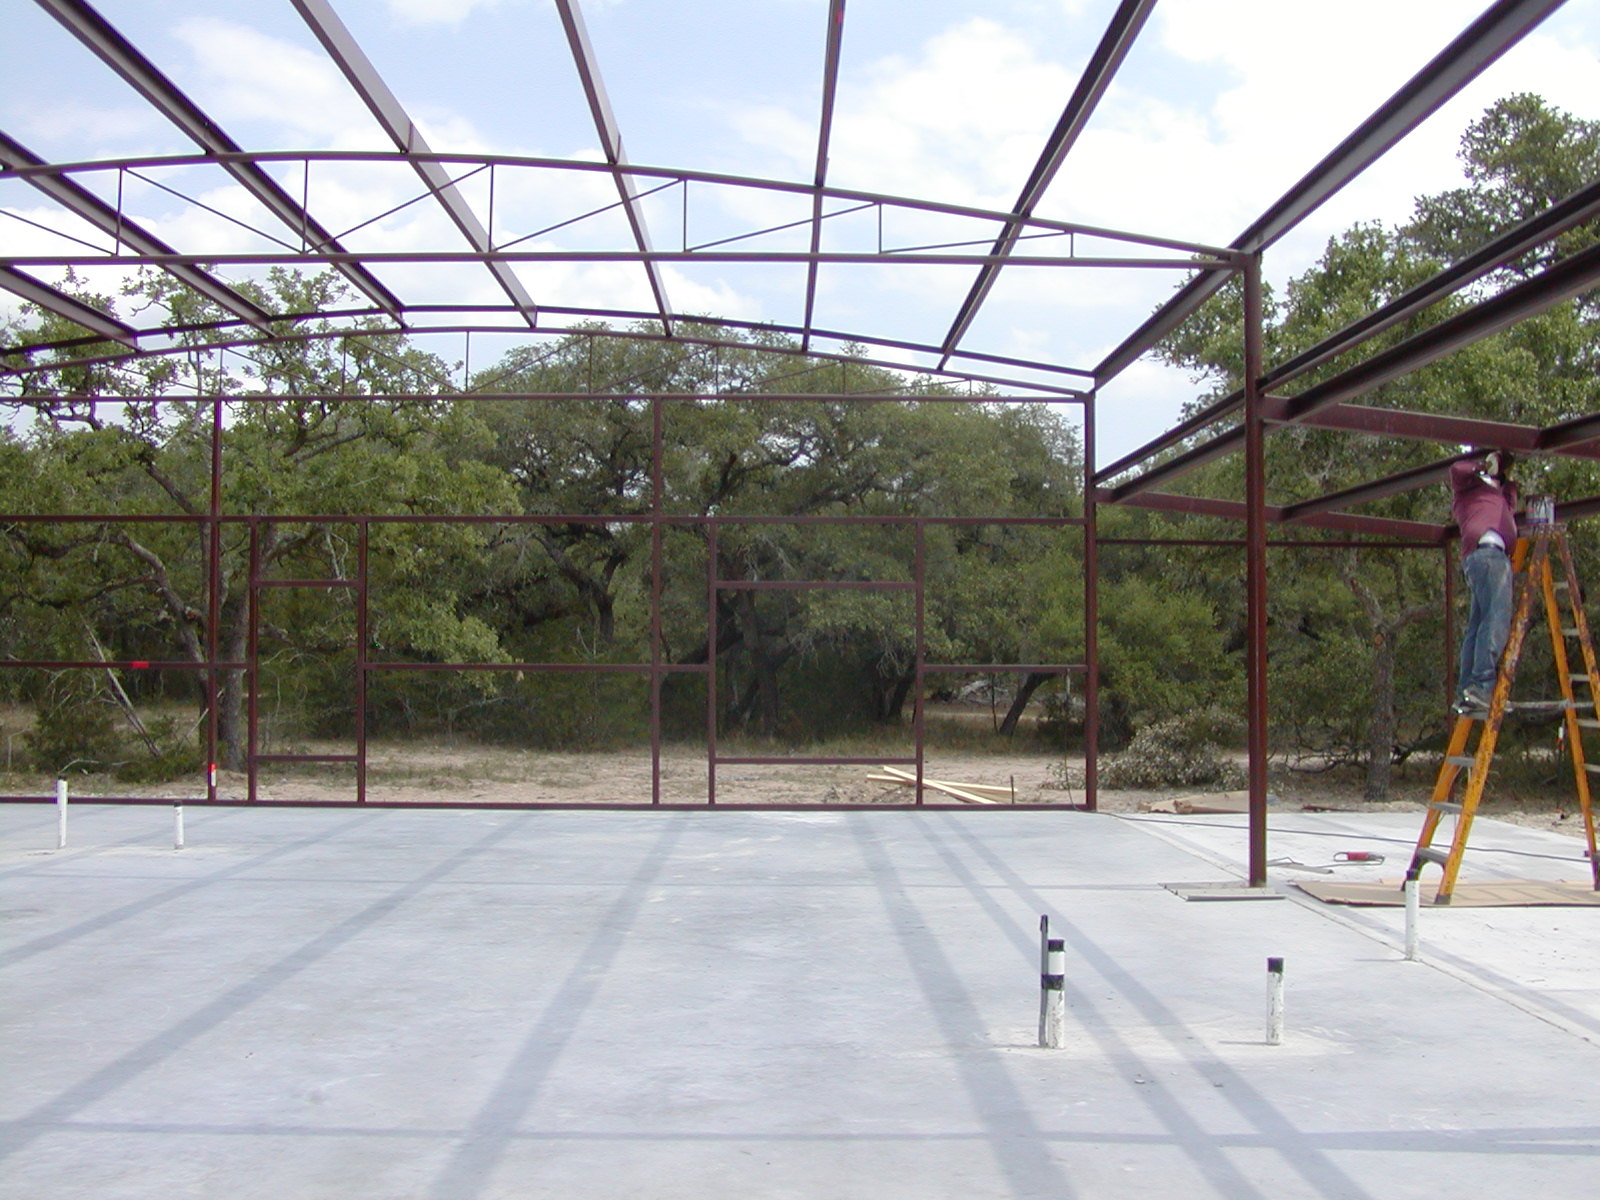
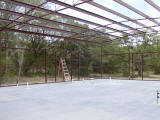
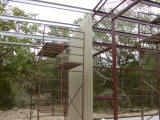
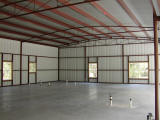
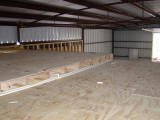
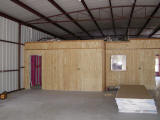
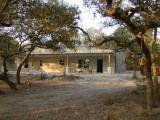
Project Lifecycle View #3 (metal structure skeleton, no walls yet)
|
|
|
|

|
|
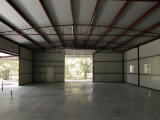
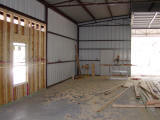
Metal structure skeleton, no walls (looking from the south)
|
|
|
|
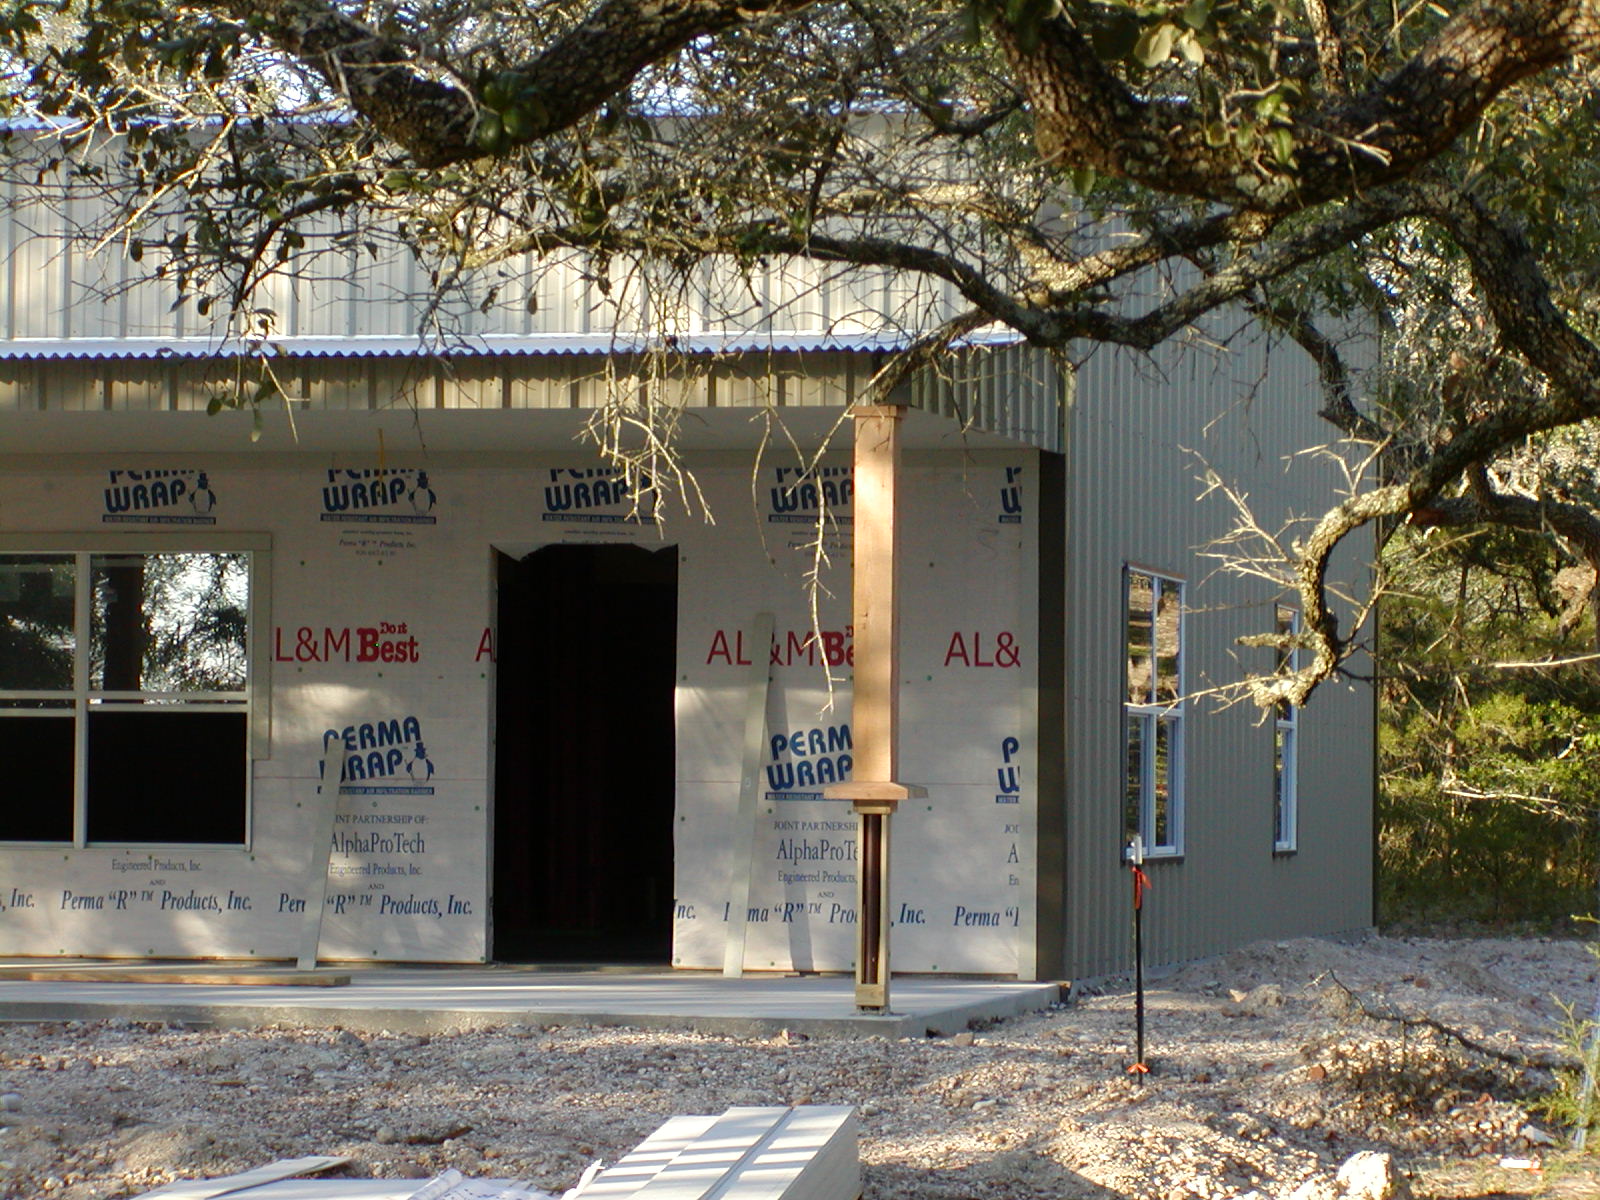
Where the porch will be
|
|
|
|
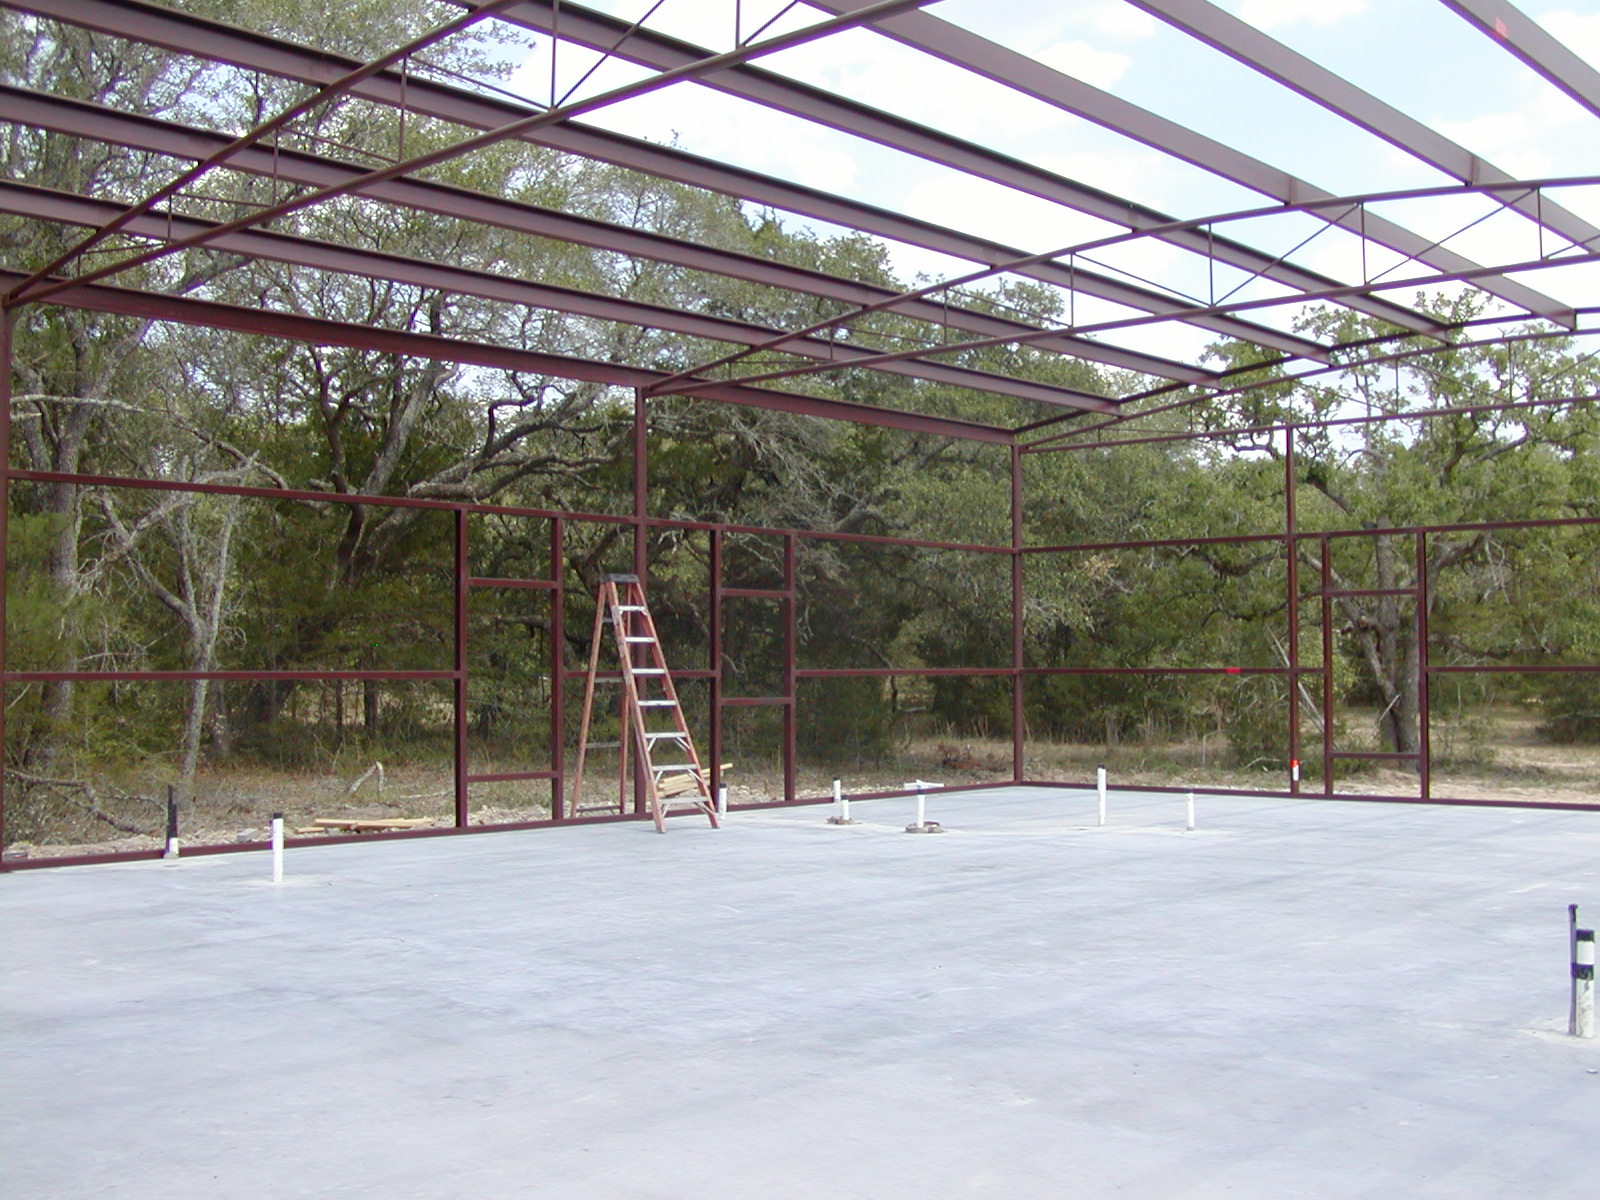
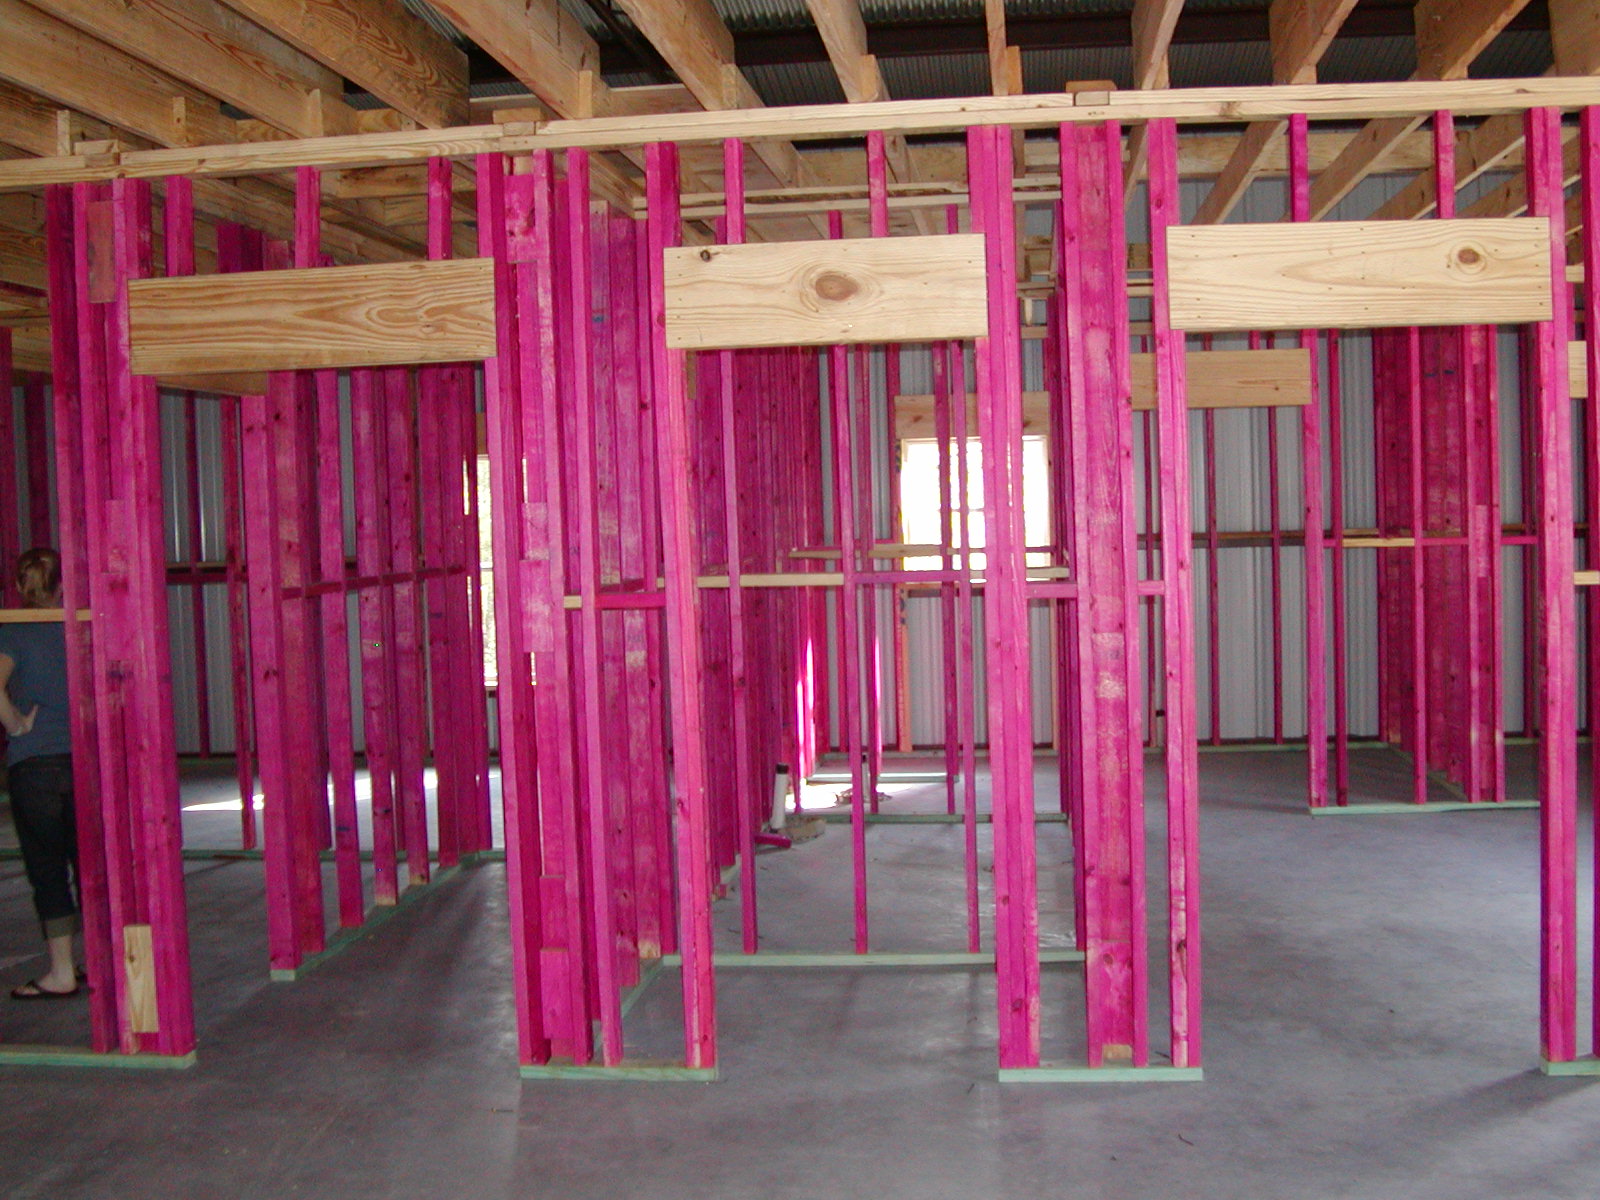
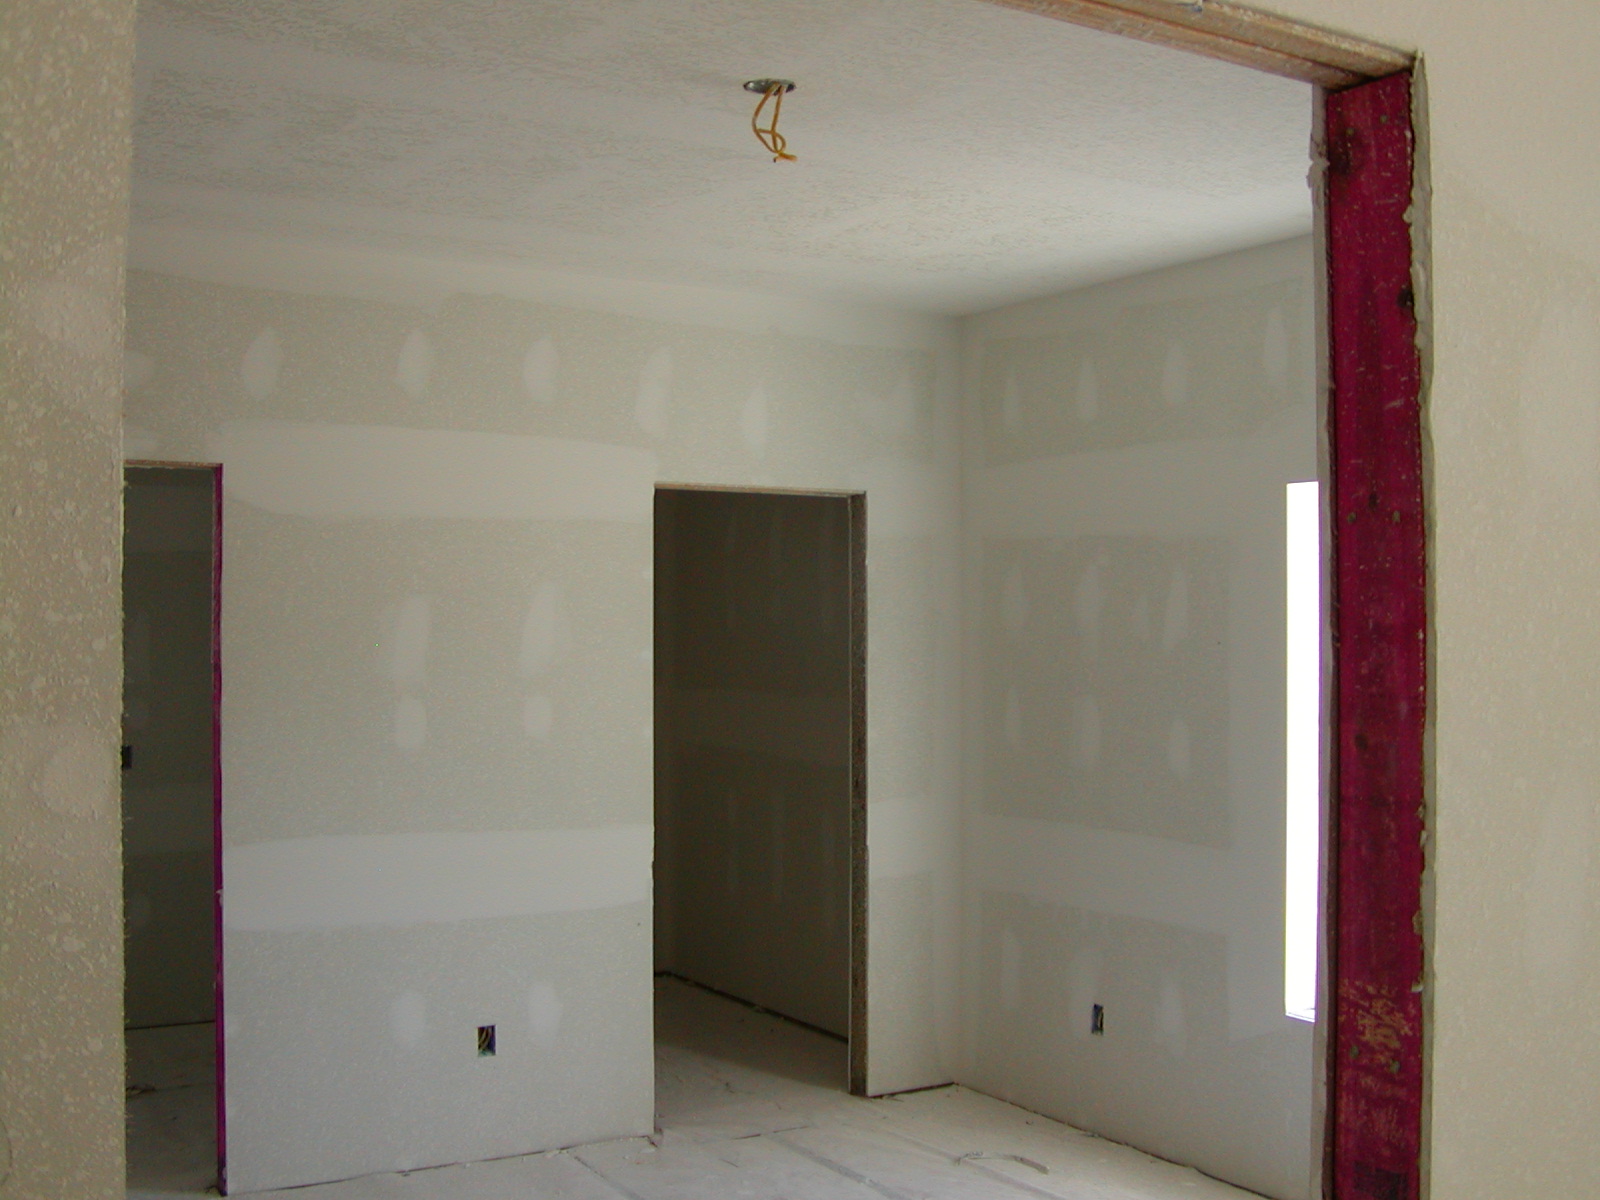
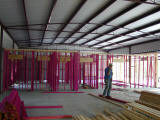
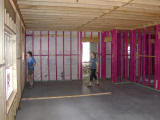
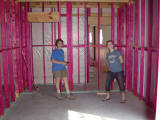
Walls going up -- see where they frame out the window openings
|
|

|
|
They're building the porch
|
|
|
|
|
|
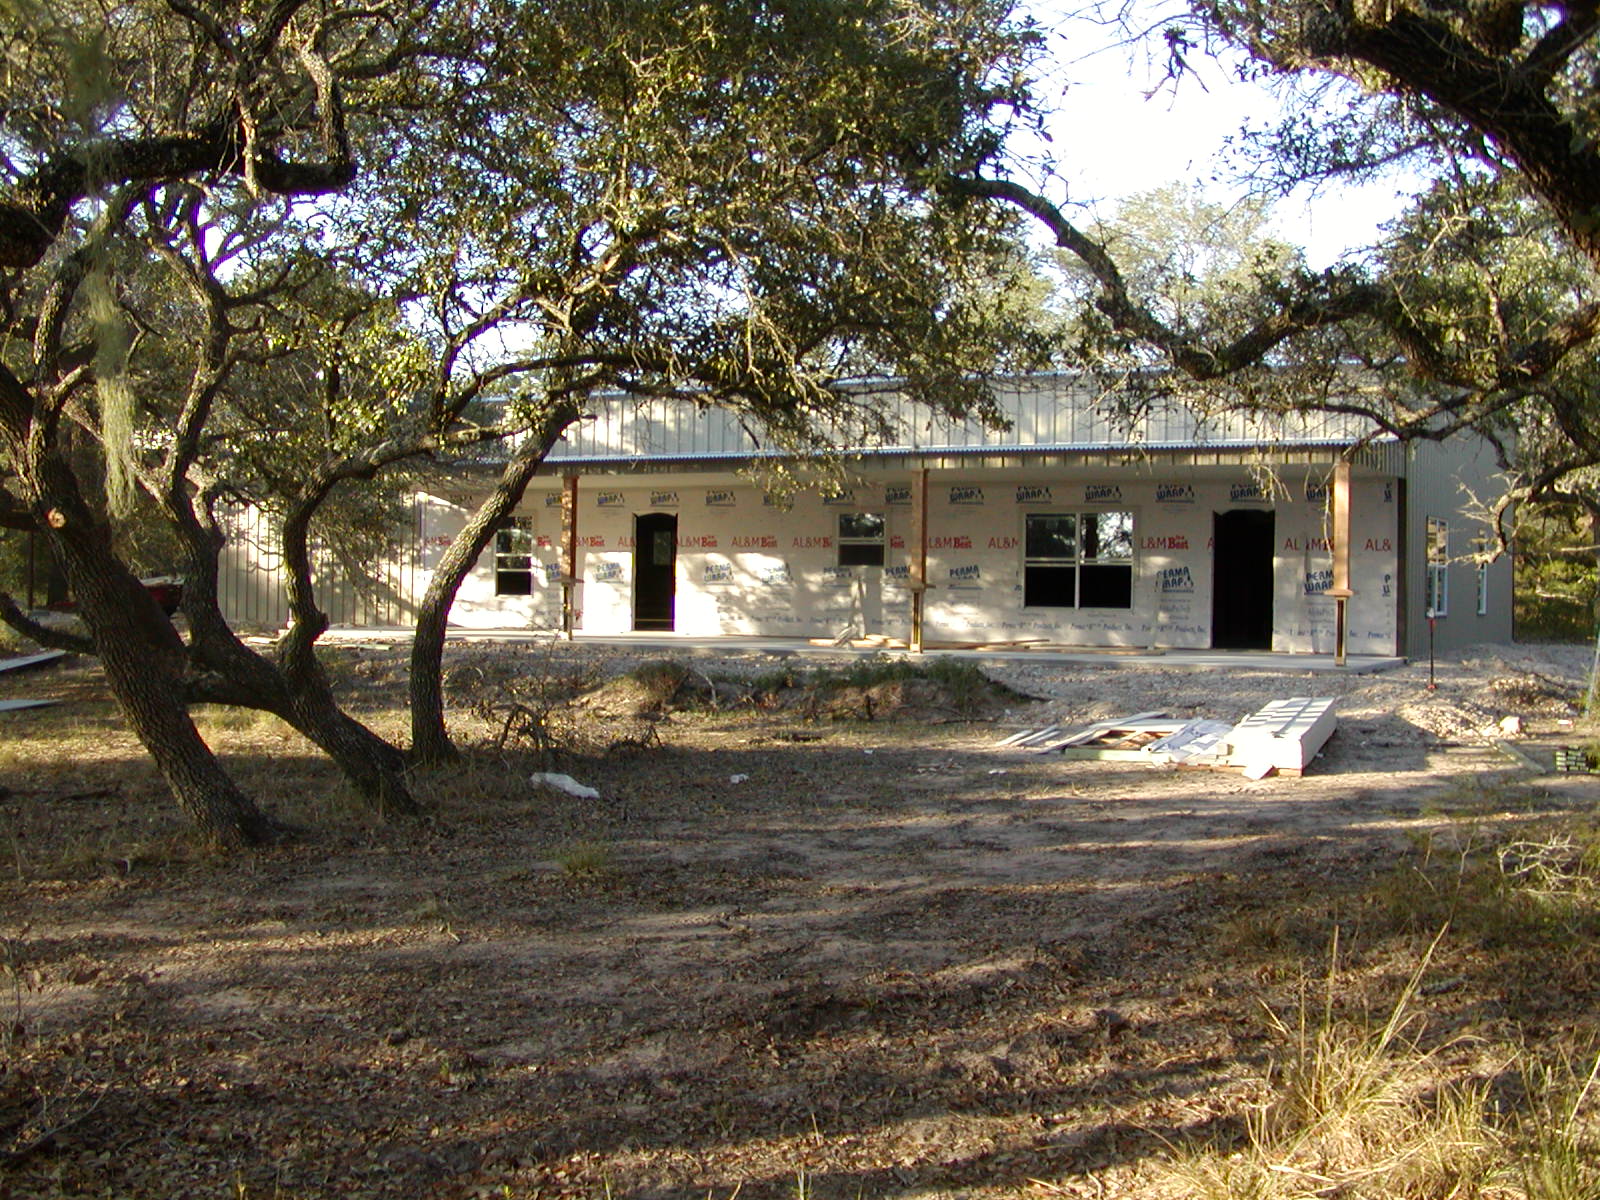
view from the driveway
|
|
|
|
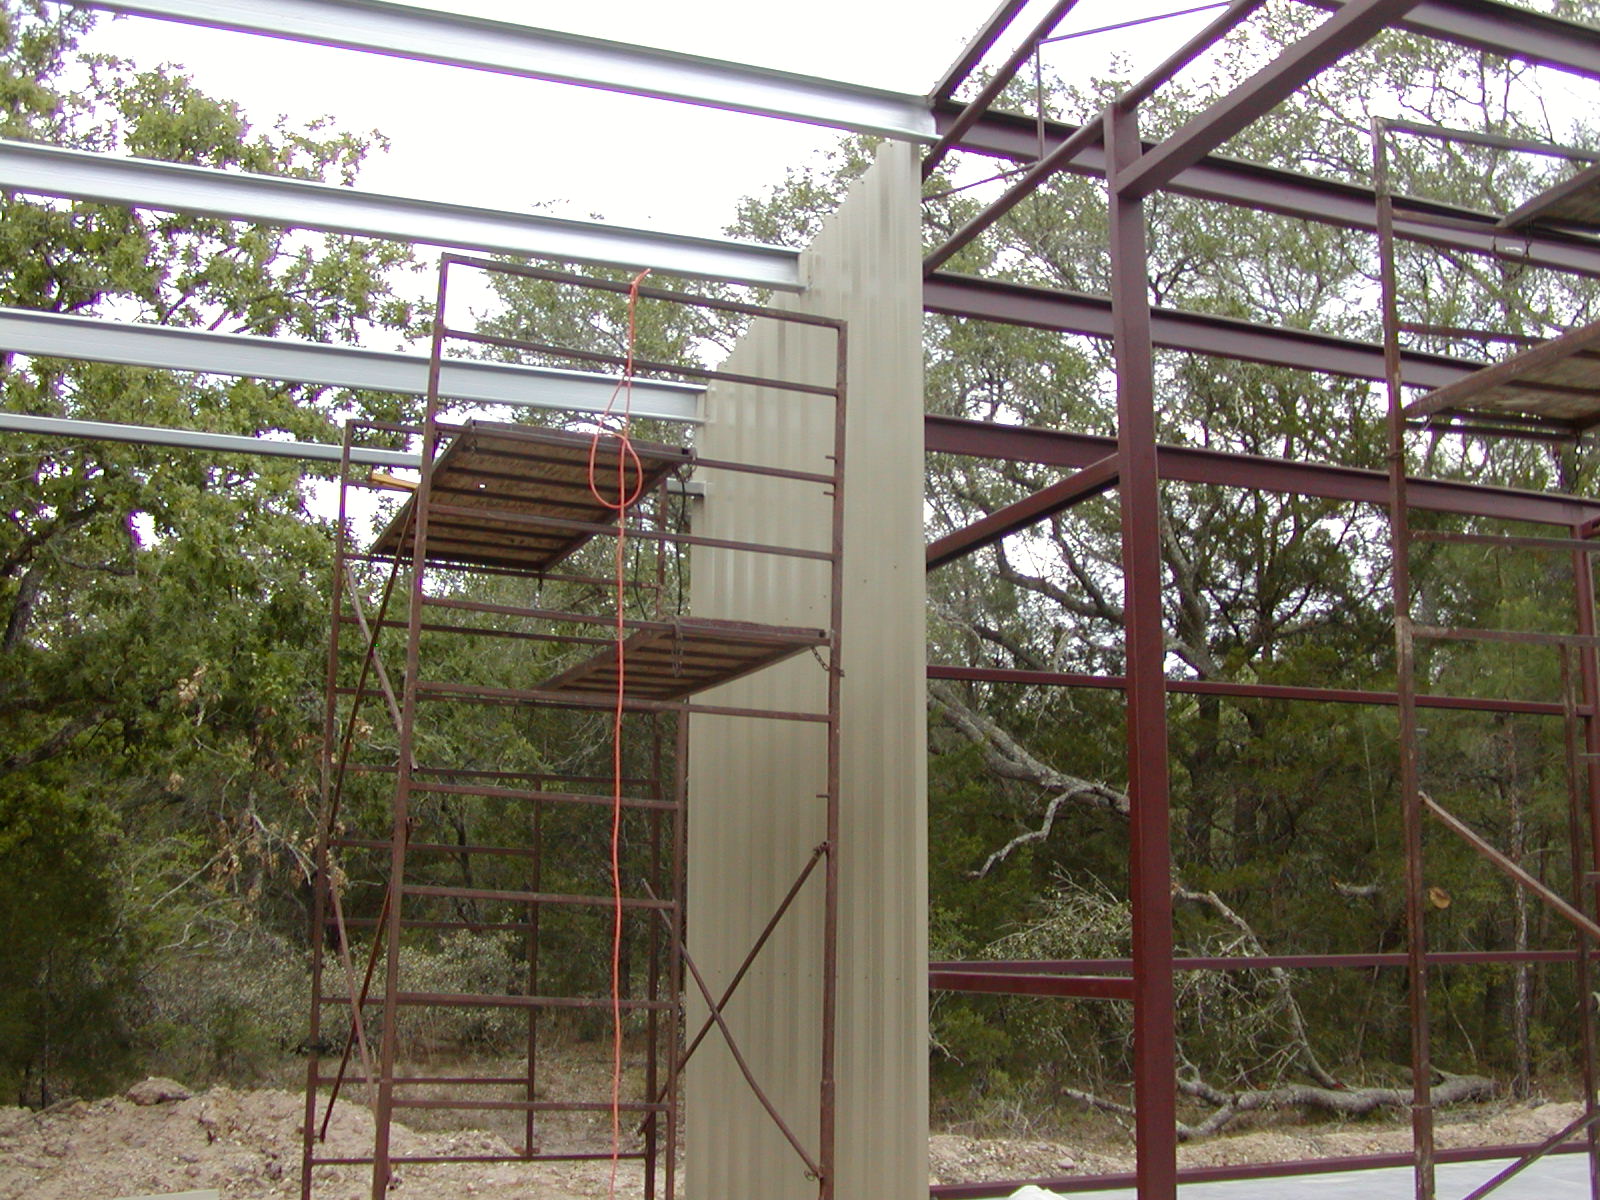
First section of metal skin ("Desert Sand")
|
|
|
|
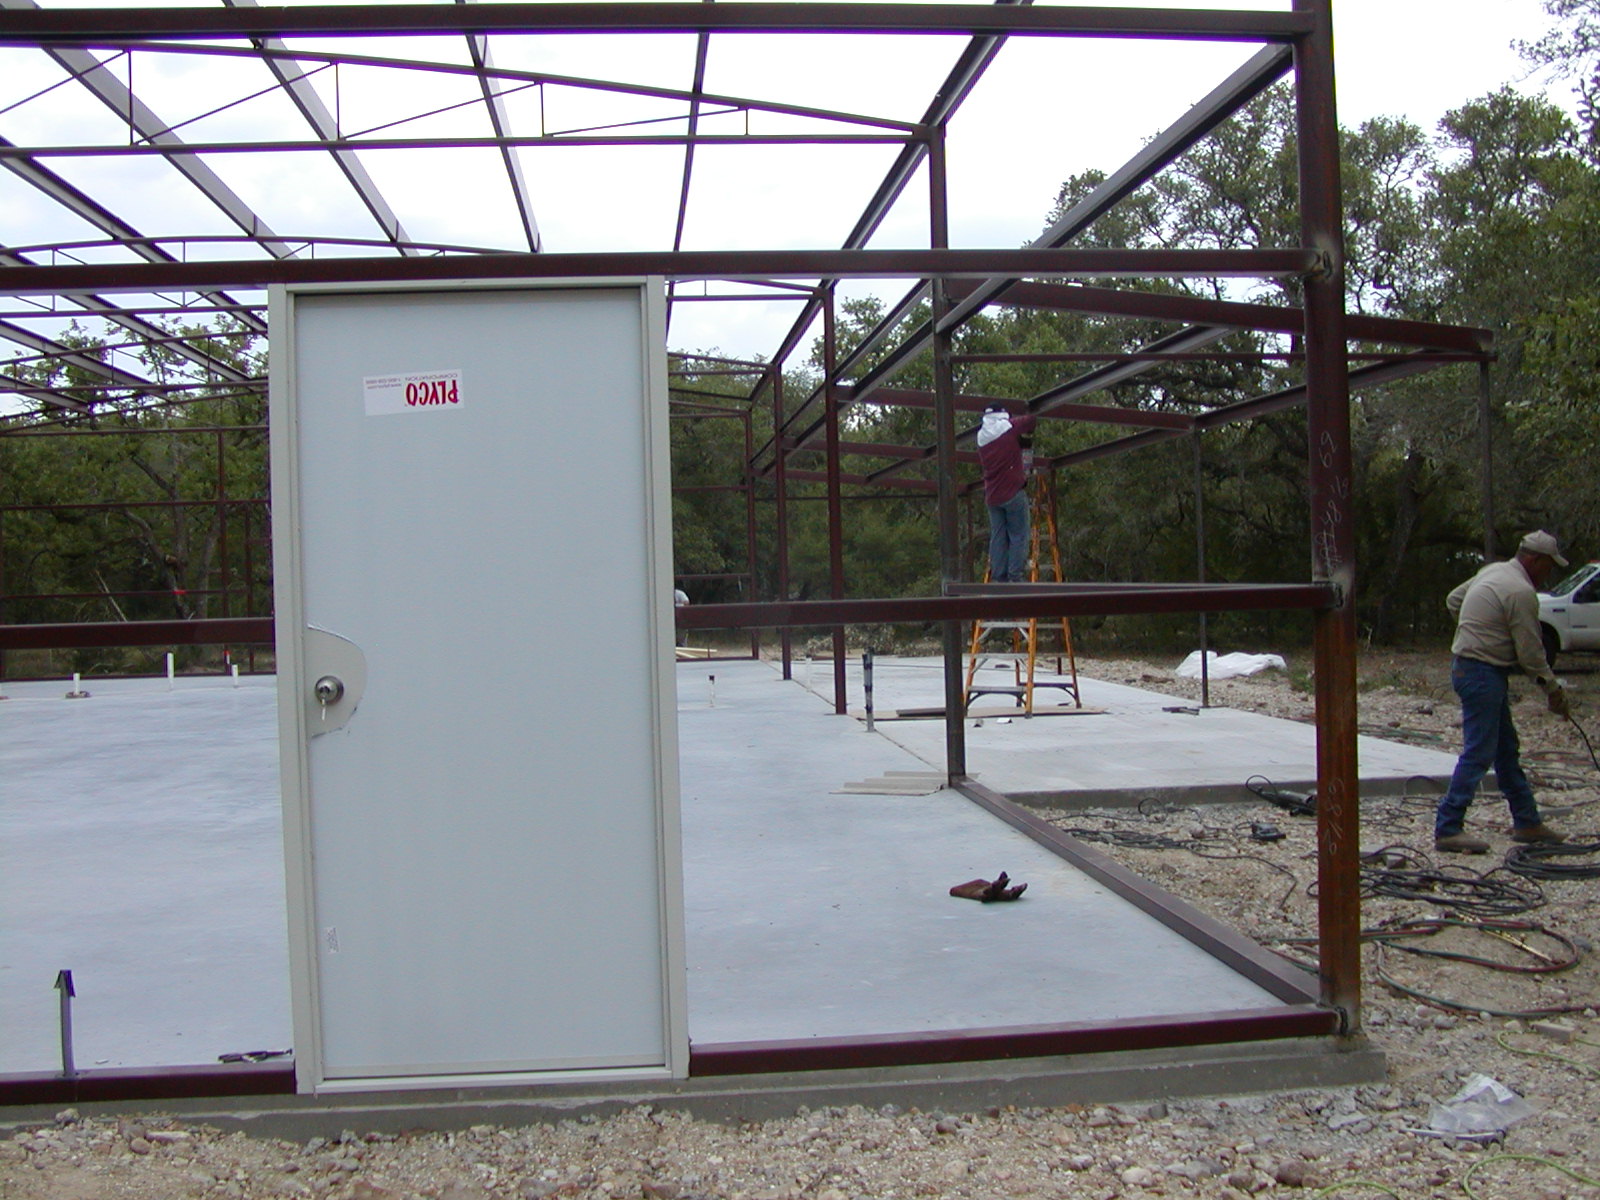
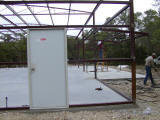
They put this door on to "secure" the building
|
|
|
|
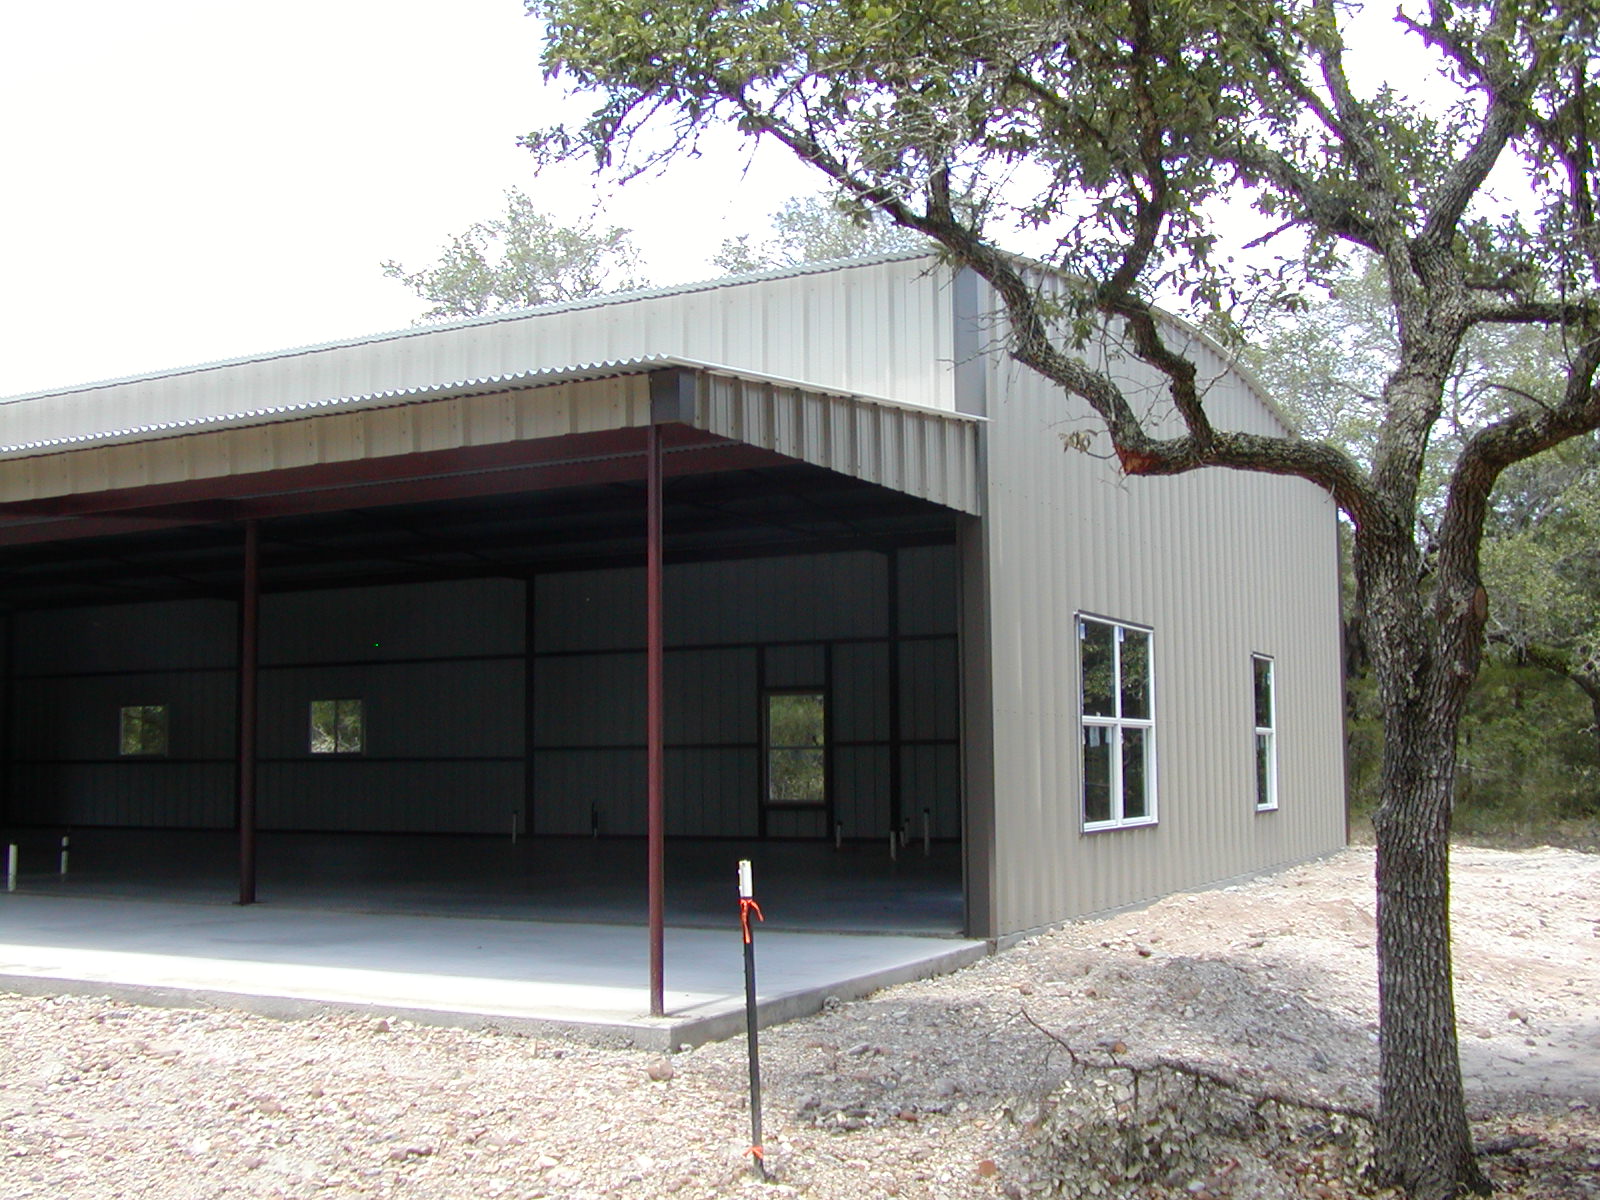
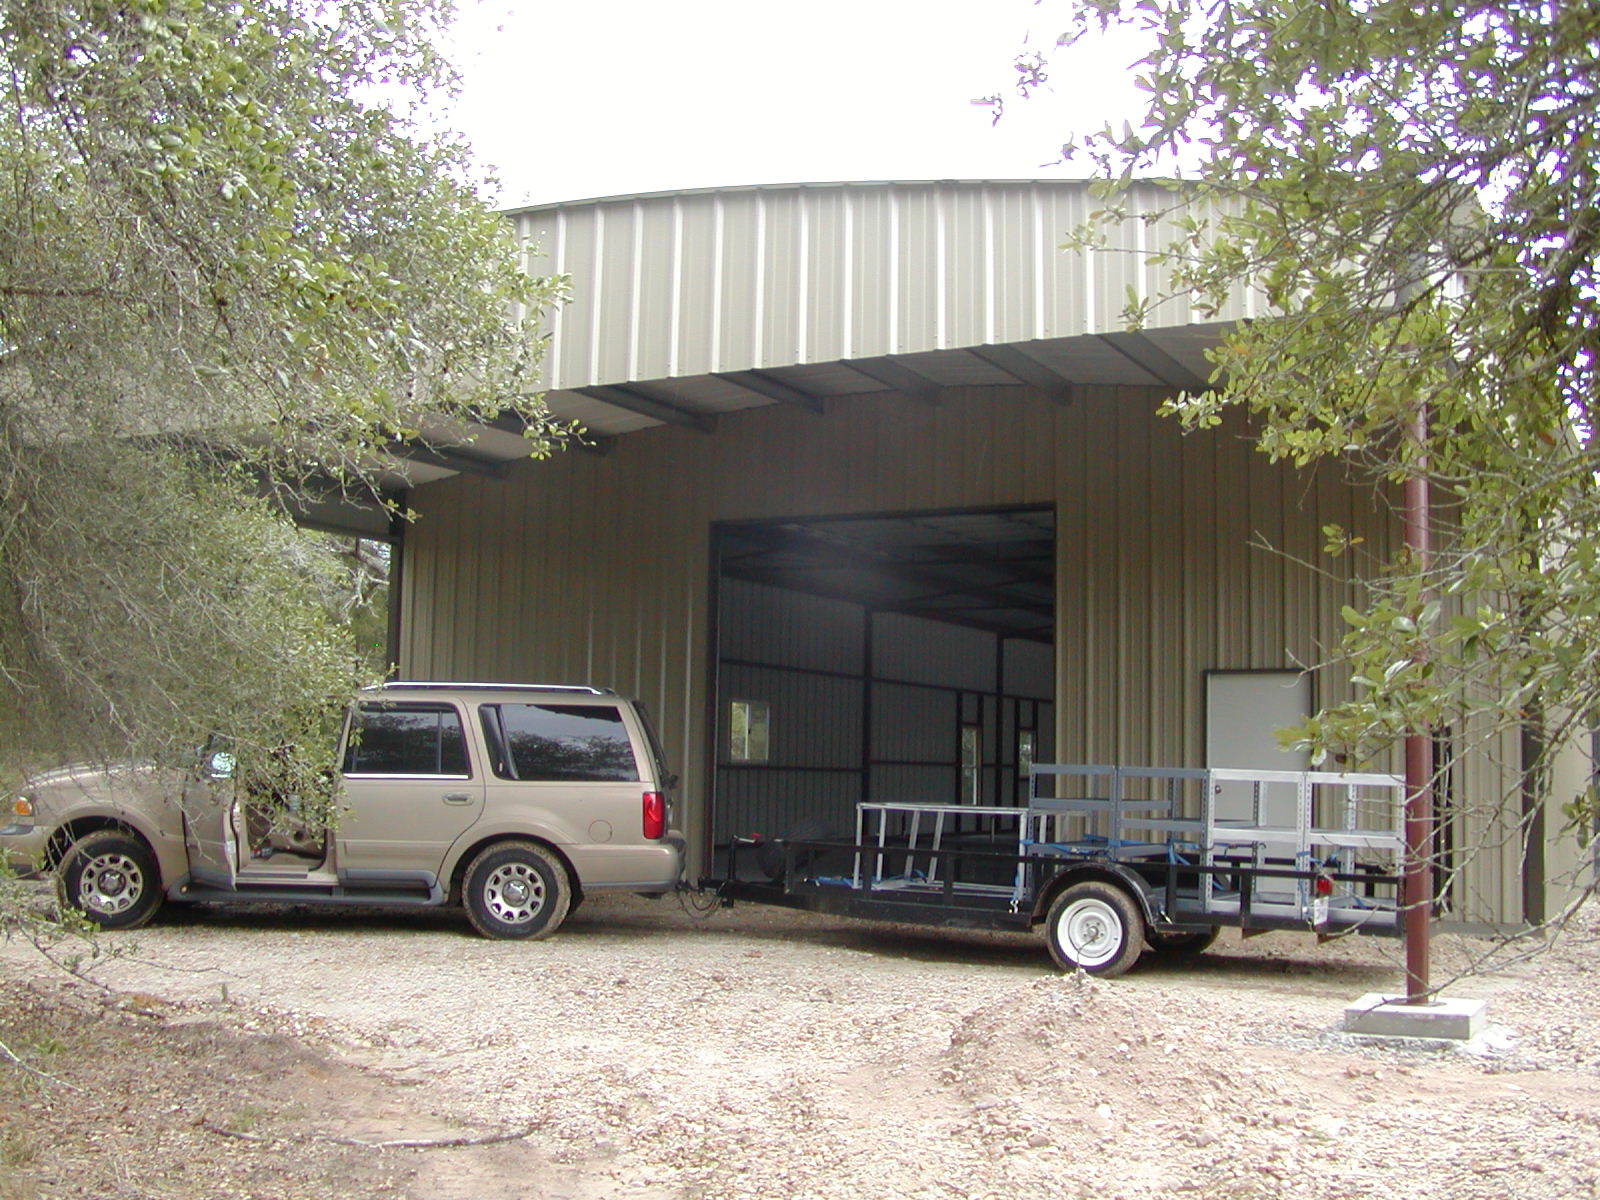
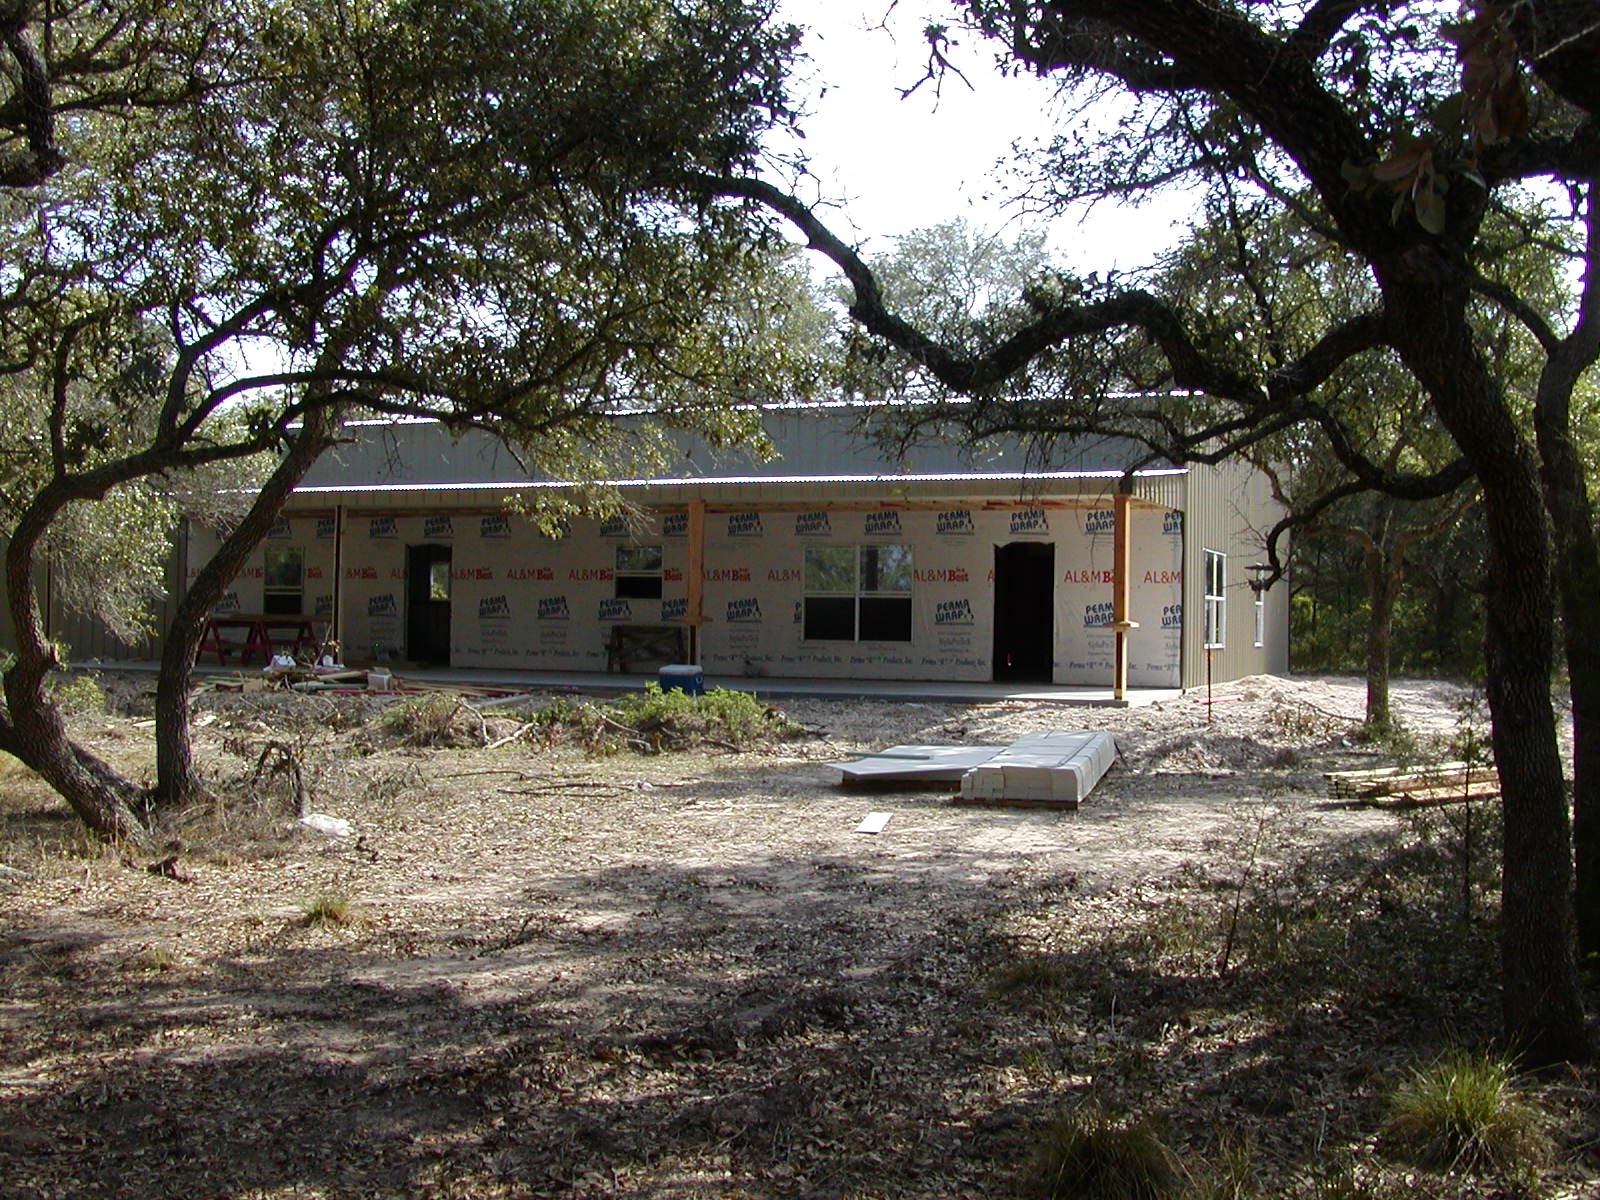
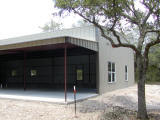
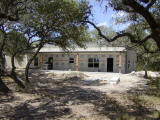
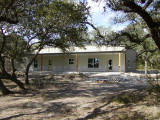
Project Lifecycle View #4 (metal building complete)
|
|
|
|
|
|
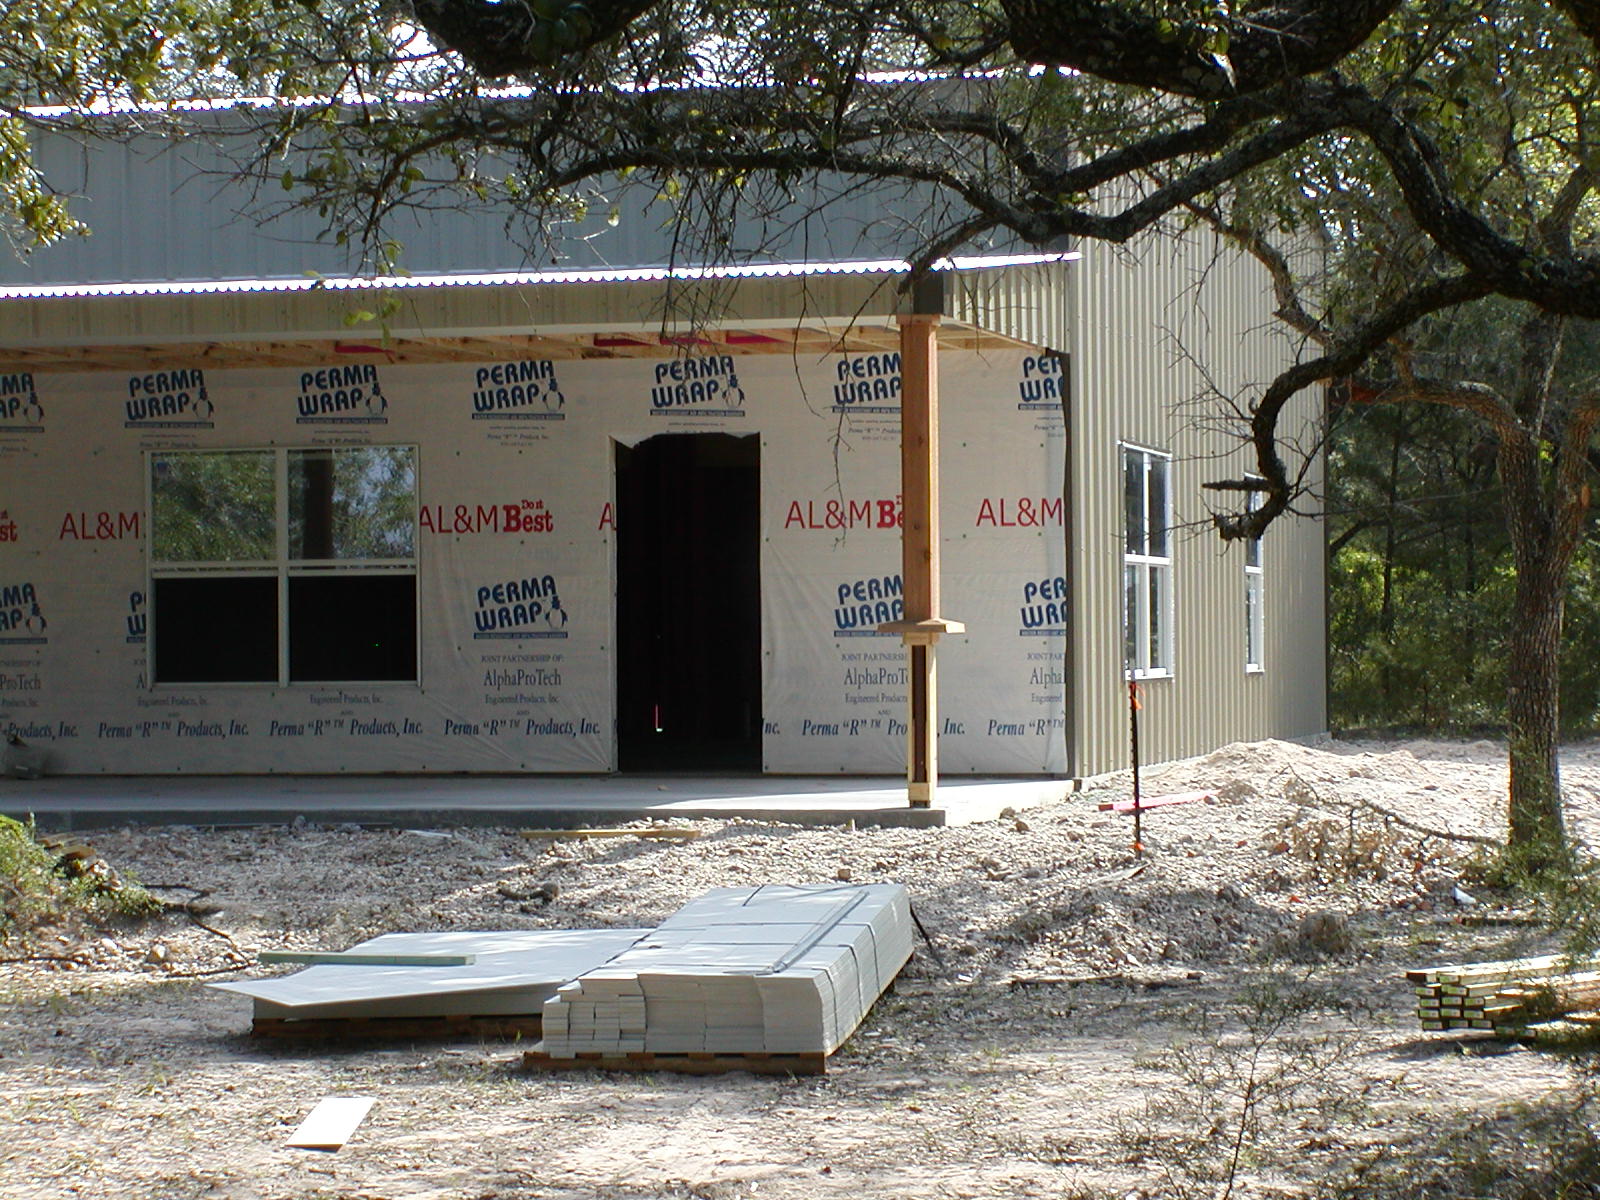
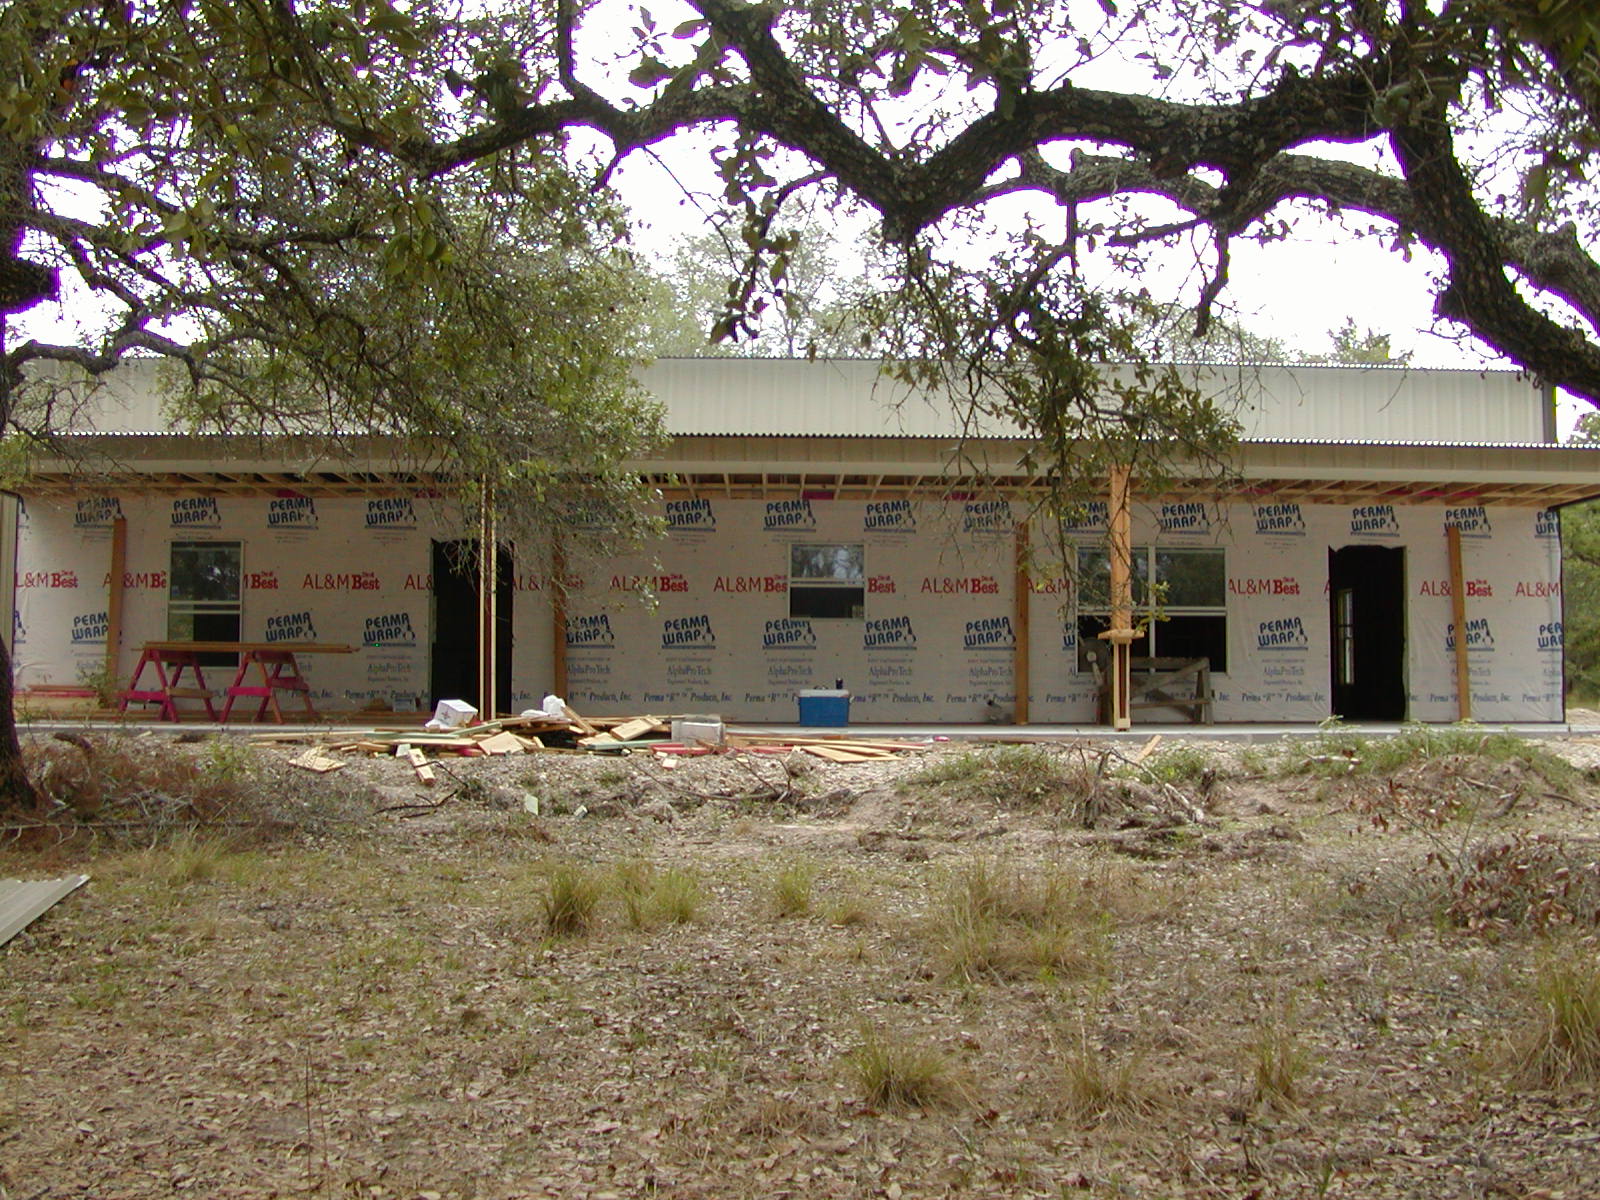
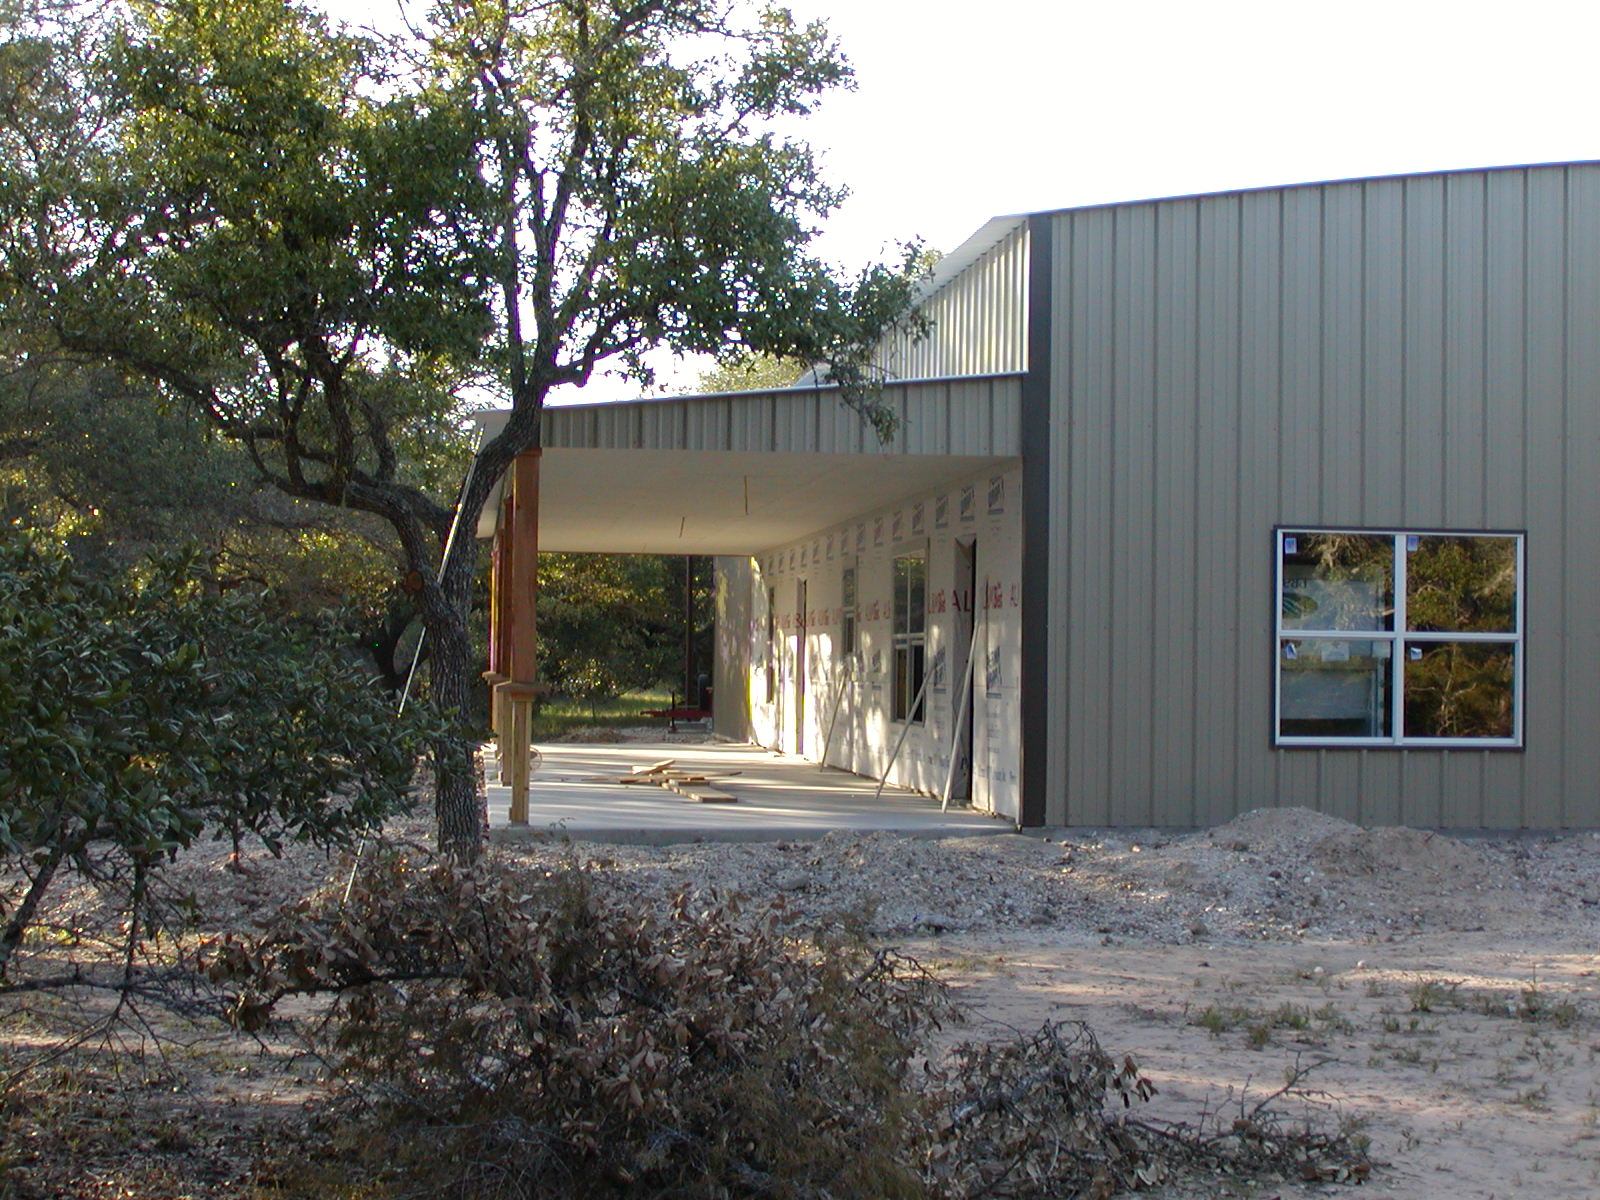
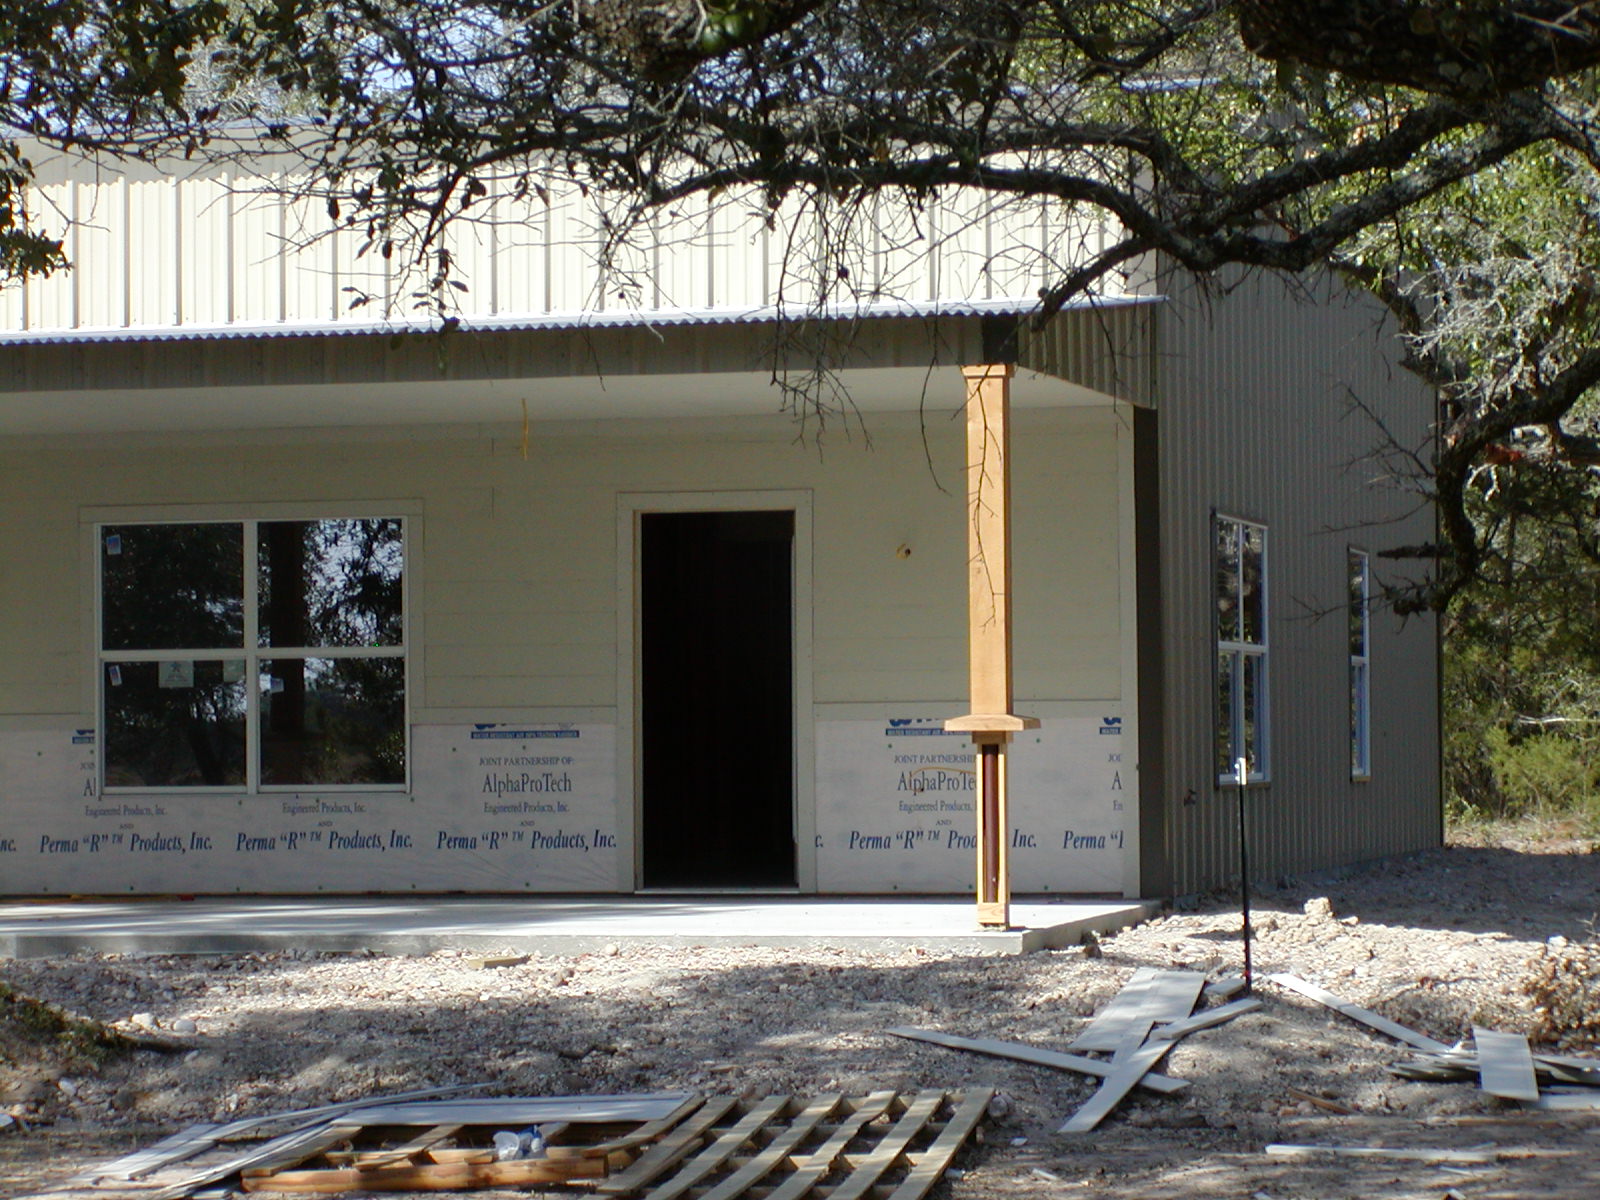
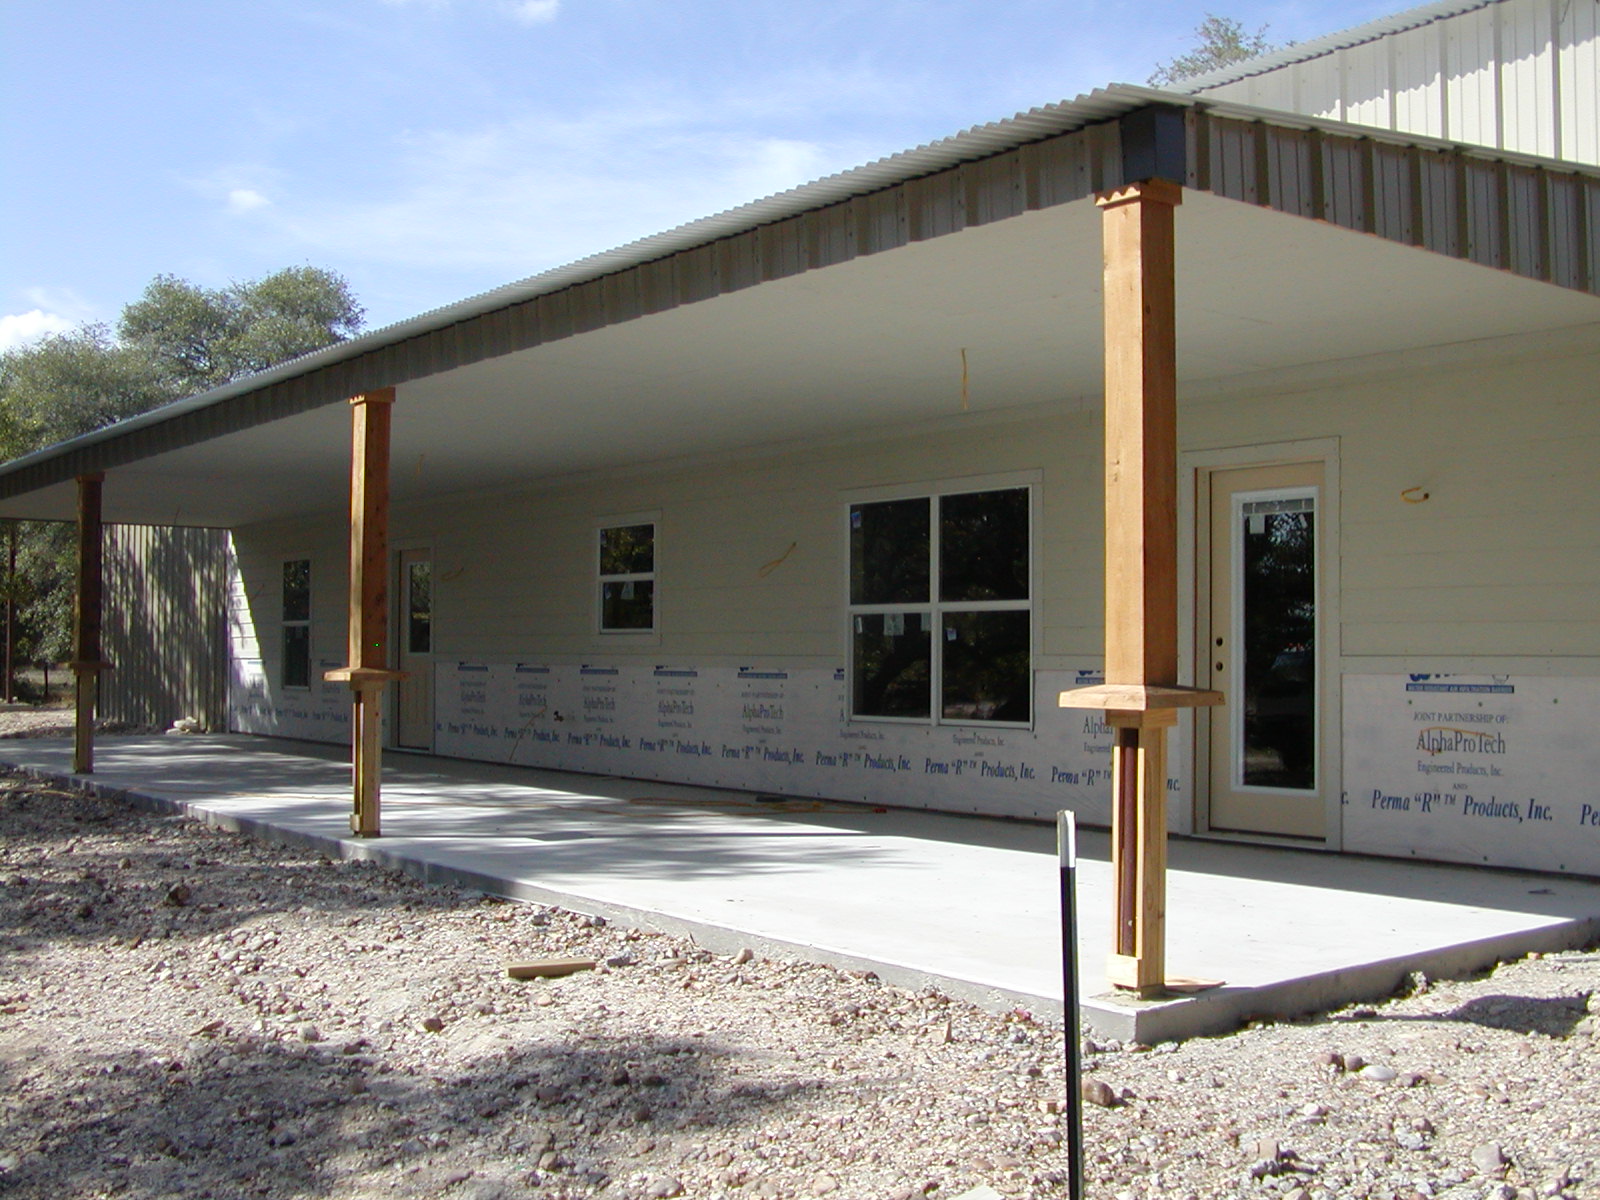
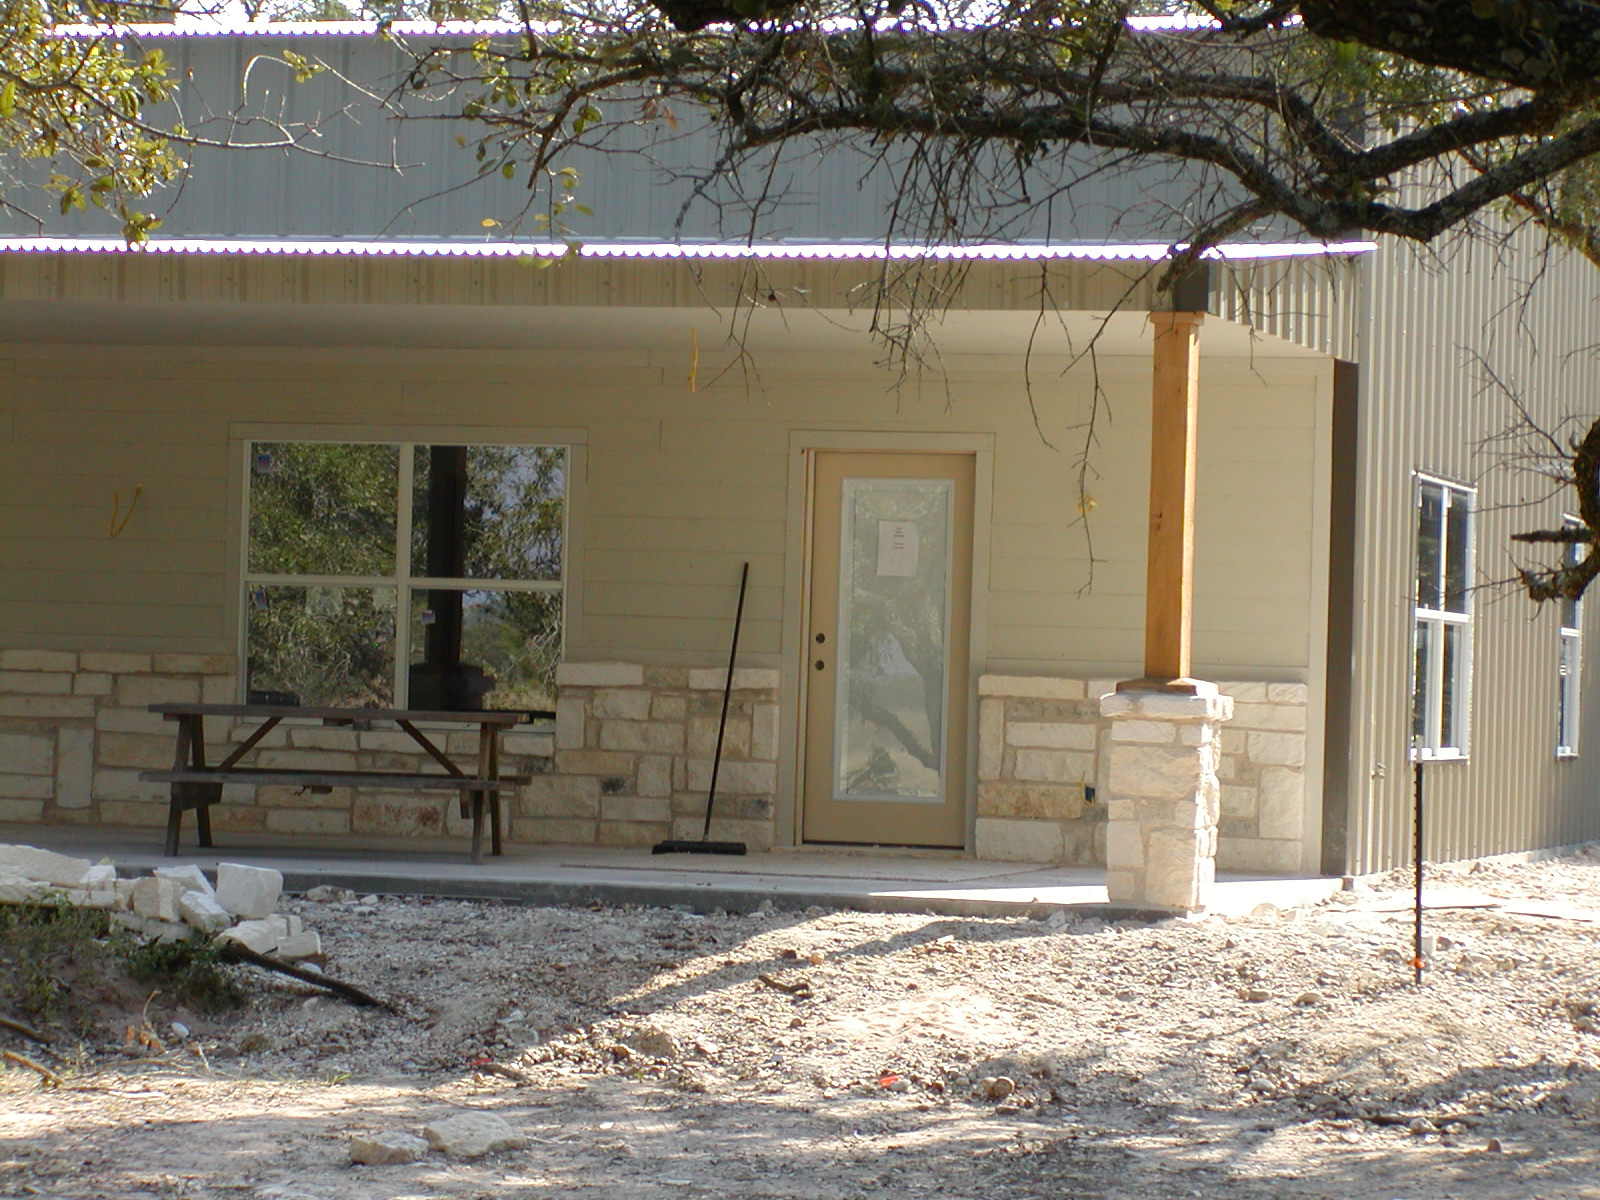
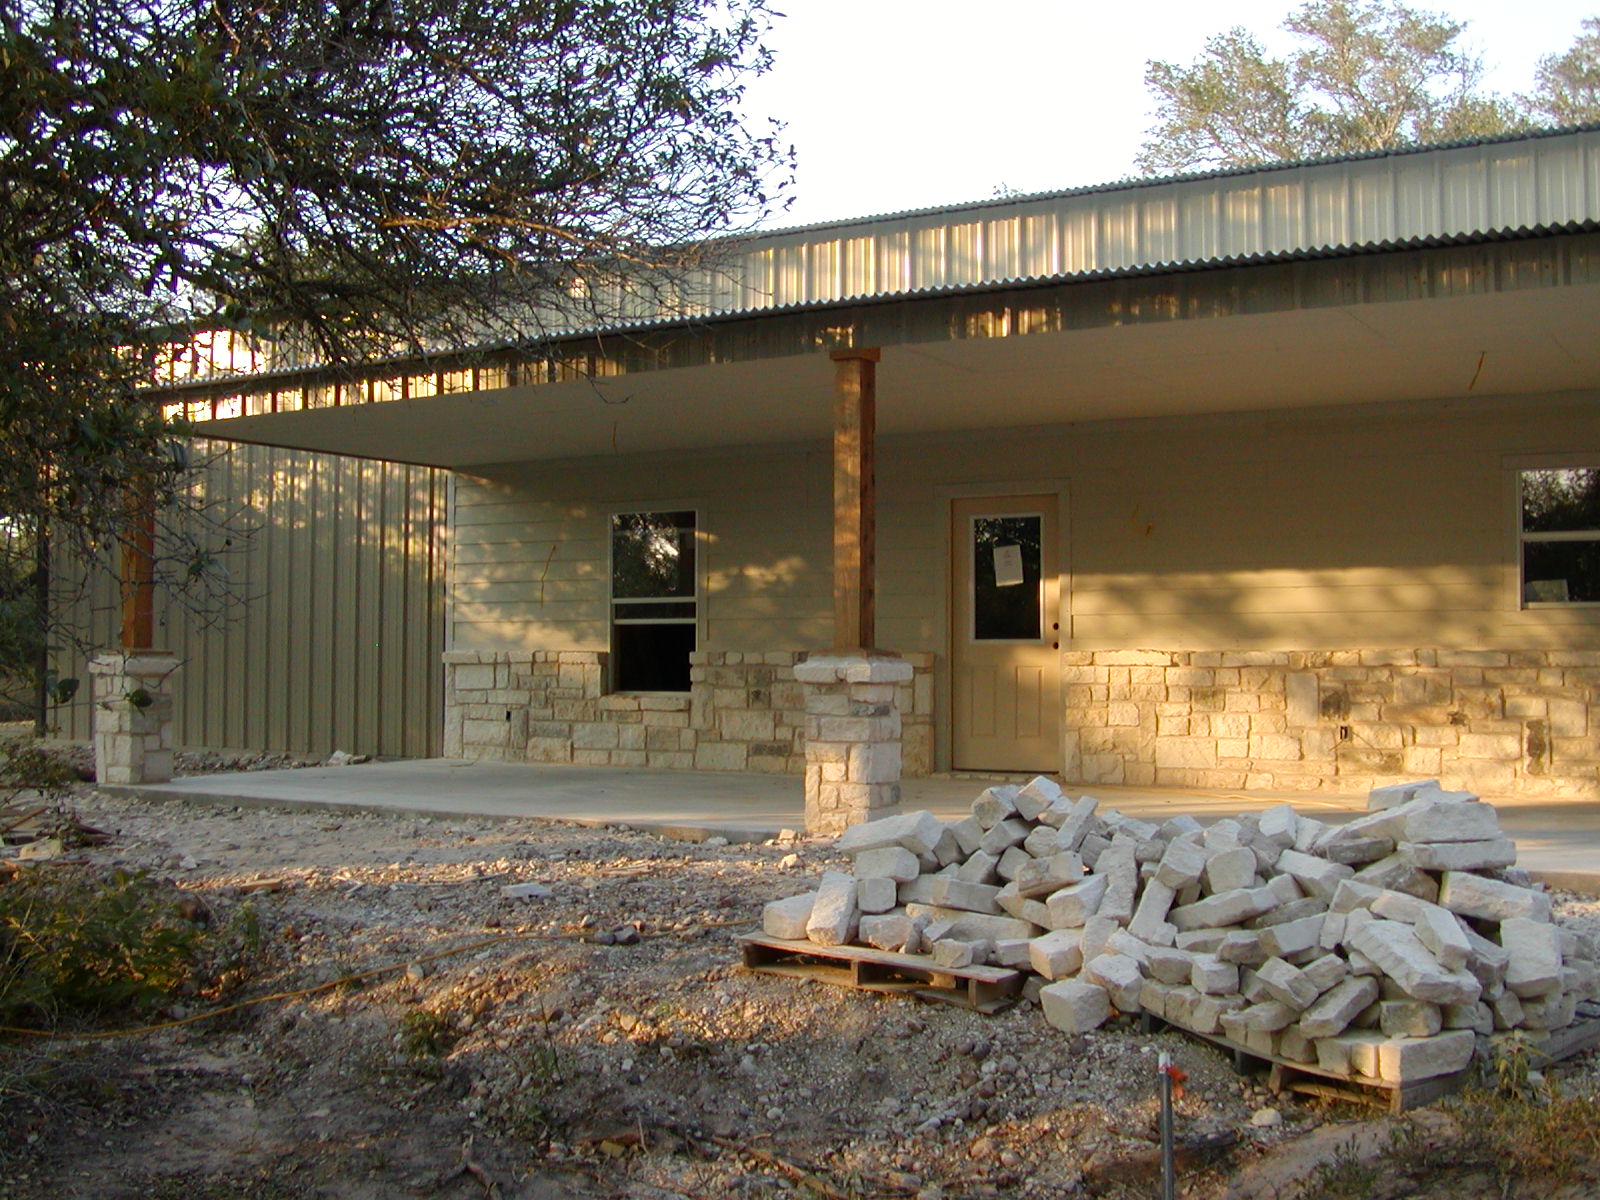
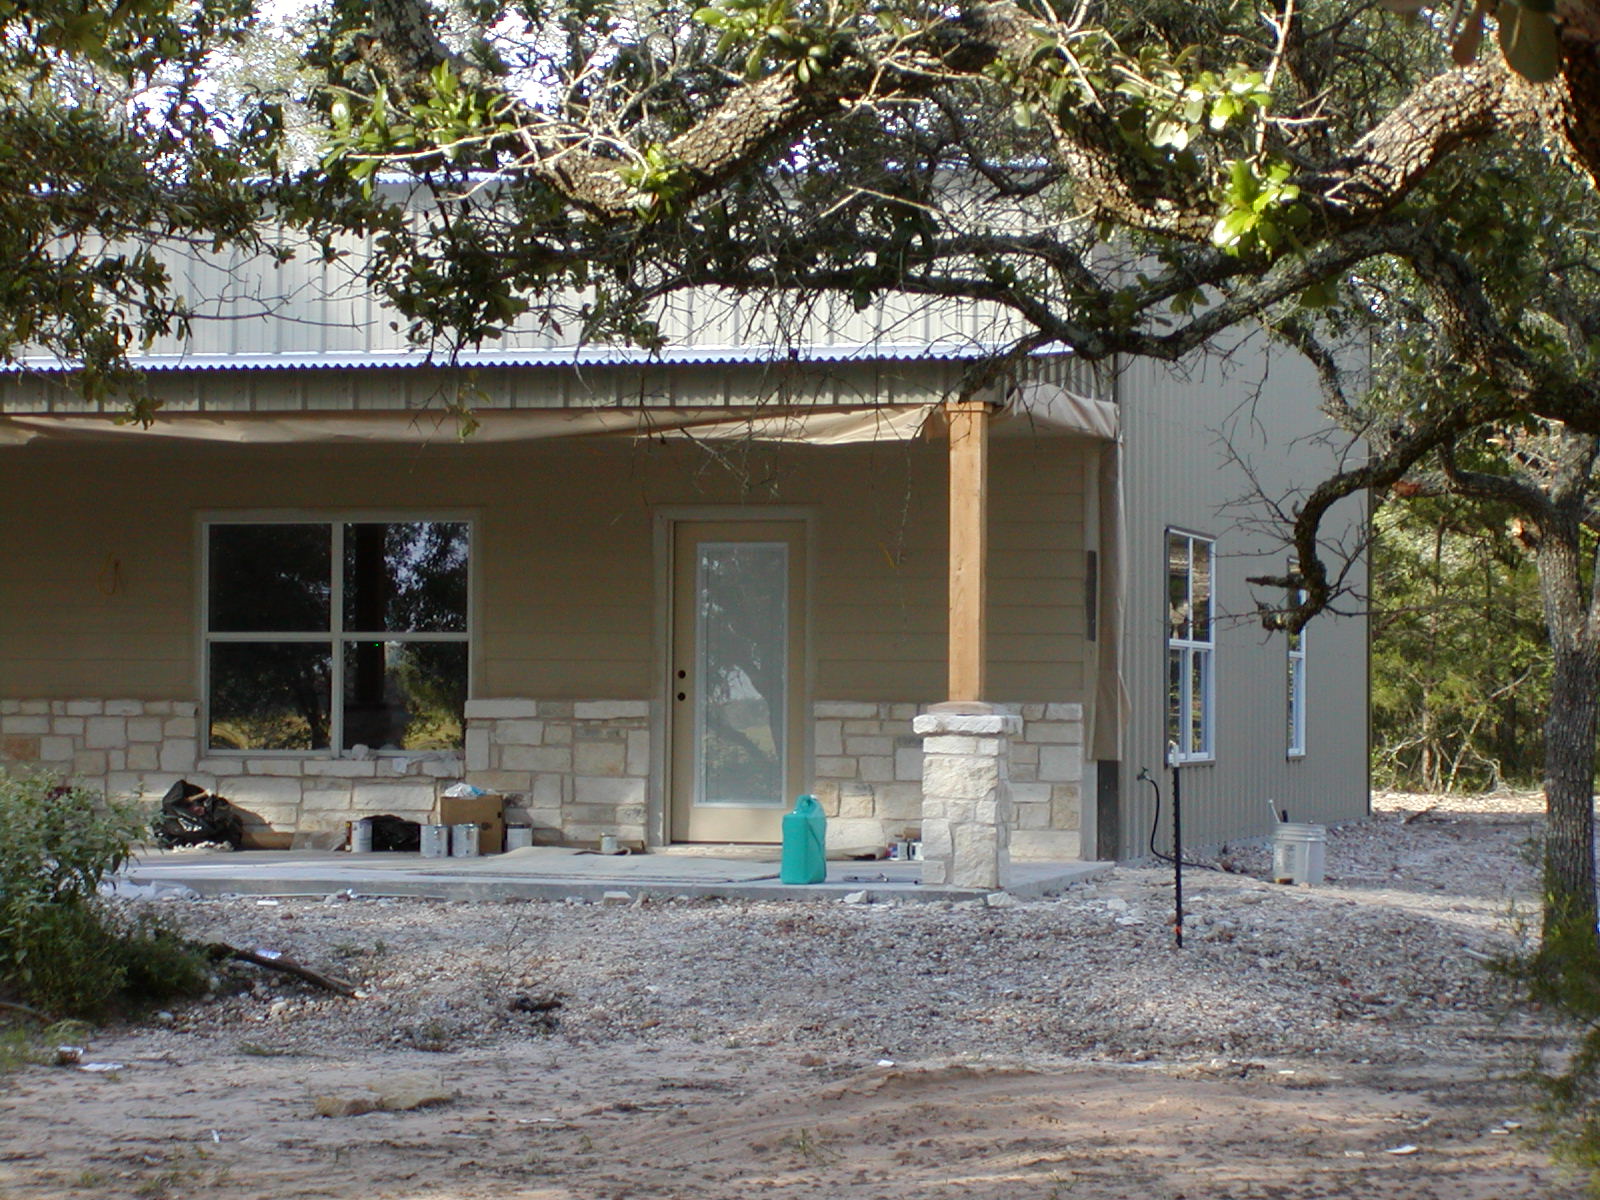
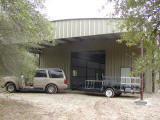
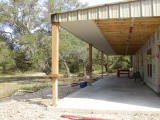
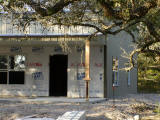
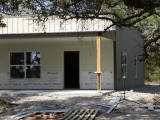
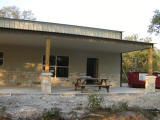
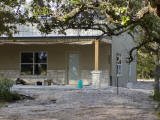
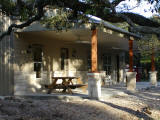
Metal building complete -- this is the unfinished front porch/entrance)
|
|

|
|
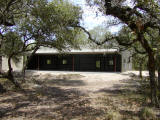
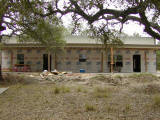
Back (east) wall
|
|

|
|
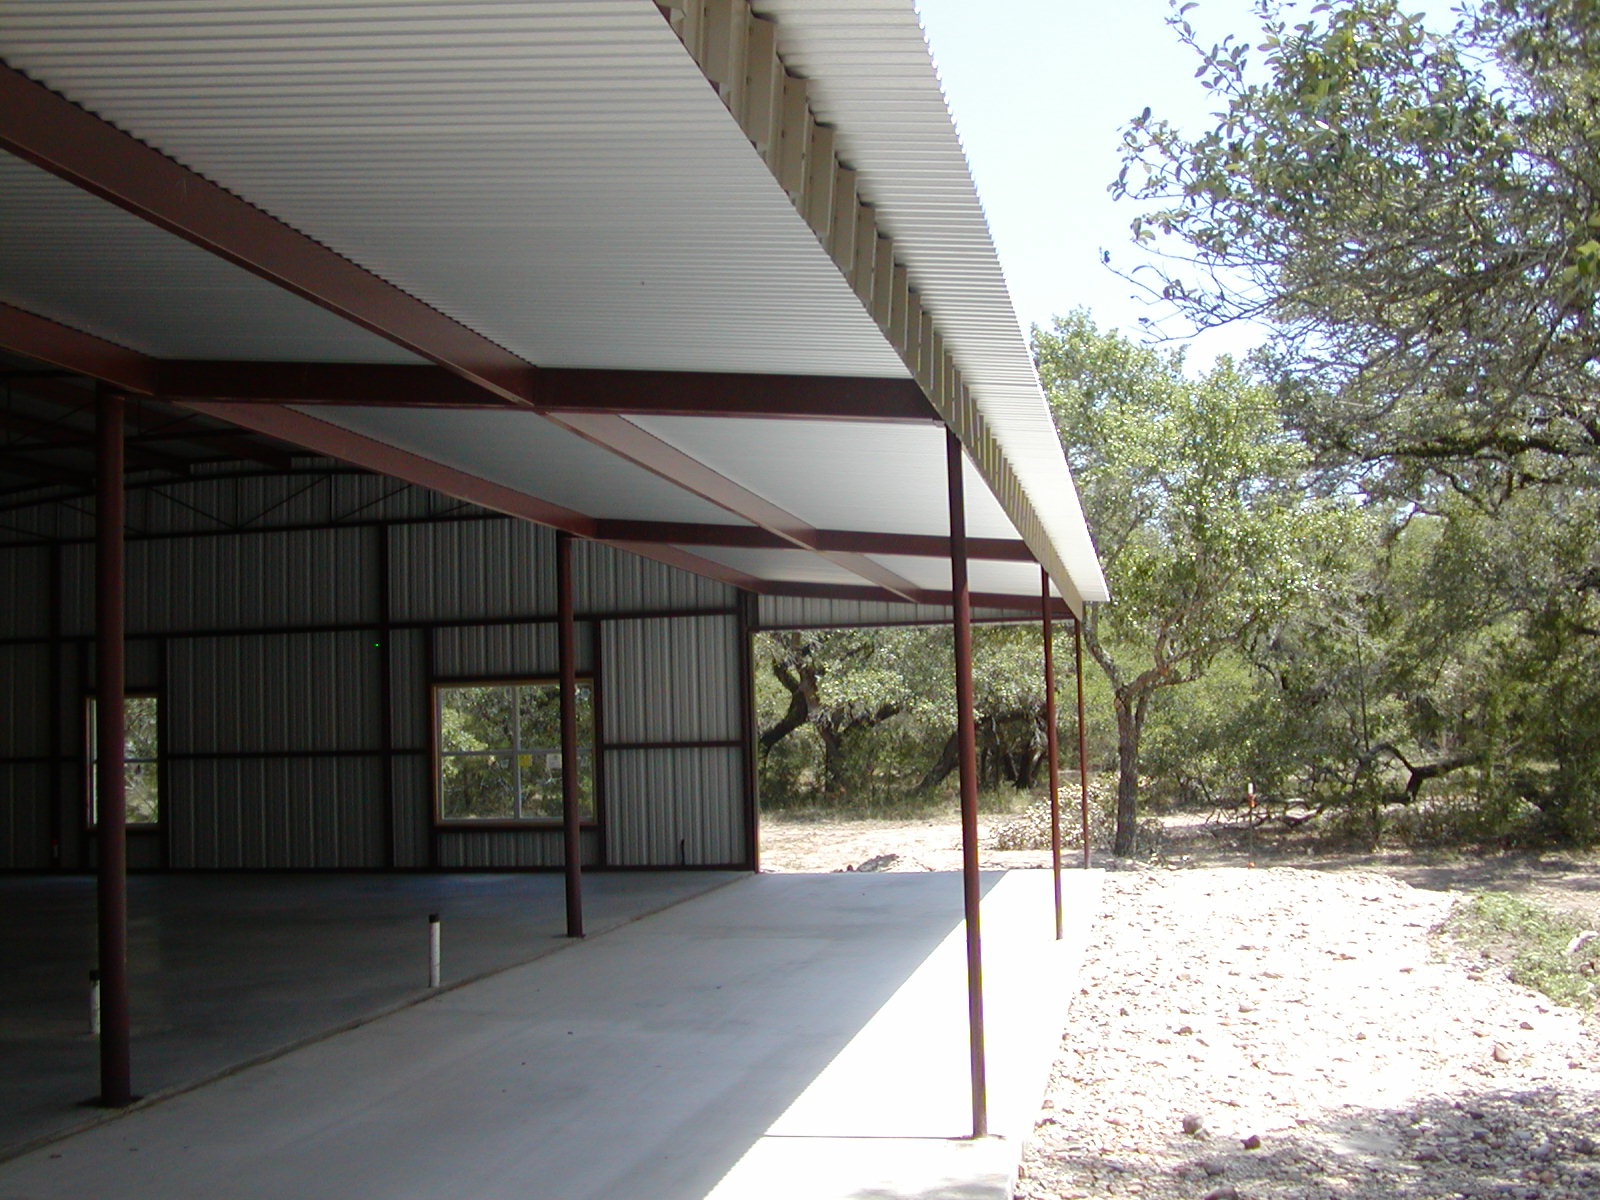
Rear overhang -- used galvanized purlins here instead of red oxide
|
|

|
|
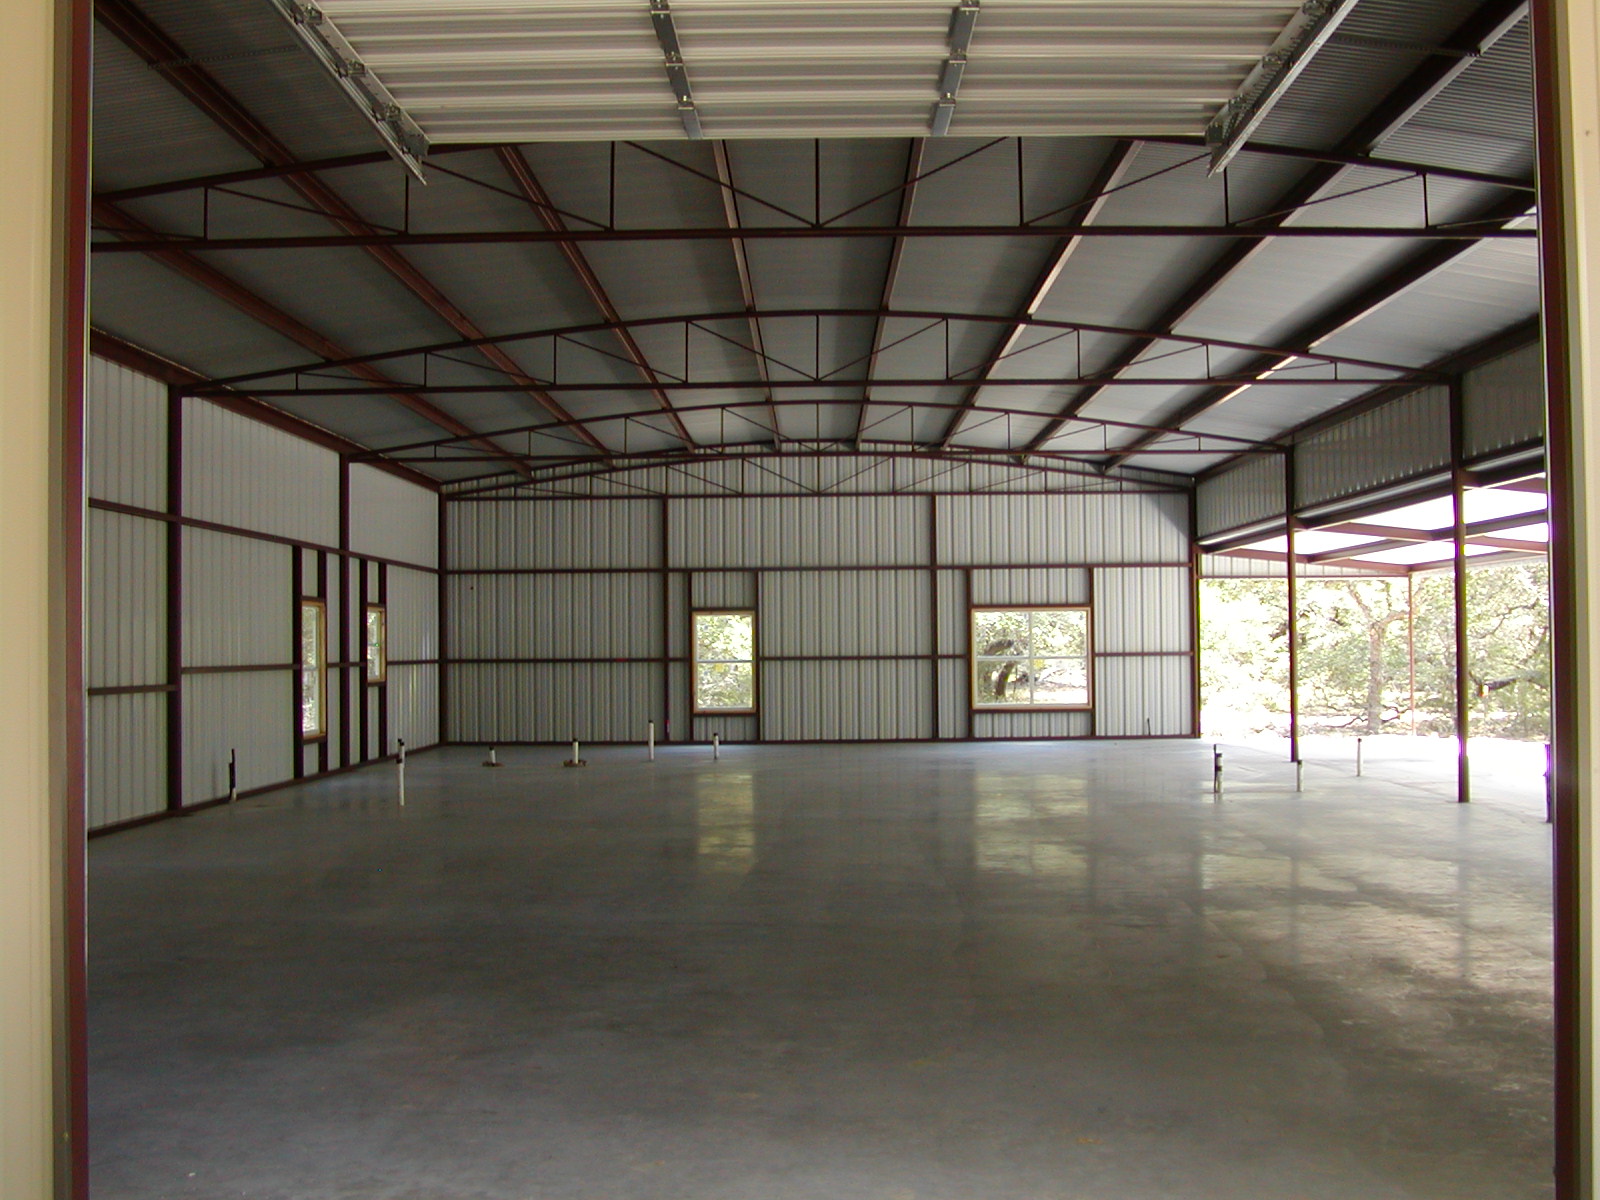
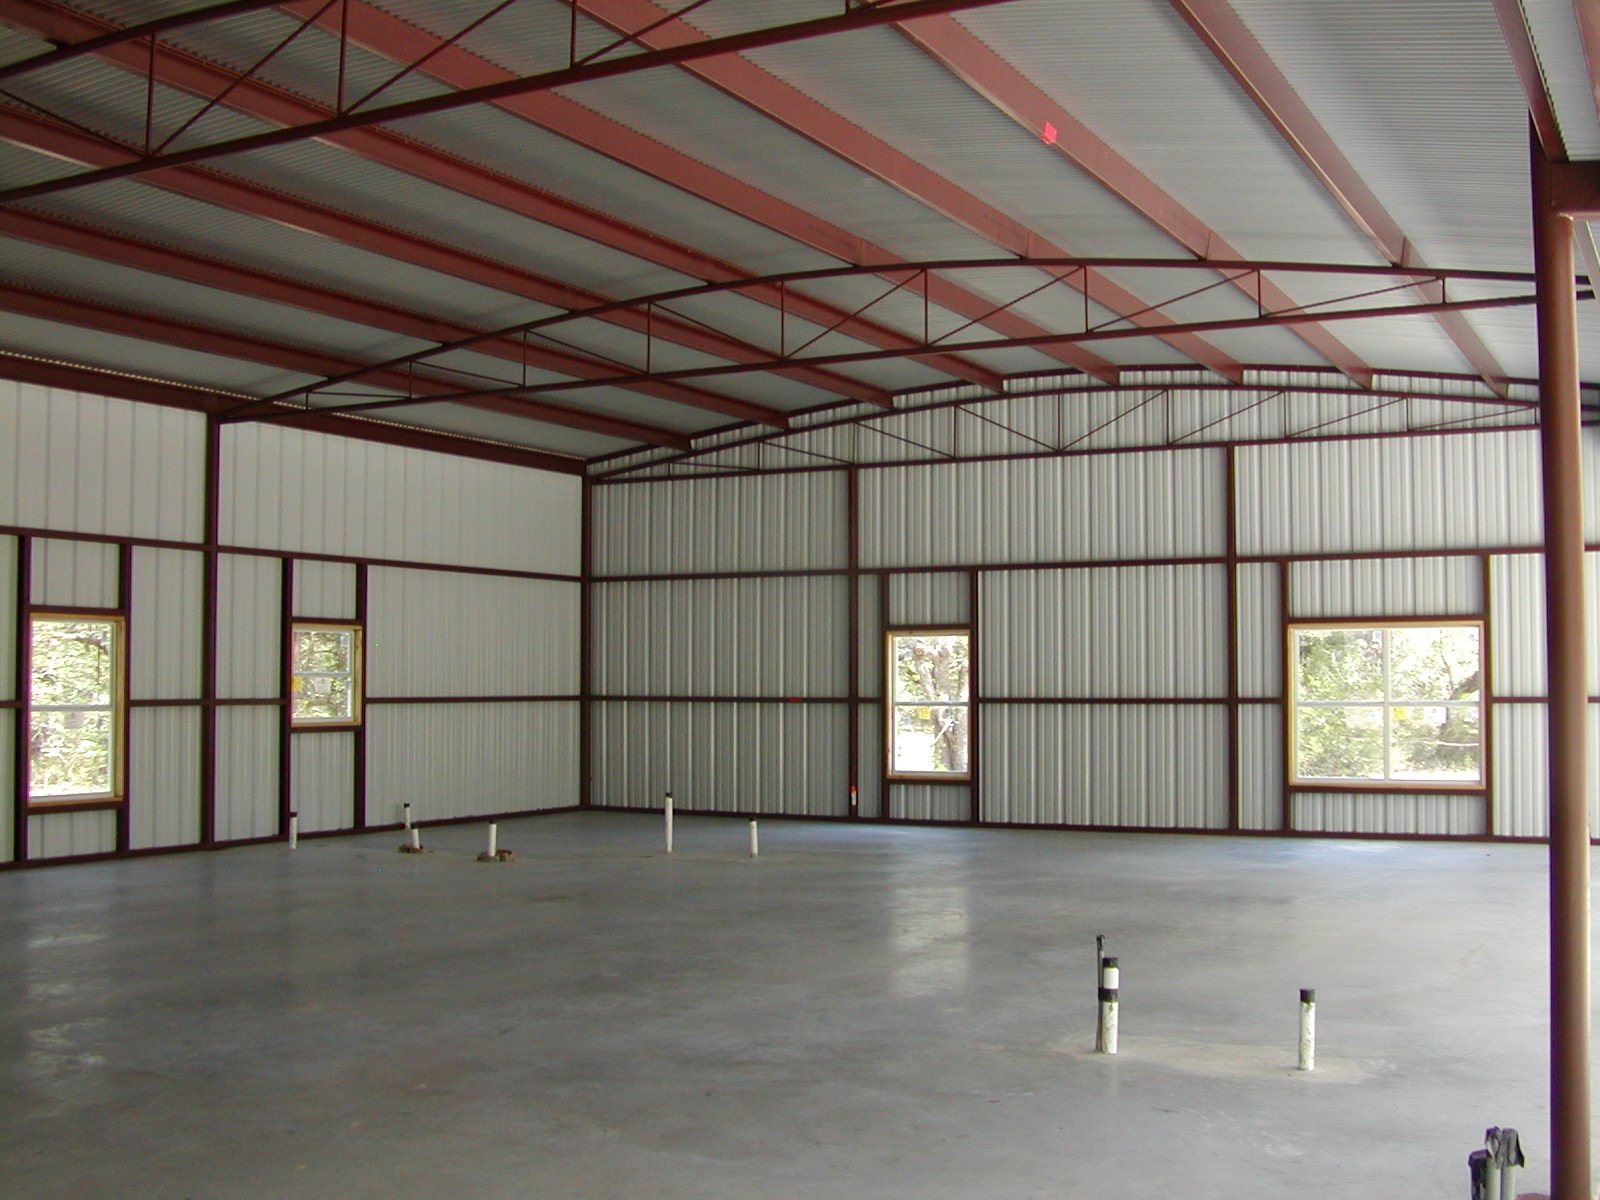
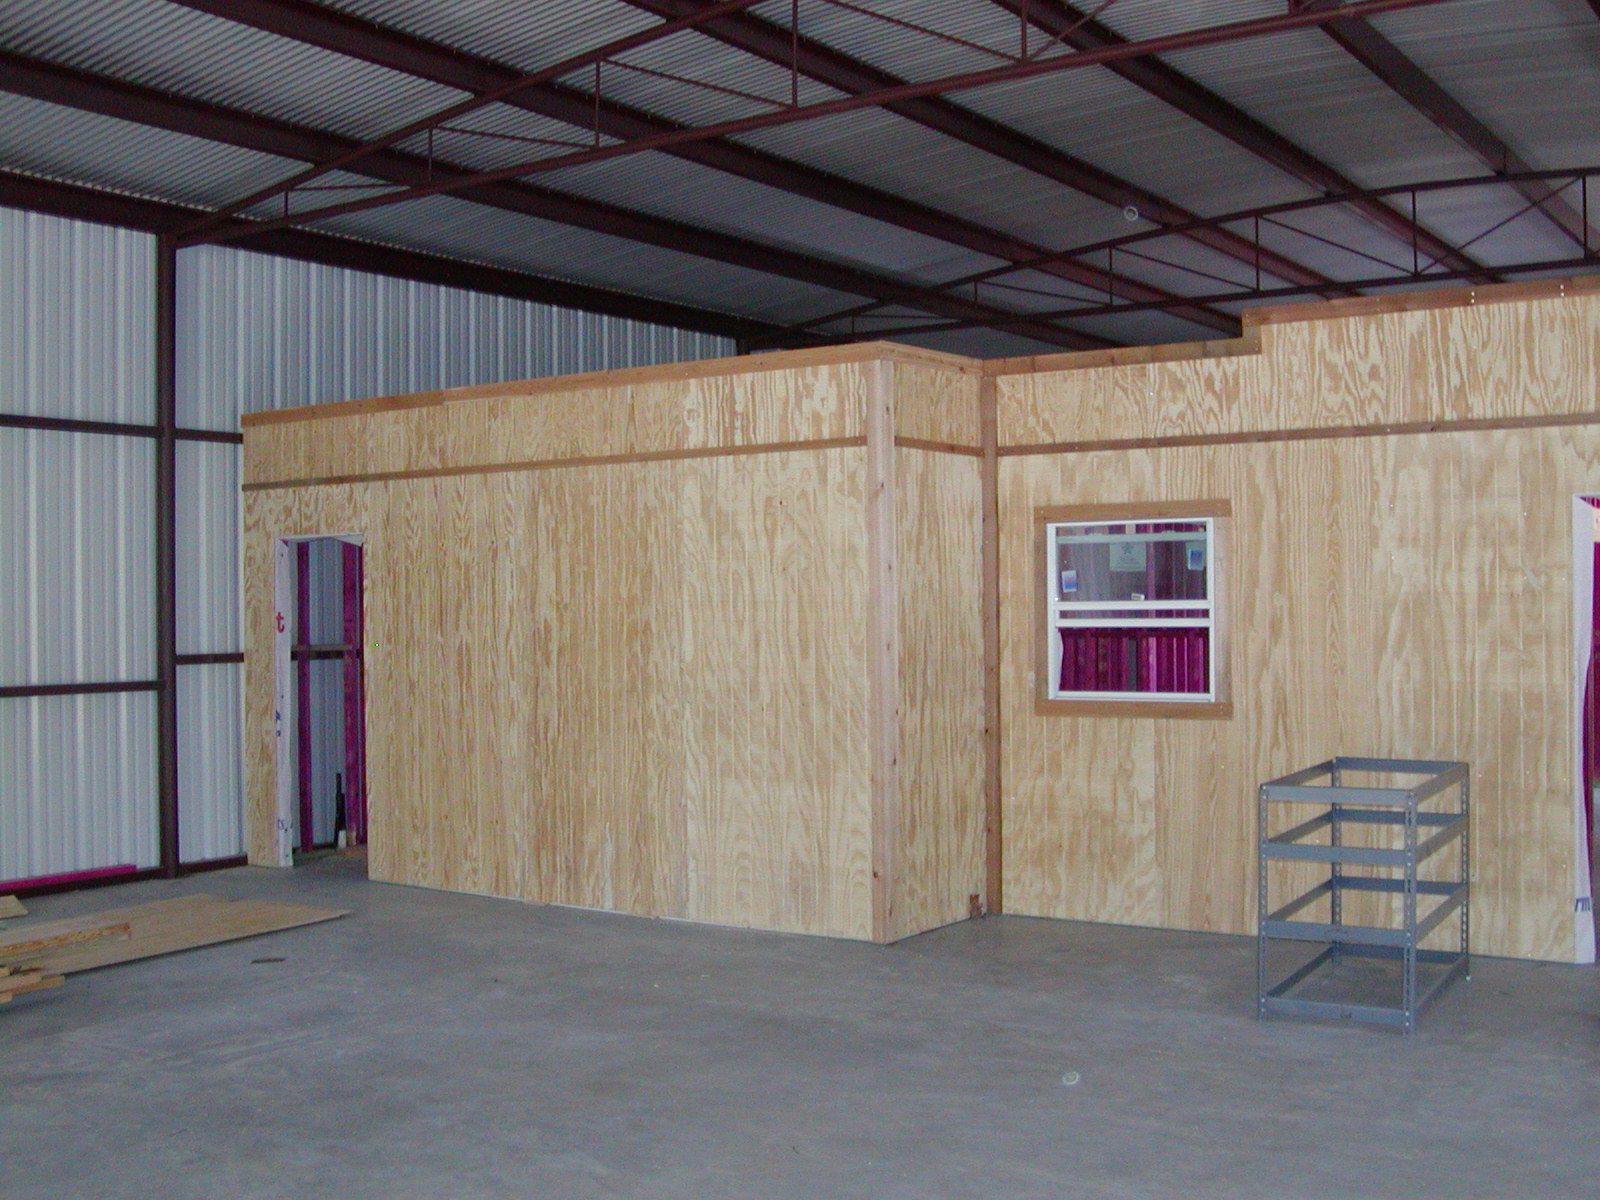
Sweet! Inside view of the "hockey rink" from the open garage door
|
|
|
|

|
|
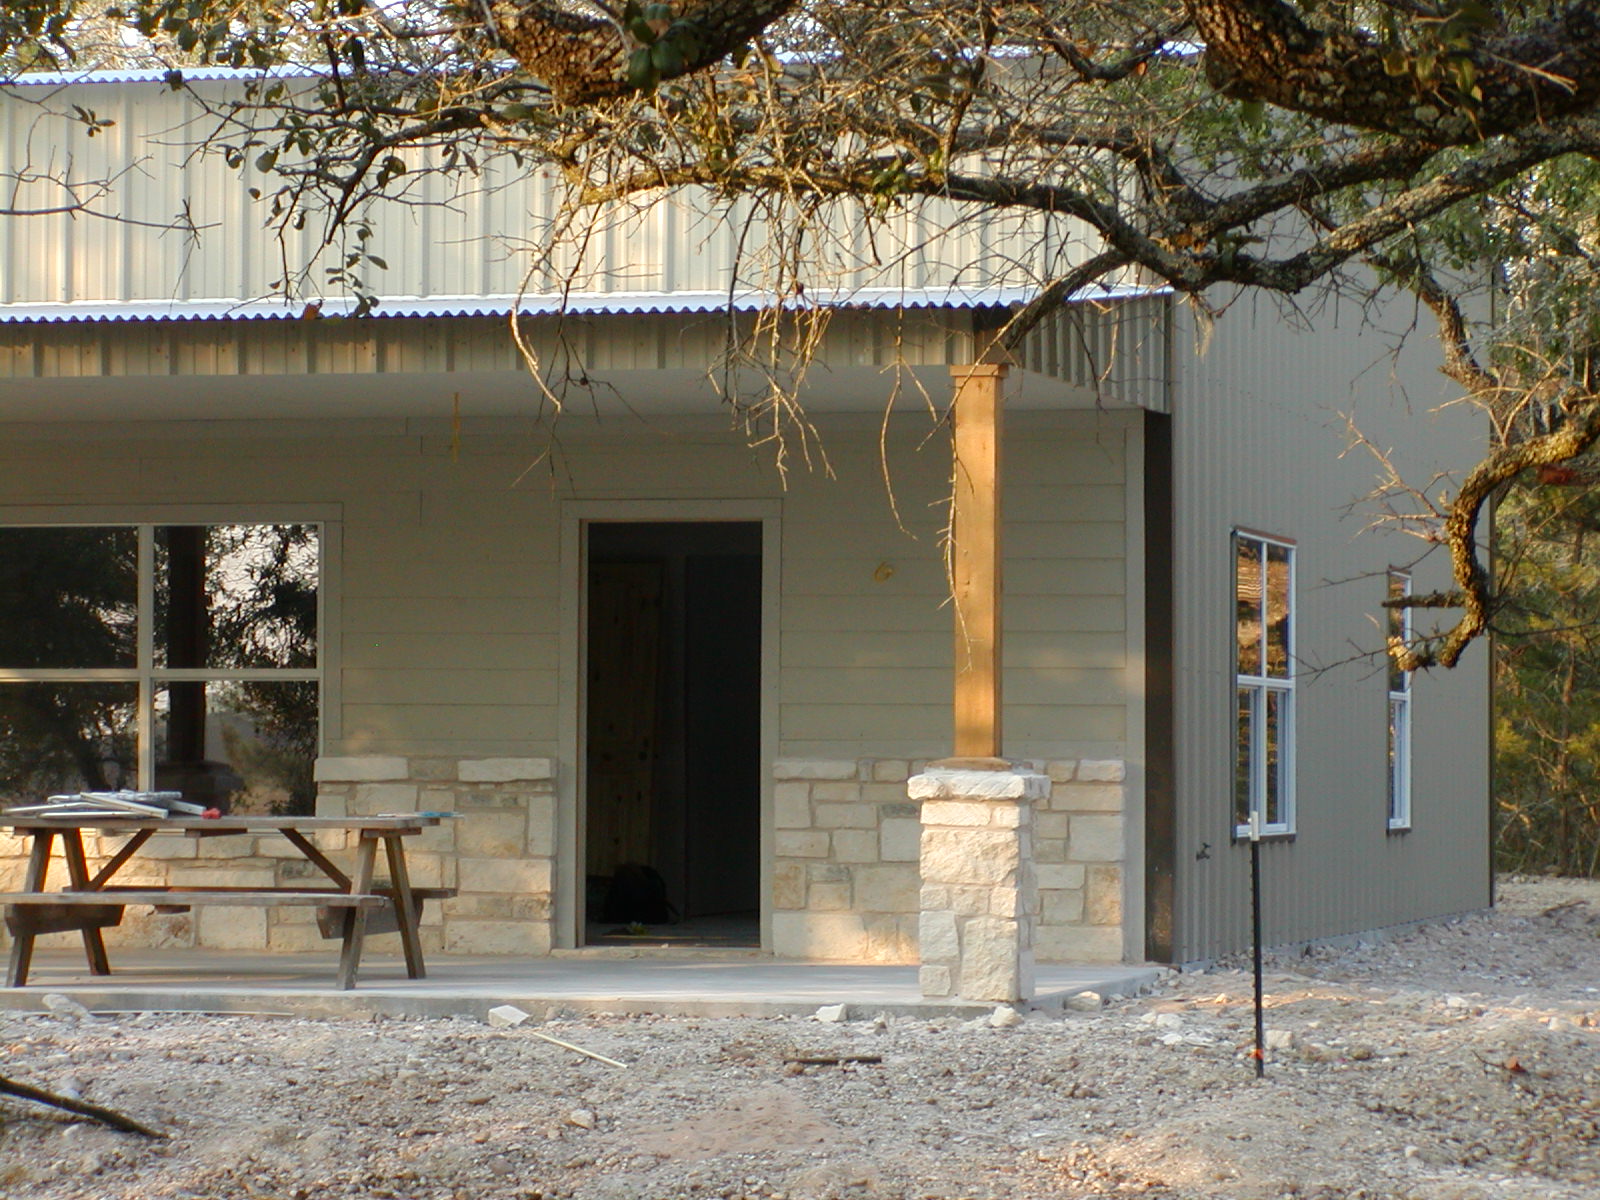
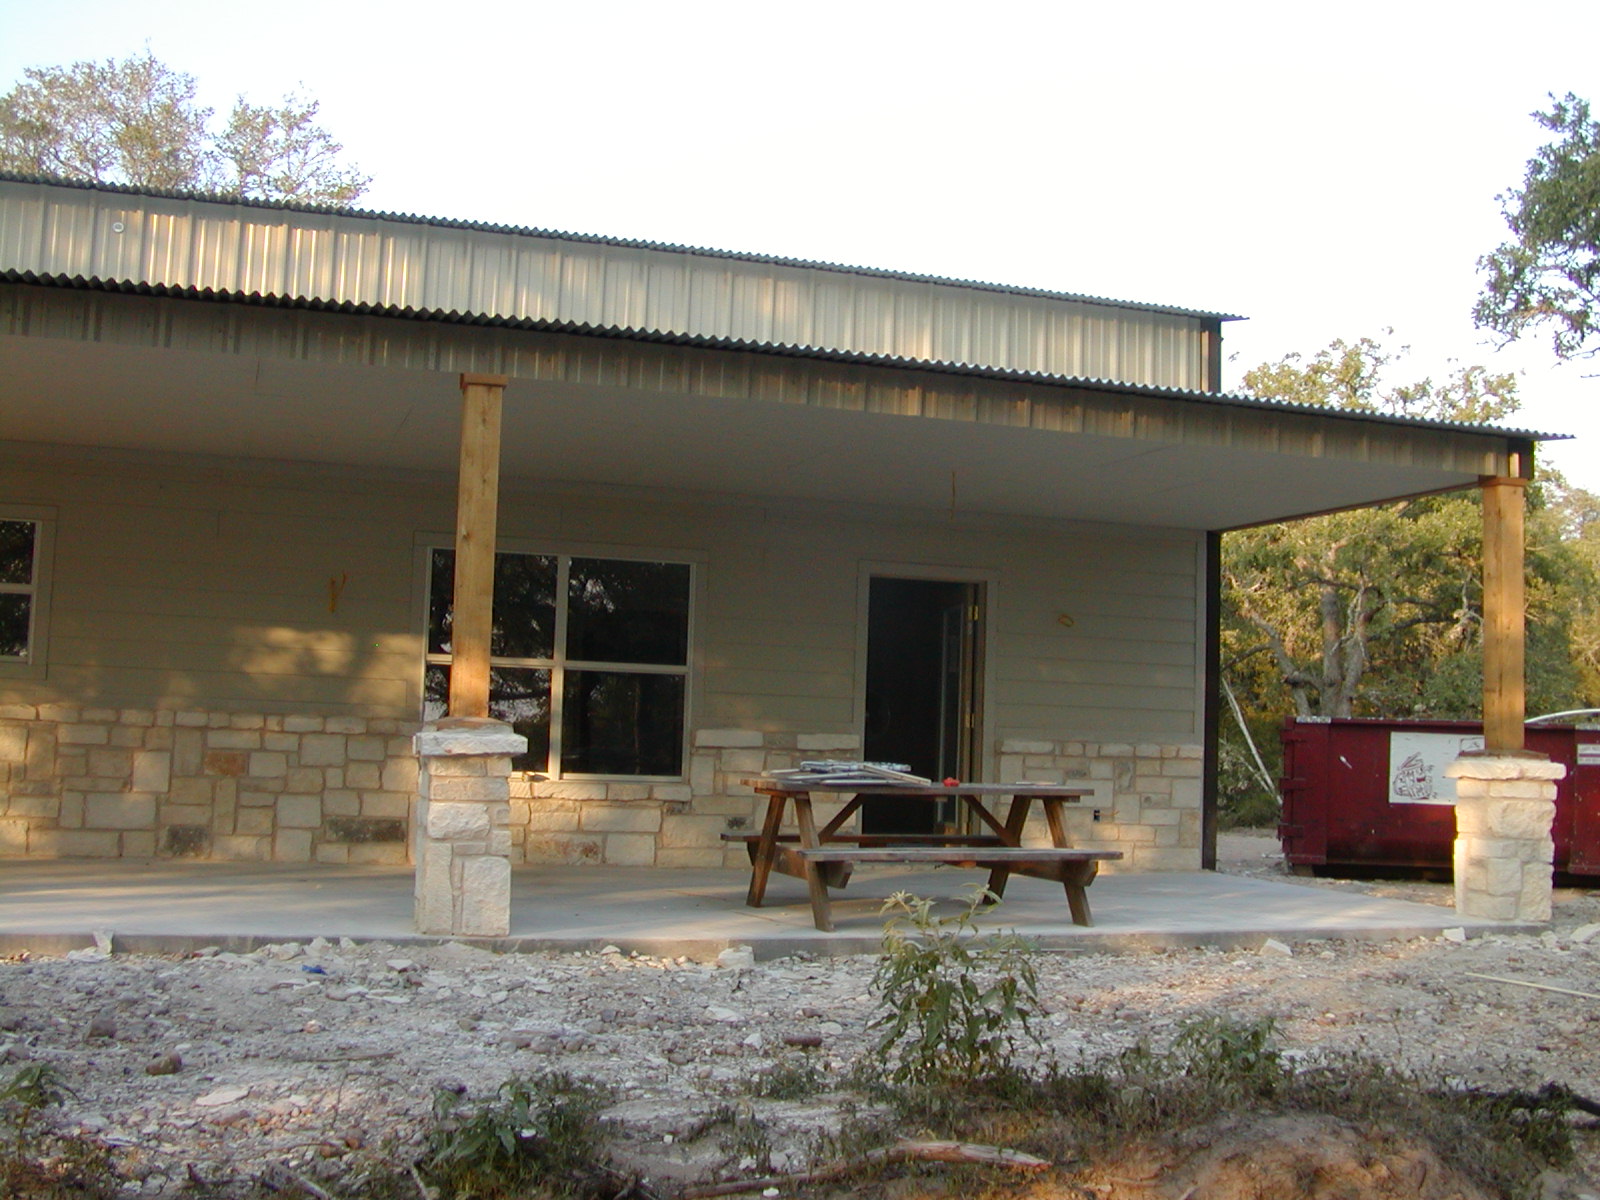
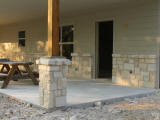
Front porch -- those columns will be wrapped in wood and stone
|
|
|
|
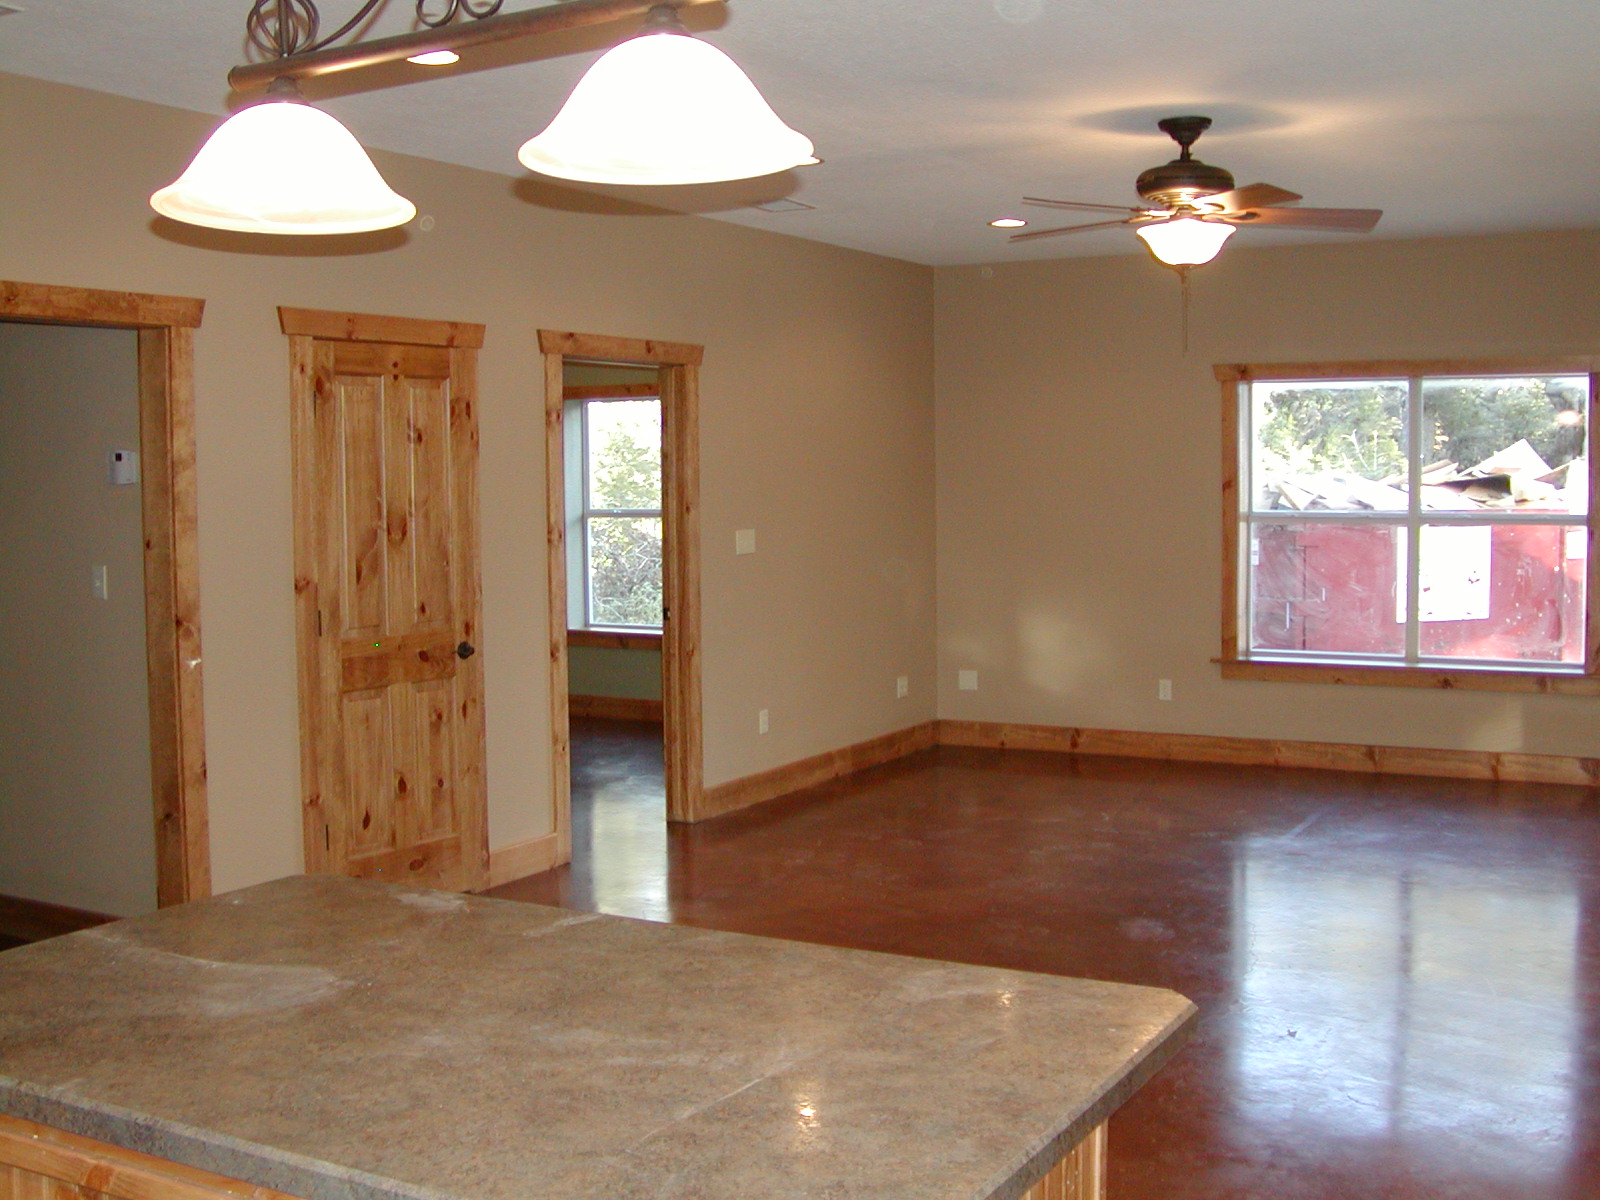
View from the living area back towards the shop
|
|

|
|
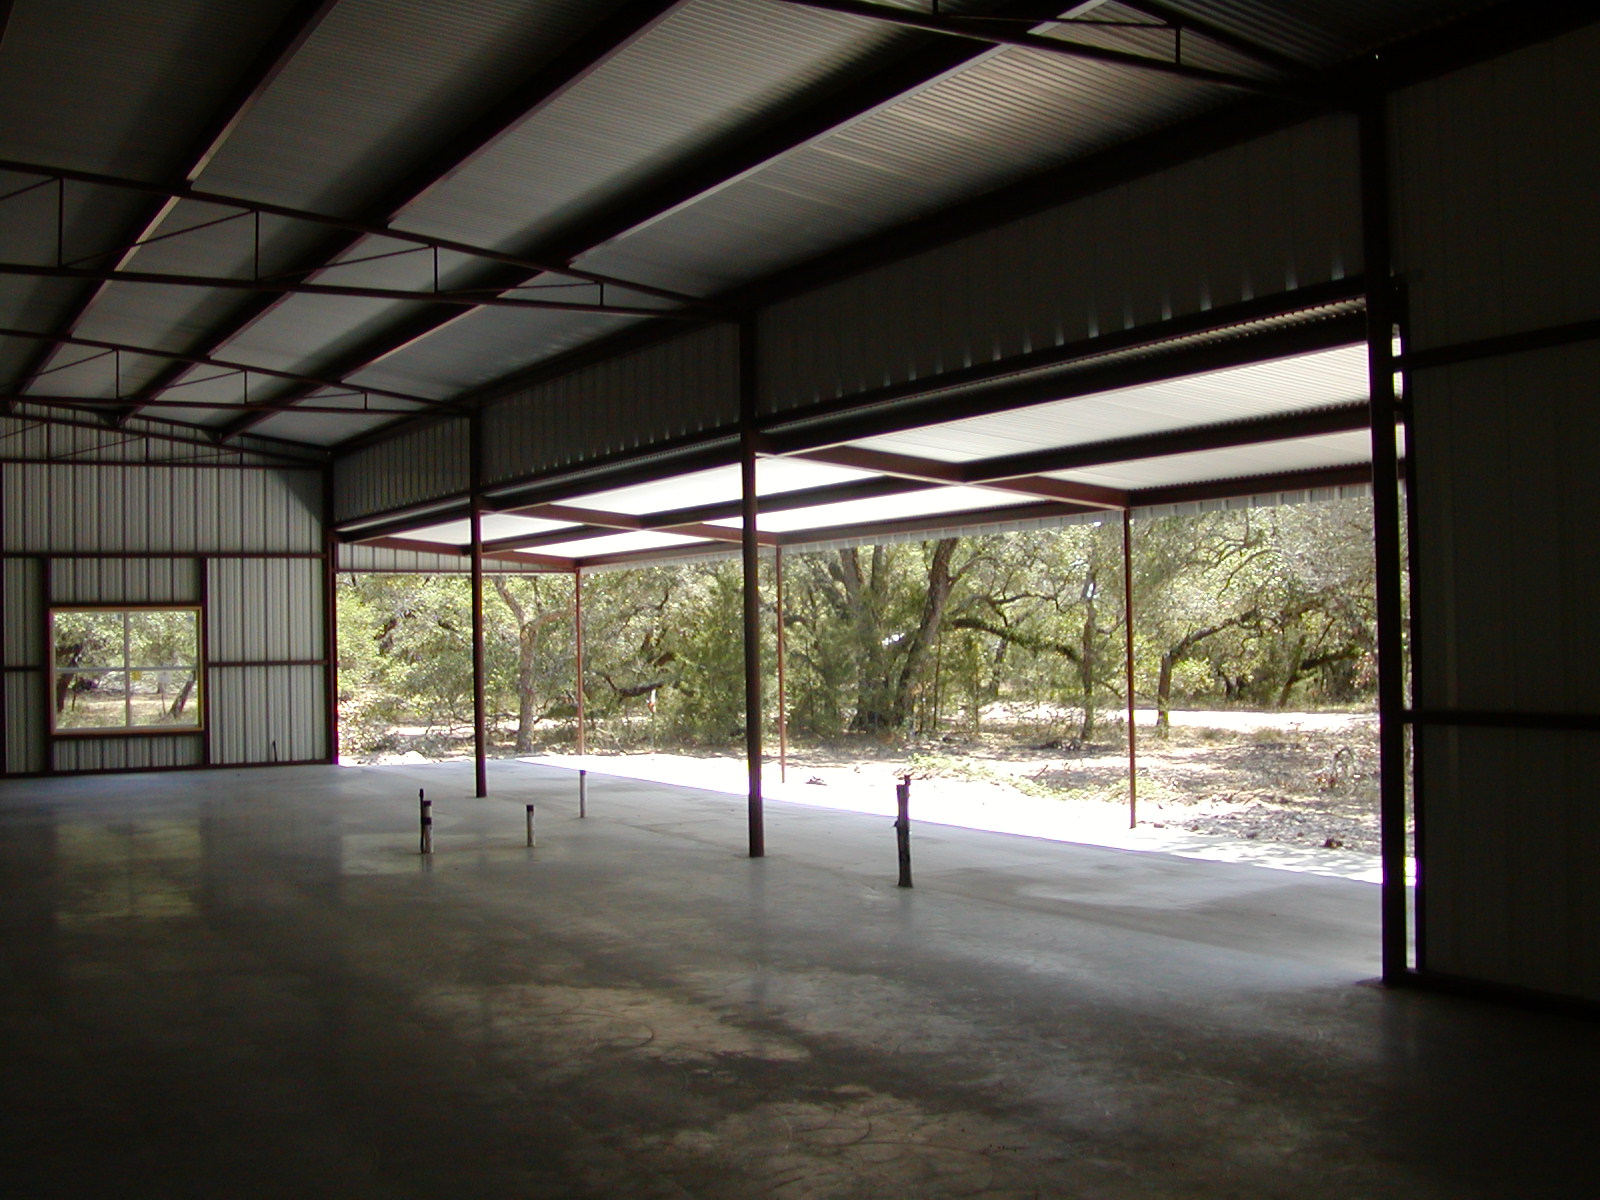
Front porch and the view out
|
|
|
|
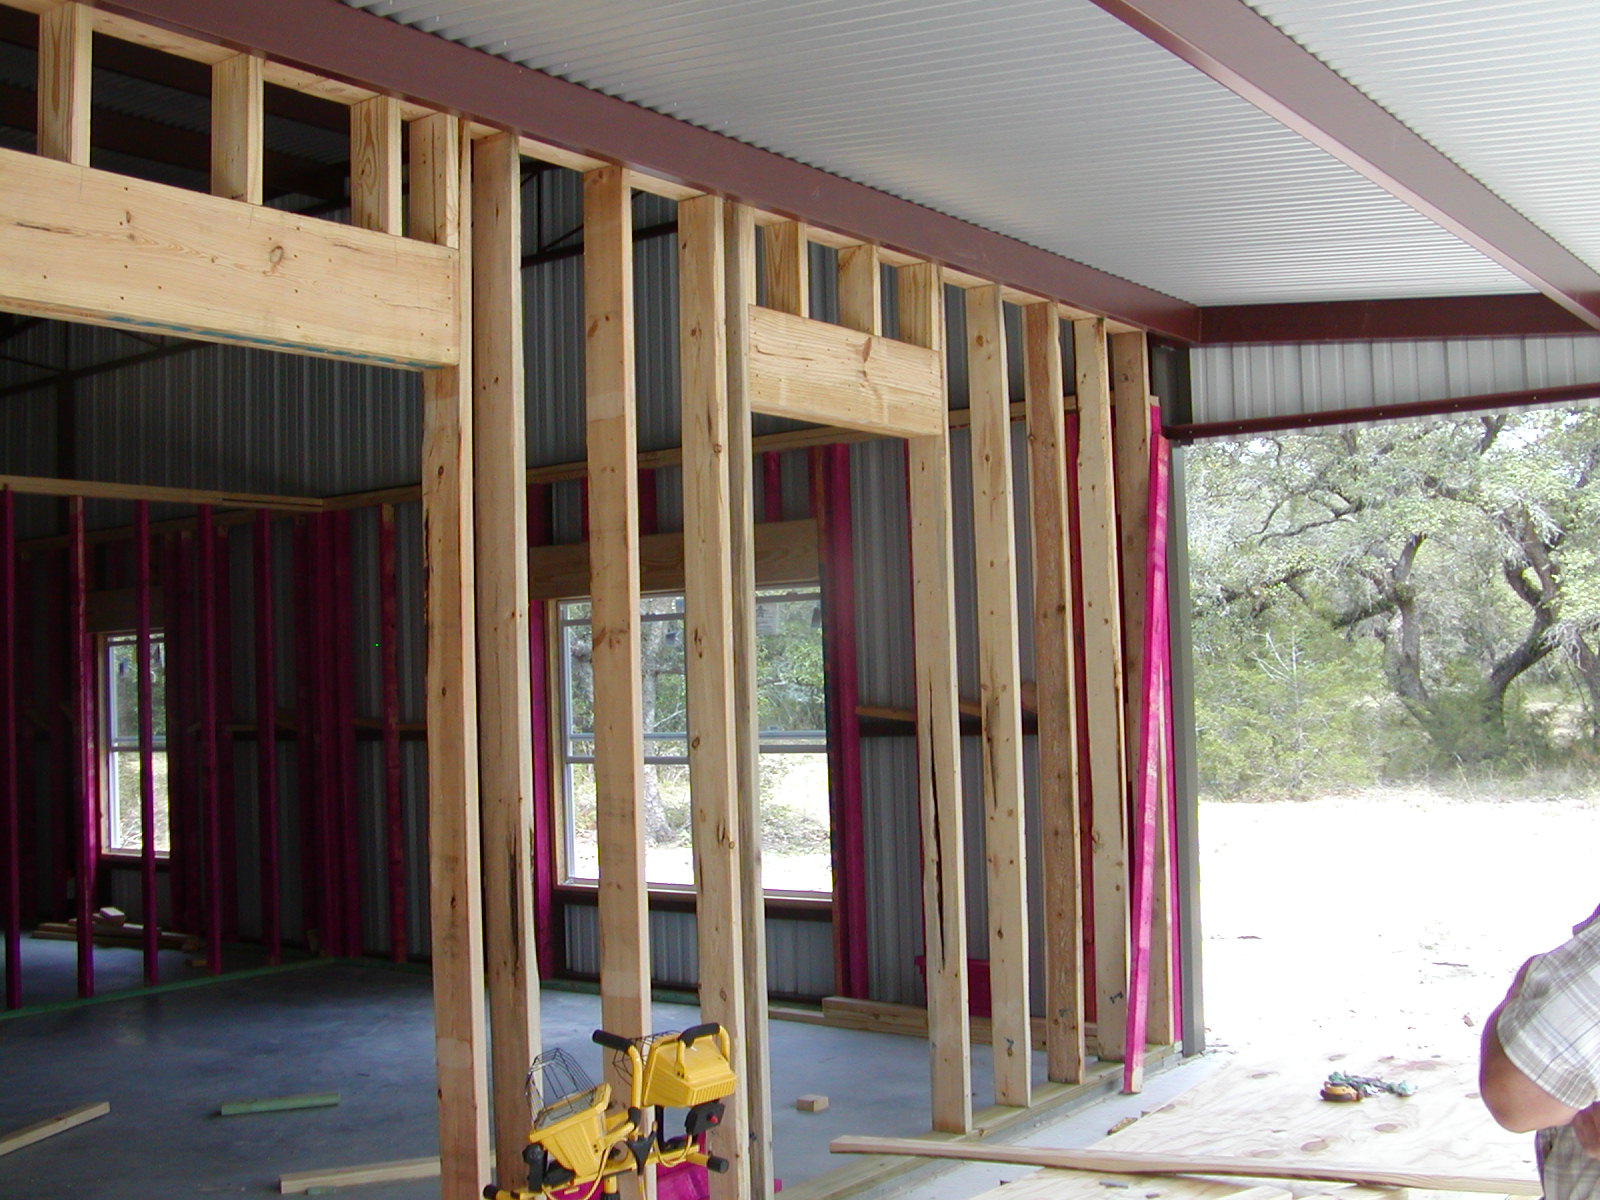
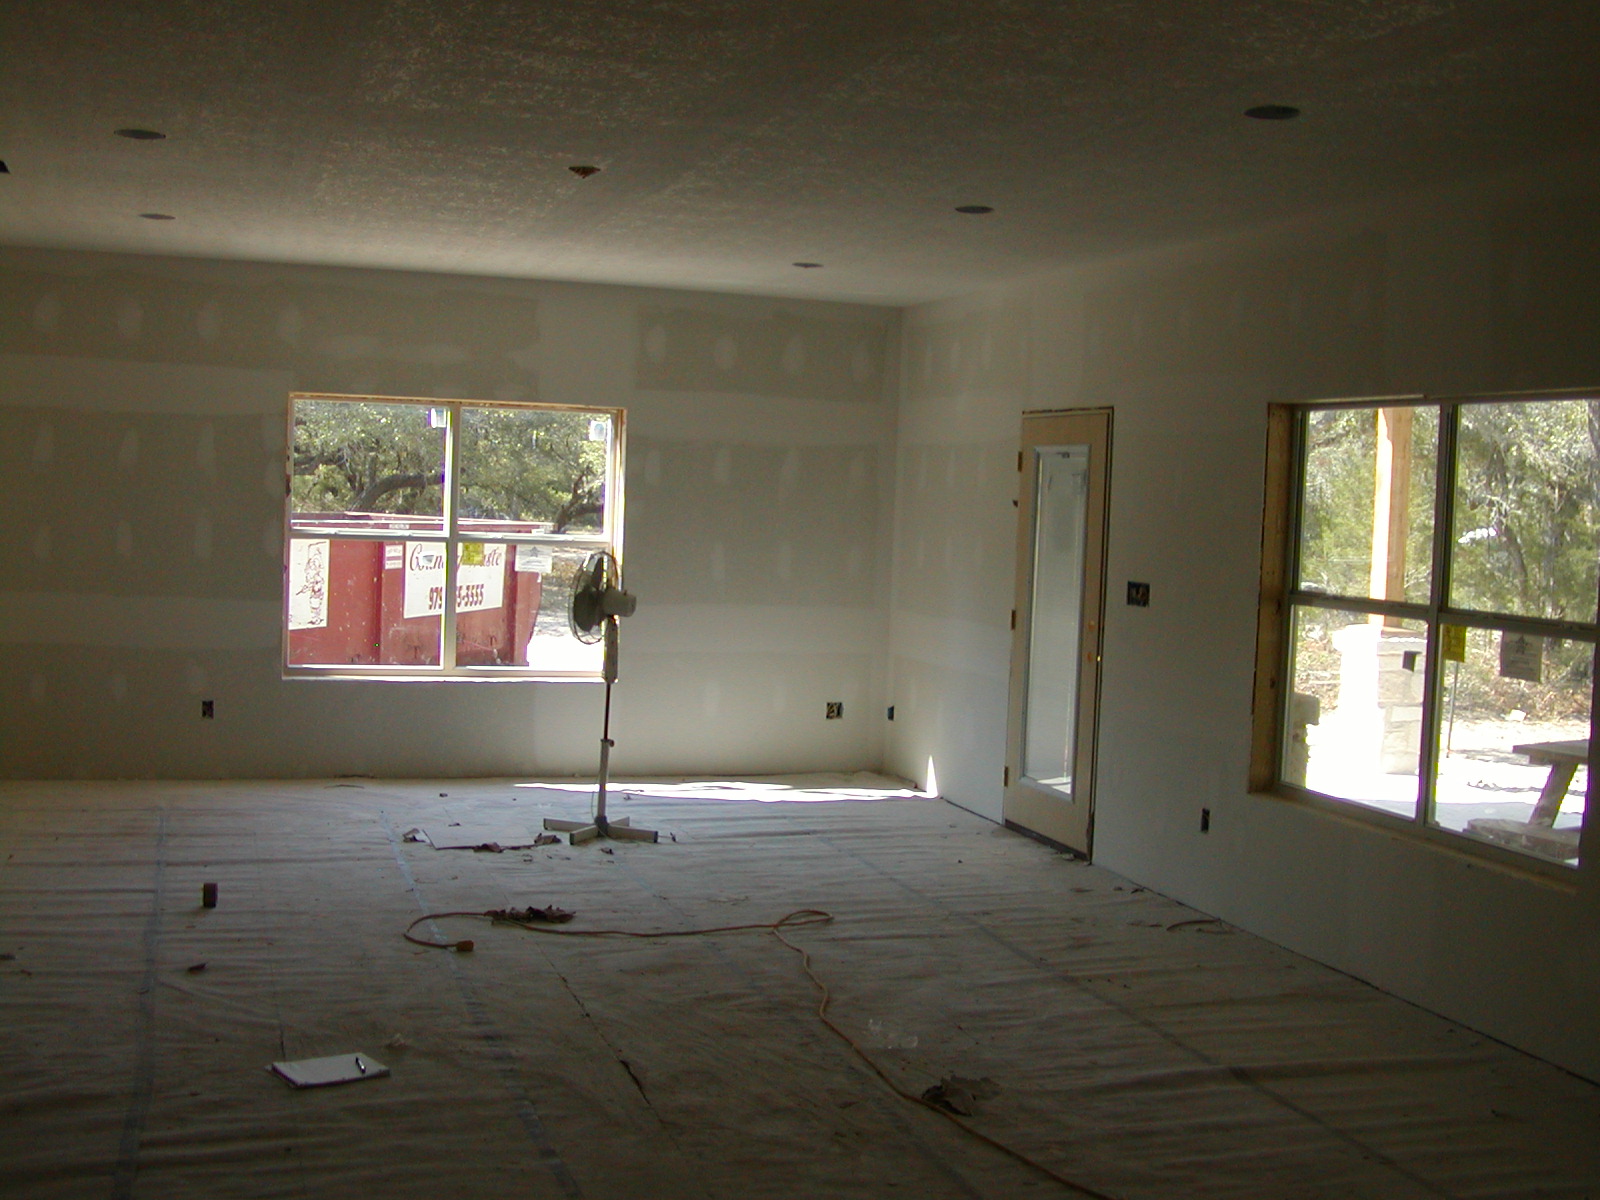
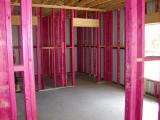
Living area -- very sturdy window frameouts!
|
|
|
|
|
|
View through the trees
|
|
|
|
Looking from the north
|
|
|
|
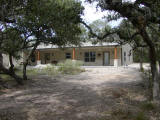
View as one drives in from the pond
|
|
|
|
The overhang is 40x20
|
|
|
|

|
|
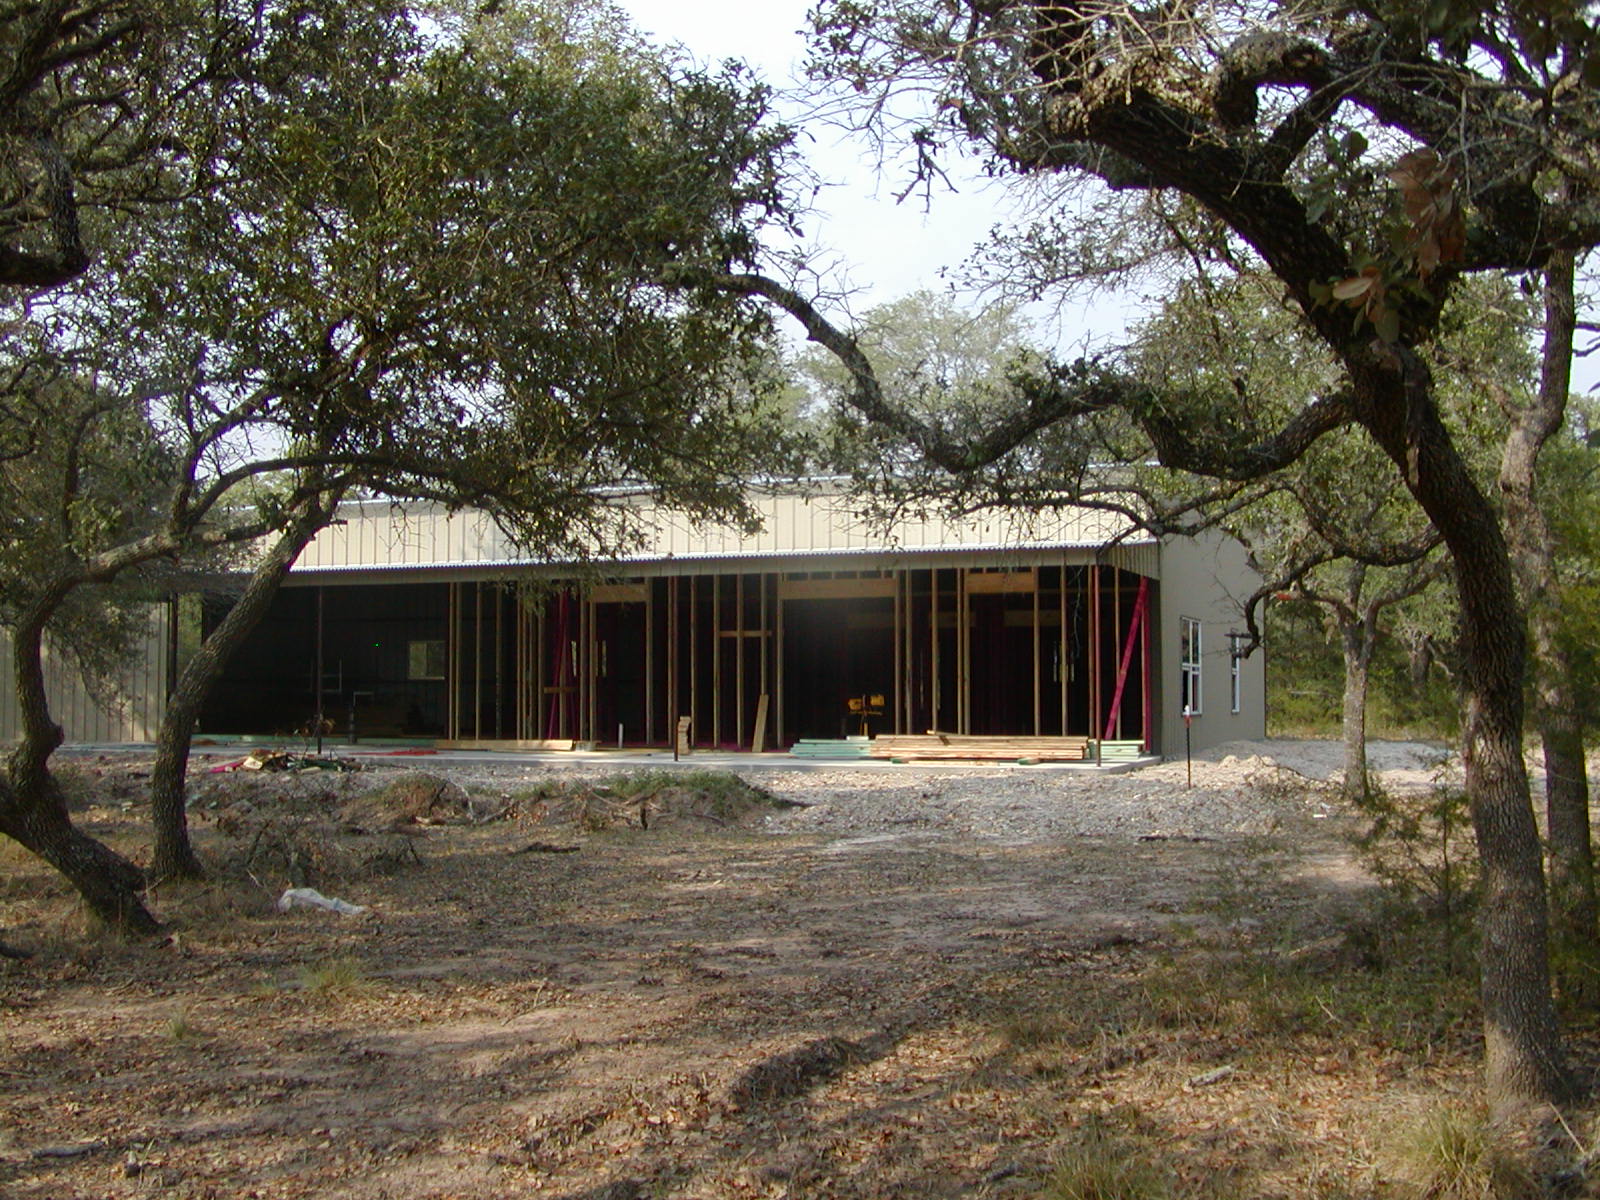
Project Lifecycle View #5 (initial framing underway)
|
|

|
|
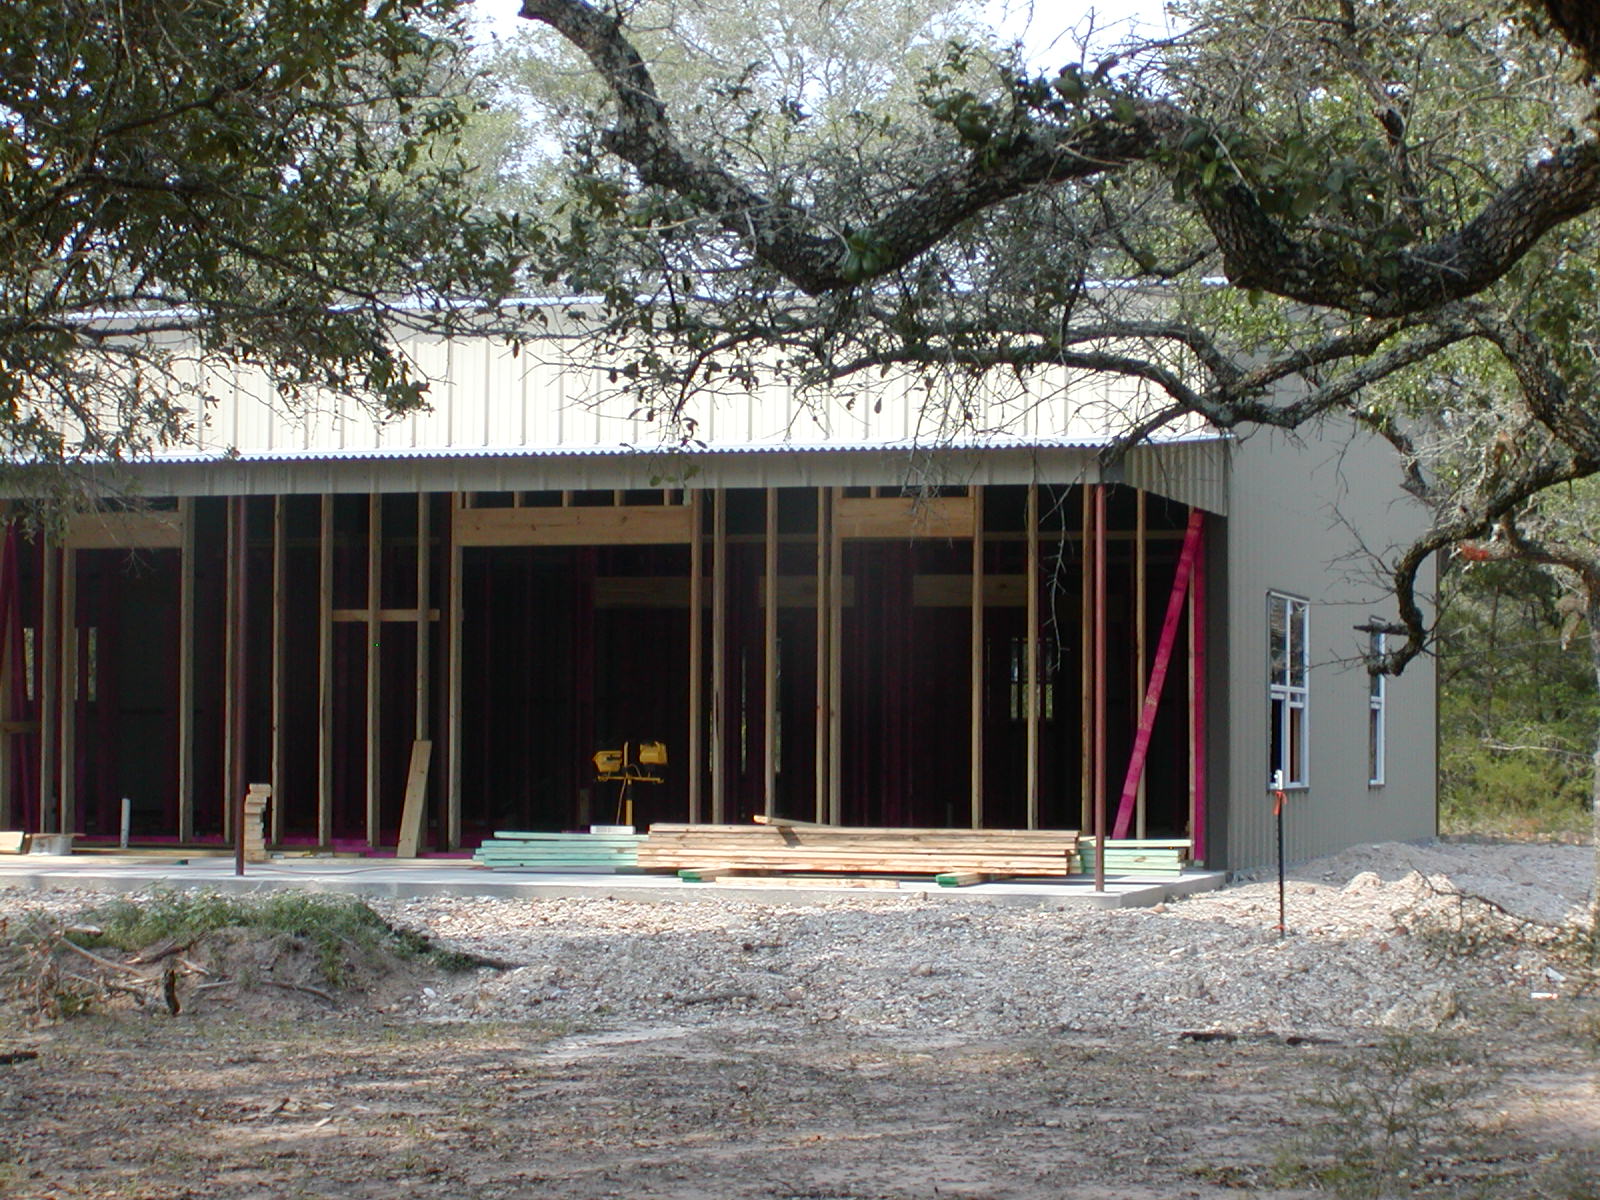
Project Lifecycle View #5--closeup (initial framing underway)
|
|

|
|
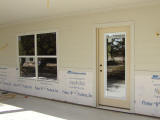
This will be the front door and double window
|
|
|
|
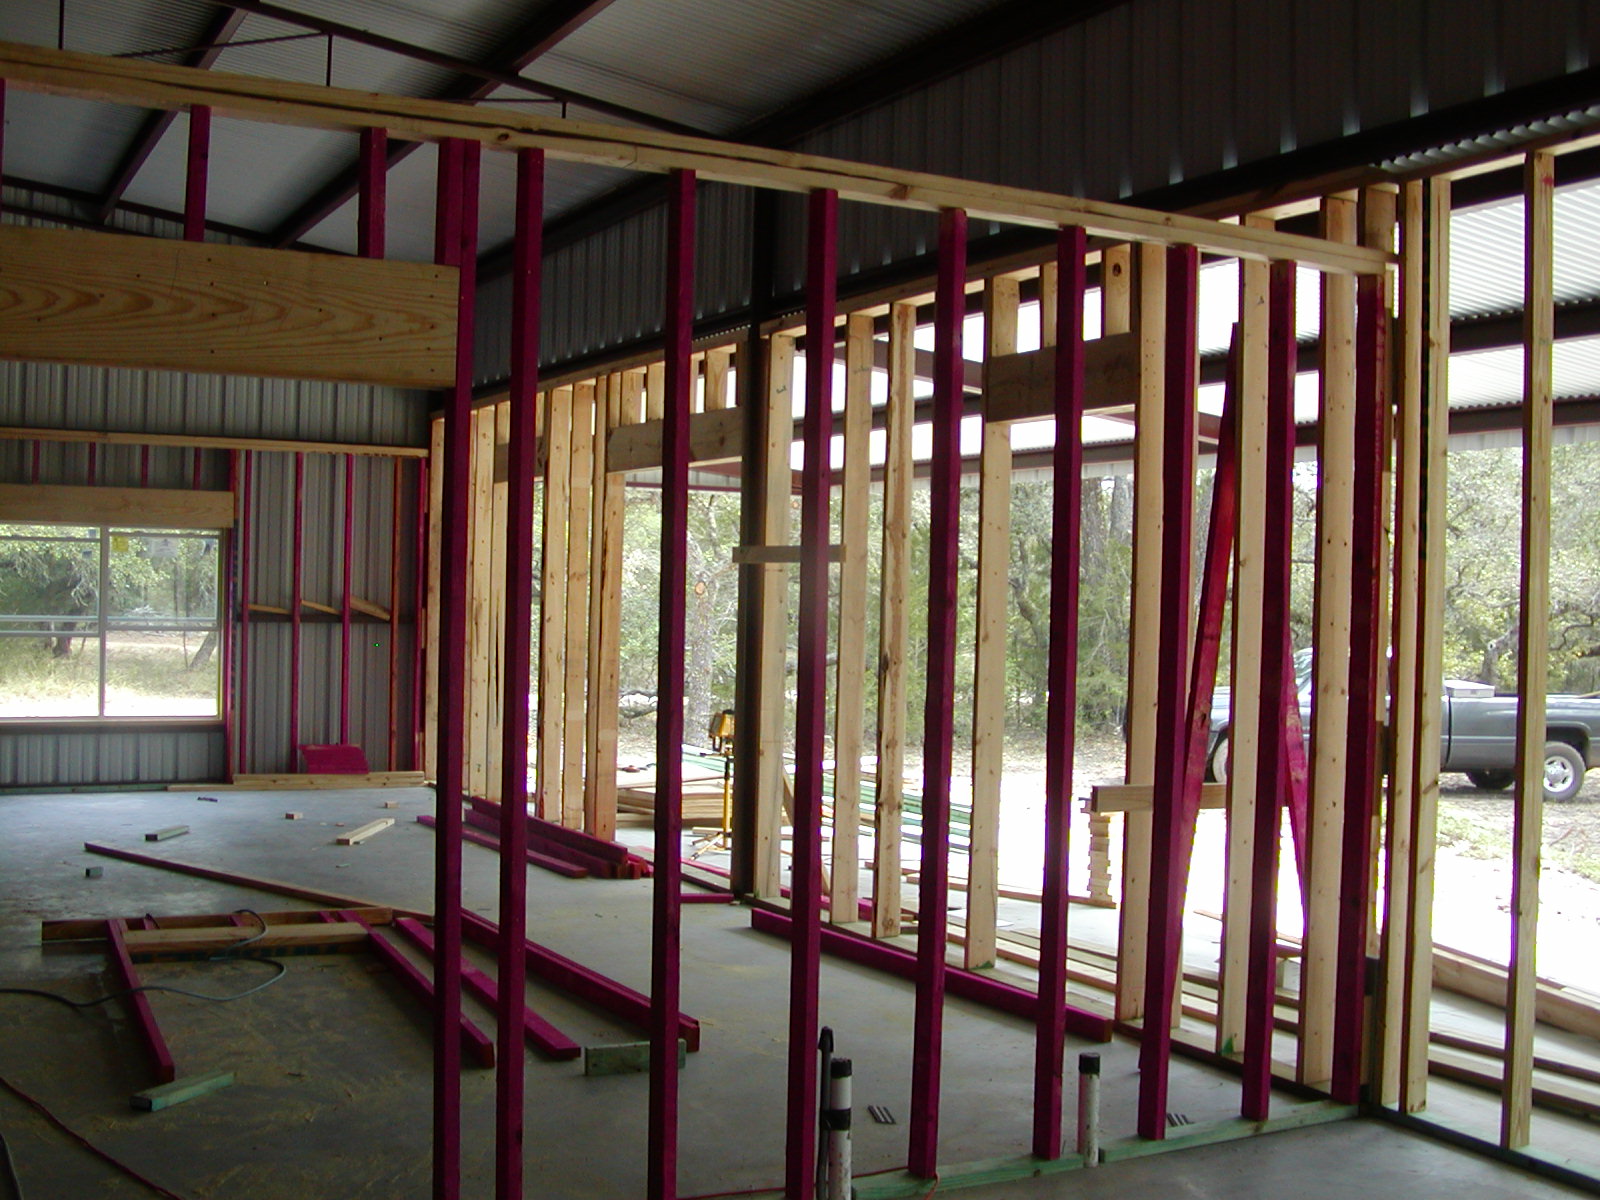
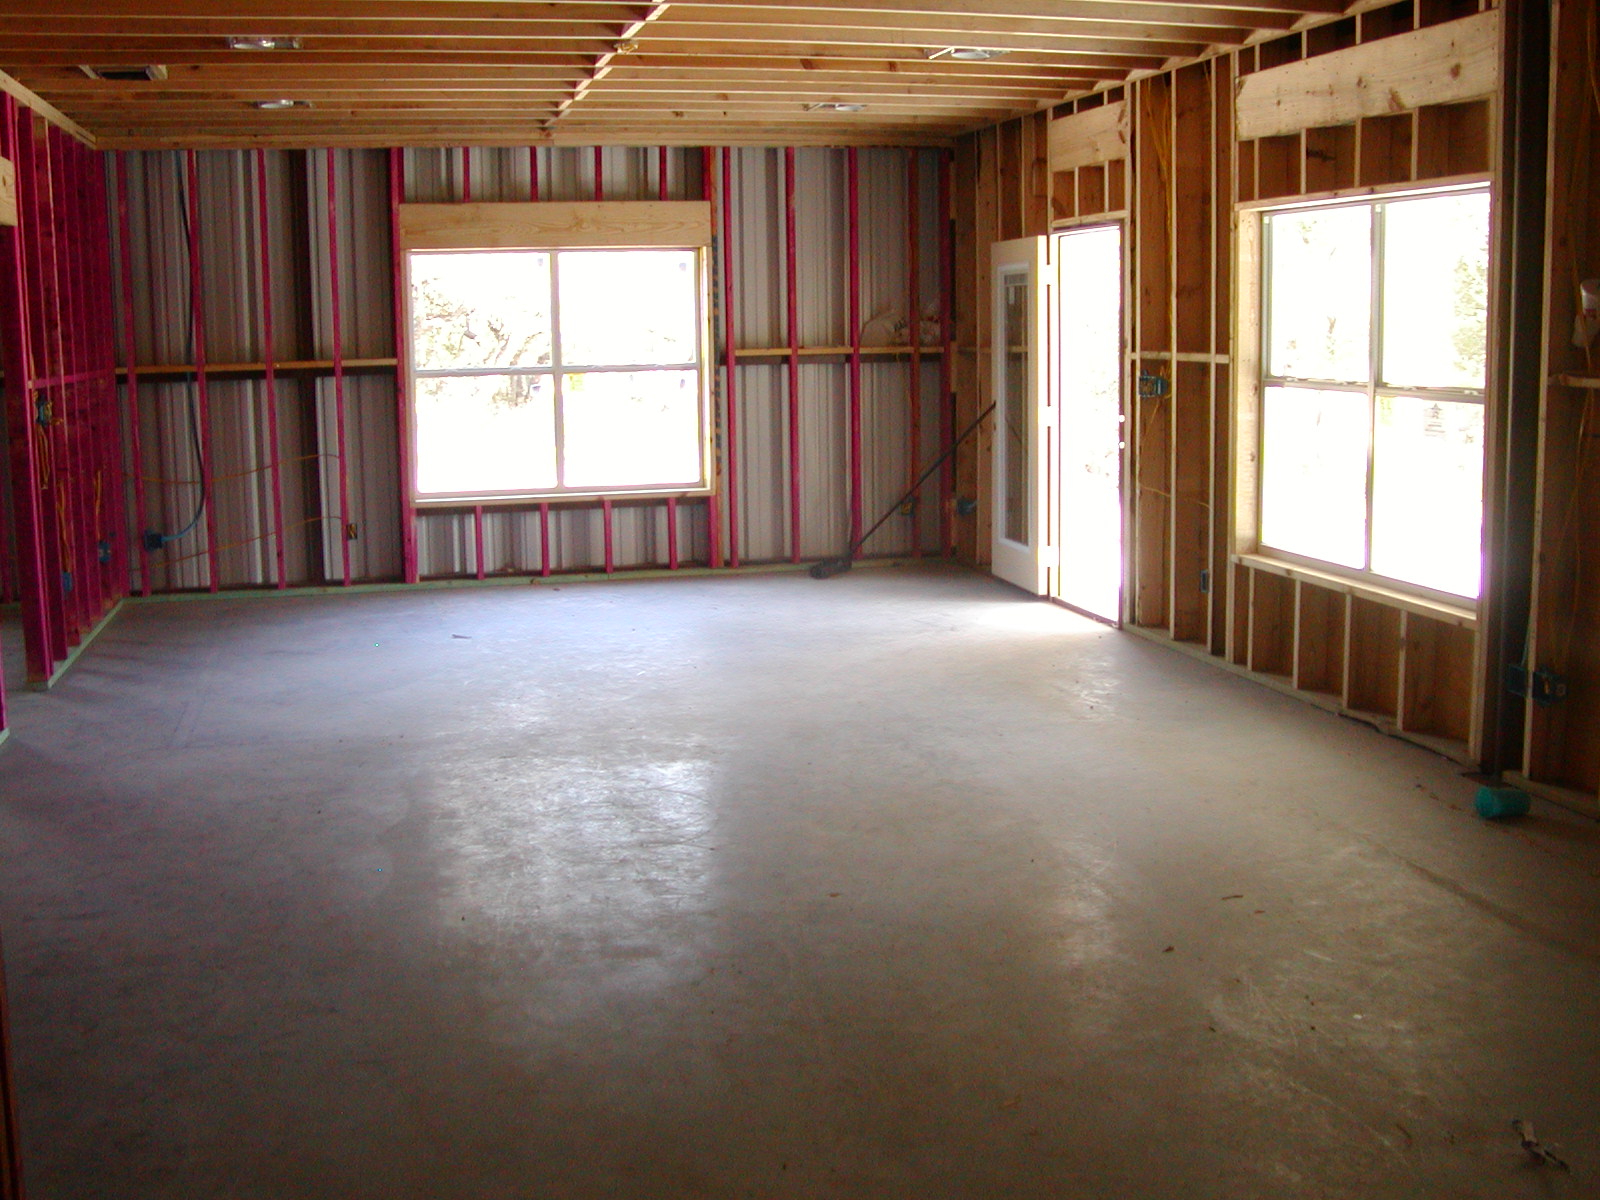
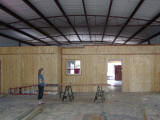
View of the living area from the shop
|
|
|
|

|
|
Other side of that wall is the kitchen
|
|
|
|
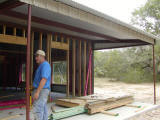
Our builder (Ryan)
|
|
|
|
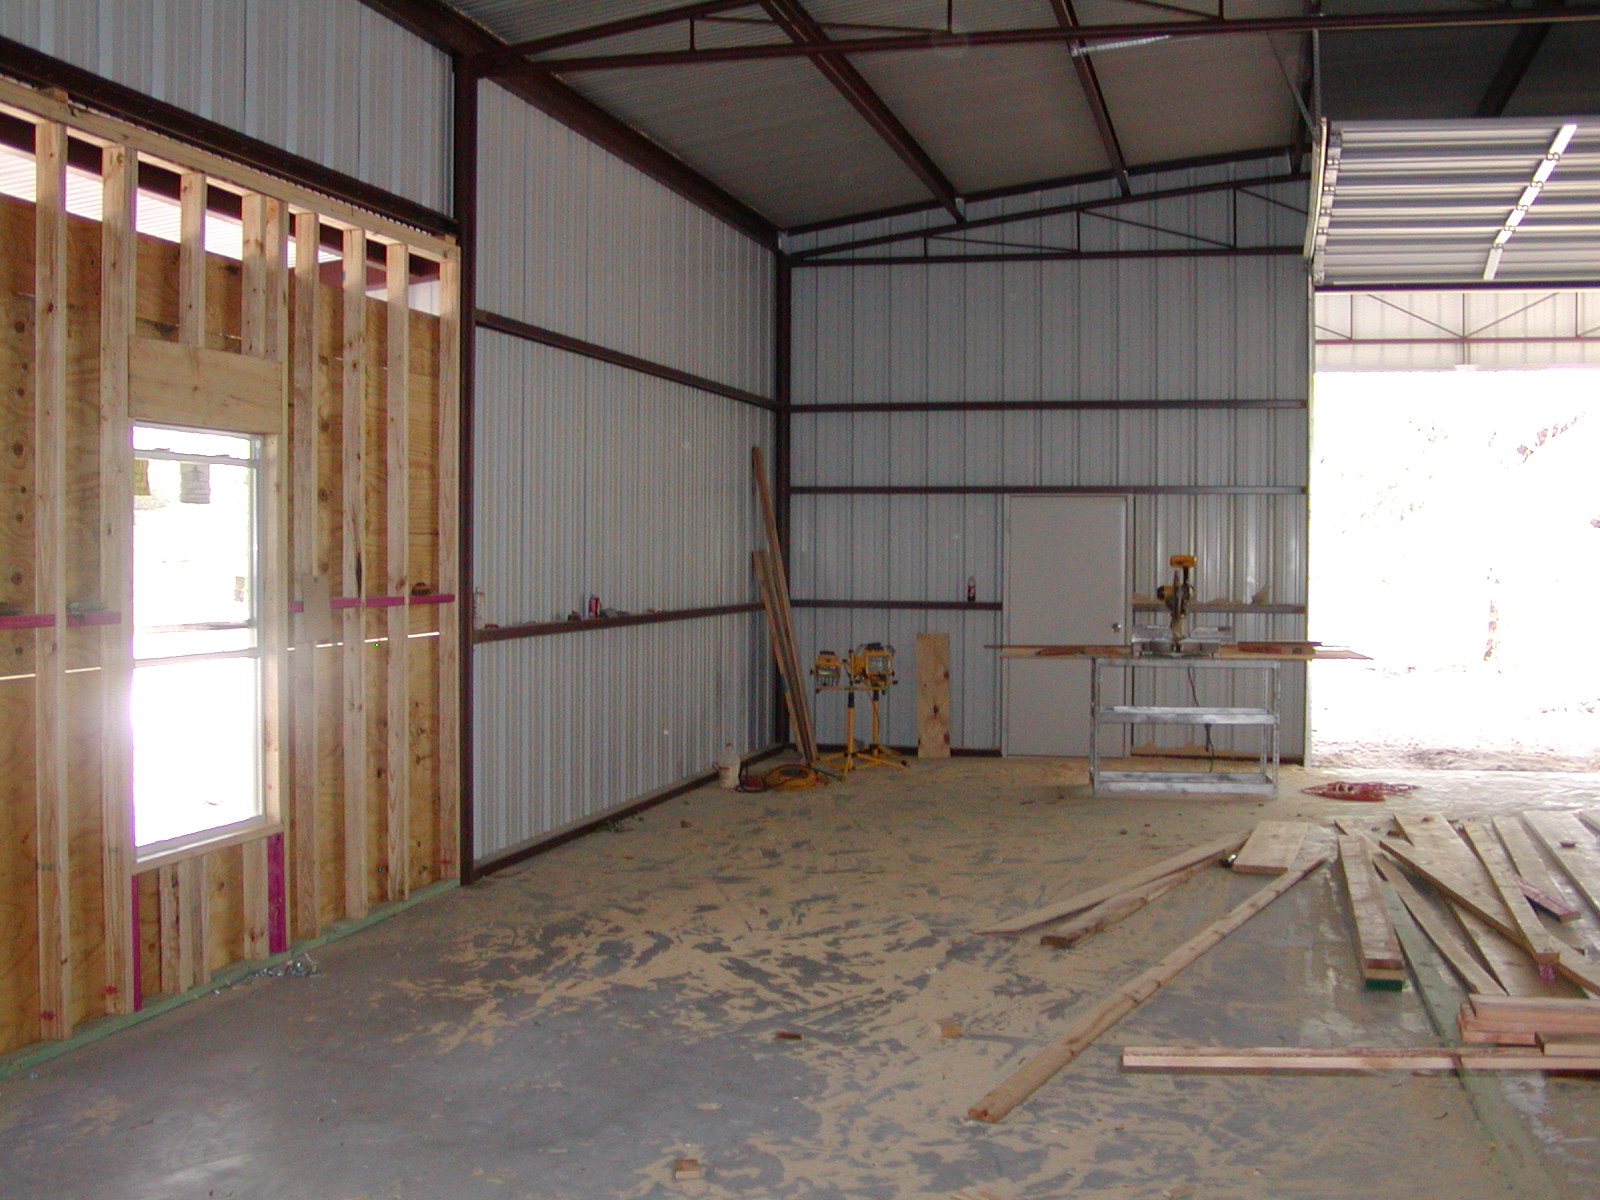
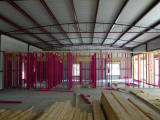
The shop area was full of framing material
|
|
|
|
View from the trees
|
|
|
|
|
|
View of the cabin from the main driveway (coming from the pond)
|
|
|
|
Project Lifecycle View #6 (framing started on porch)
|
|

|
|
Project Lifecycle View #6--closeup (framing started on porch)
|
|
|
|
Wrapped columns and framed-in soffit underway
|
|
|
|
|
|
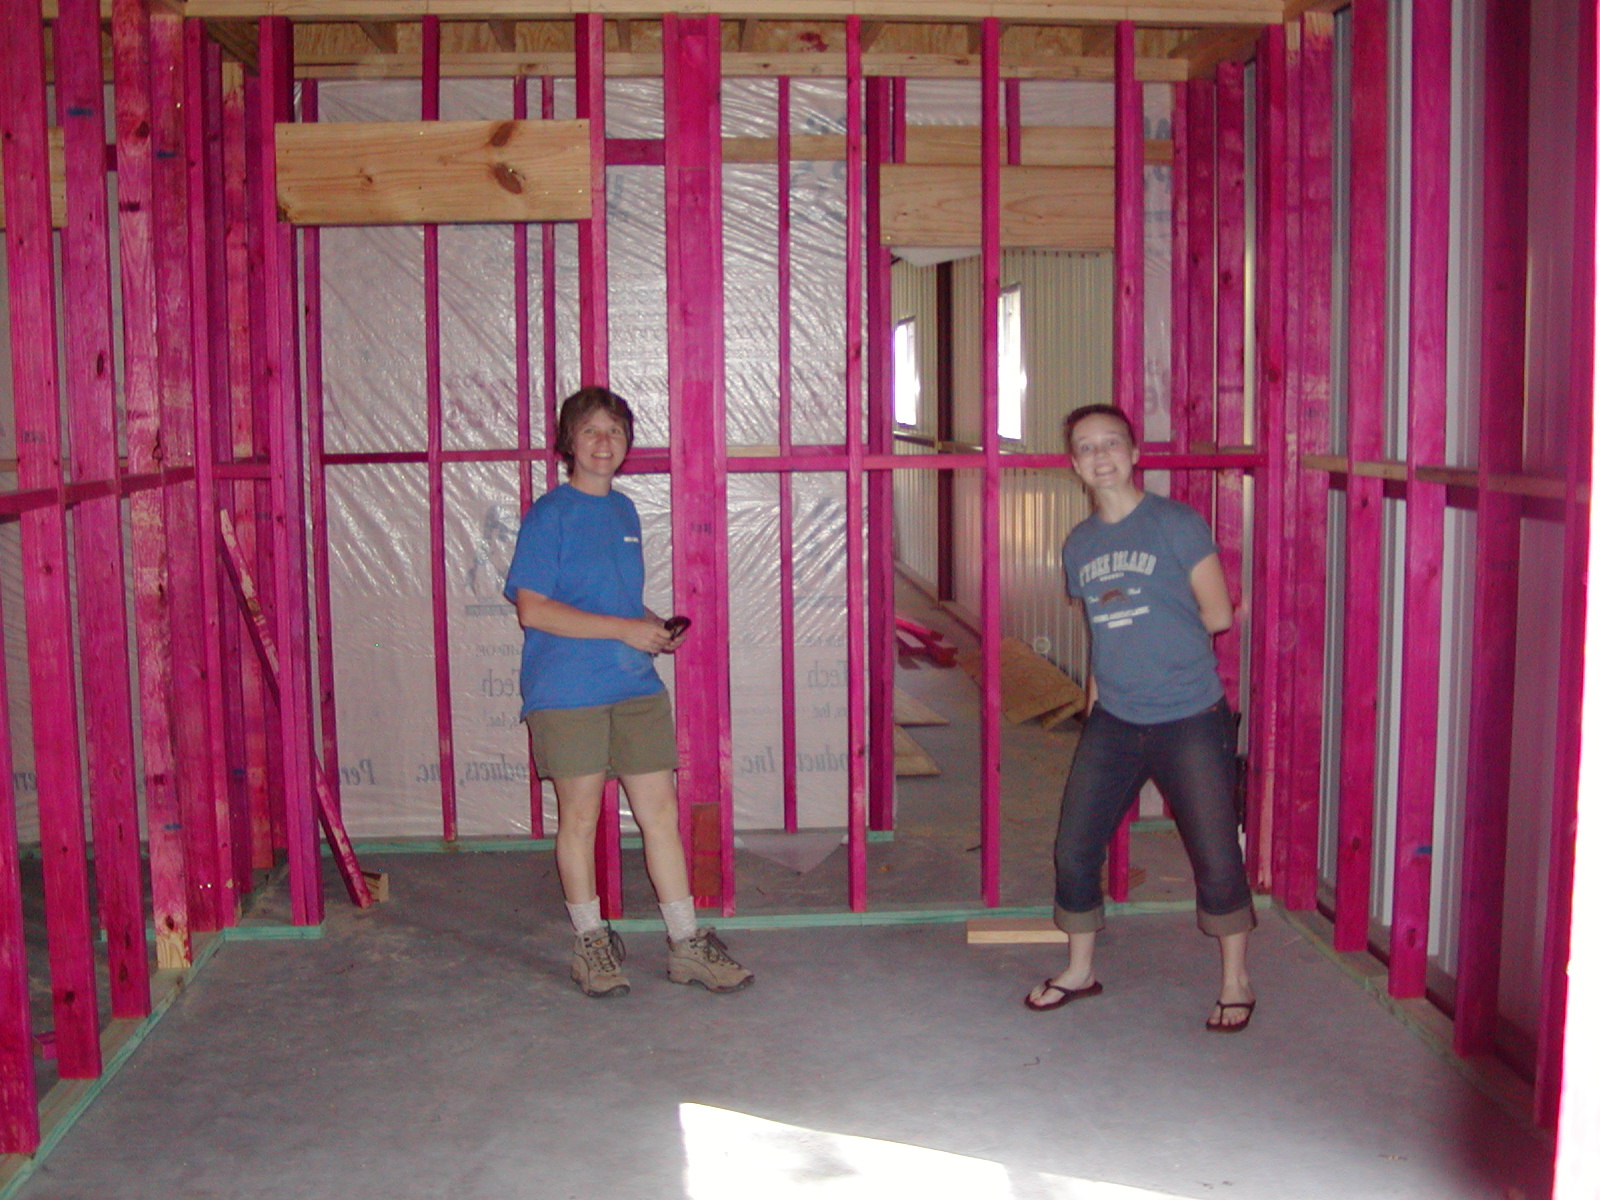
Women in the kitchen
|
|
|
|
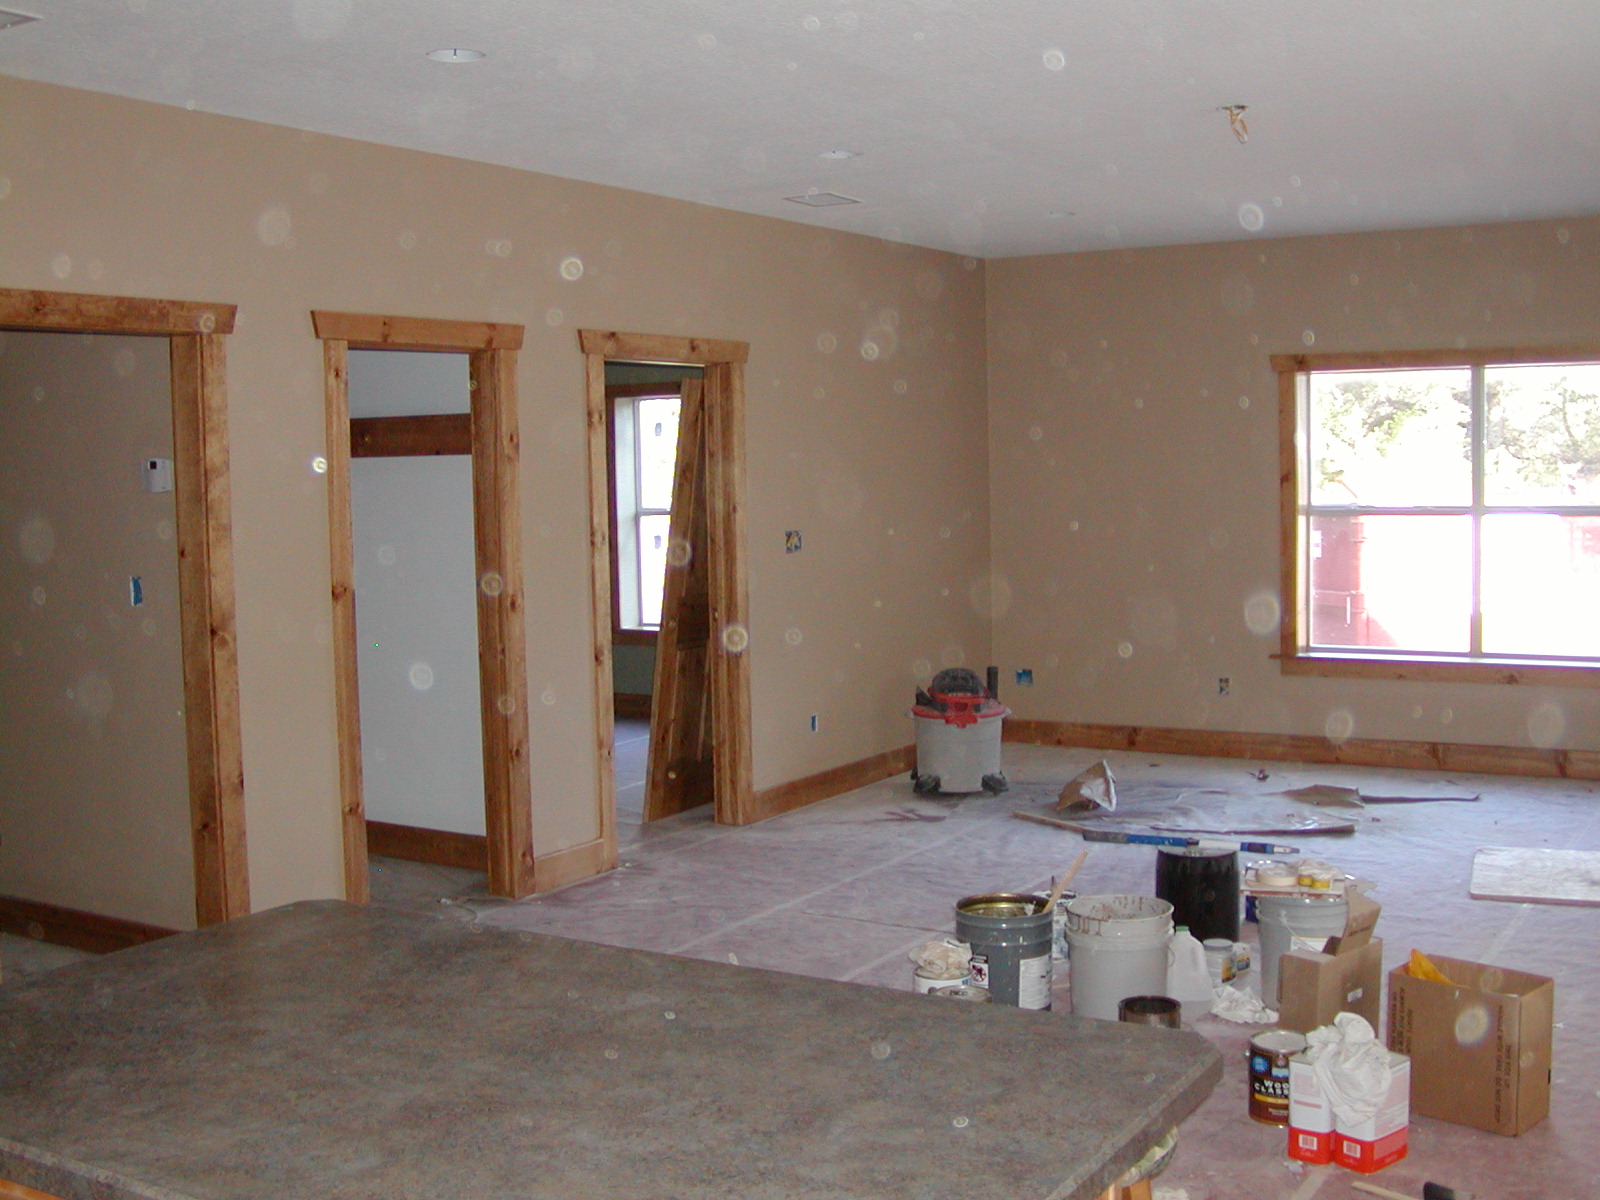
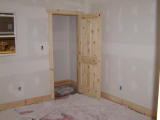
Looking into the master bedroom
|
|
|
|
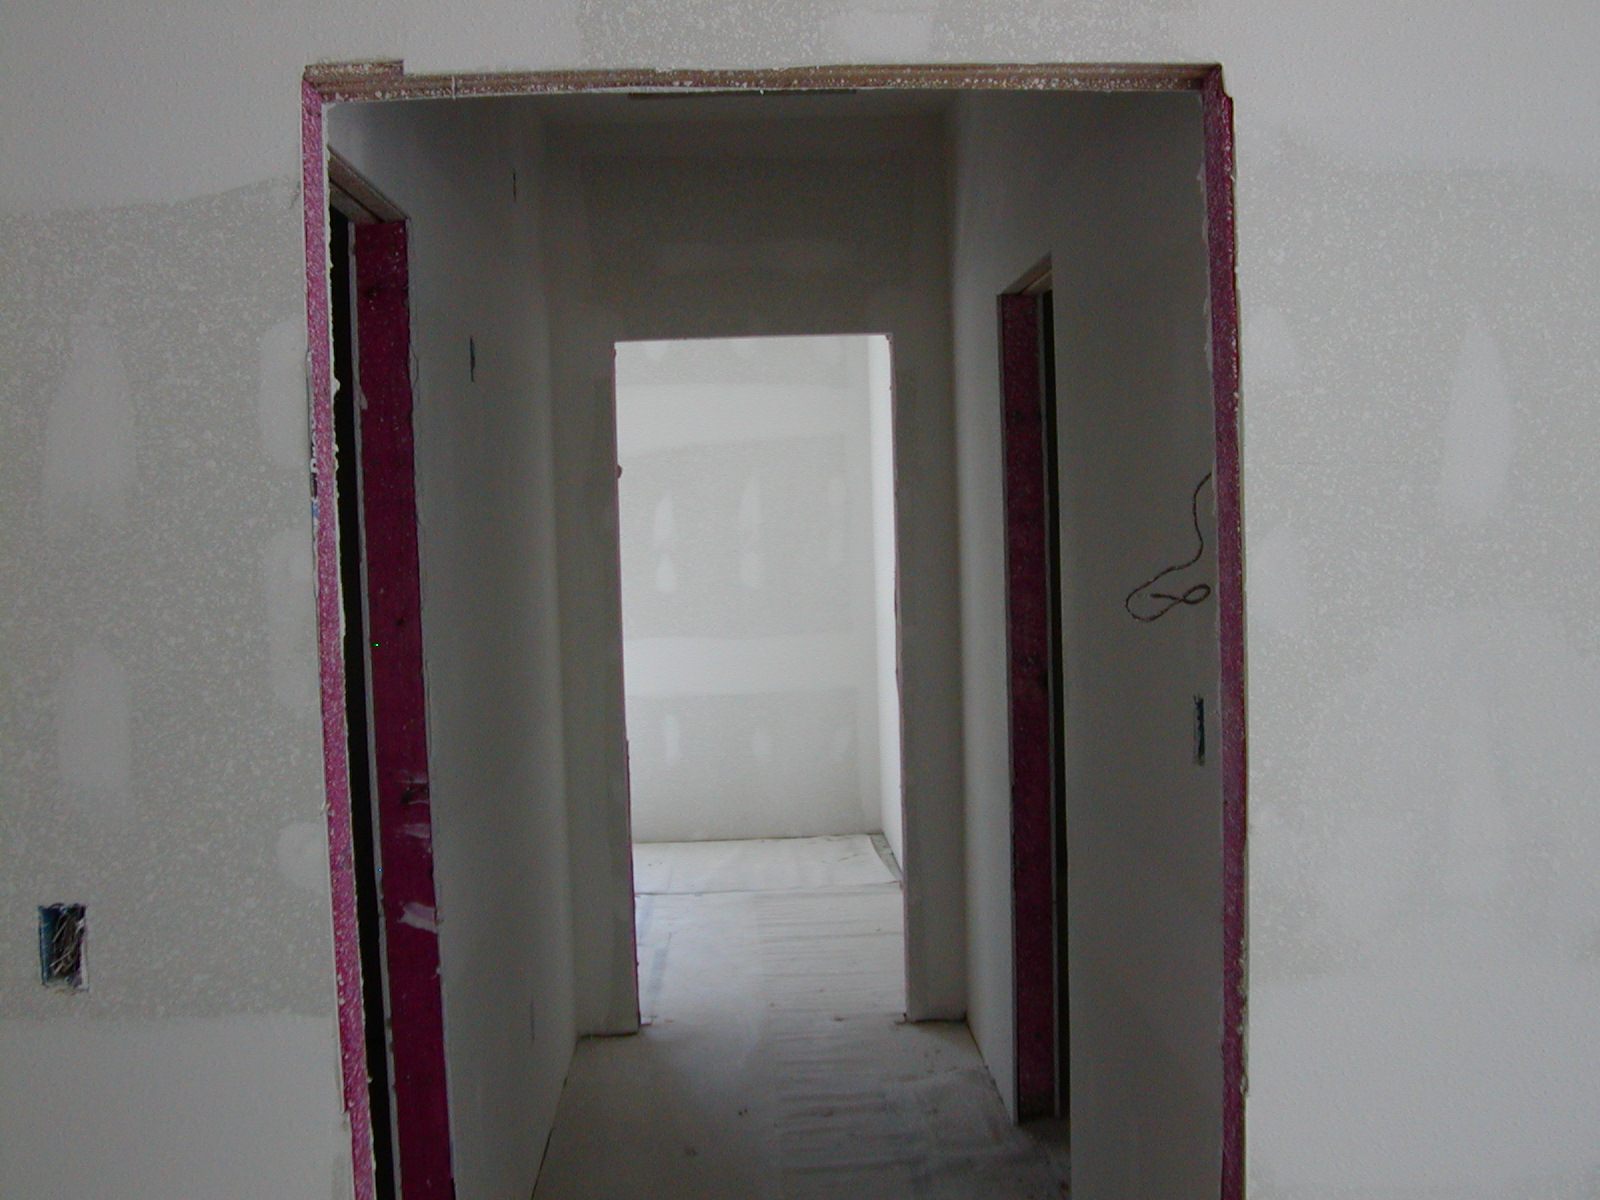
Hallway, coat closet, and master bedroom
|
|
|
|
Bedroom #2 (the longest)
|
|
|
|
|
|
Rustic-looking living area (view from the shop)
|
|
|
|
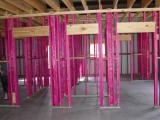
They'll cover up that framing soon -- this will be a workshop area
|
|
|
|
No one gets between Lisa and her front porch
|
|

|
|
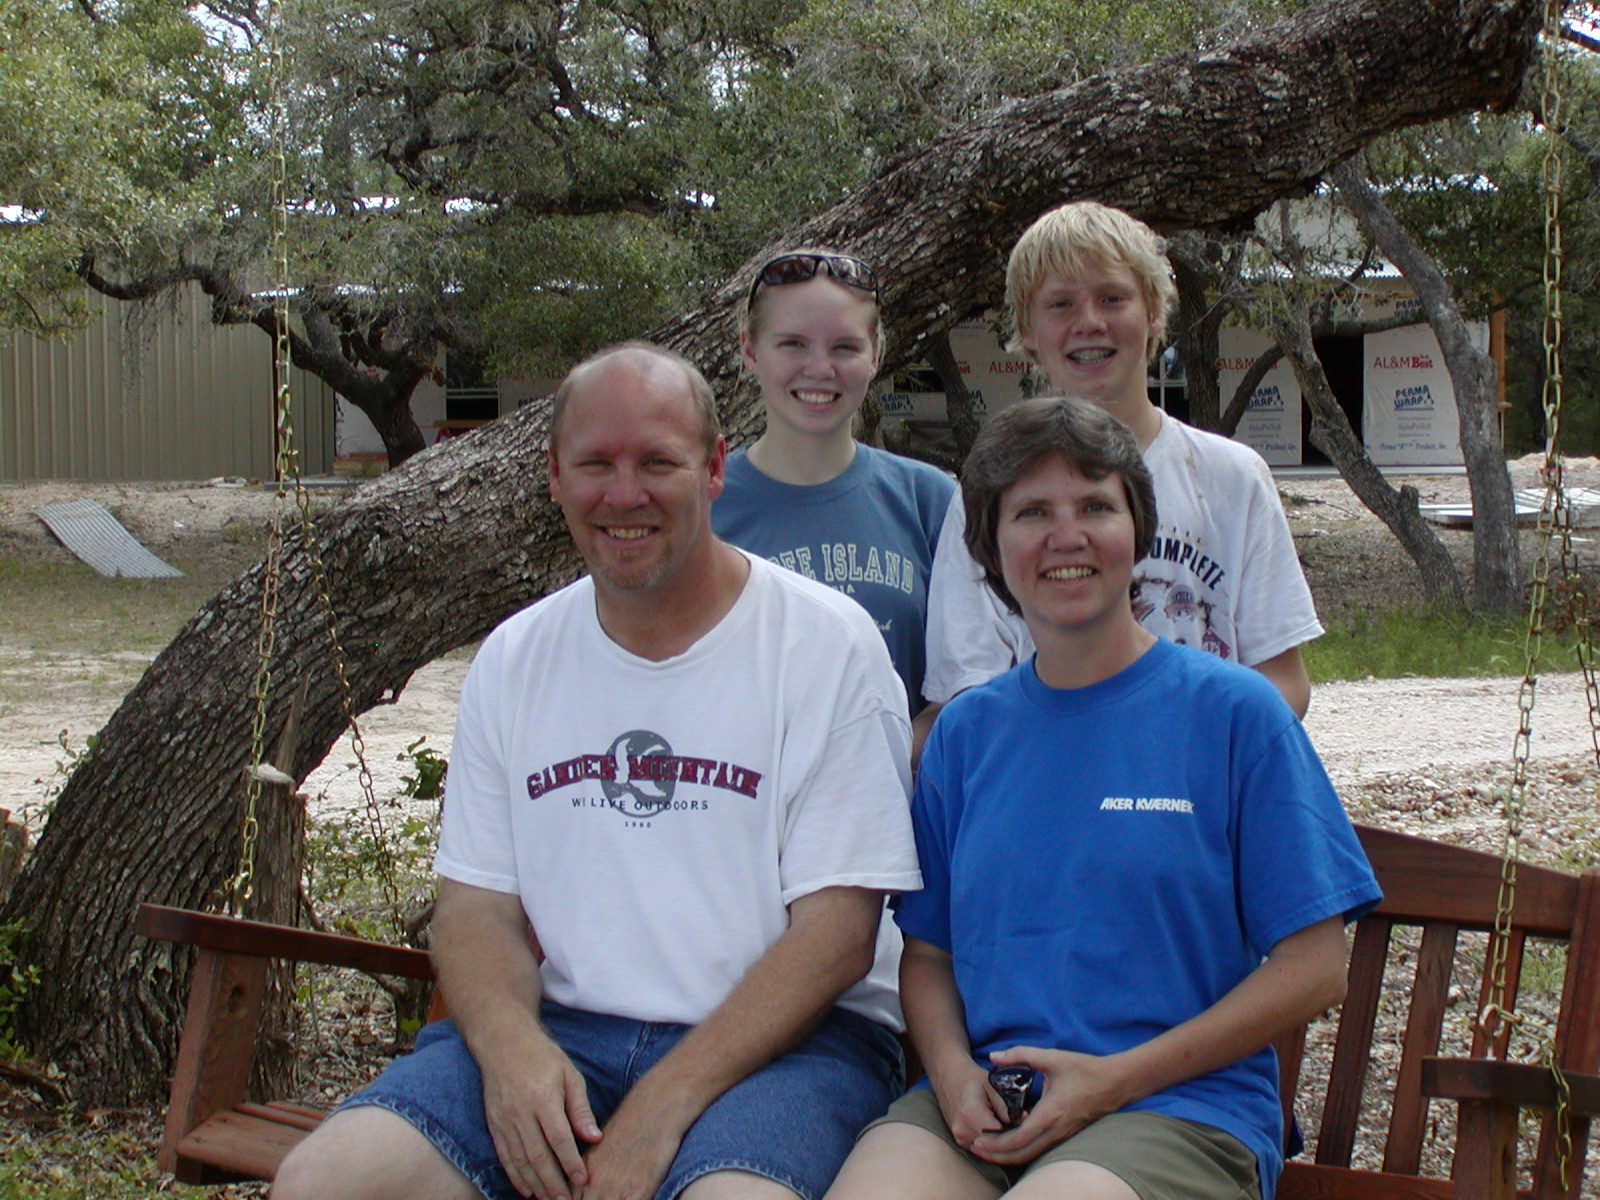
First family pic in front of the cabin!
|
|
|
|
|
|
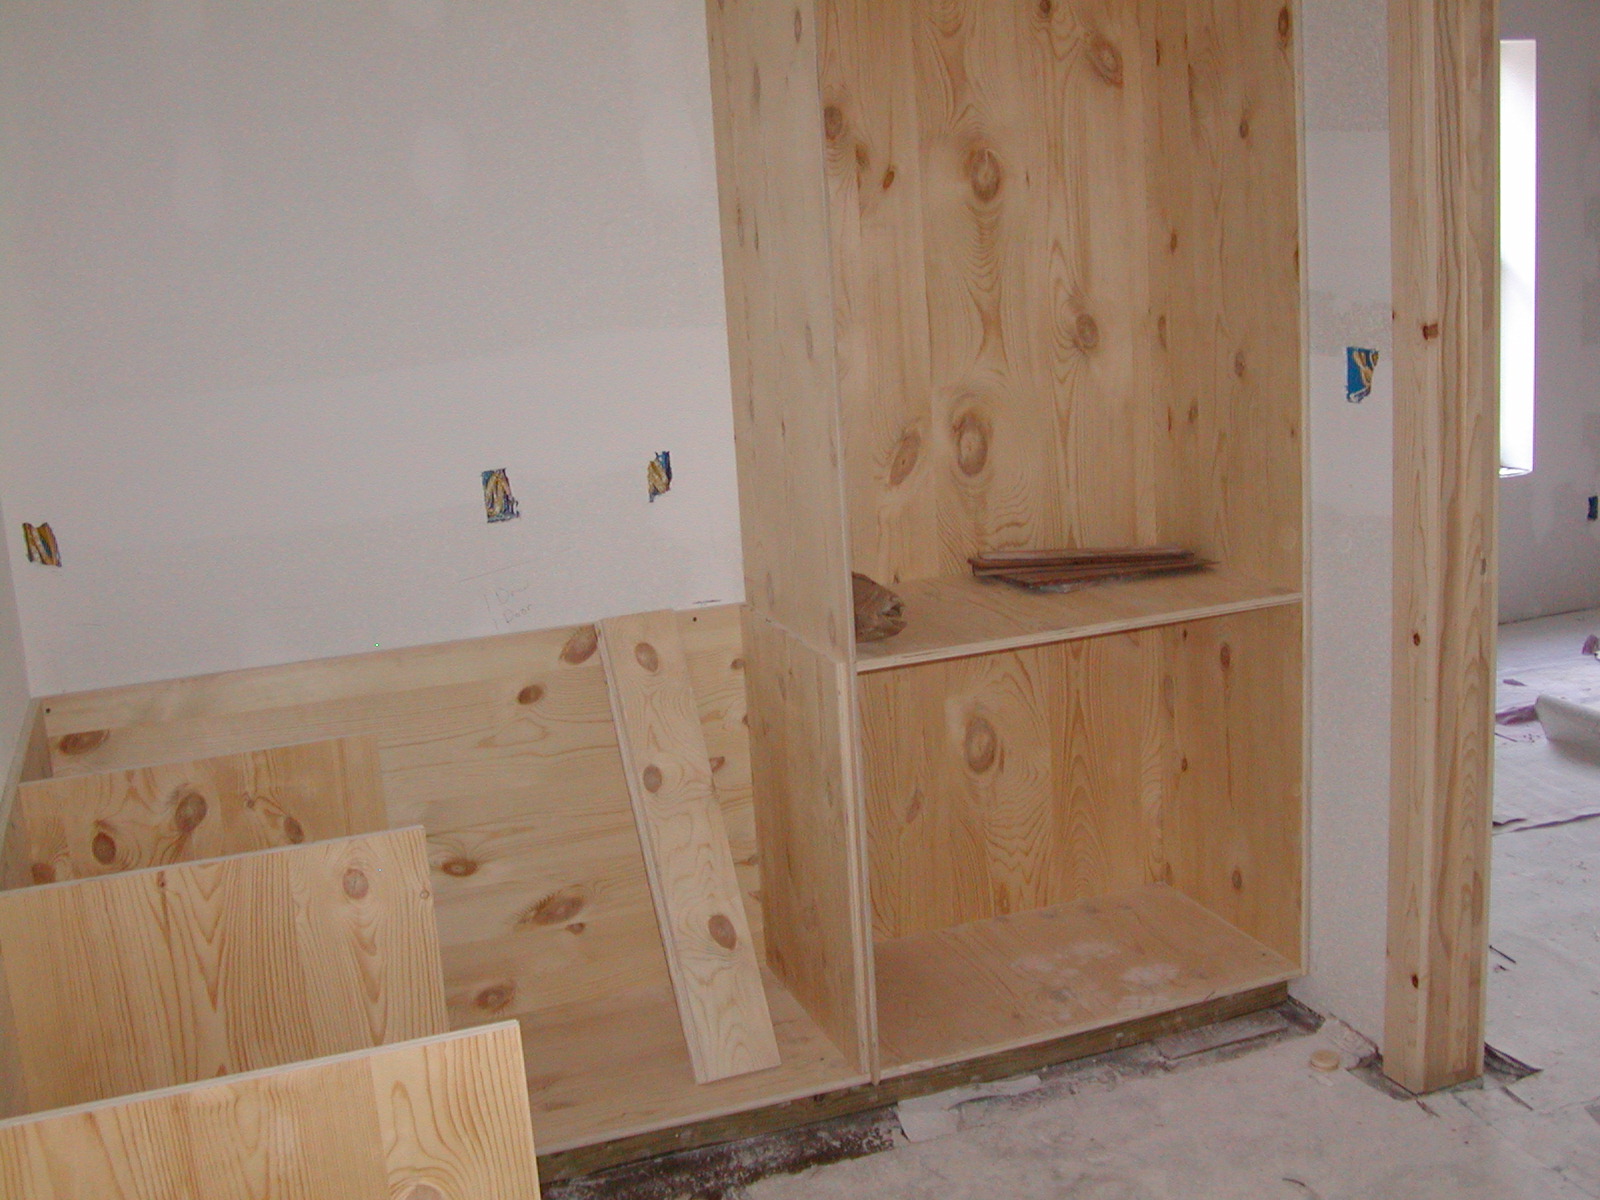
Hmmm... maybe we should build real cabinets instead
|
|
|
|
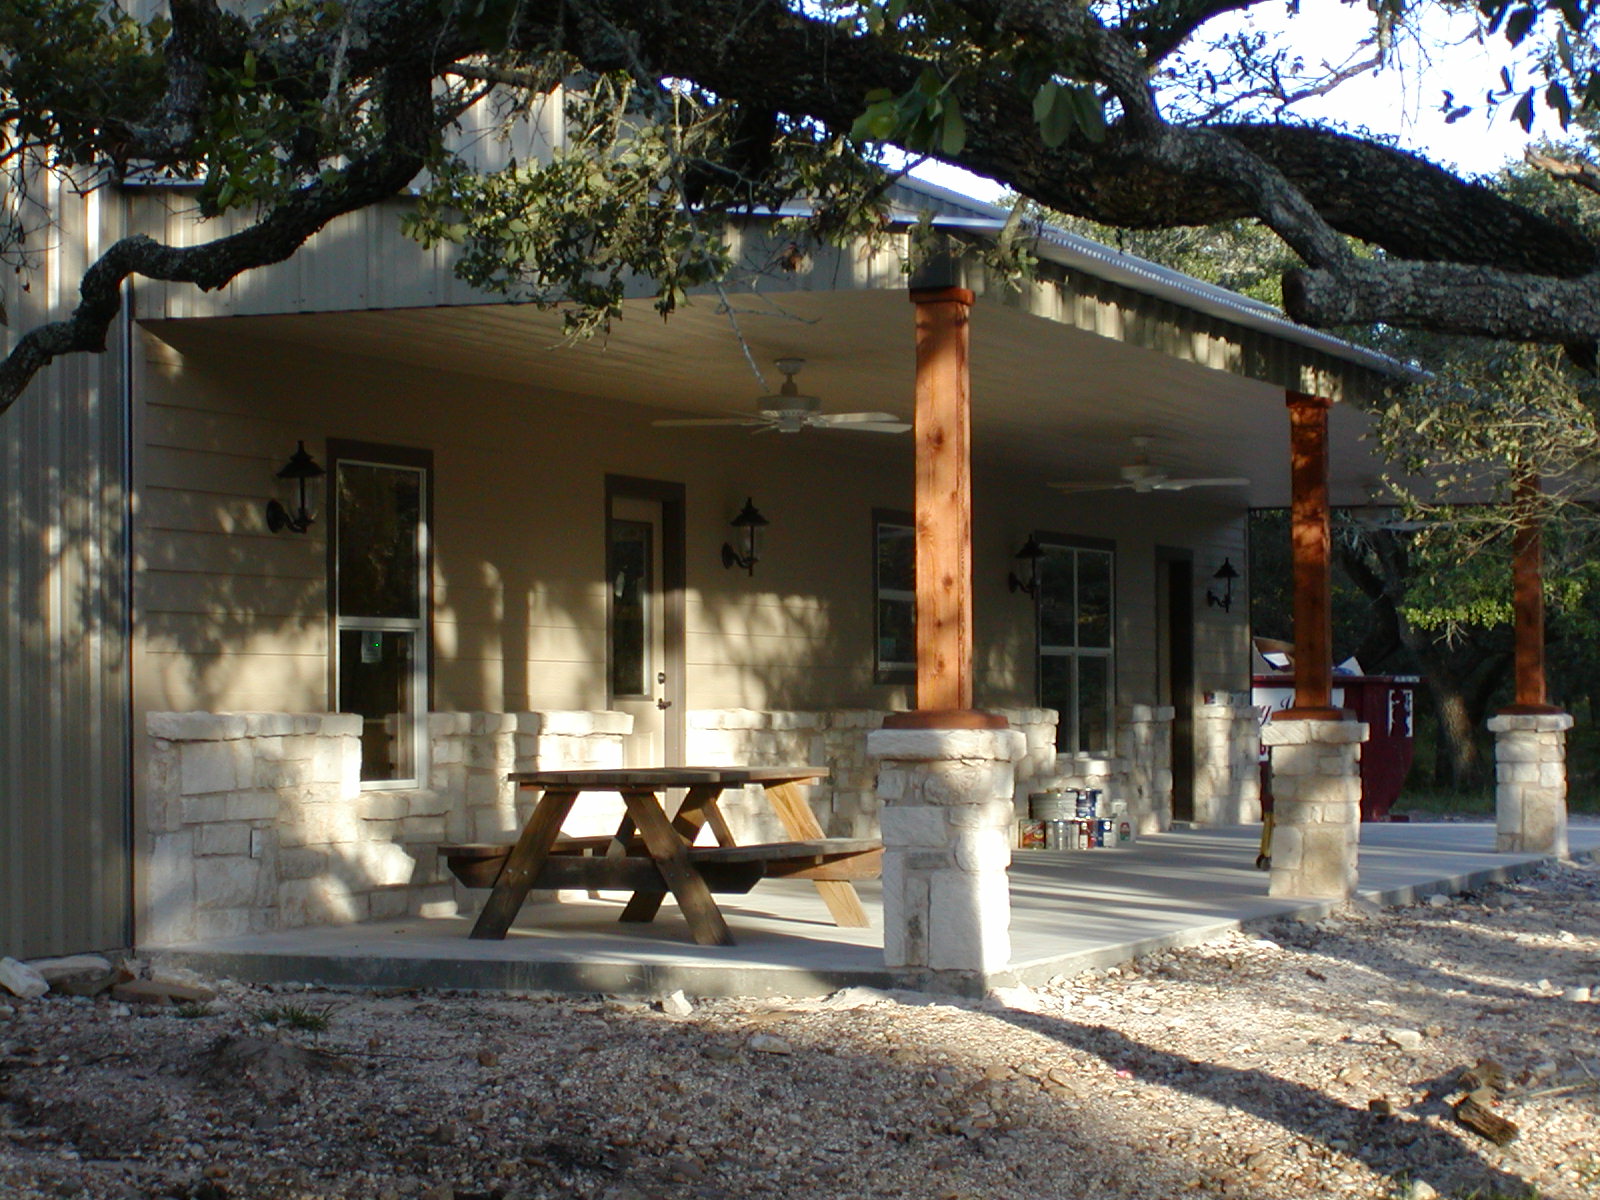
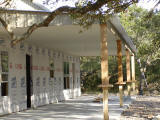
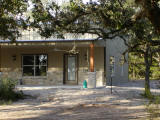
Front view of the porch (from the west)
|
|
|
|
Project Lifecycle View #7 (framing done except for Hardi)
|
|
|
|
Project Lifecycle View #7--closeup (framing done except for Hardi)
|
|
|
|
|
|
View from the driveway
|
|

|
|
Half-bath in the corner
|
|
|
|
Soffit finished
|
|
|
|
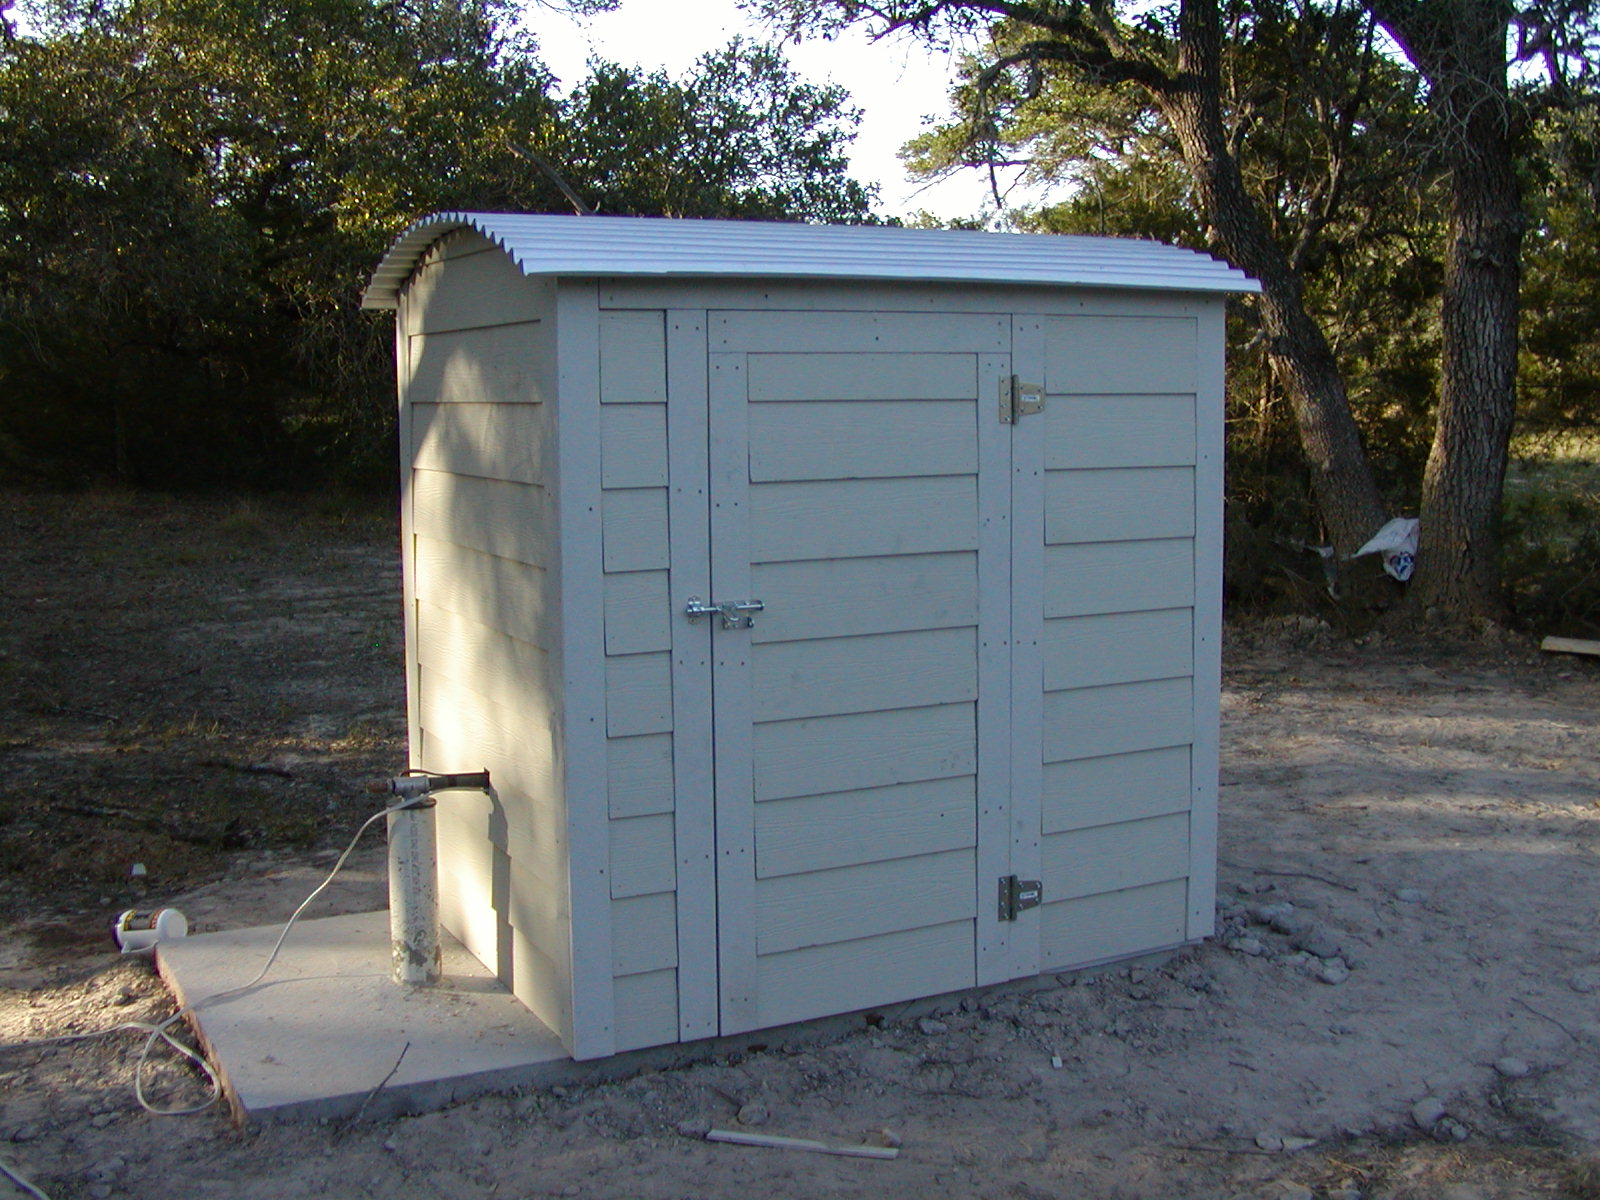
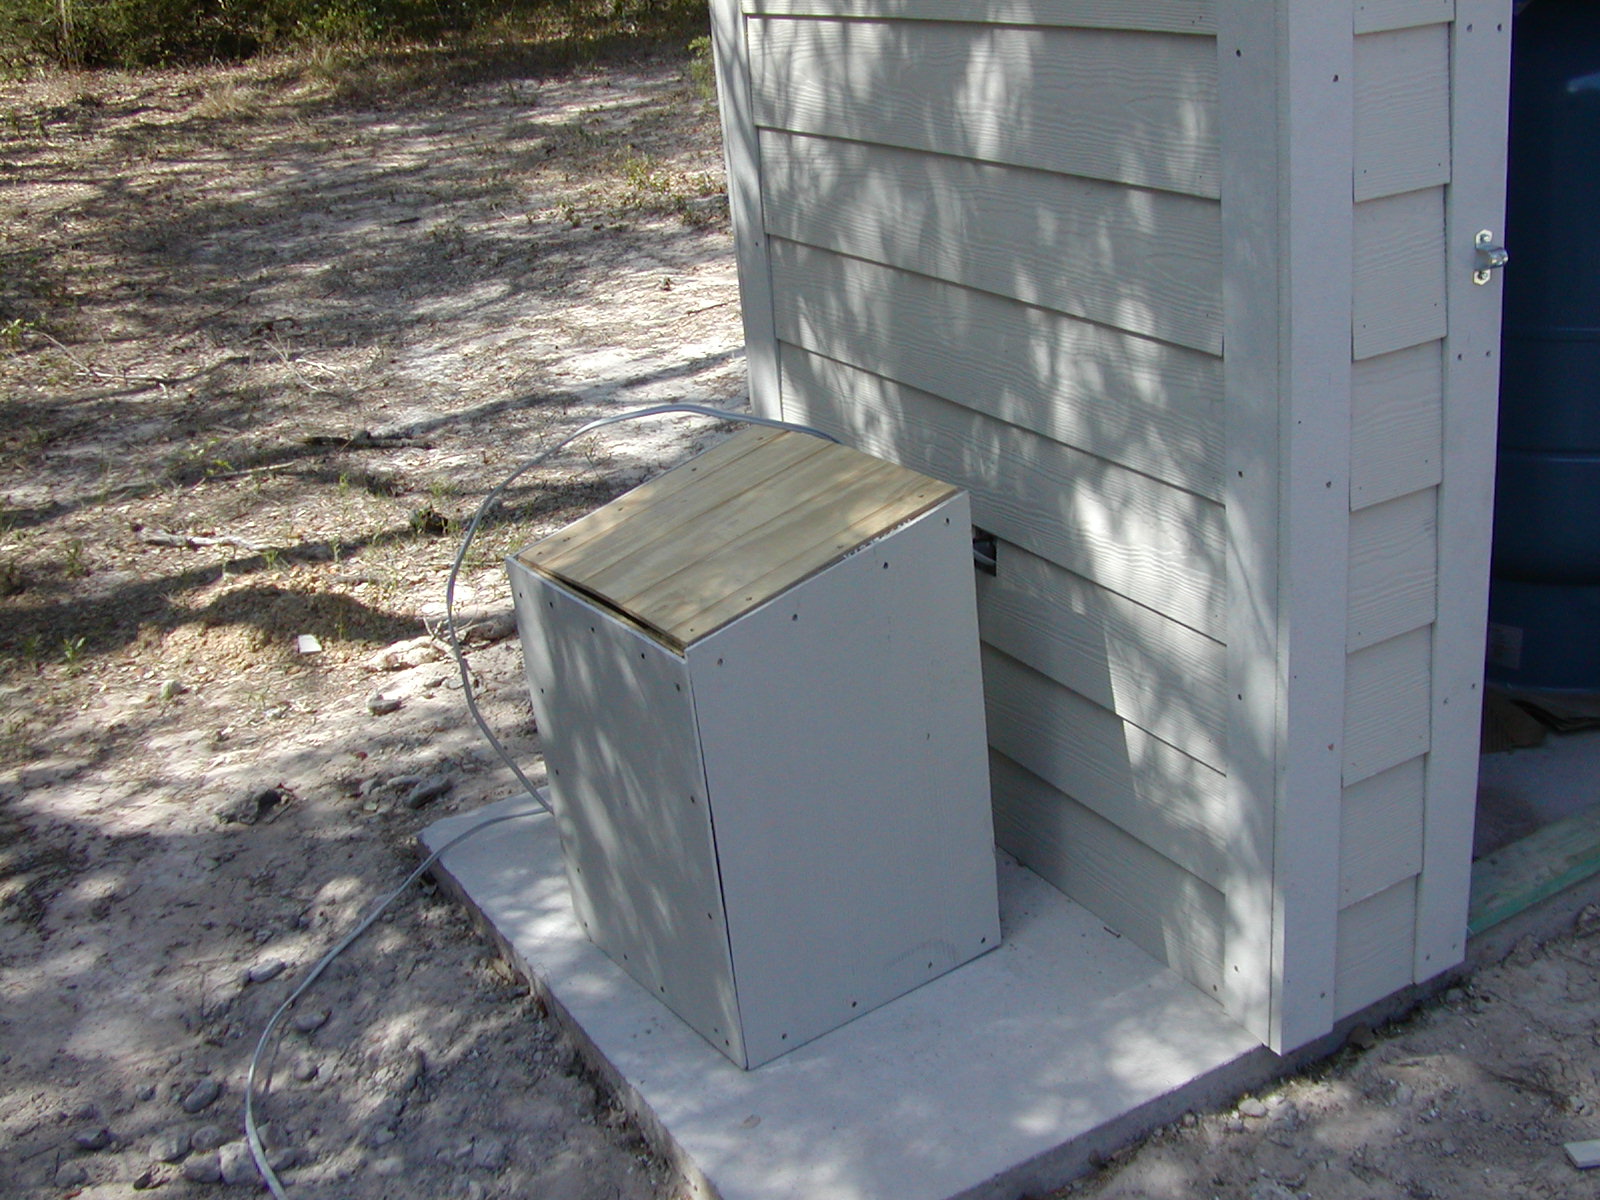
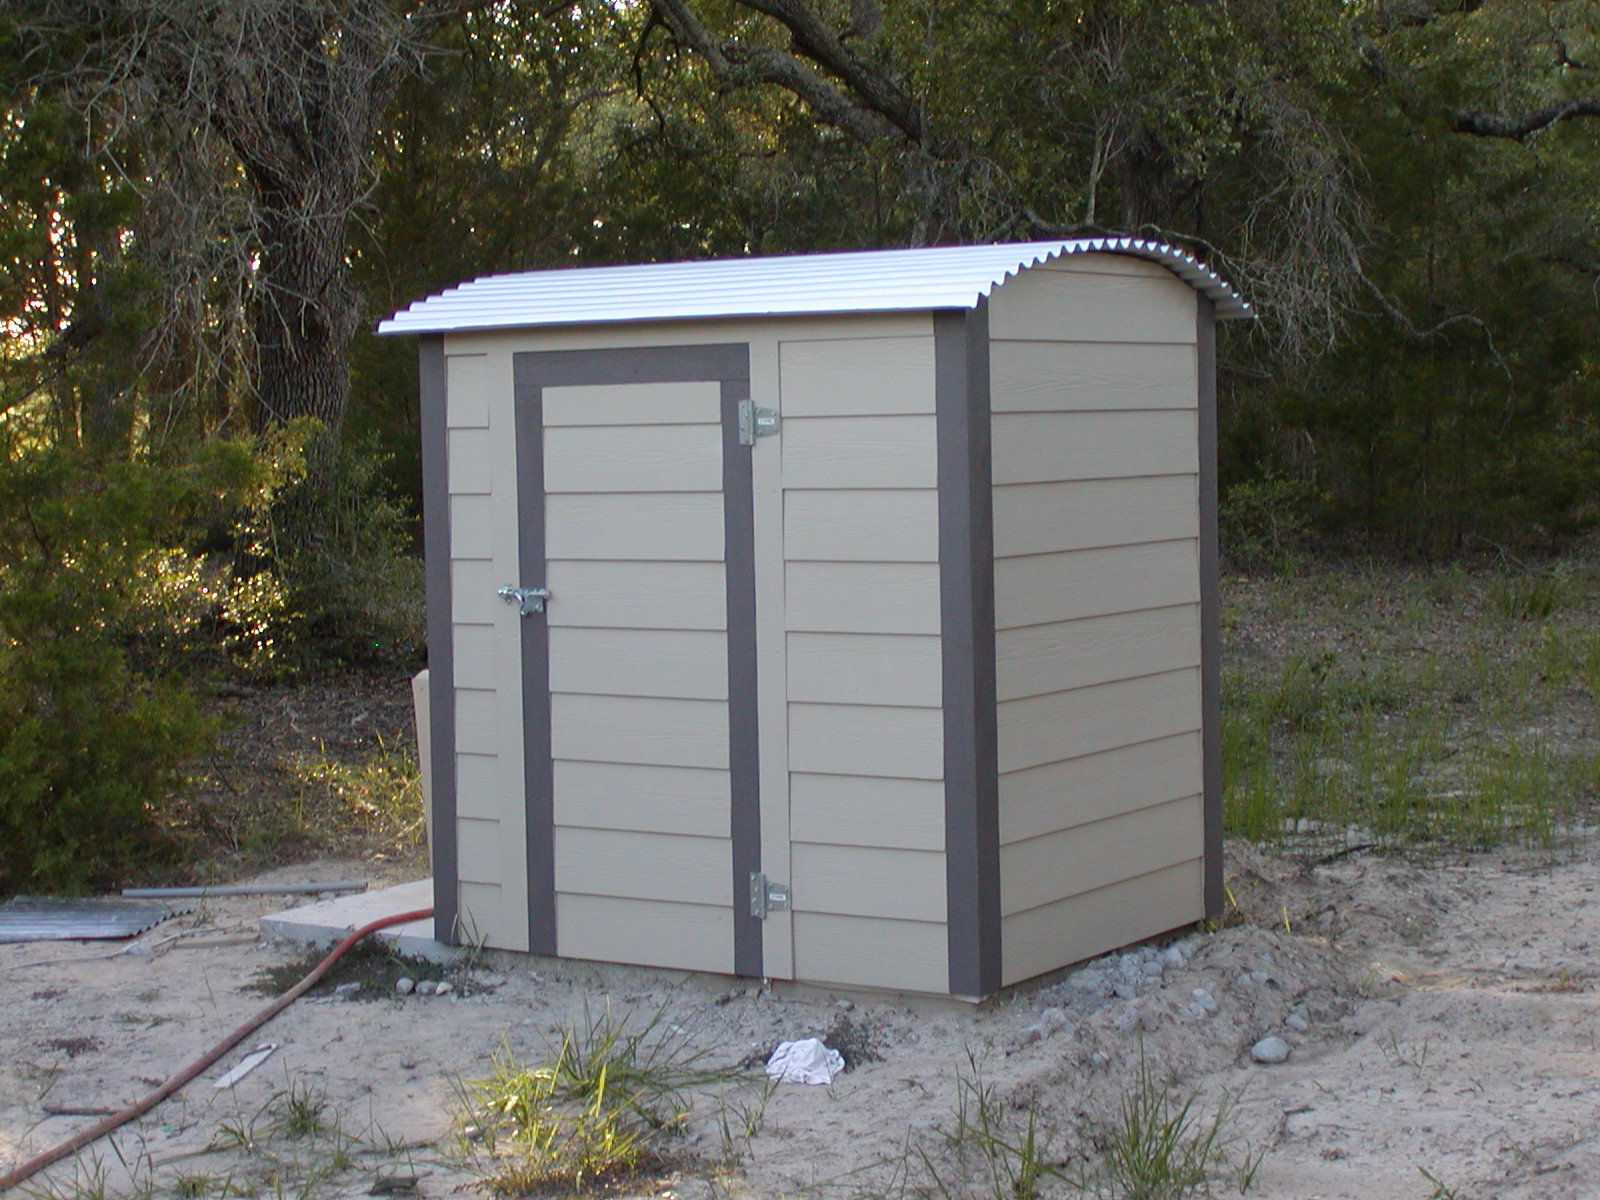
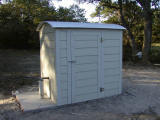
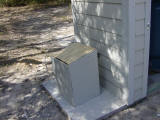
The pumphouse for the water well ("Mini-Me")
|
|
|
|
|
|
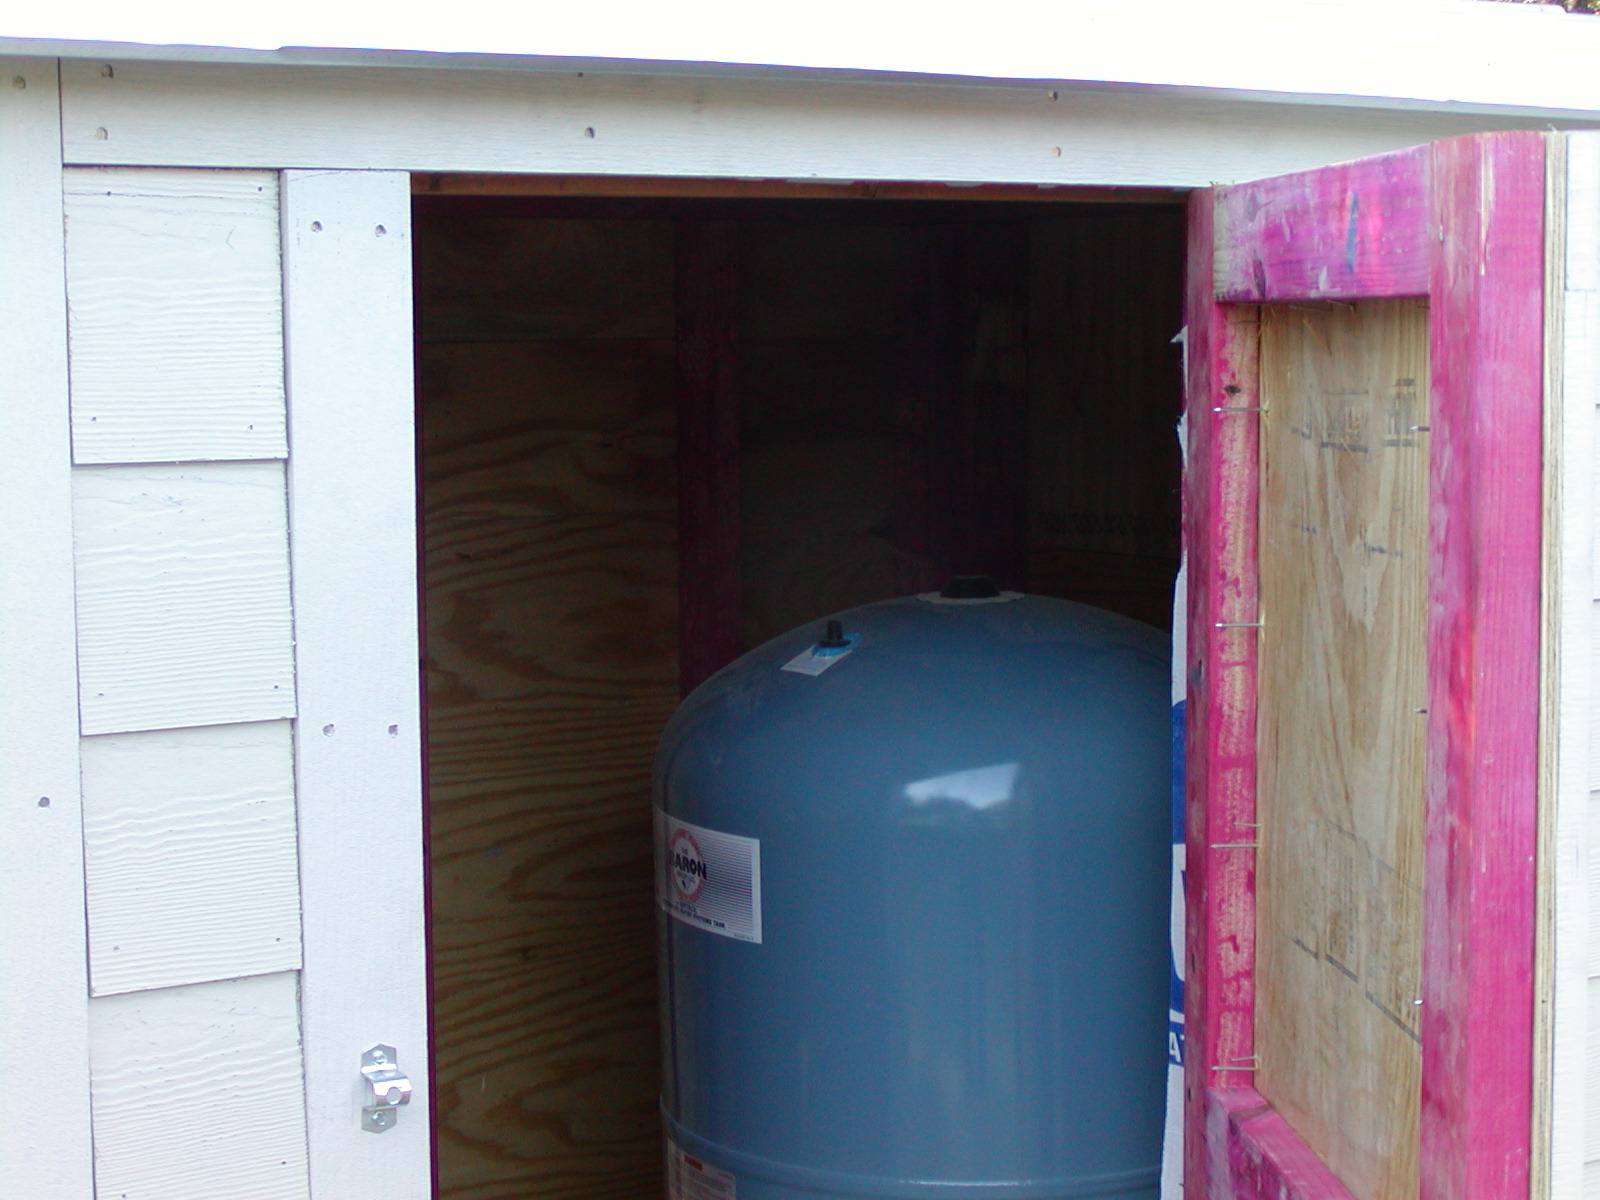
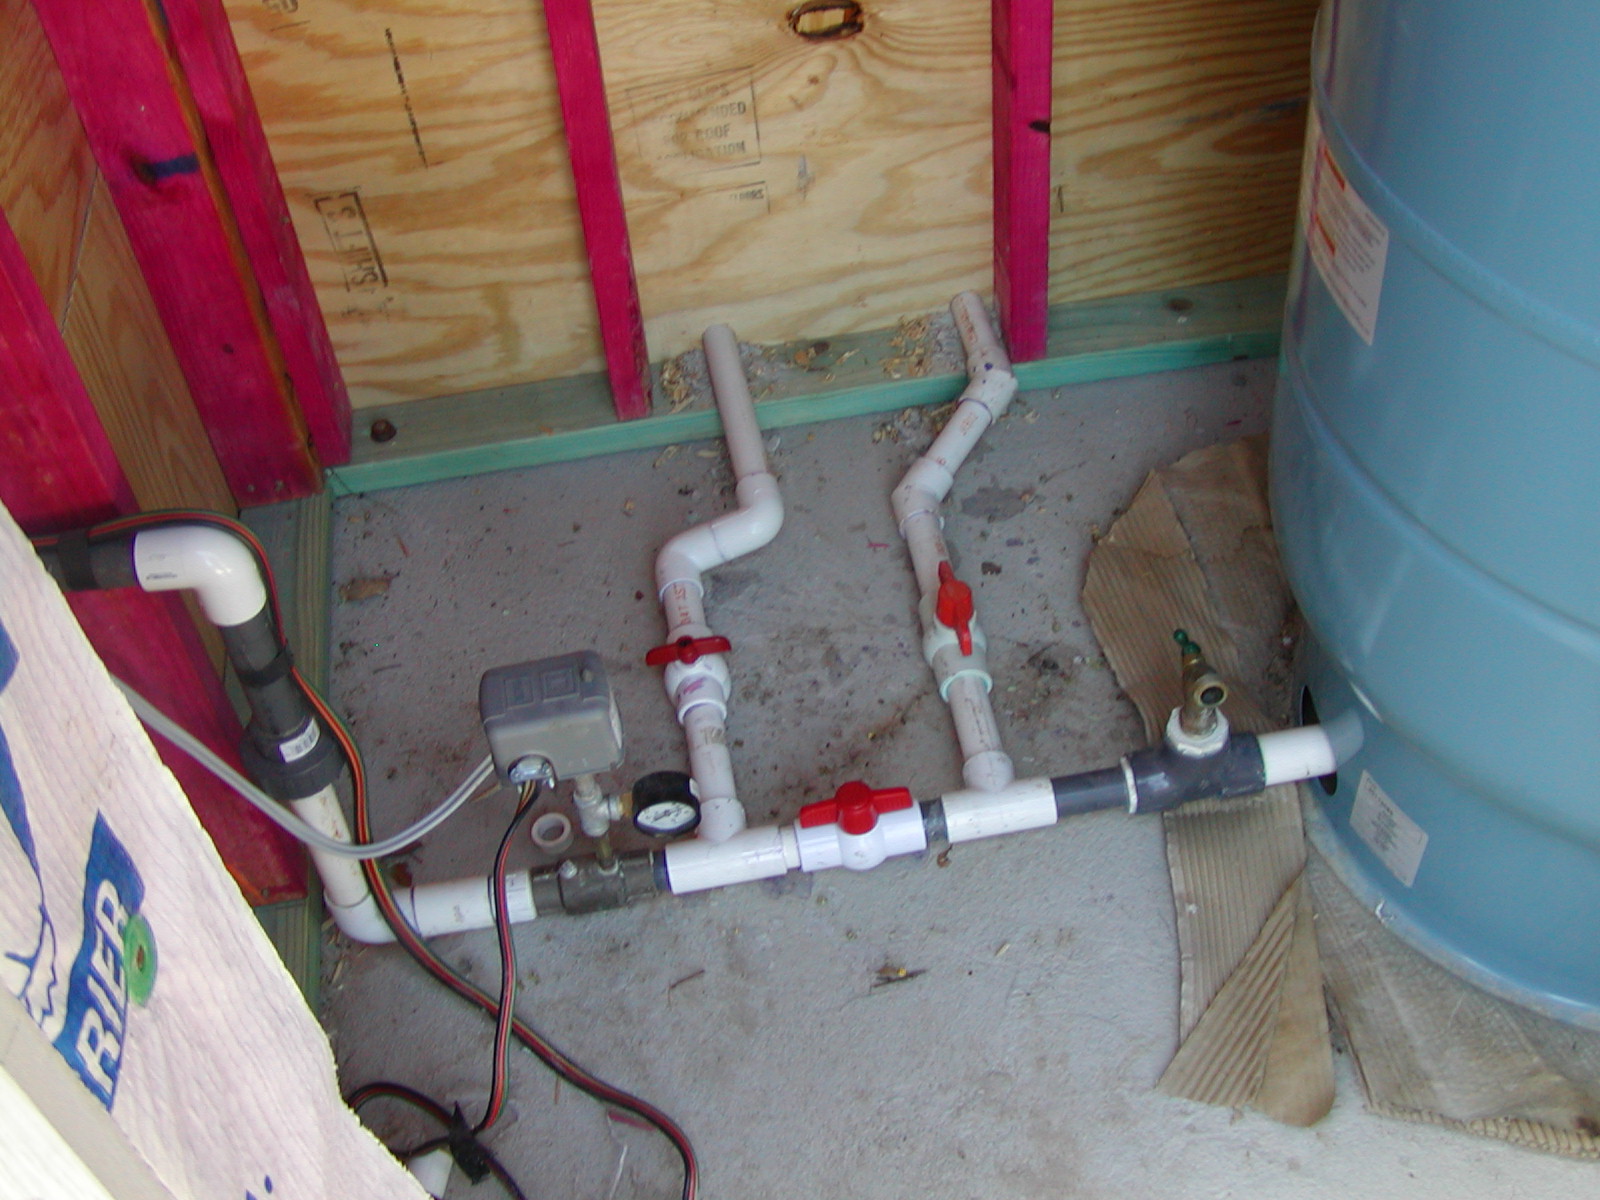
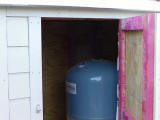
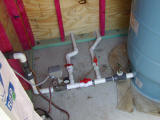
Here's the pressure tank
|
|
|
|
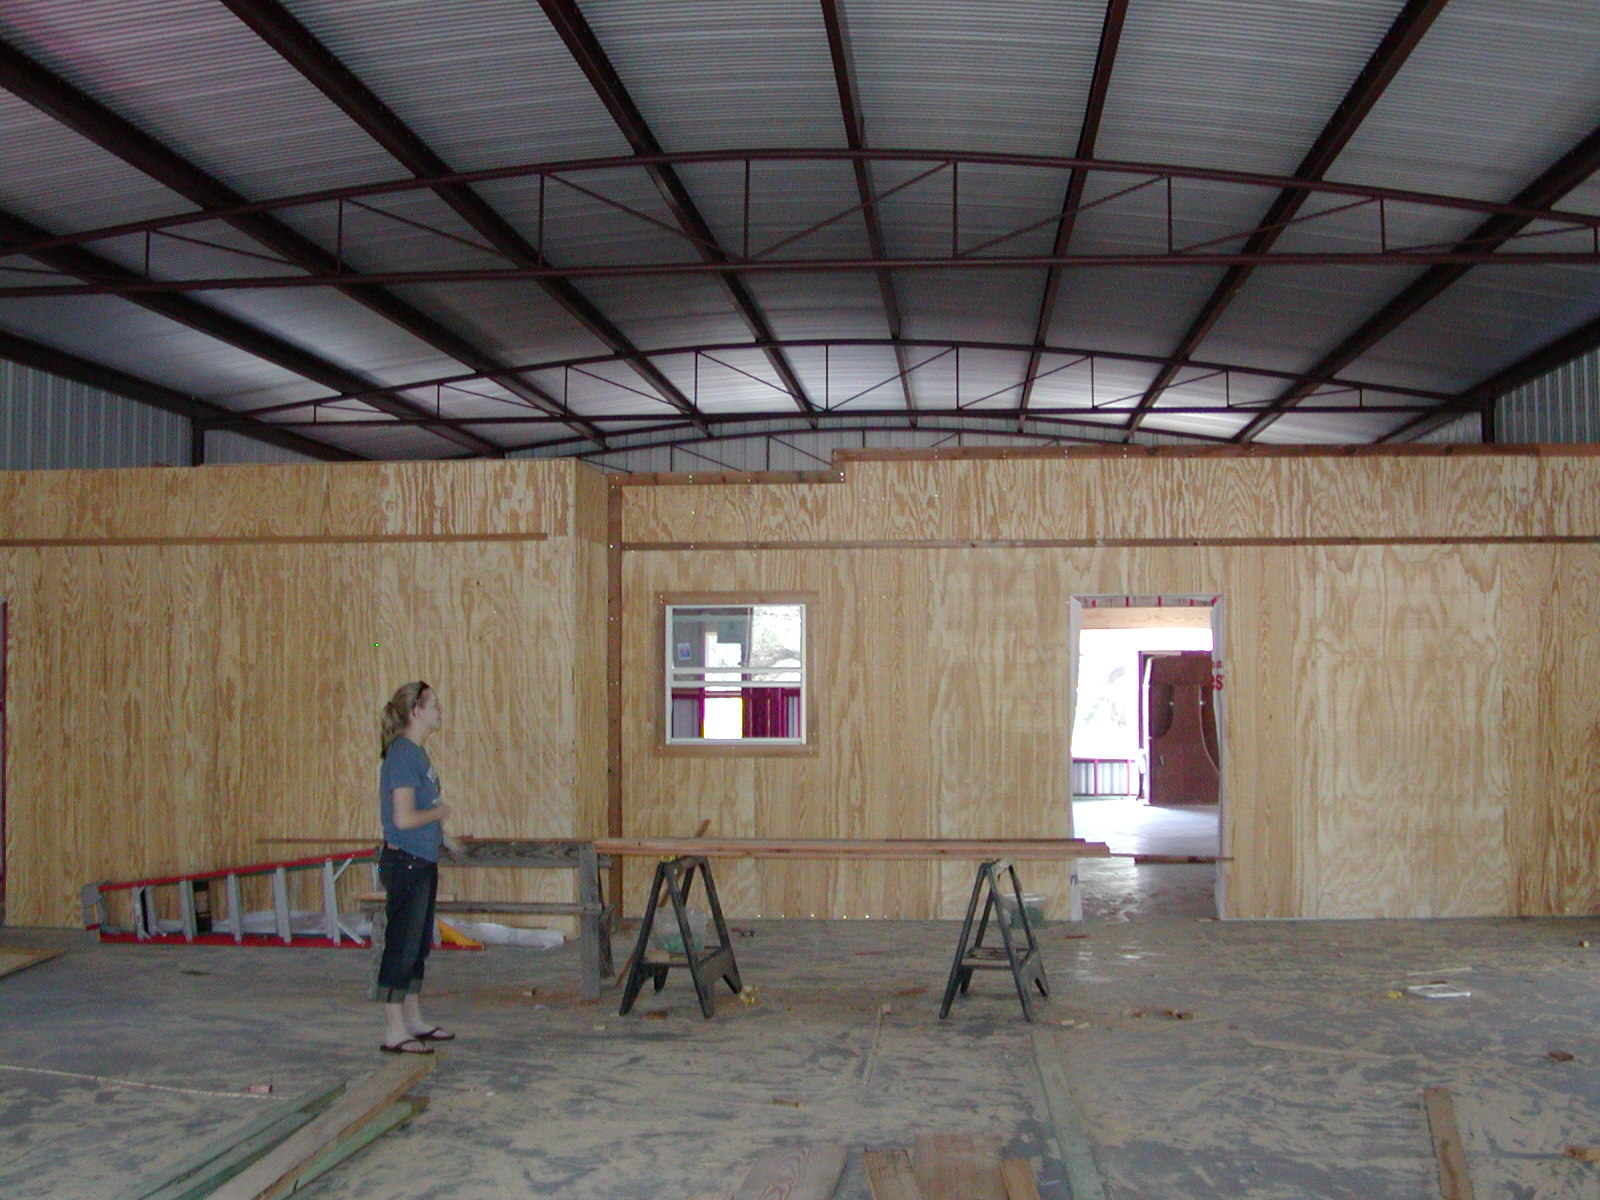
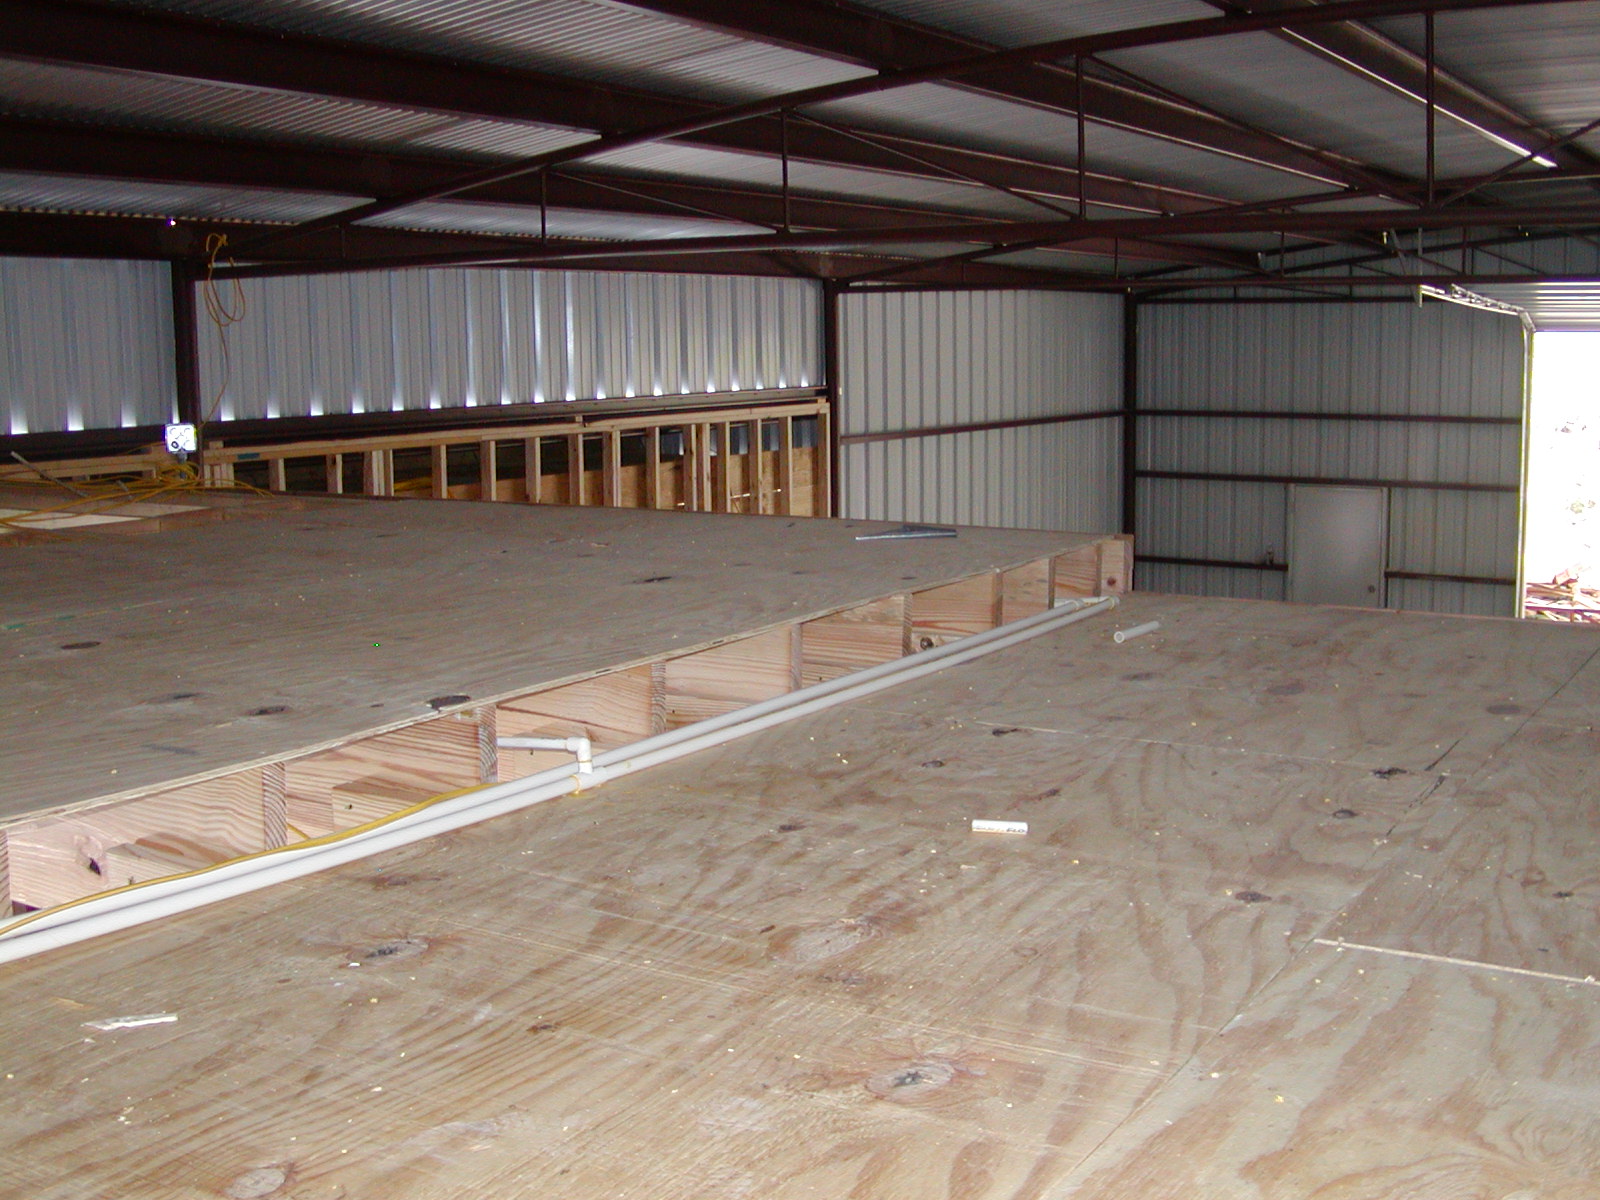
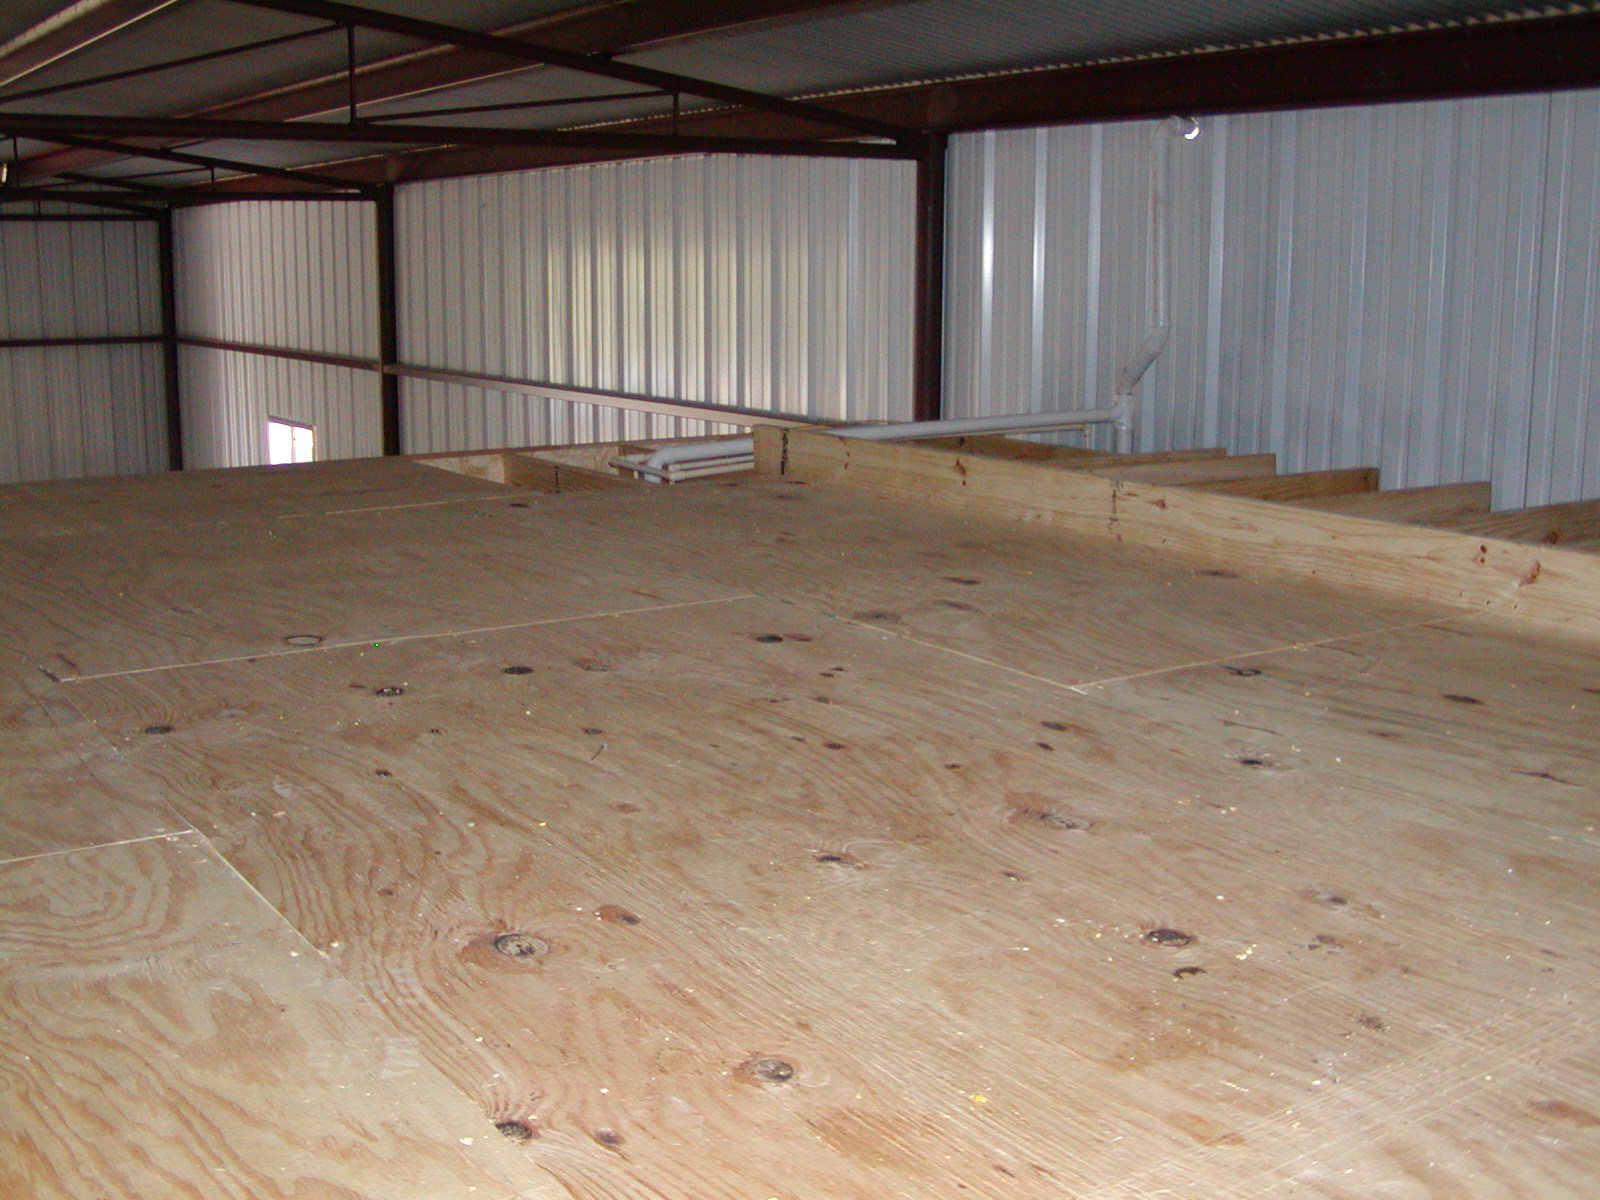
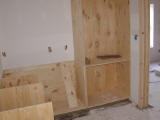
They installed plywood above the living area
|
|
|
|
Plenty of room to store things... this is the view from the attic stairs
|
|
|
|
Project Lifecycle View #8 (may not be much different than #7)
|
|
|
|

|
|
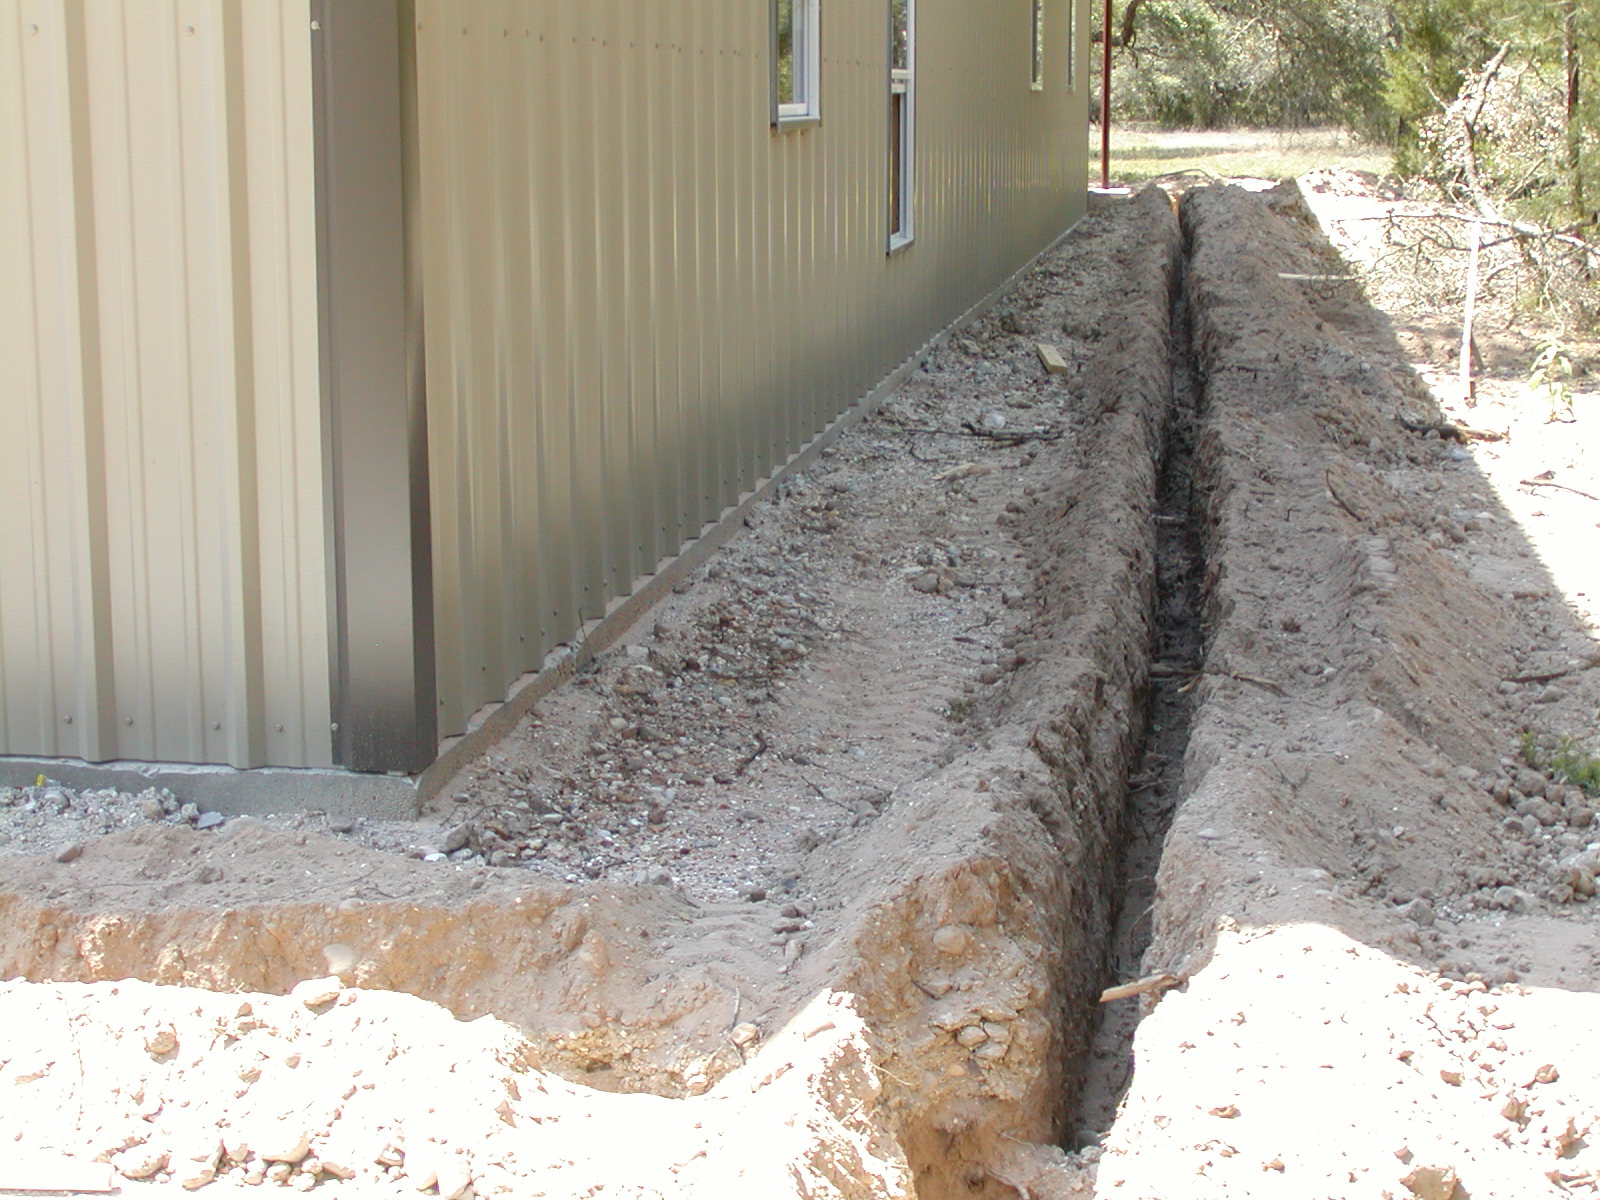
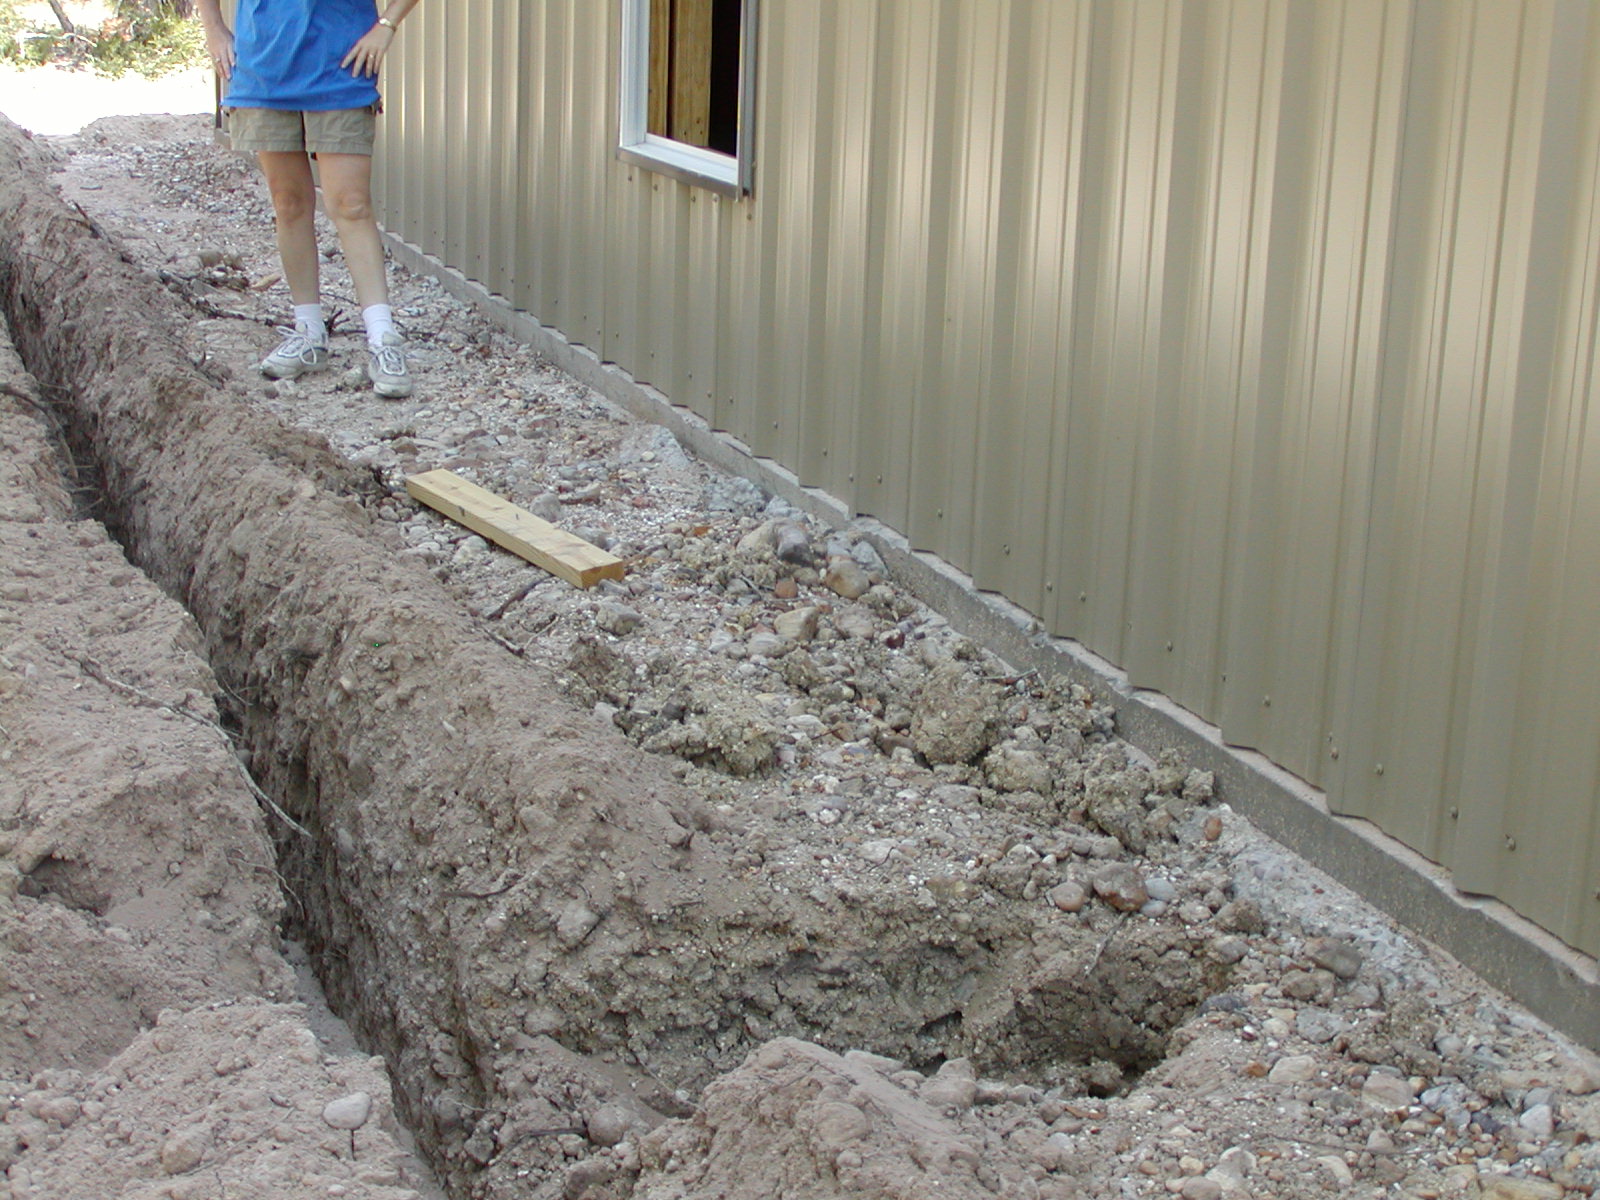
Trenches for the plumbing
|
|
|
|
Trench to the half-bath
|
|
|
|
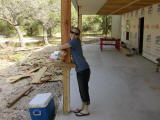
Susan and Rodney trimmed these out on a Friday evening
|
|
|
|
Susan and Rodney trimmed these out on a Friday evening
|
|
|
|
|
|
Project Lifecycle View #9 (Front porch doors, windows, and Hardi complete)
|
|
|
|
Project Lifecycle View #9--closeup (Front porch doors, windows, and Hardi complete)
|
|

|
|
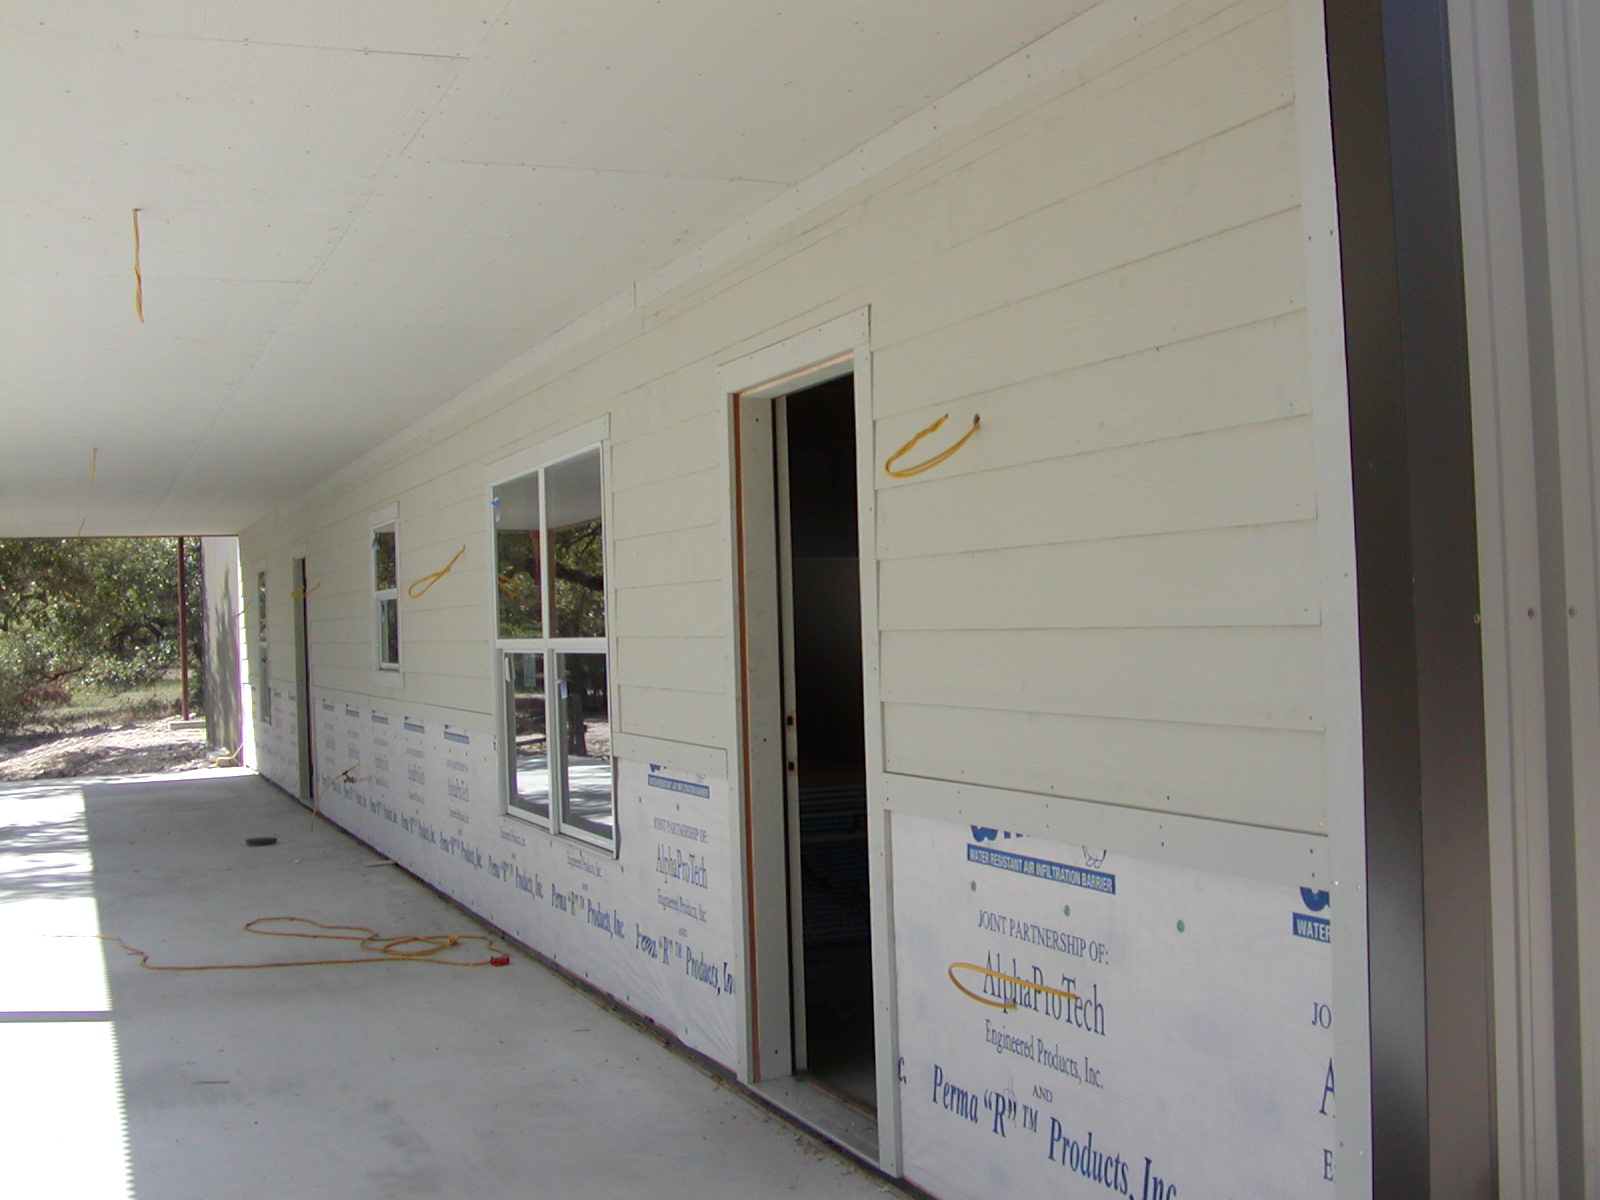
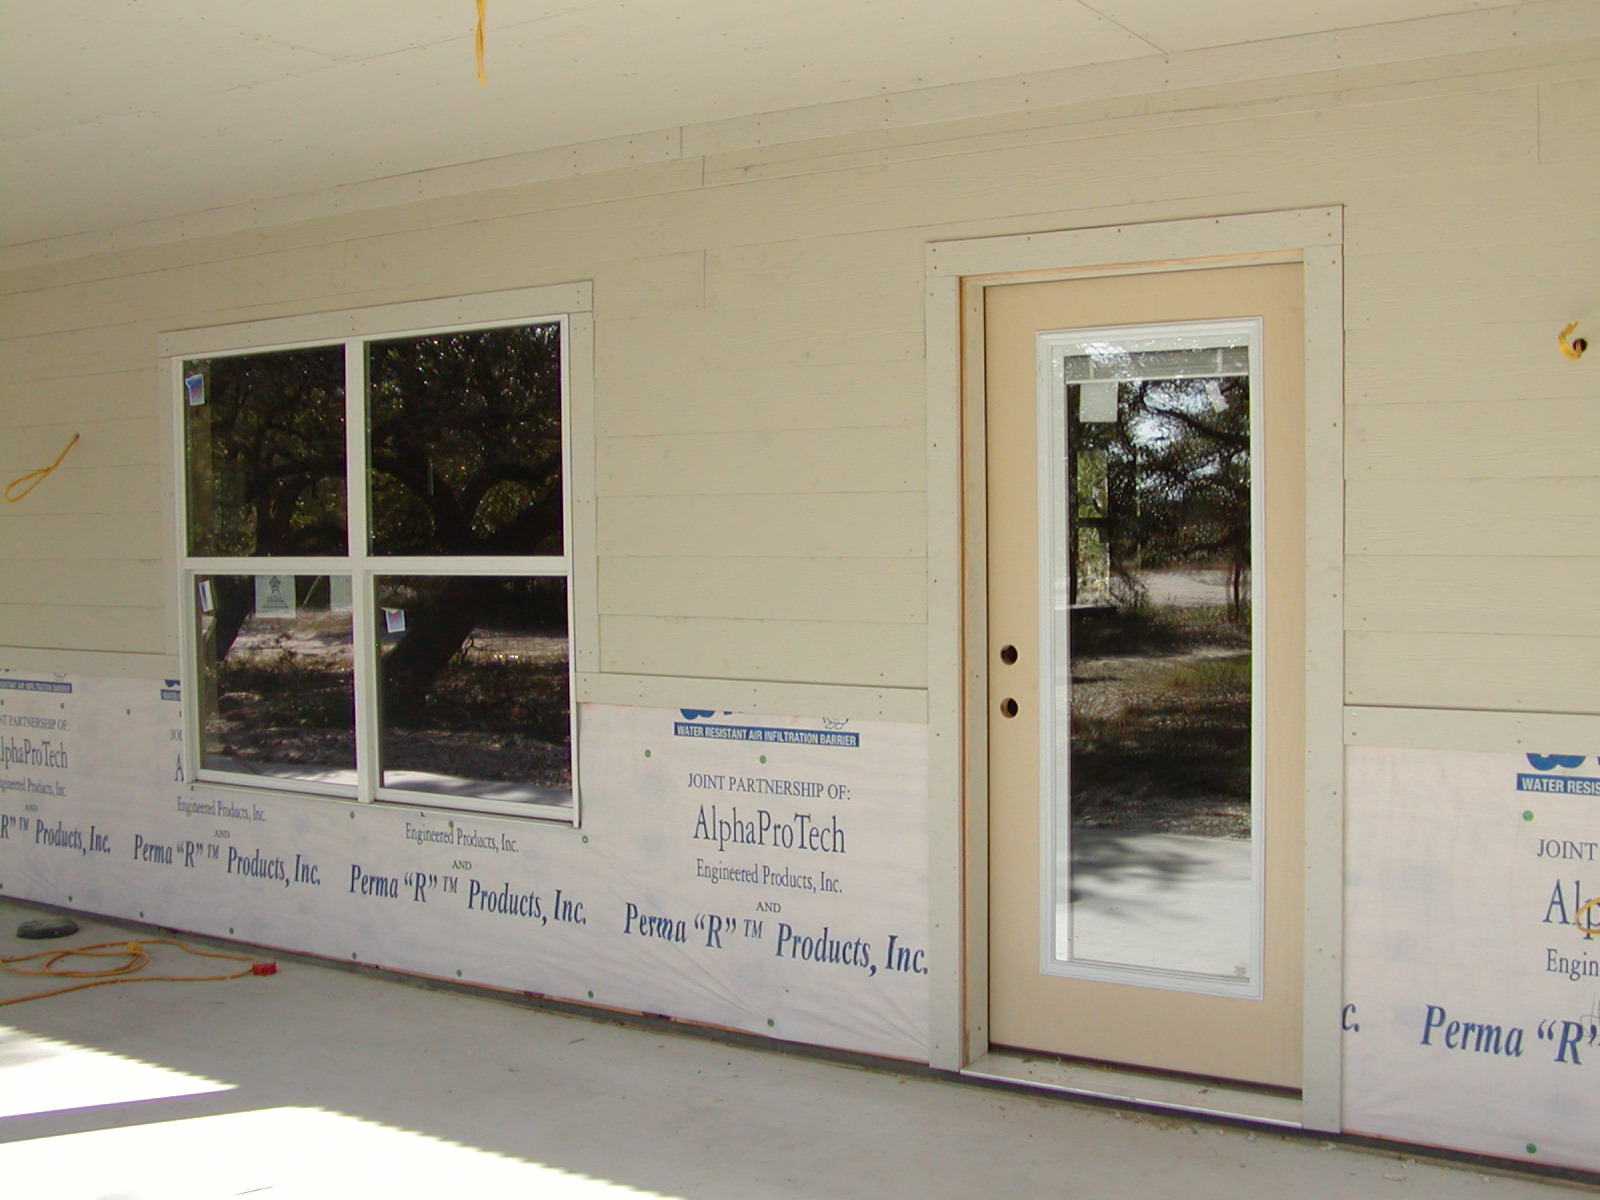
Hardi lap siding is done; electrical roughed in for lights and ceiling fans
|
|
|
|
This will be the additional covering over the actual well
|
|
|
|
|
|
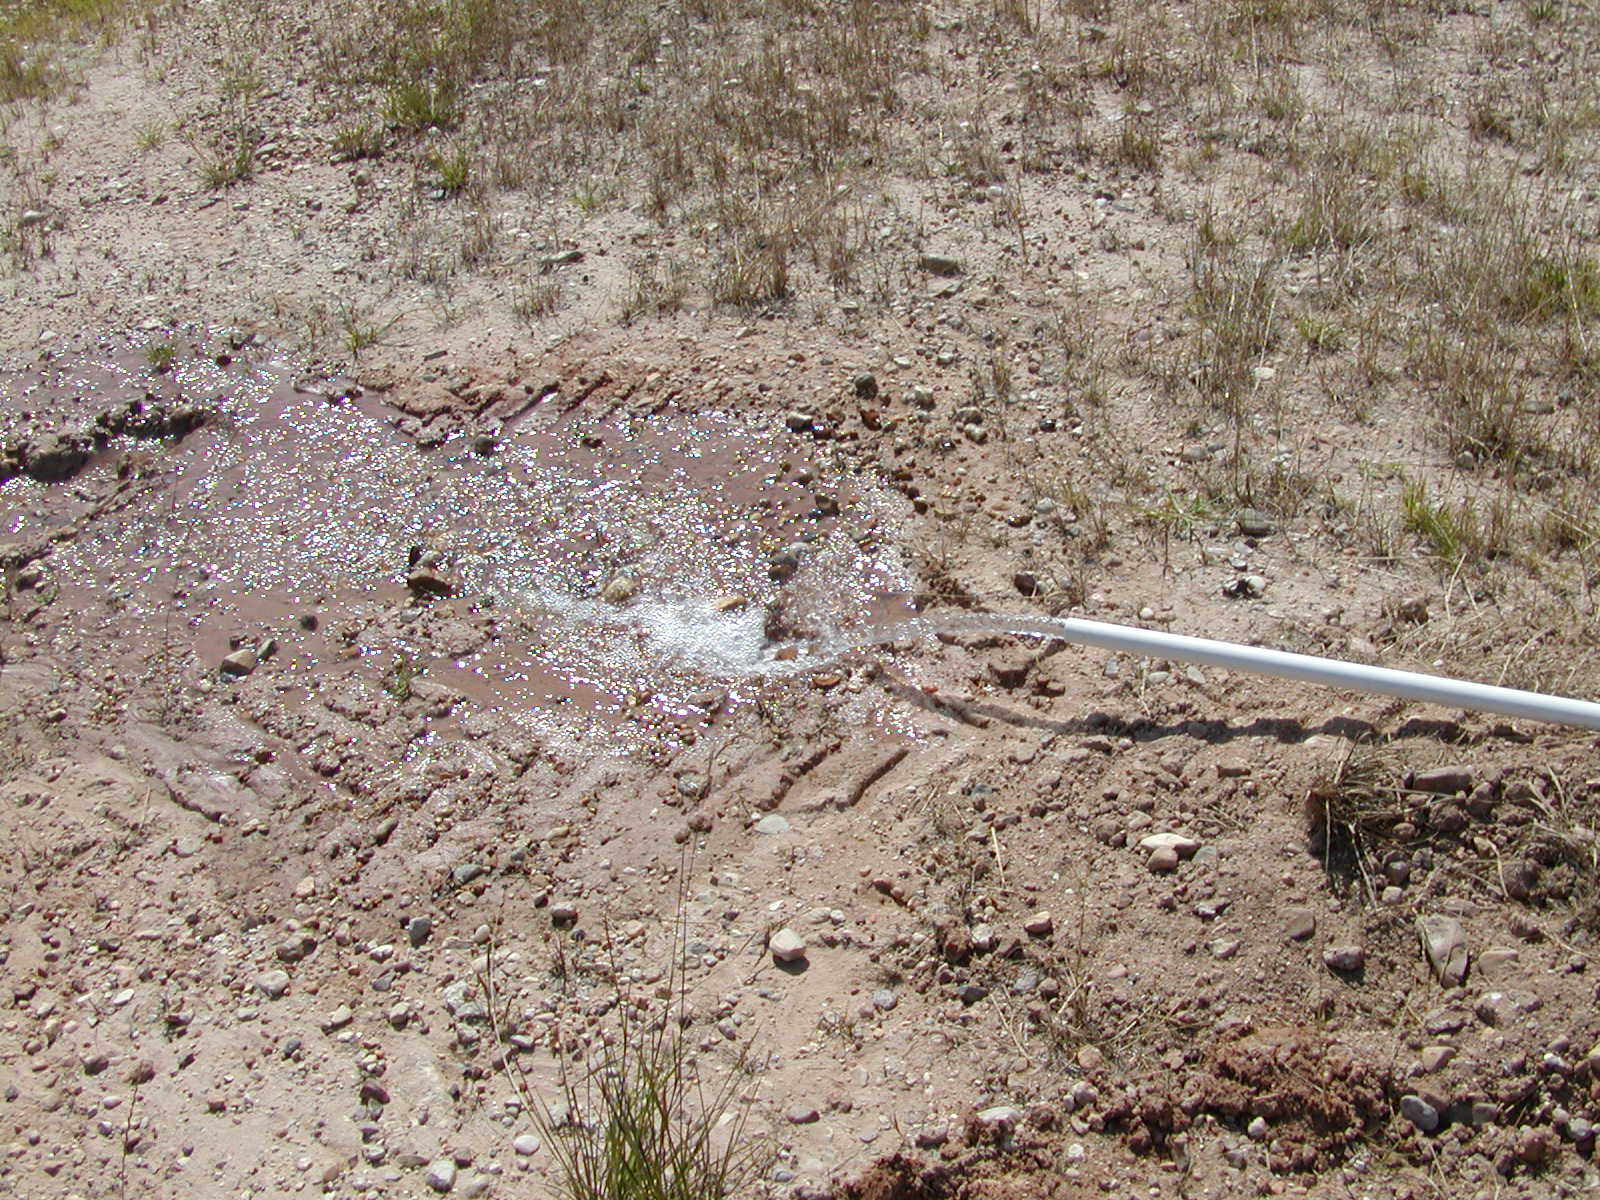
One pipe to fill the pond (good luck!), and one to service the house
|
|

|
|
At this rate (20gpm), we can fill the pond in one year!
|
|
|
|
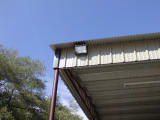
Dusk-to-dawn lighting on the rear porch
|
|
|
|
The front door has internal blinds
|
|
|
|

|
|
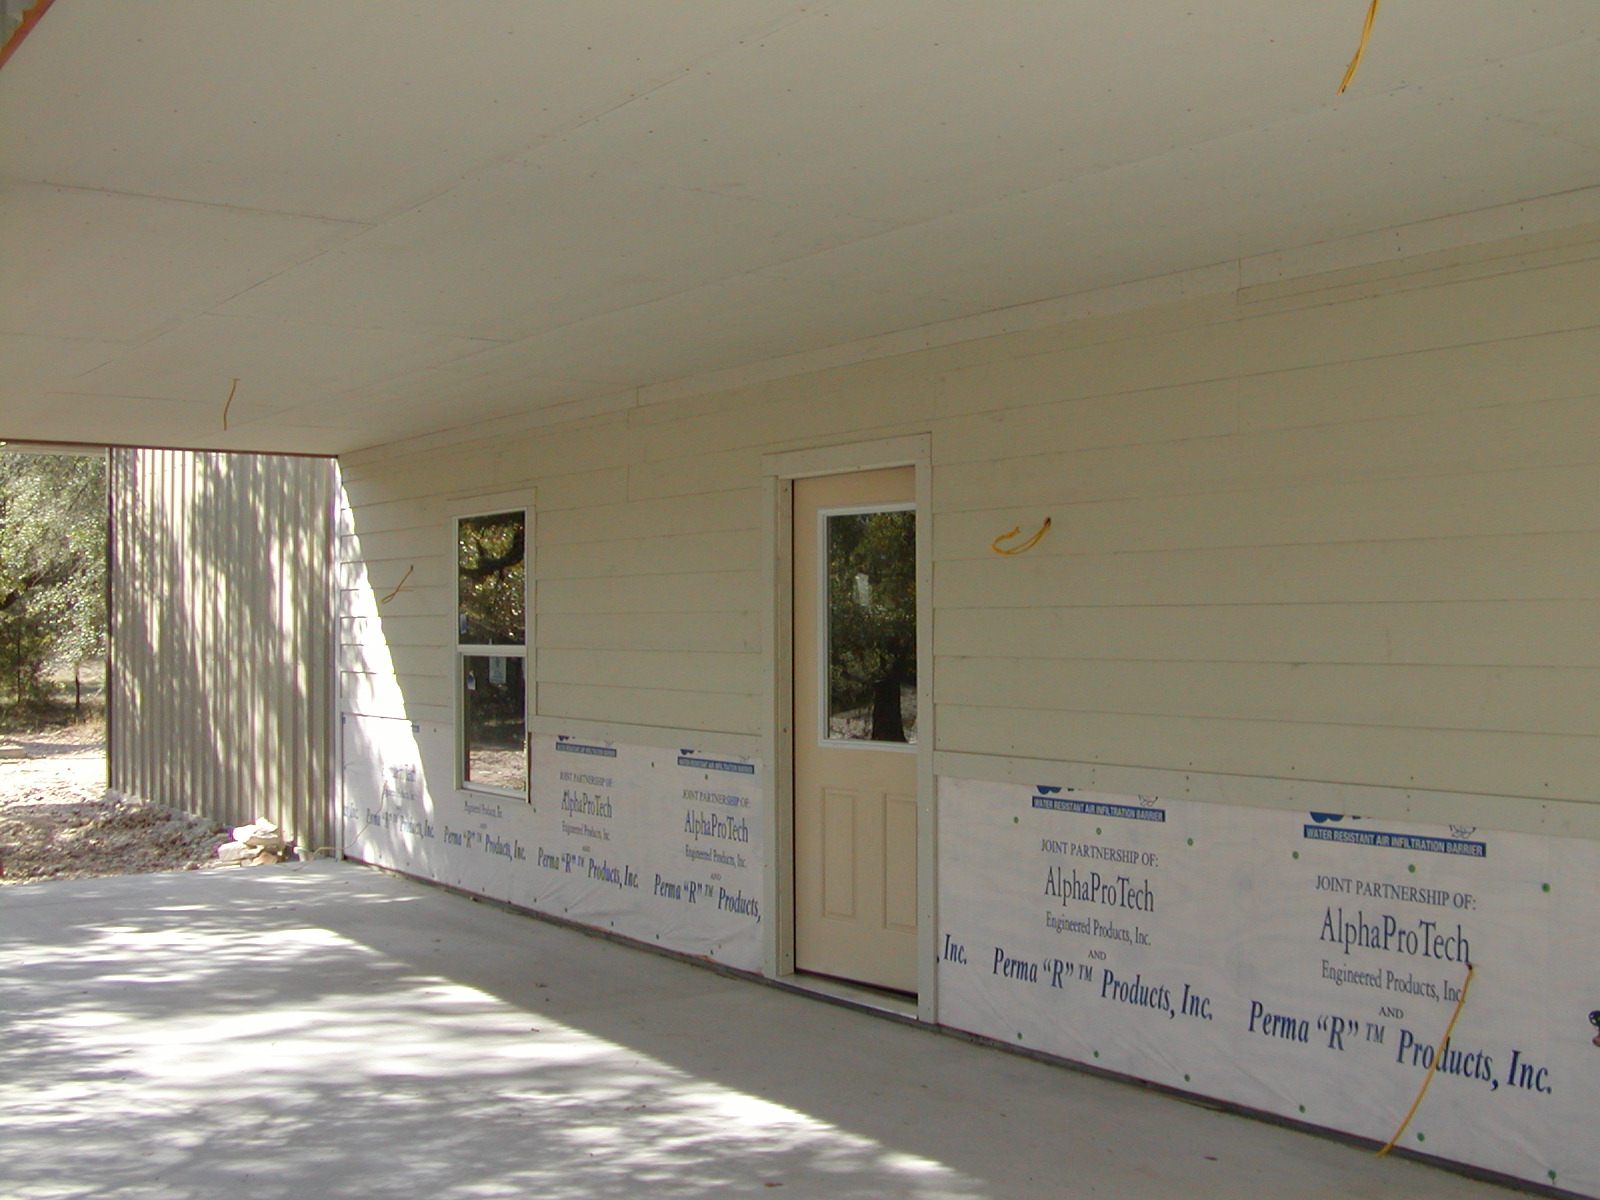
Door and window into shop
|
|

|
|
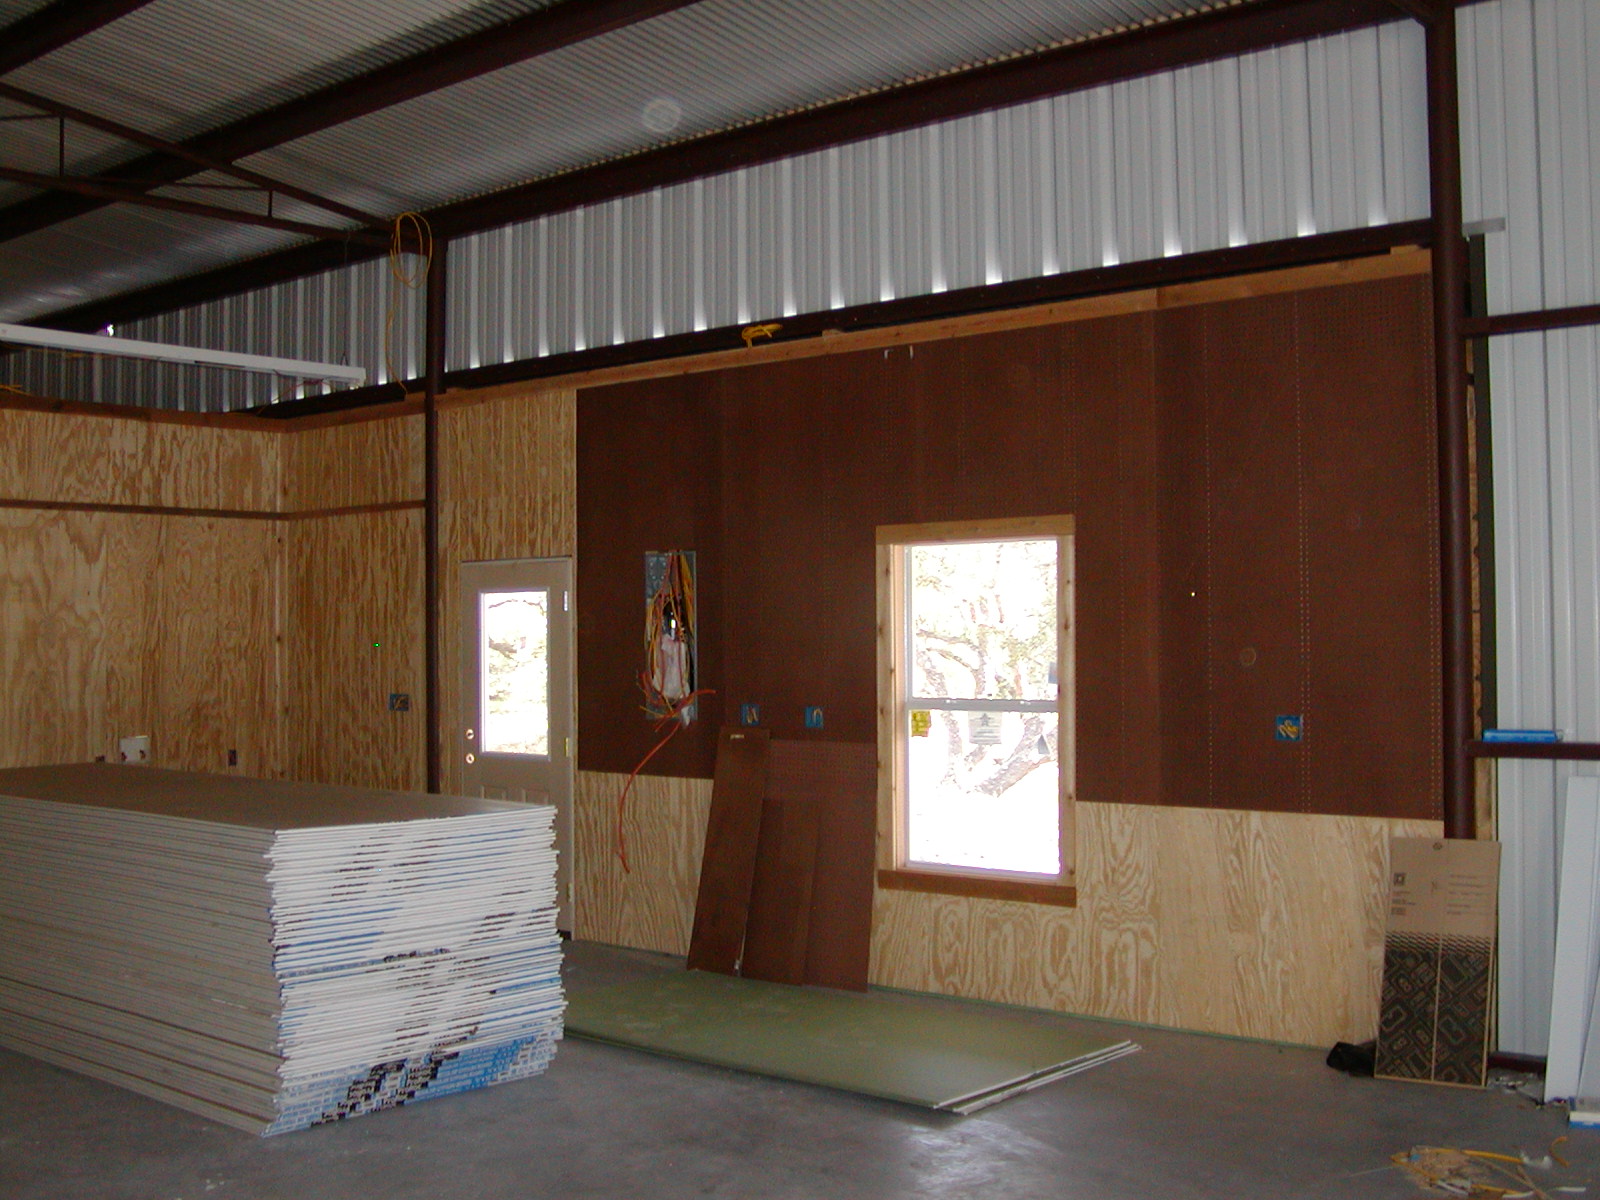
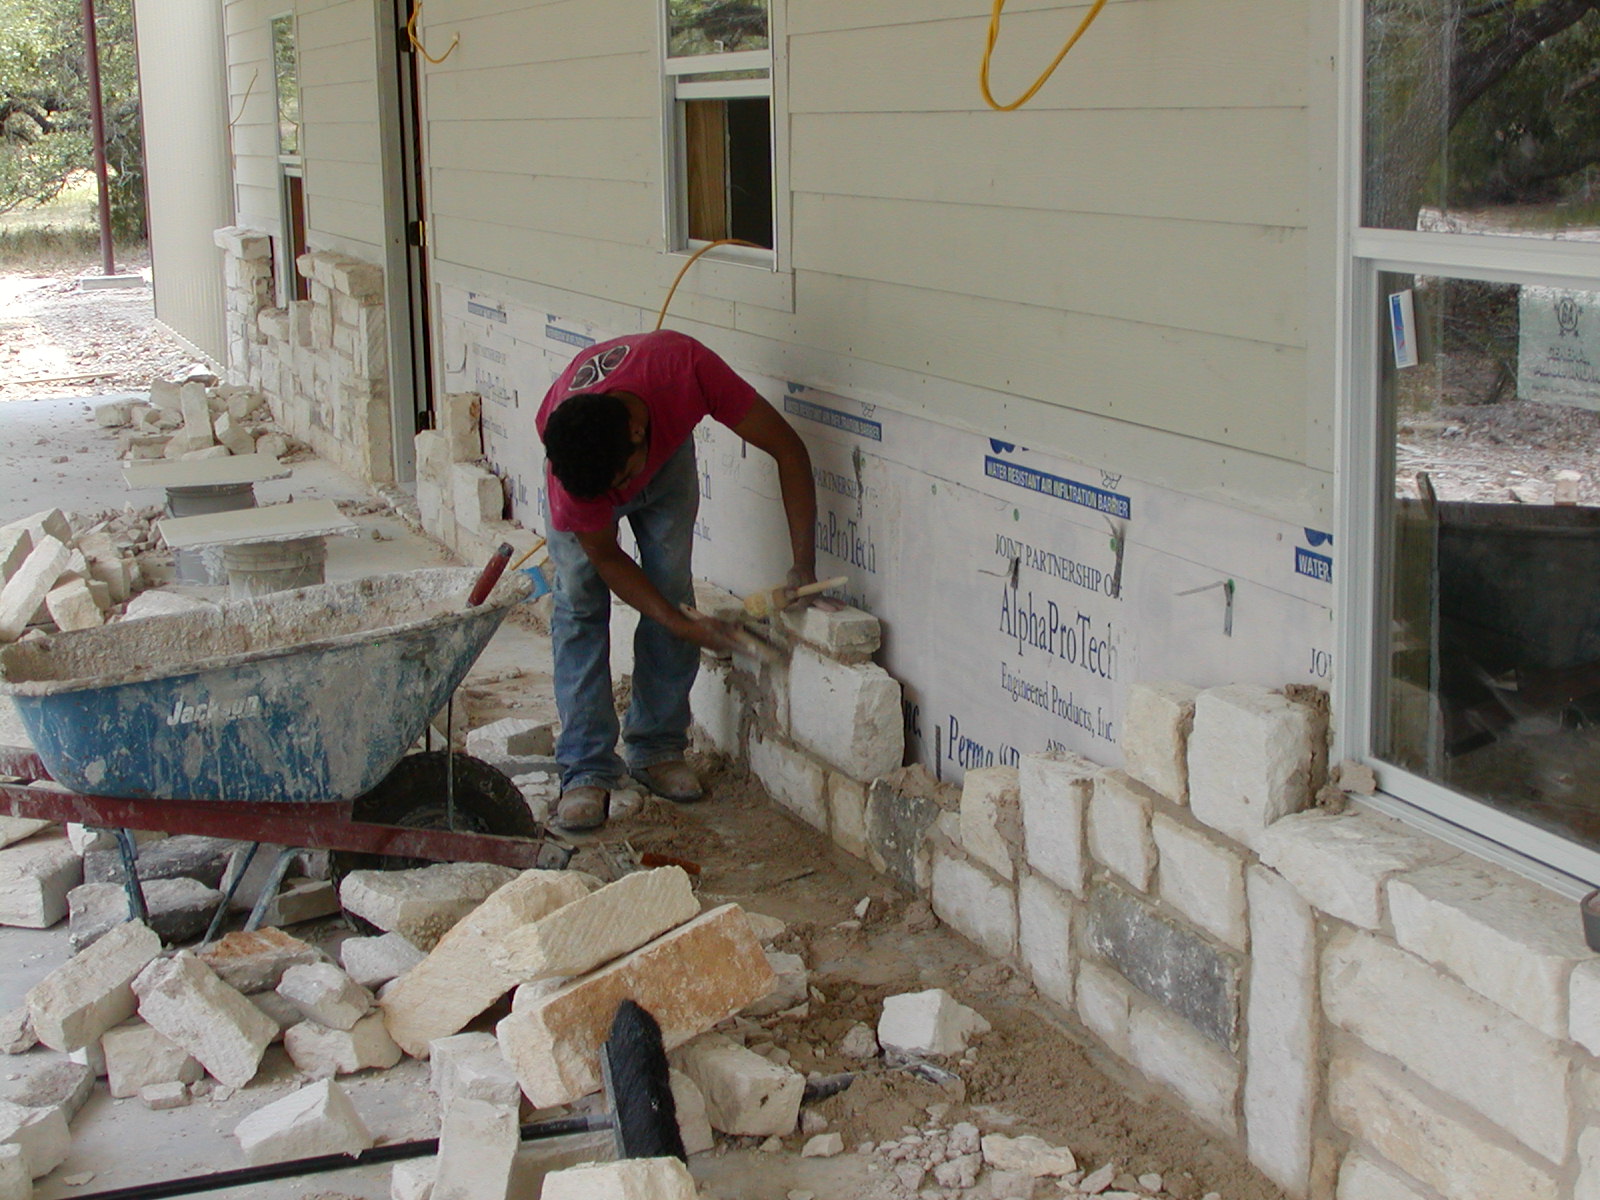
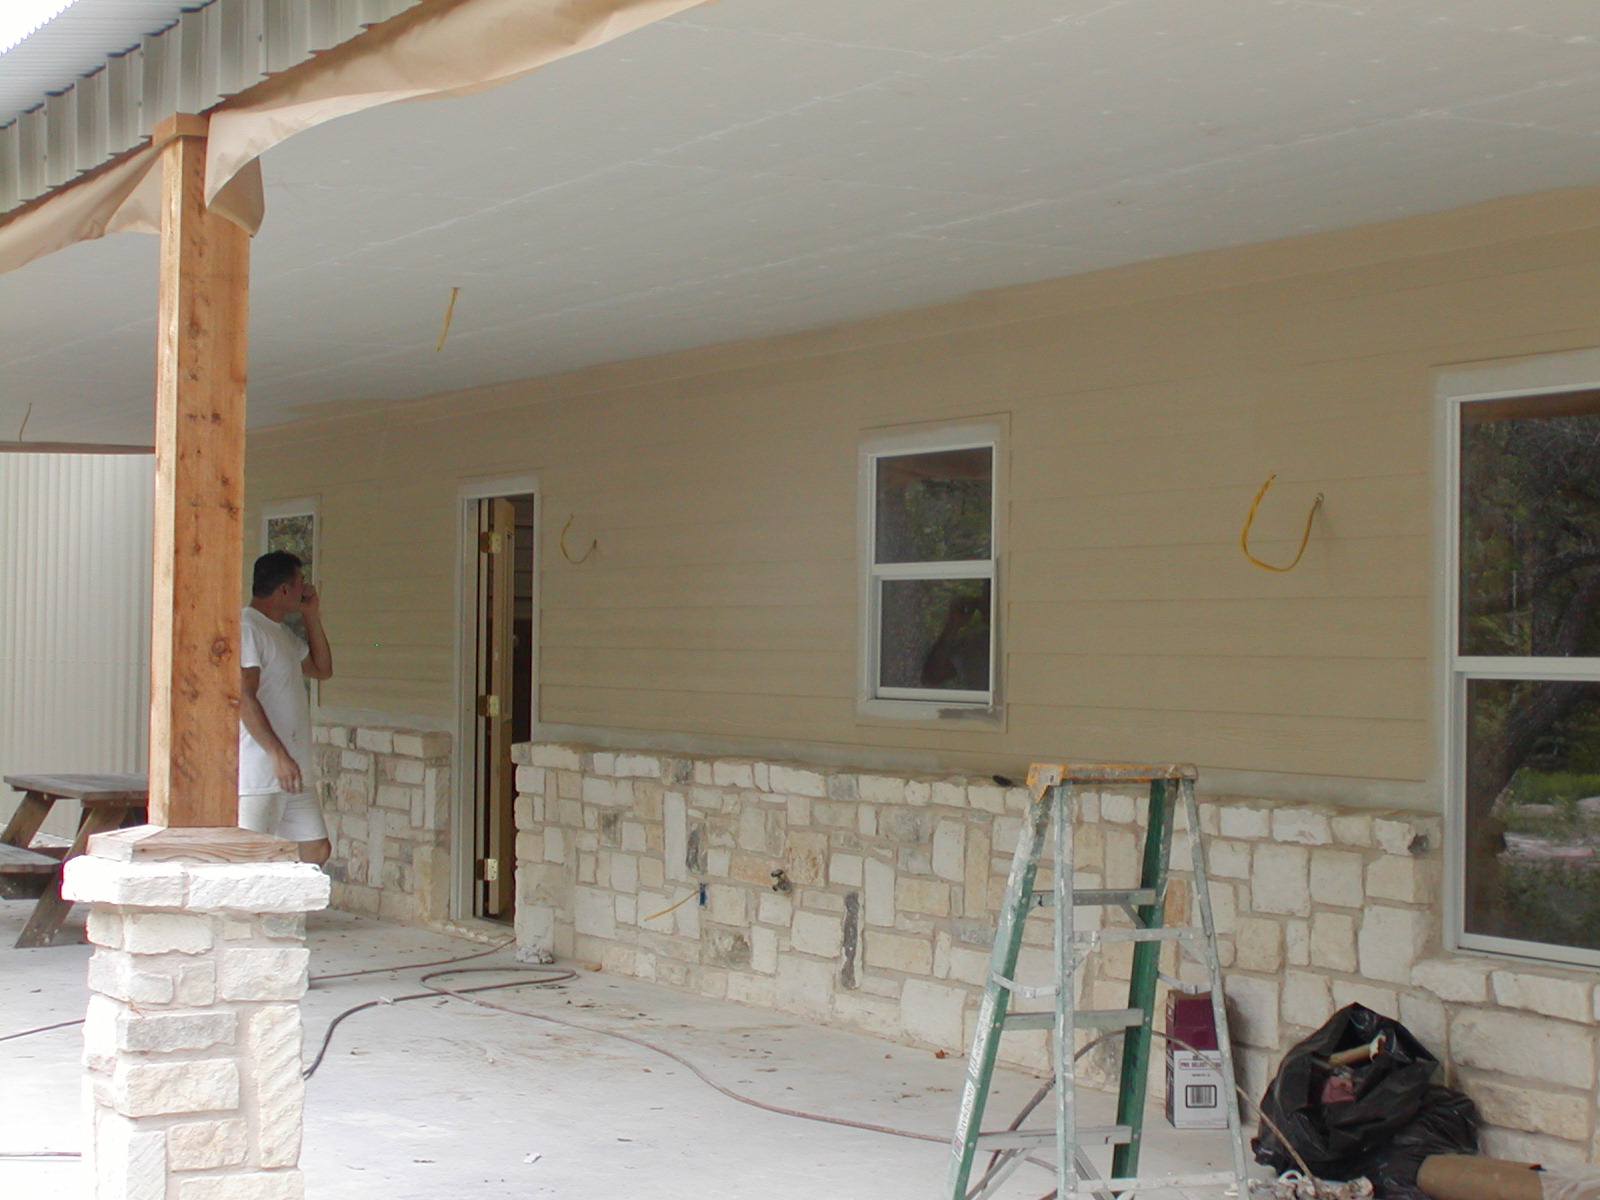
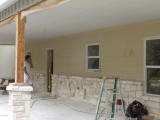
Ready for stone wainscoting and painting
|
|
|
|
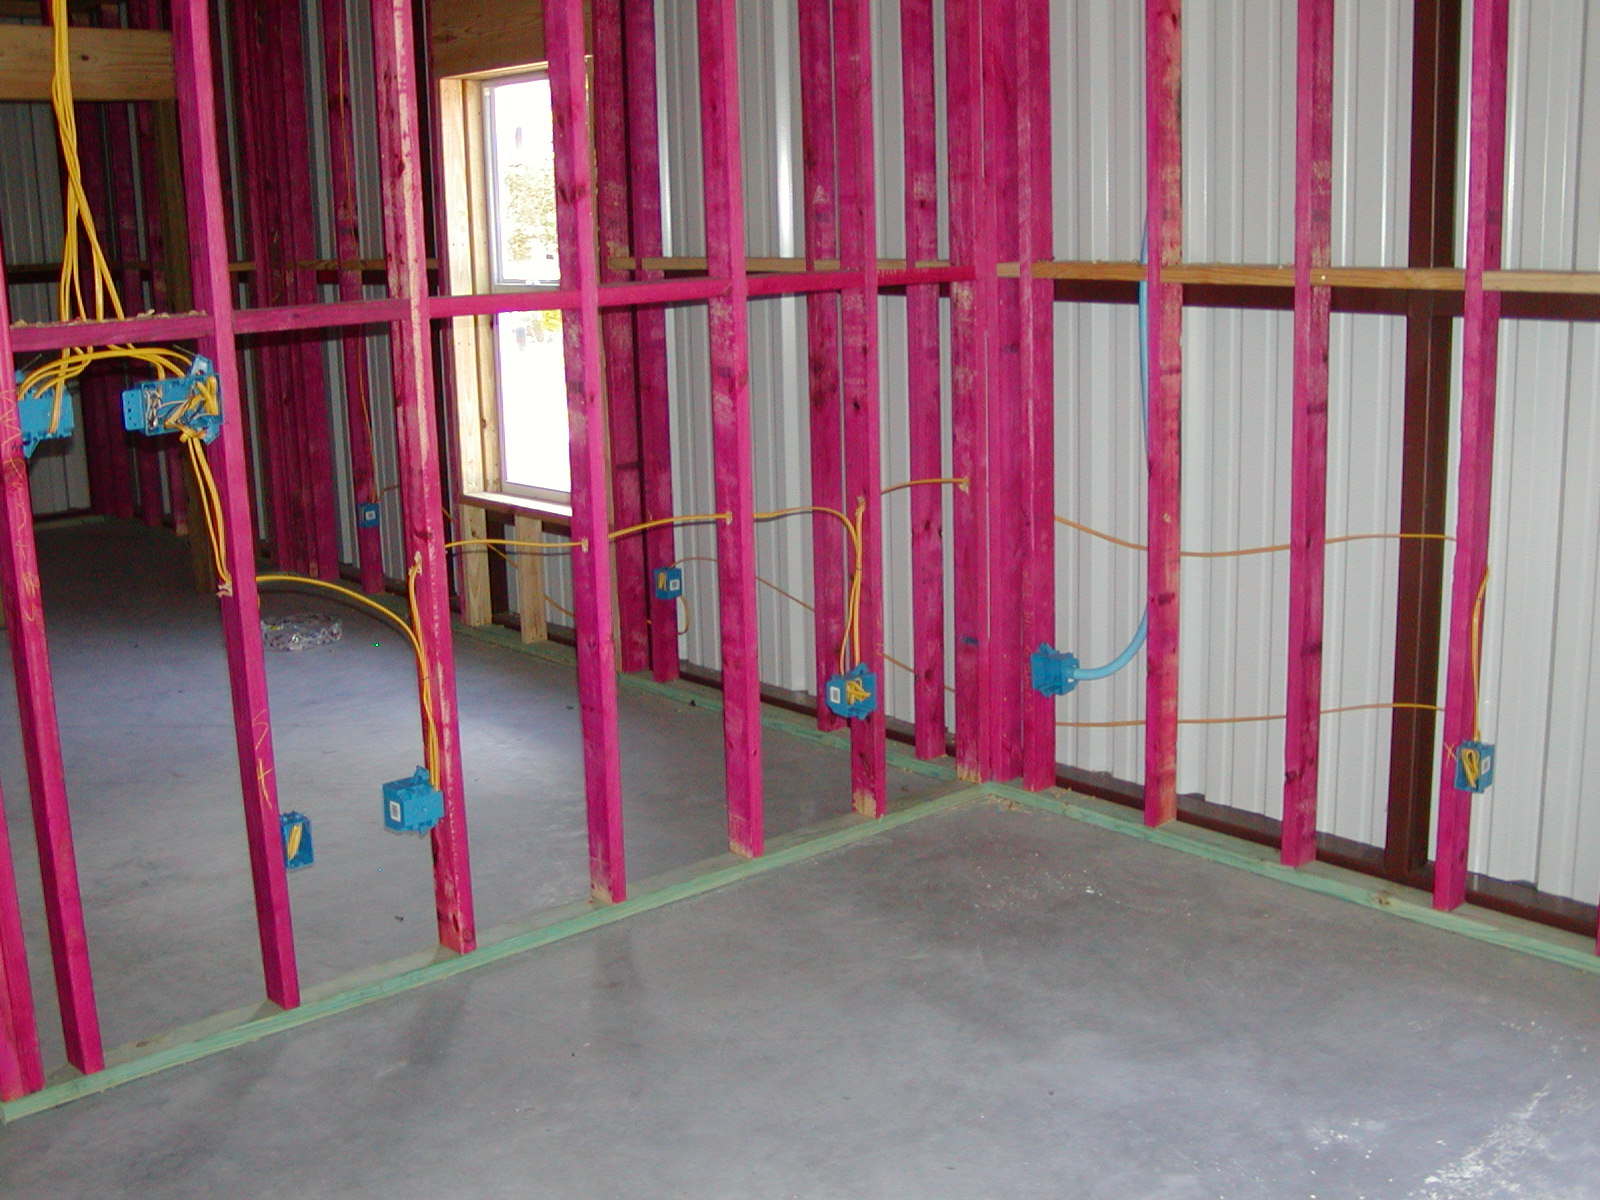
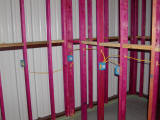
Living room electrical
|
|
|
|
Kitchen electrical
|
|
|
|
|
|
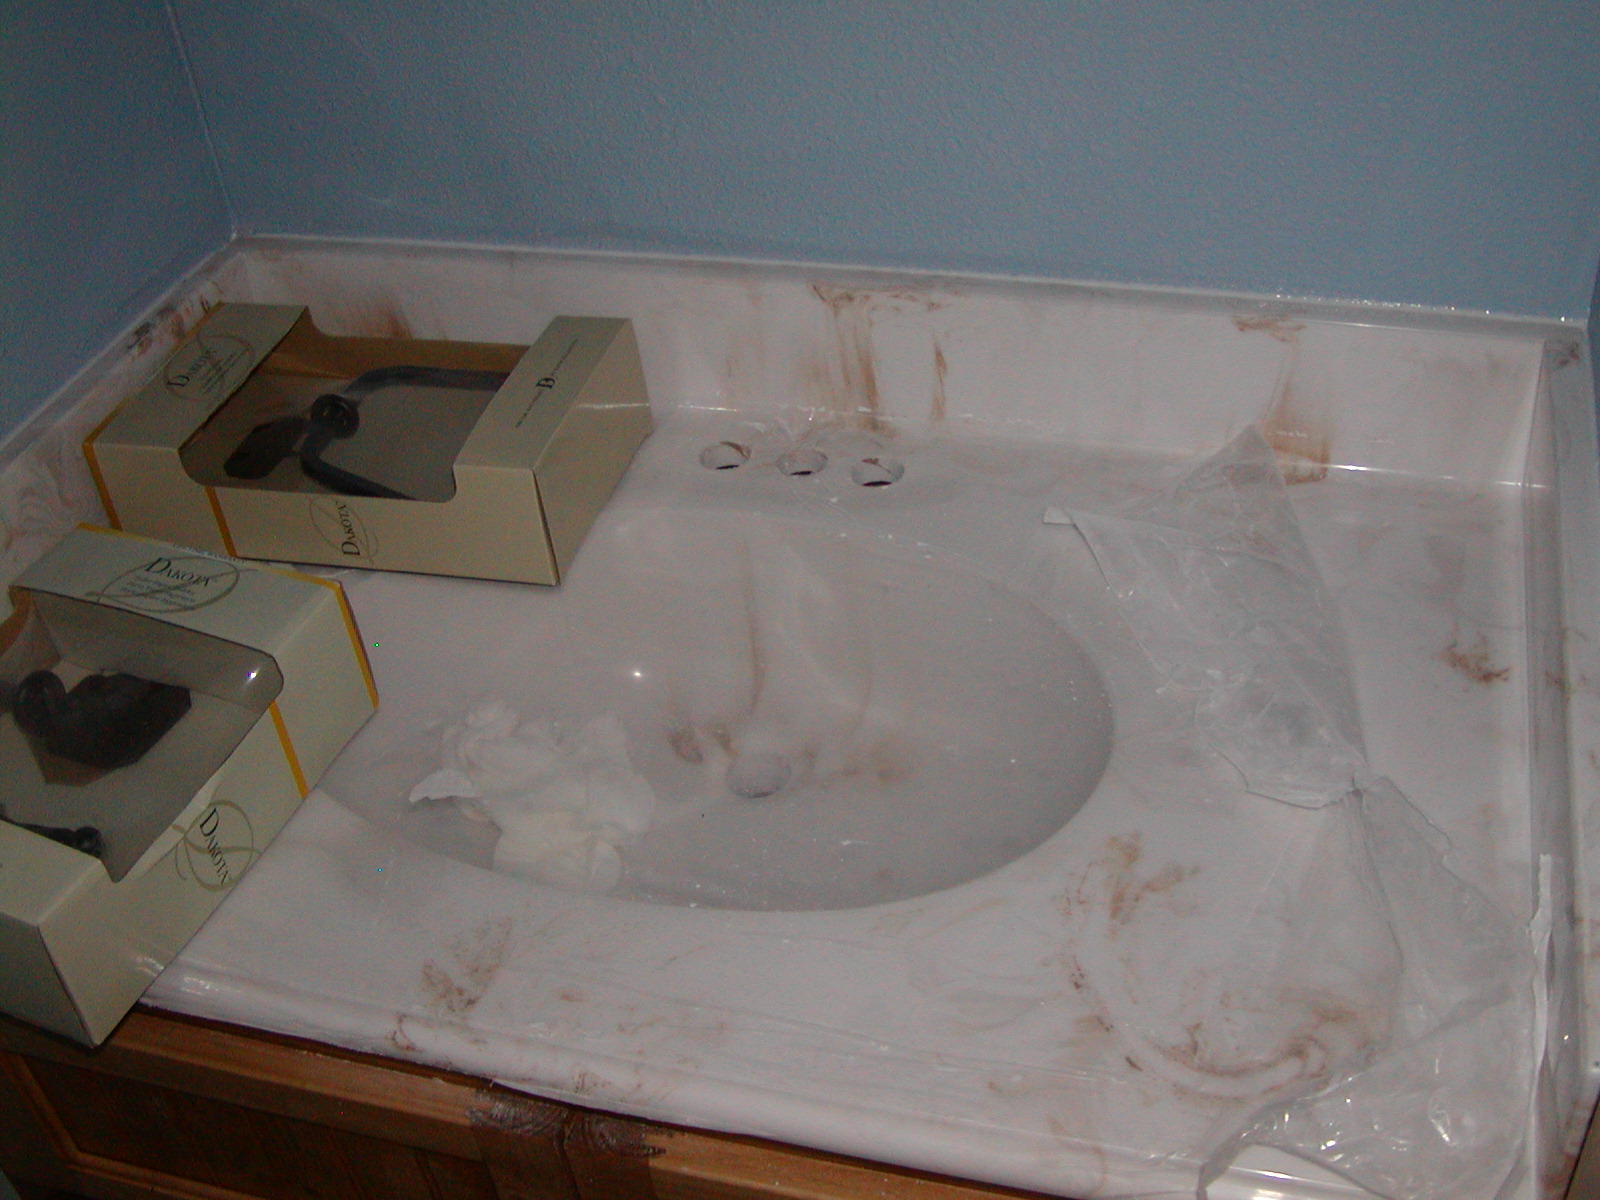
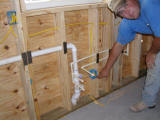
Sink plumbing
|
|
|
|
Master bath electrical
|
|

|
|
Living room electrical (with recessed can lighting)
|
|
|
|
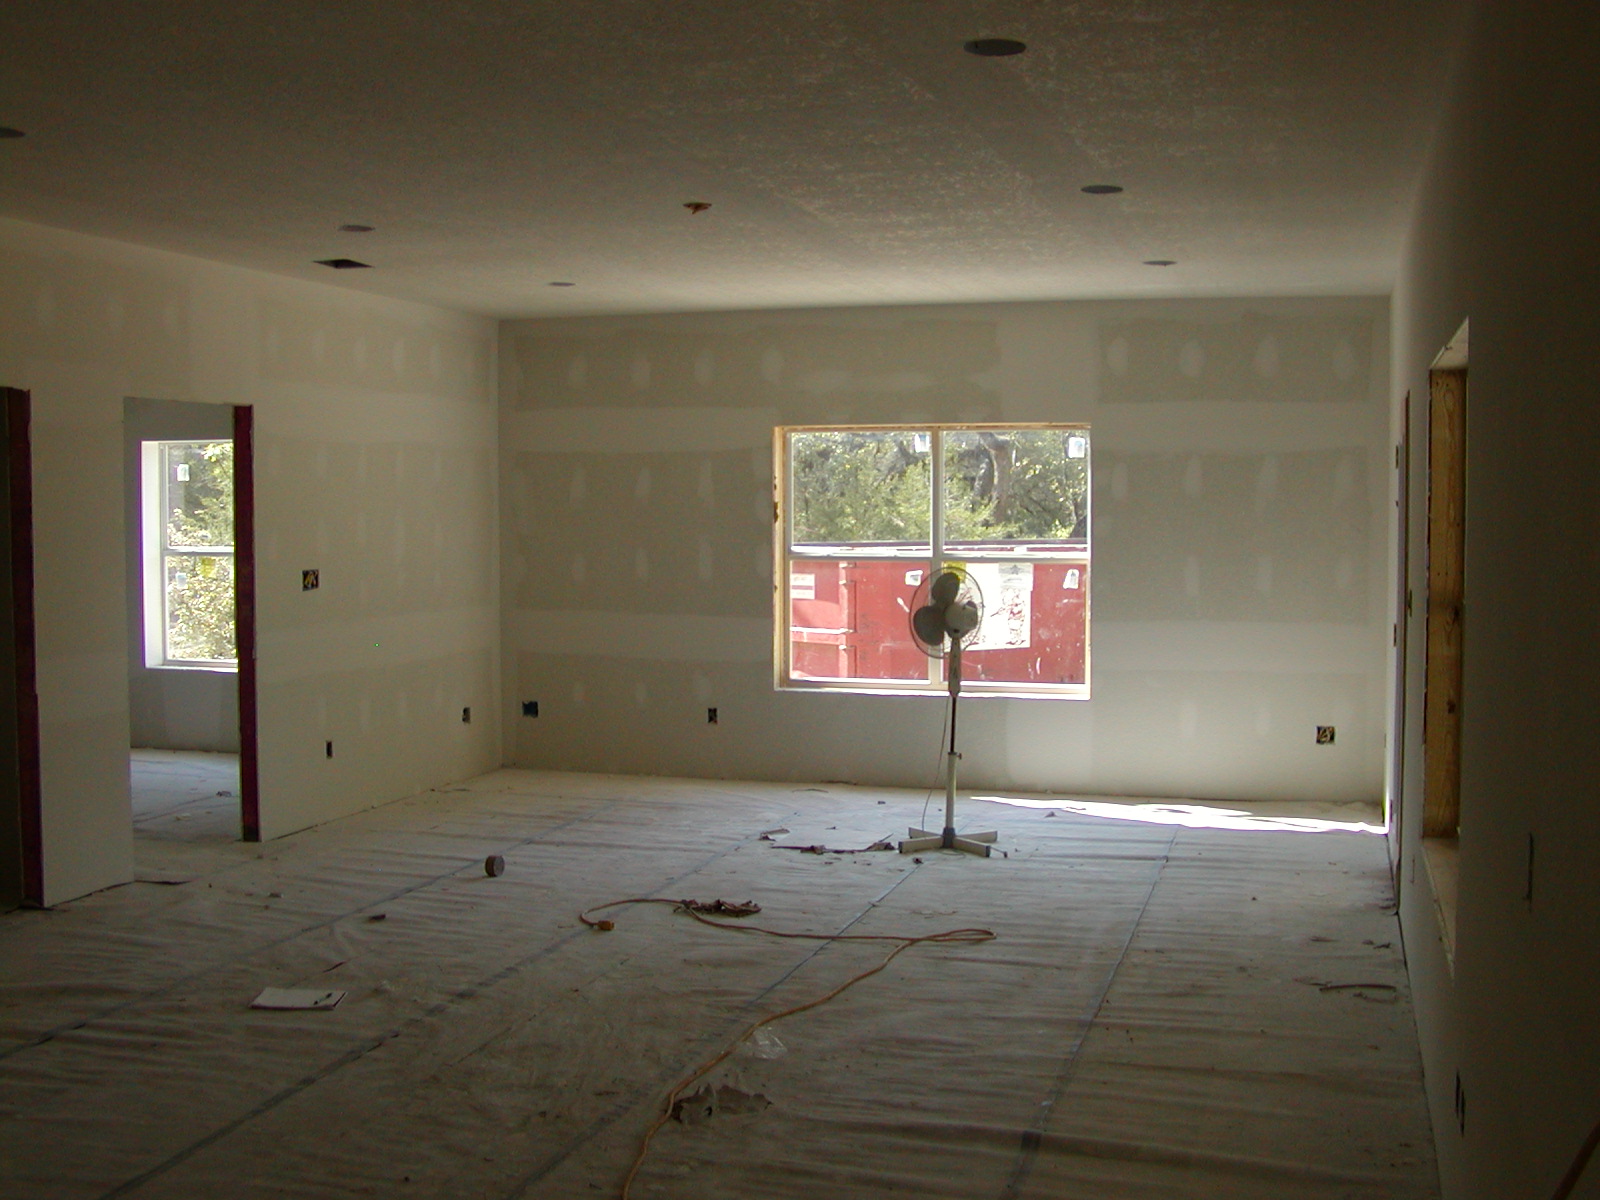
New view through the living room window (we cleaned out those oaks!)
|
|
|
|

|
|
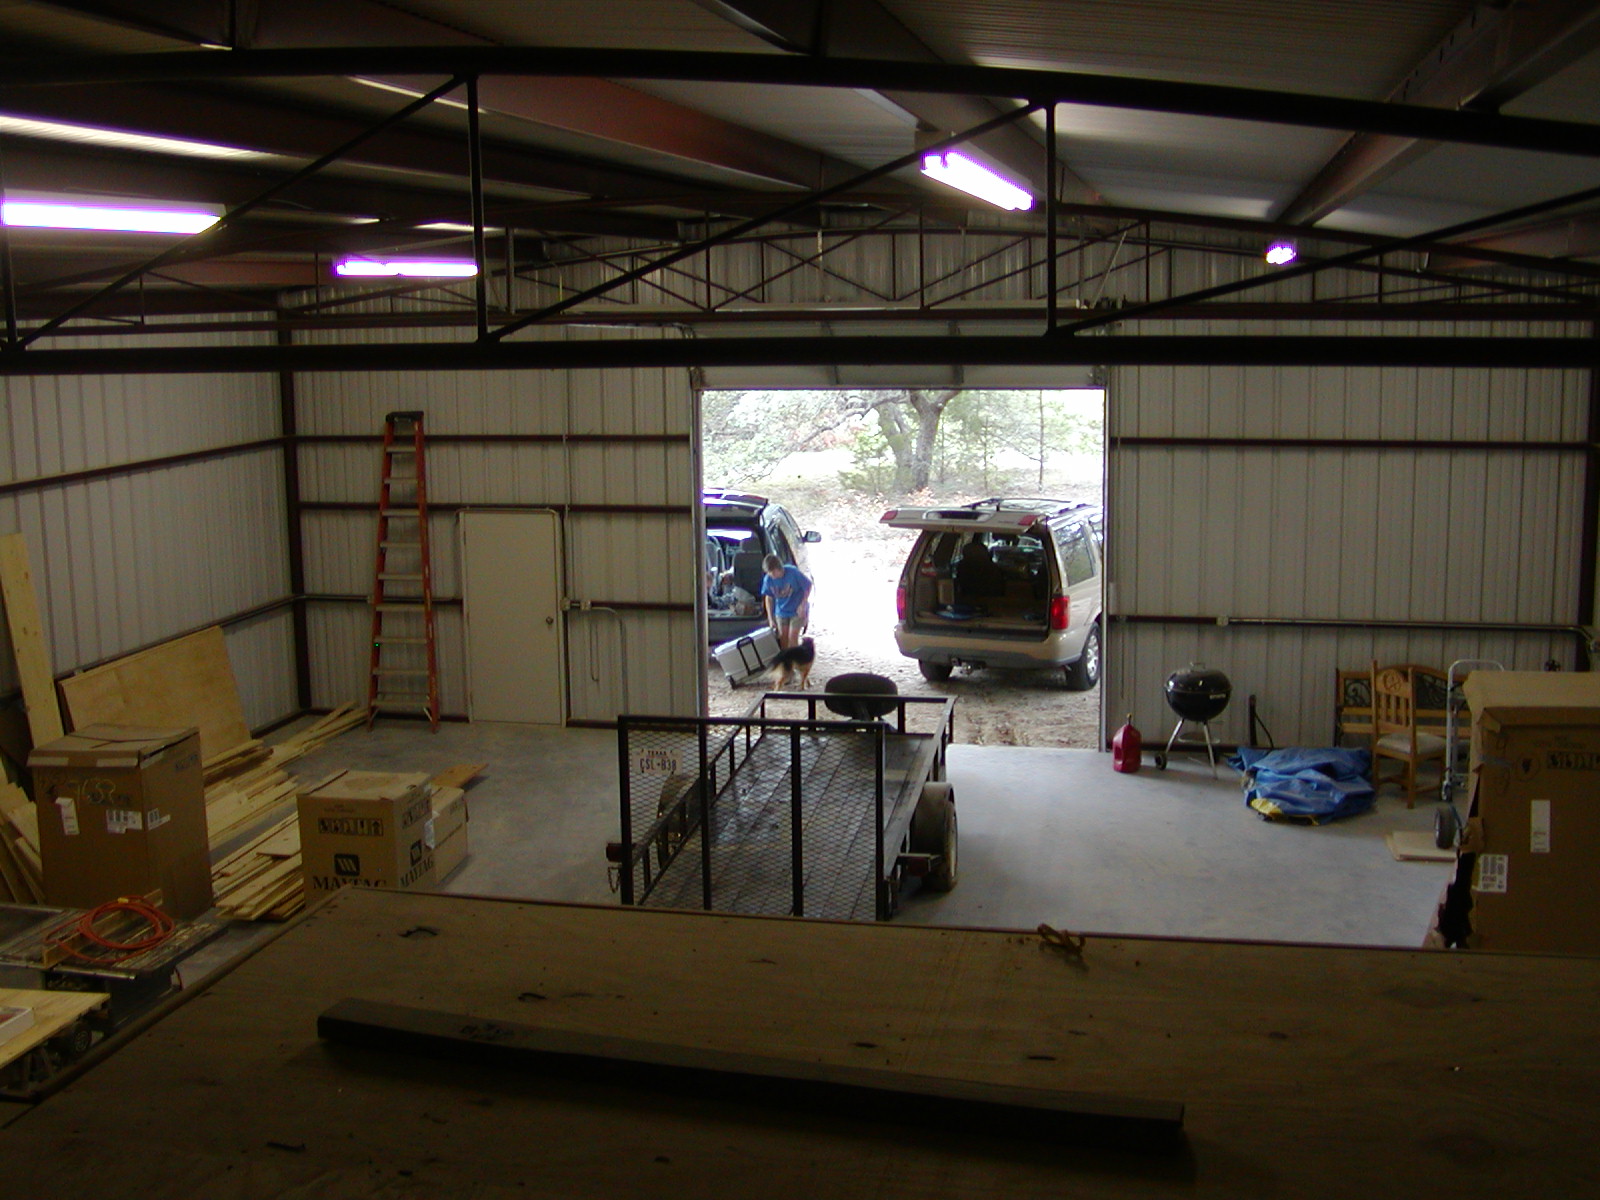
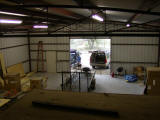
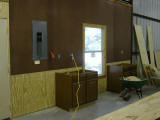
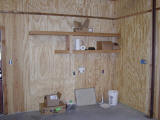
Shop area, now ready for a workbench (see the pegboard?)
|
|

|
|
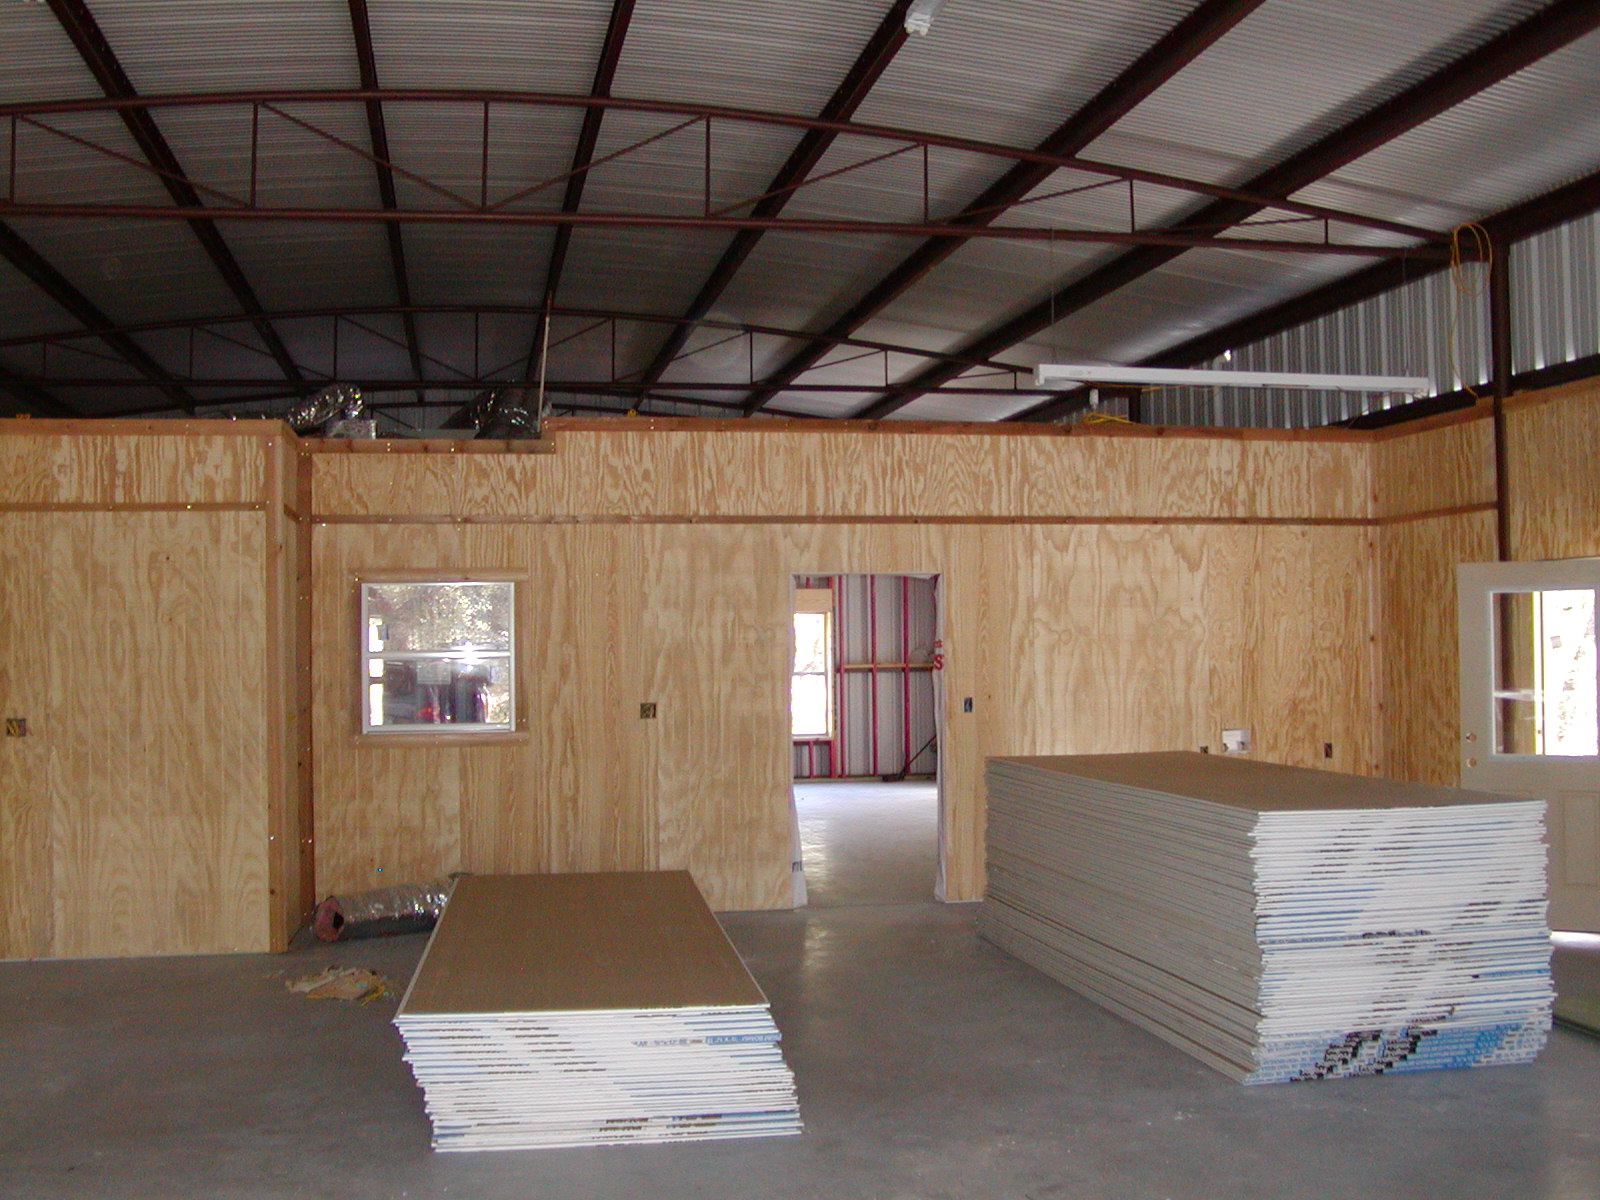
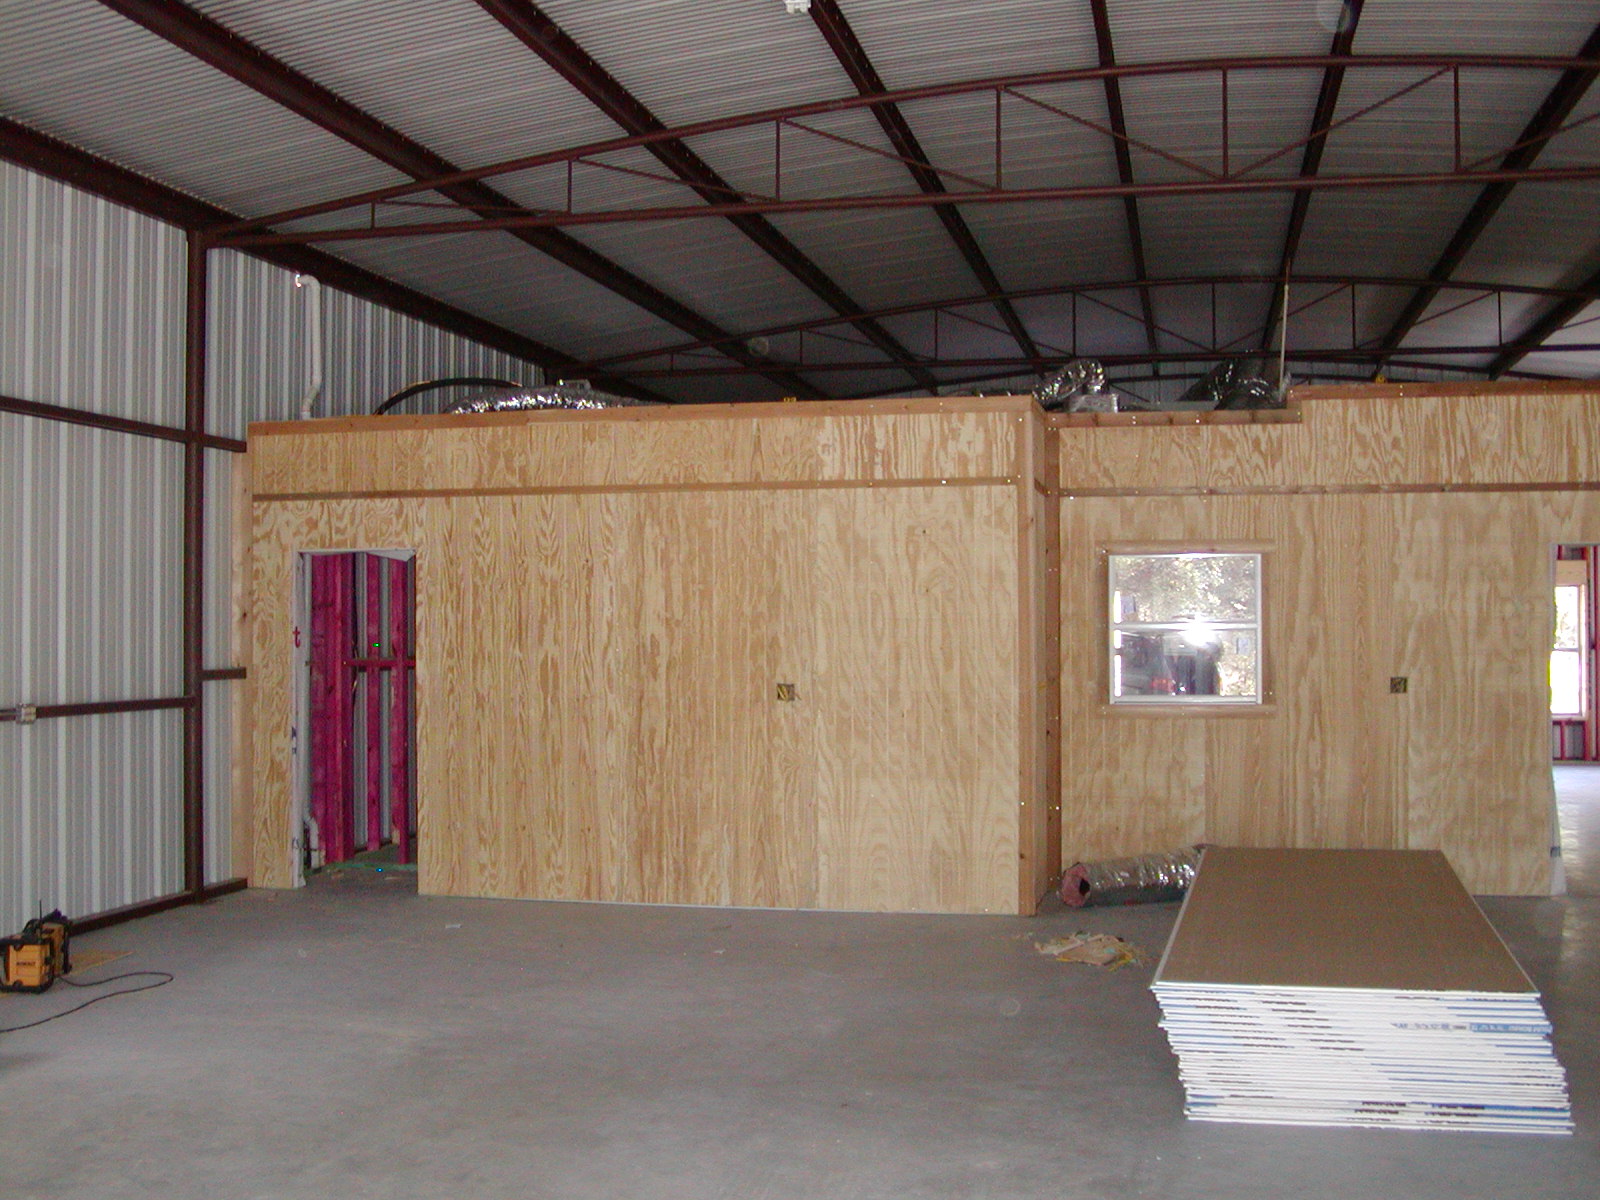
Sheetrock stacked and ready to go up in a week or so
|
|
|
|
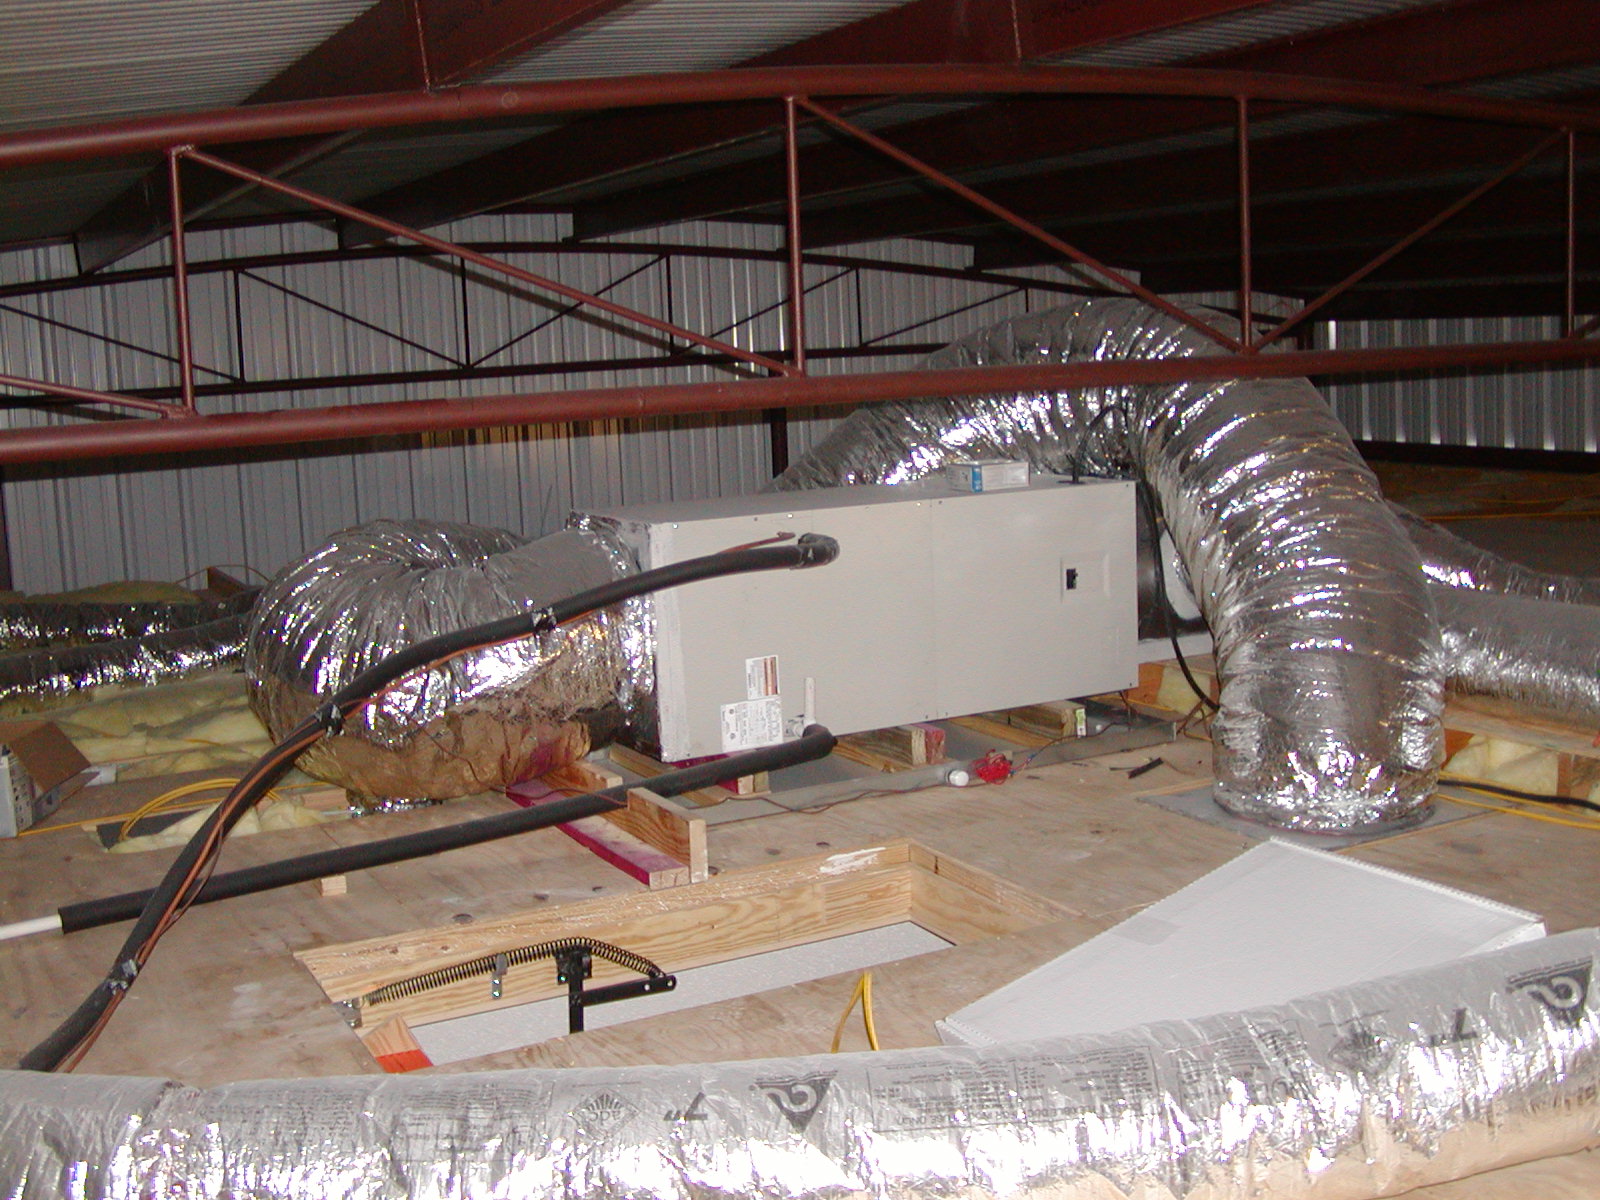
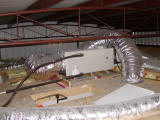
A/C installed above the first floor
|
|
|
|
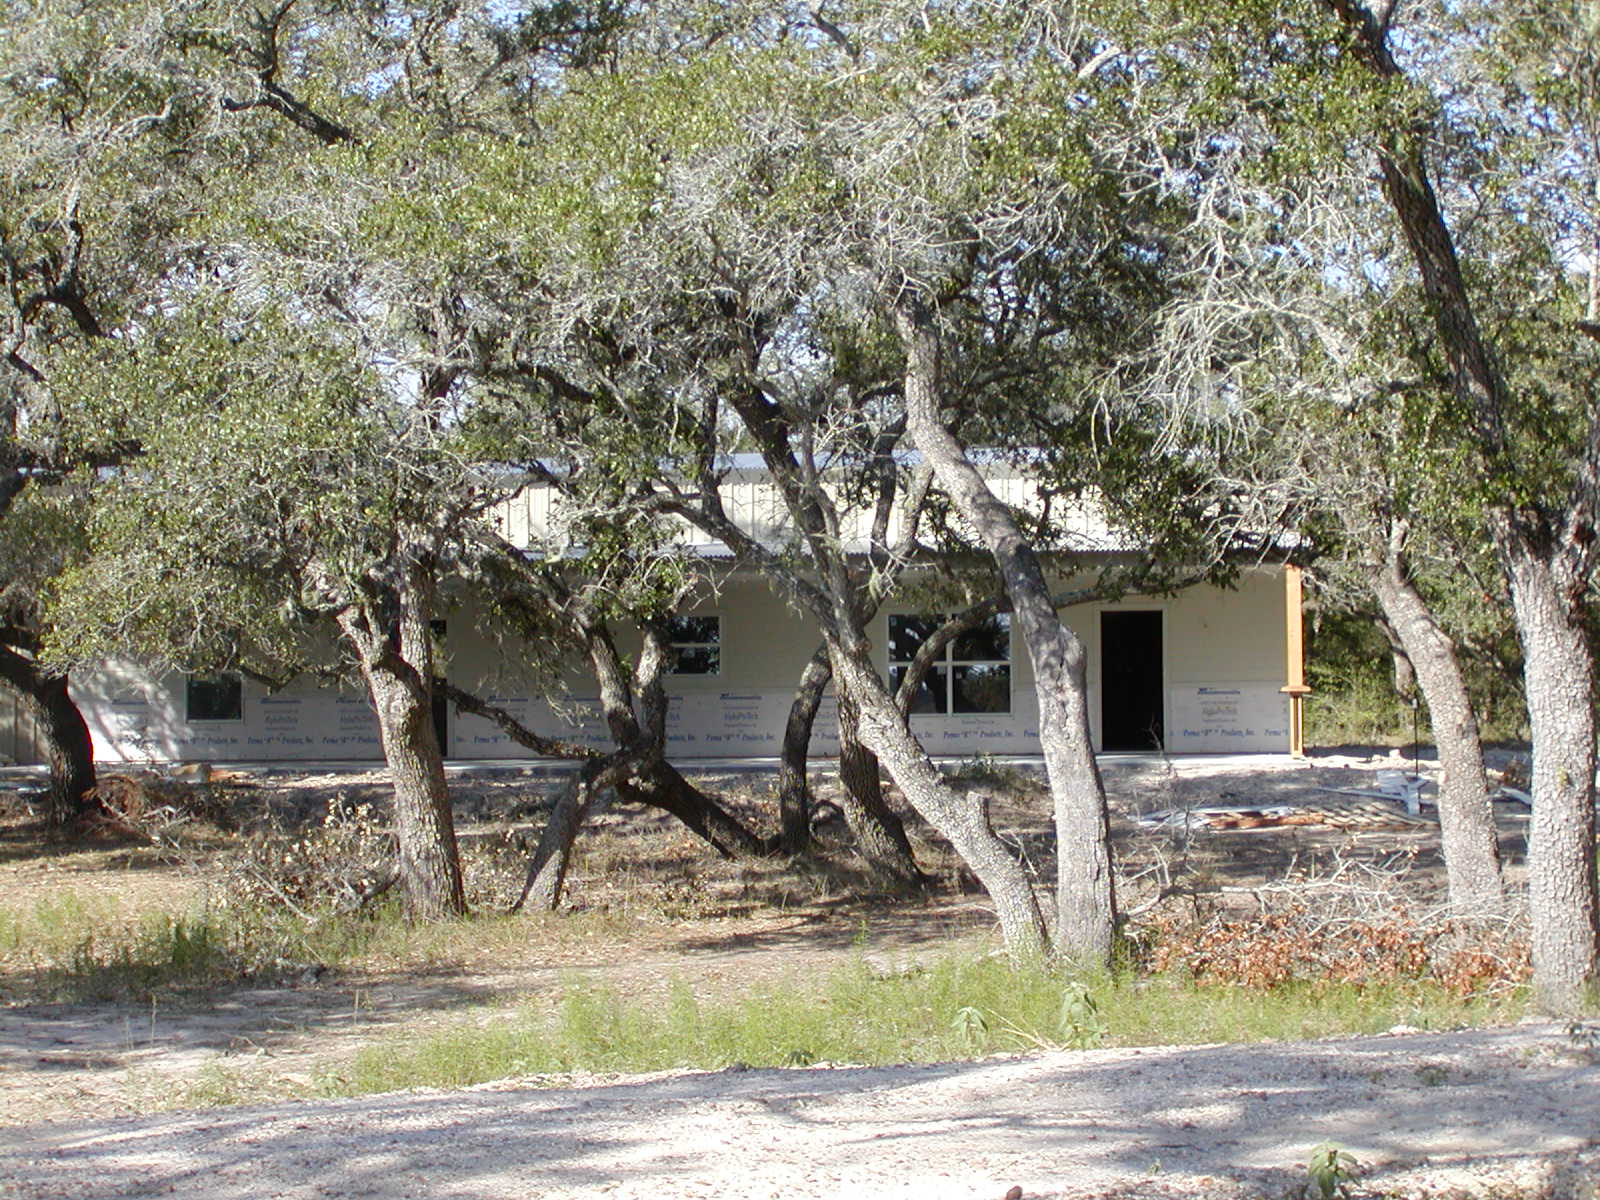
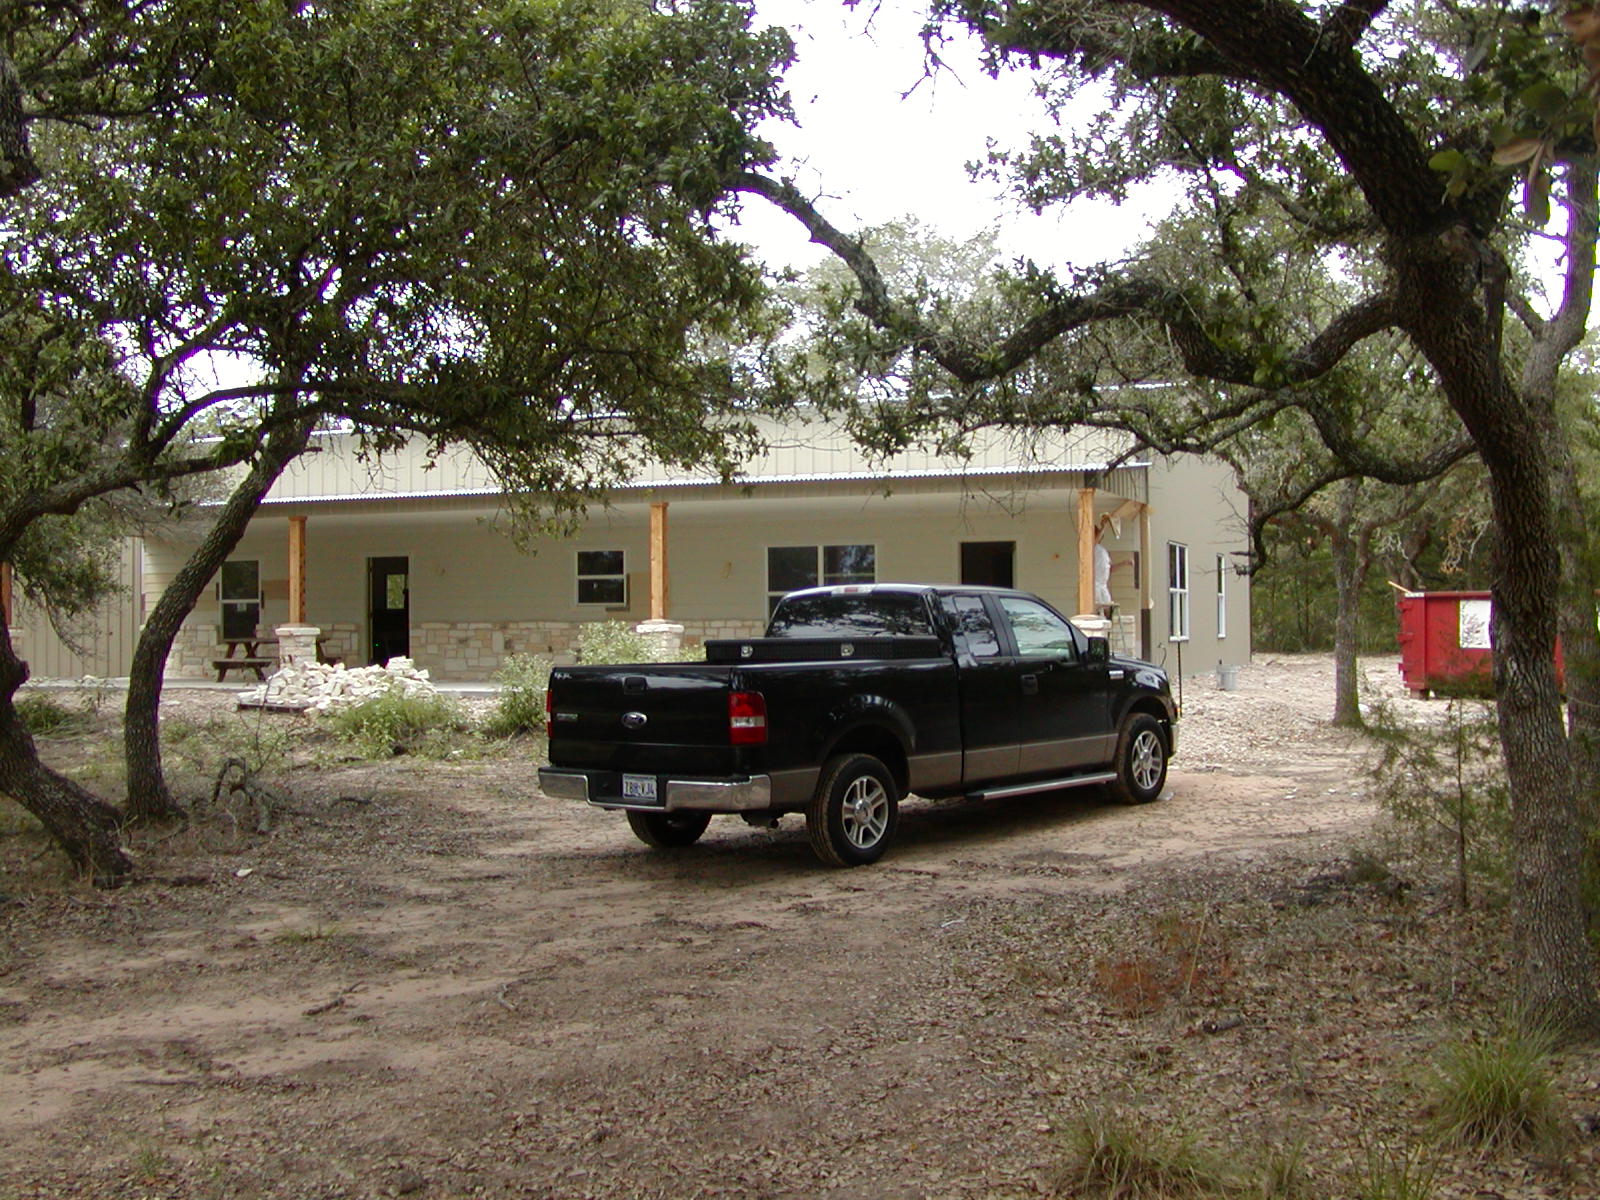
View as one drives in from the pond
|
|
|
|
|
|
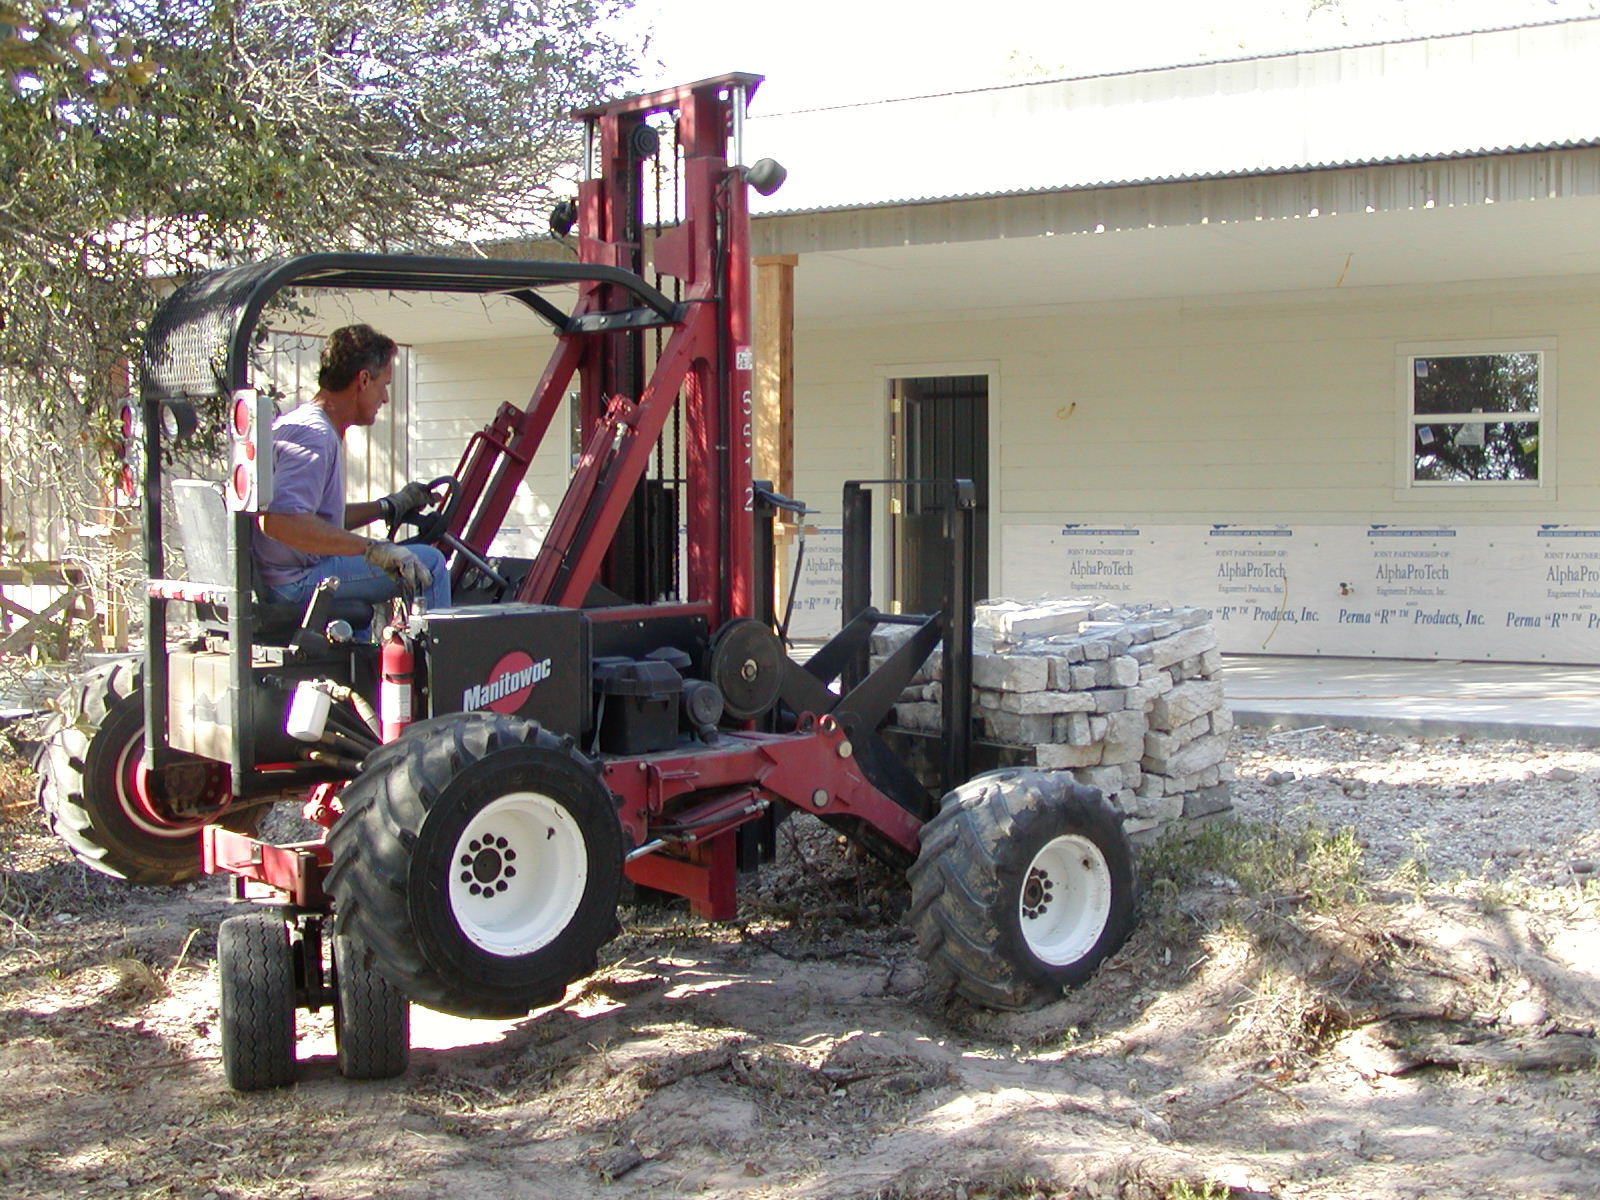
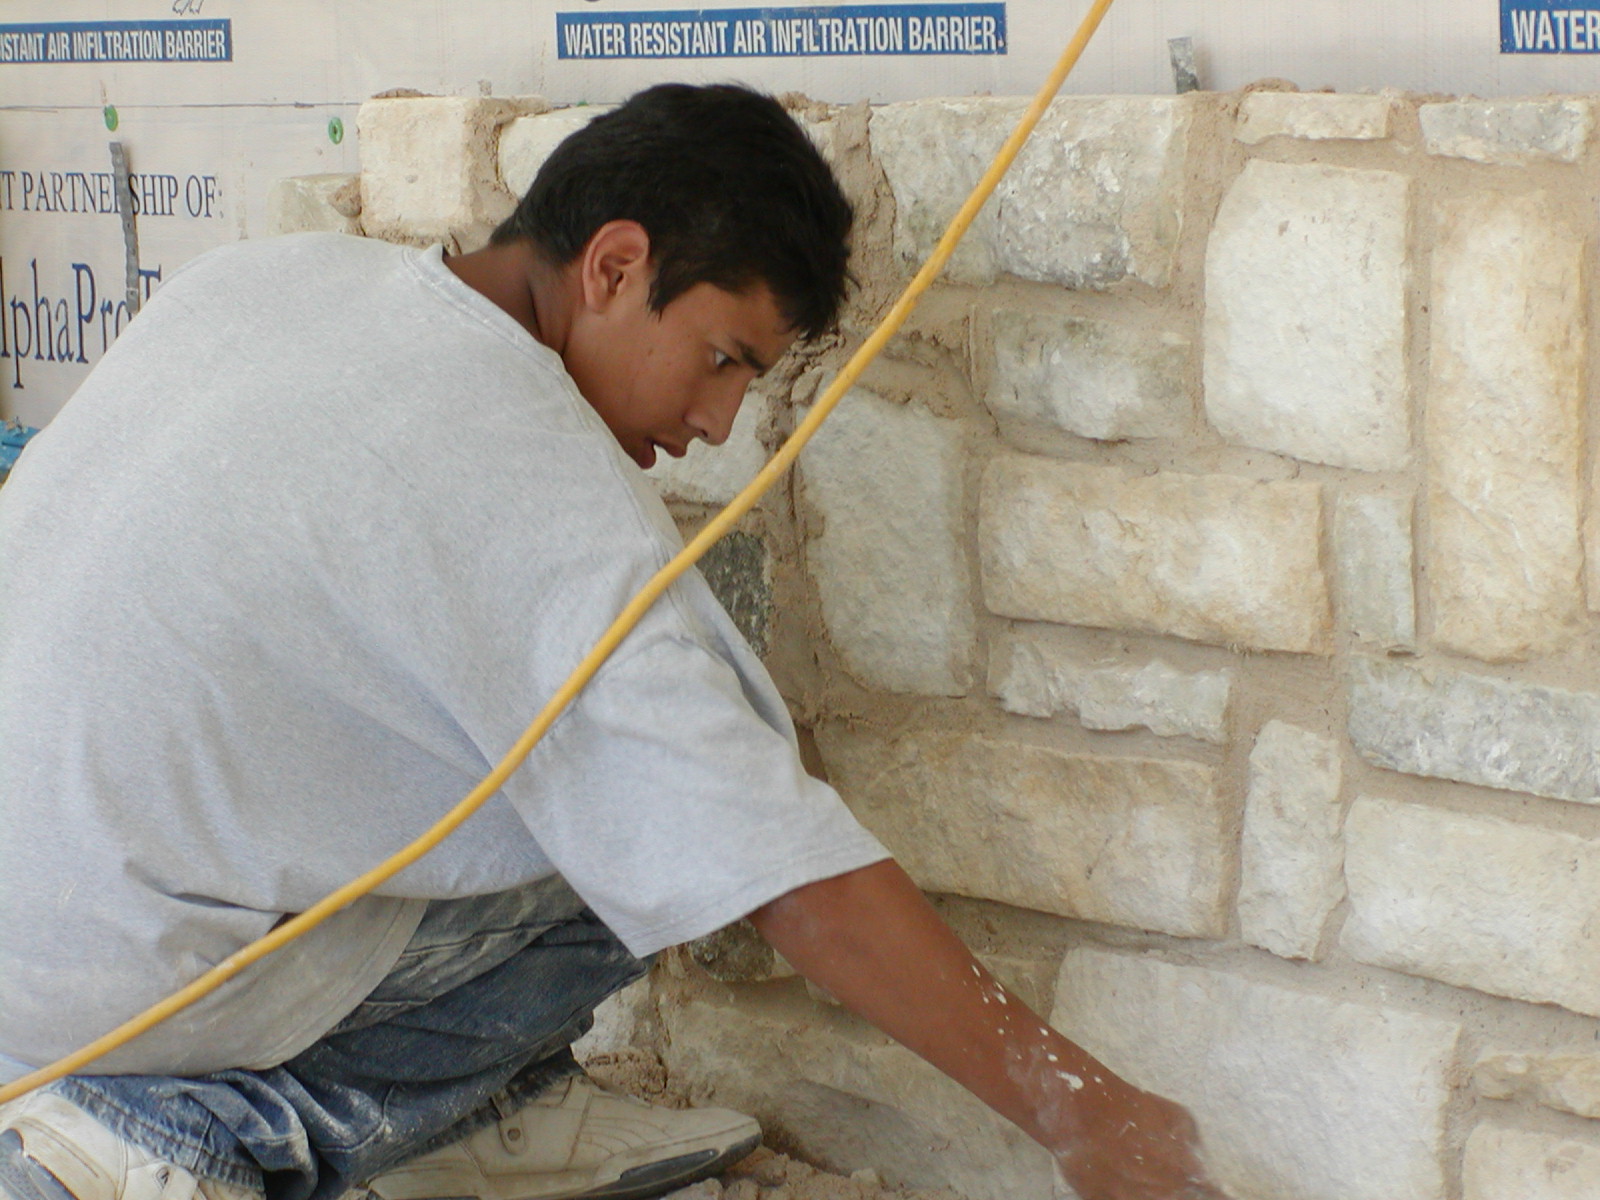
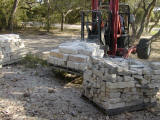
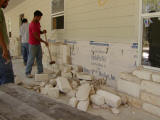
Delivering the stone
|
|
|
|
It'll be a "Texas Mix" of white, cream, and weathered limestone
|
|
|
|
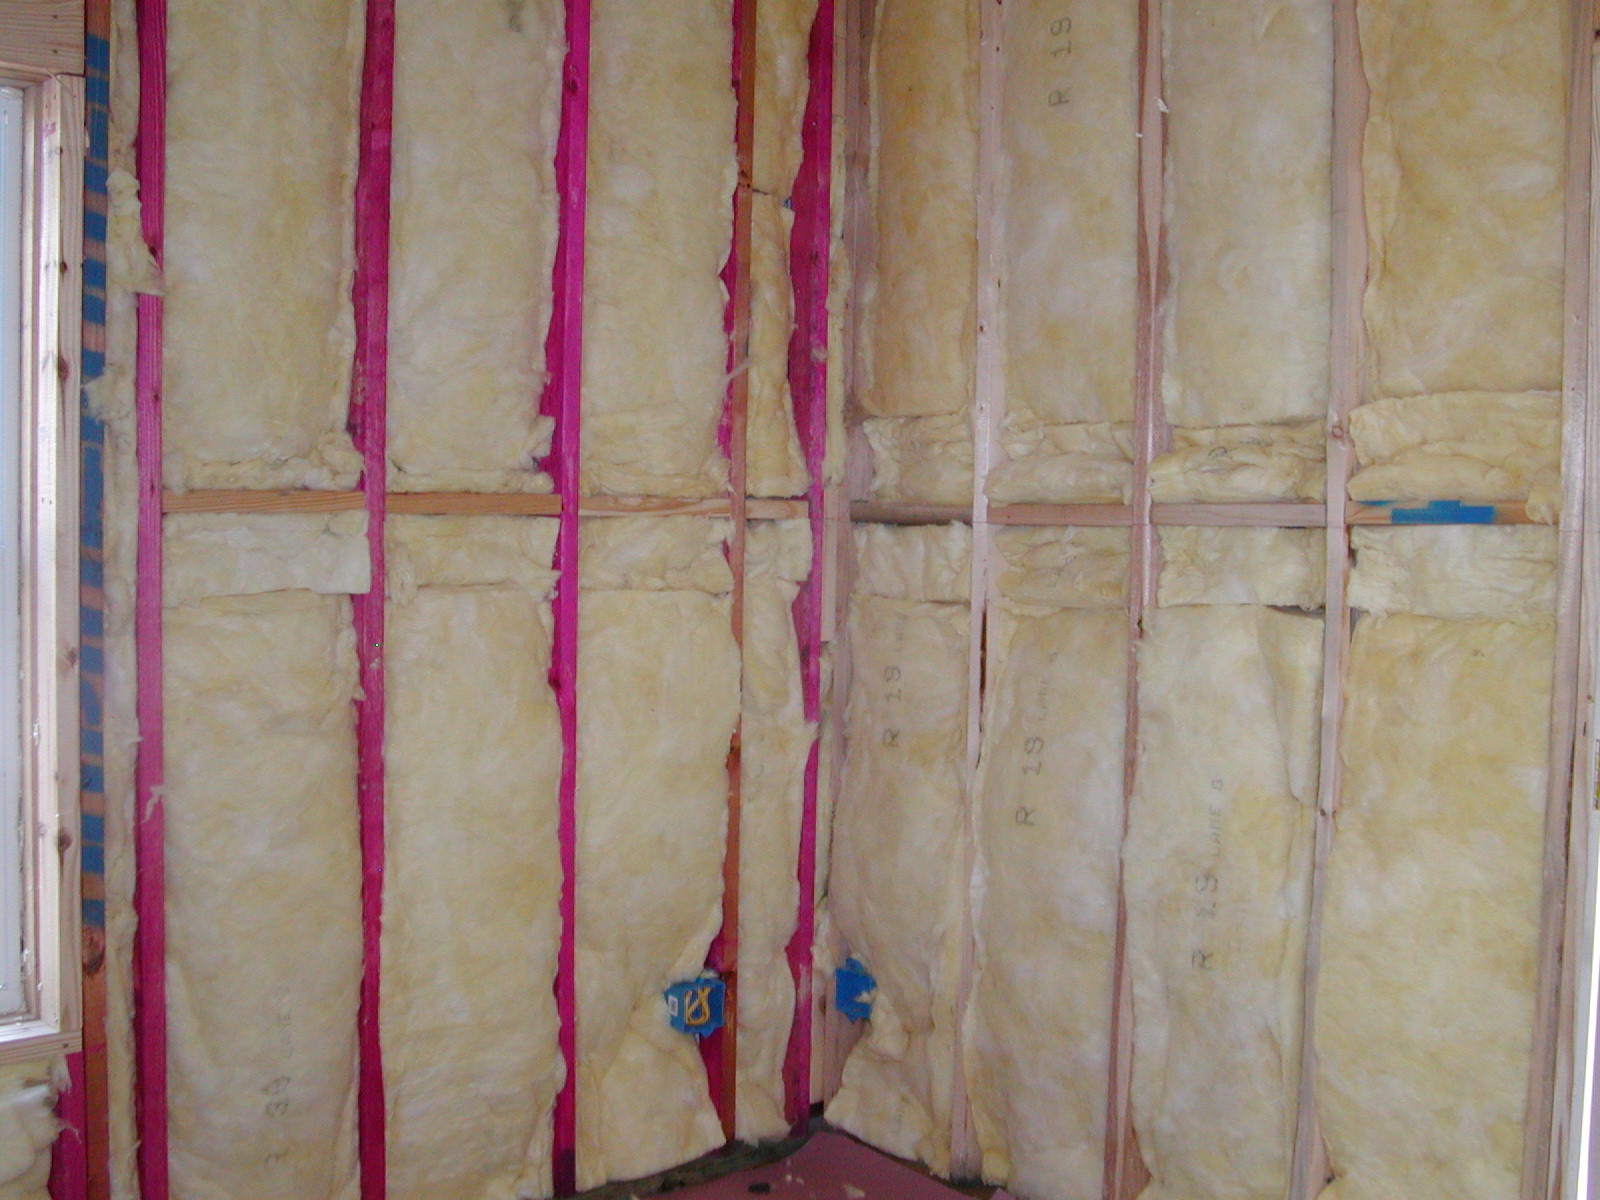
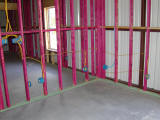
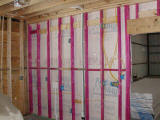
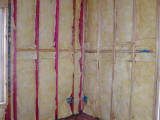
R-30 in the metal walls; R-19 on the front porch (2x6 walls)
|
|

|
|
R-30 in the ceiling
|
|
|
|
|
|
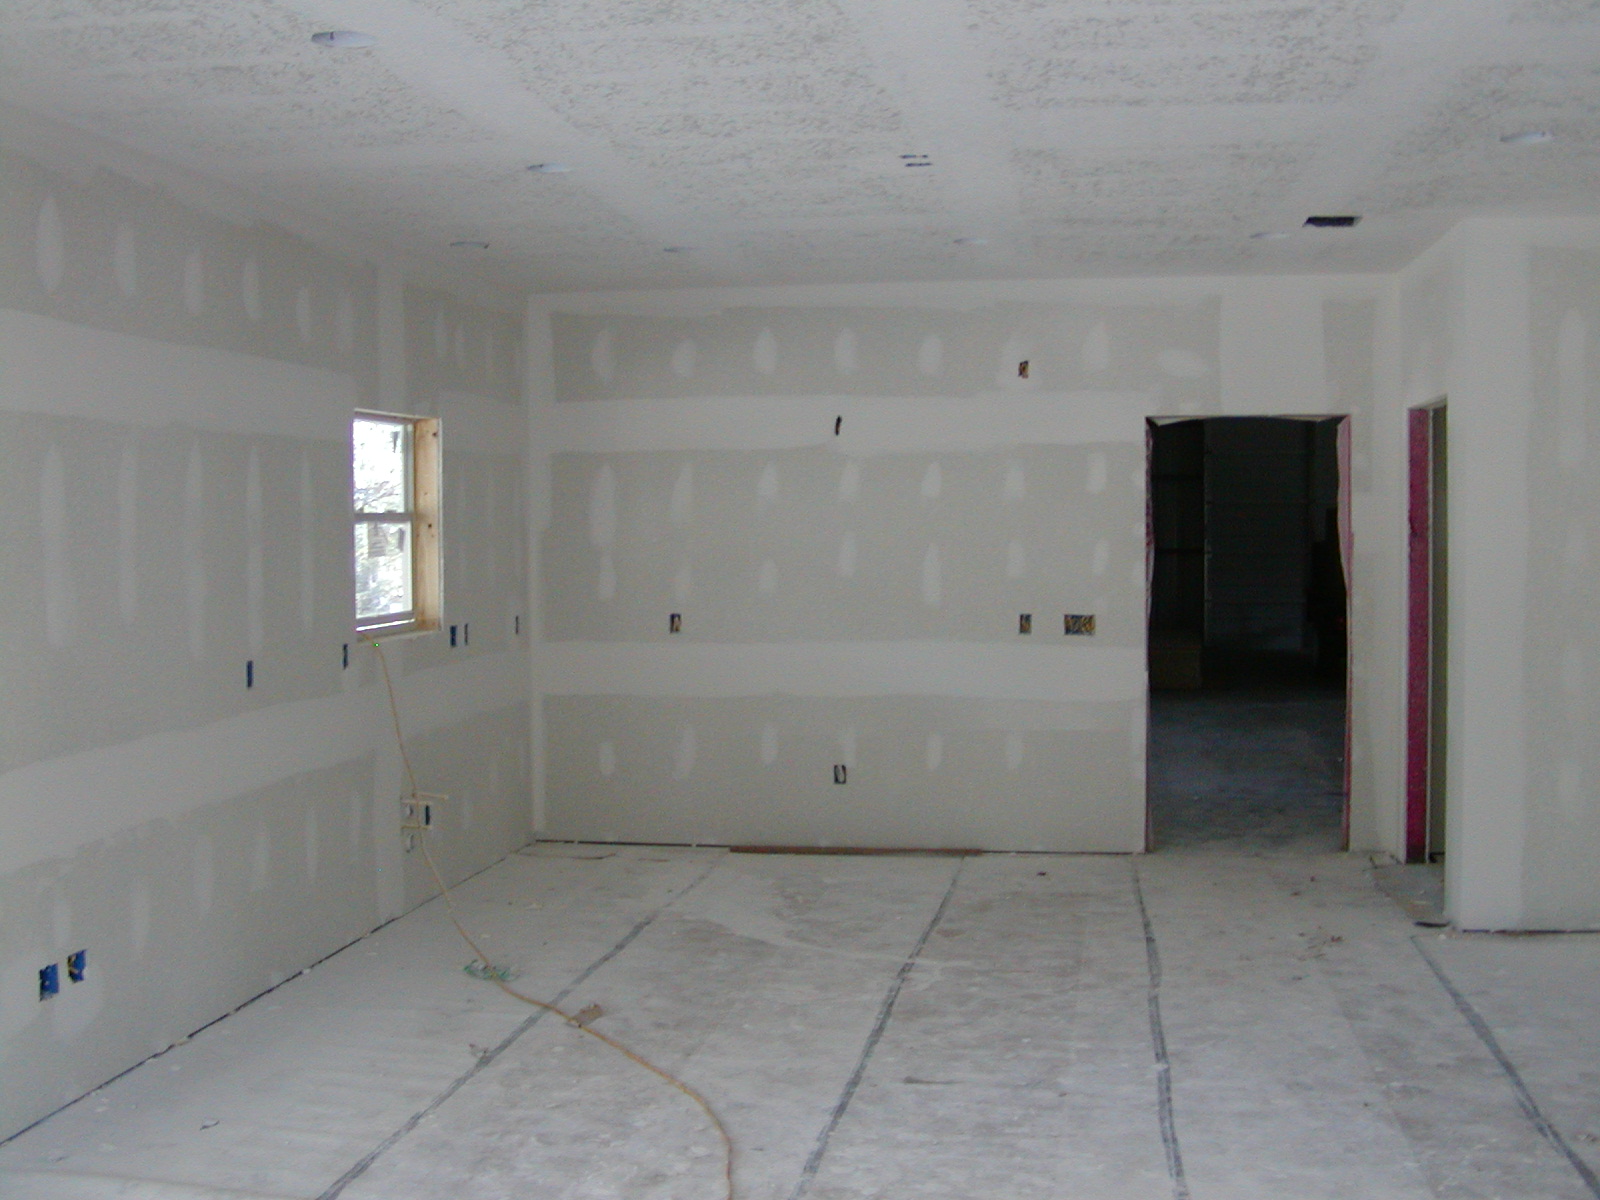
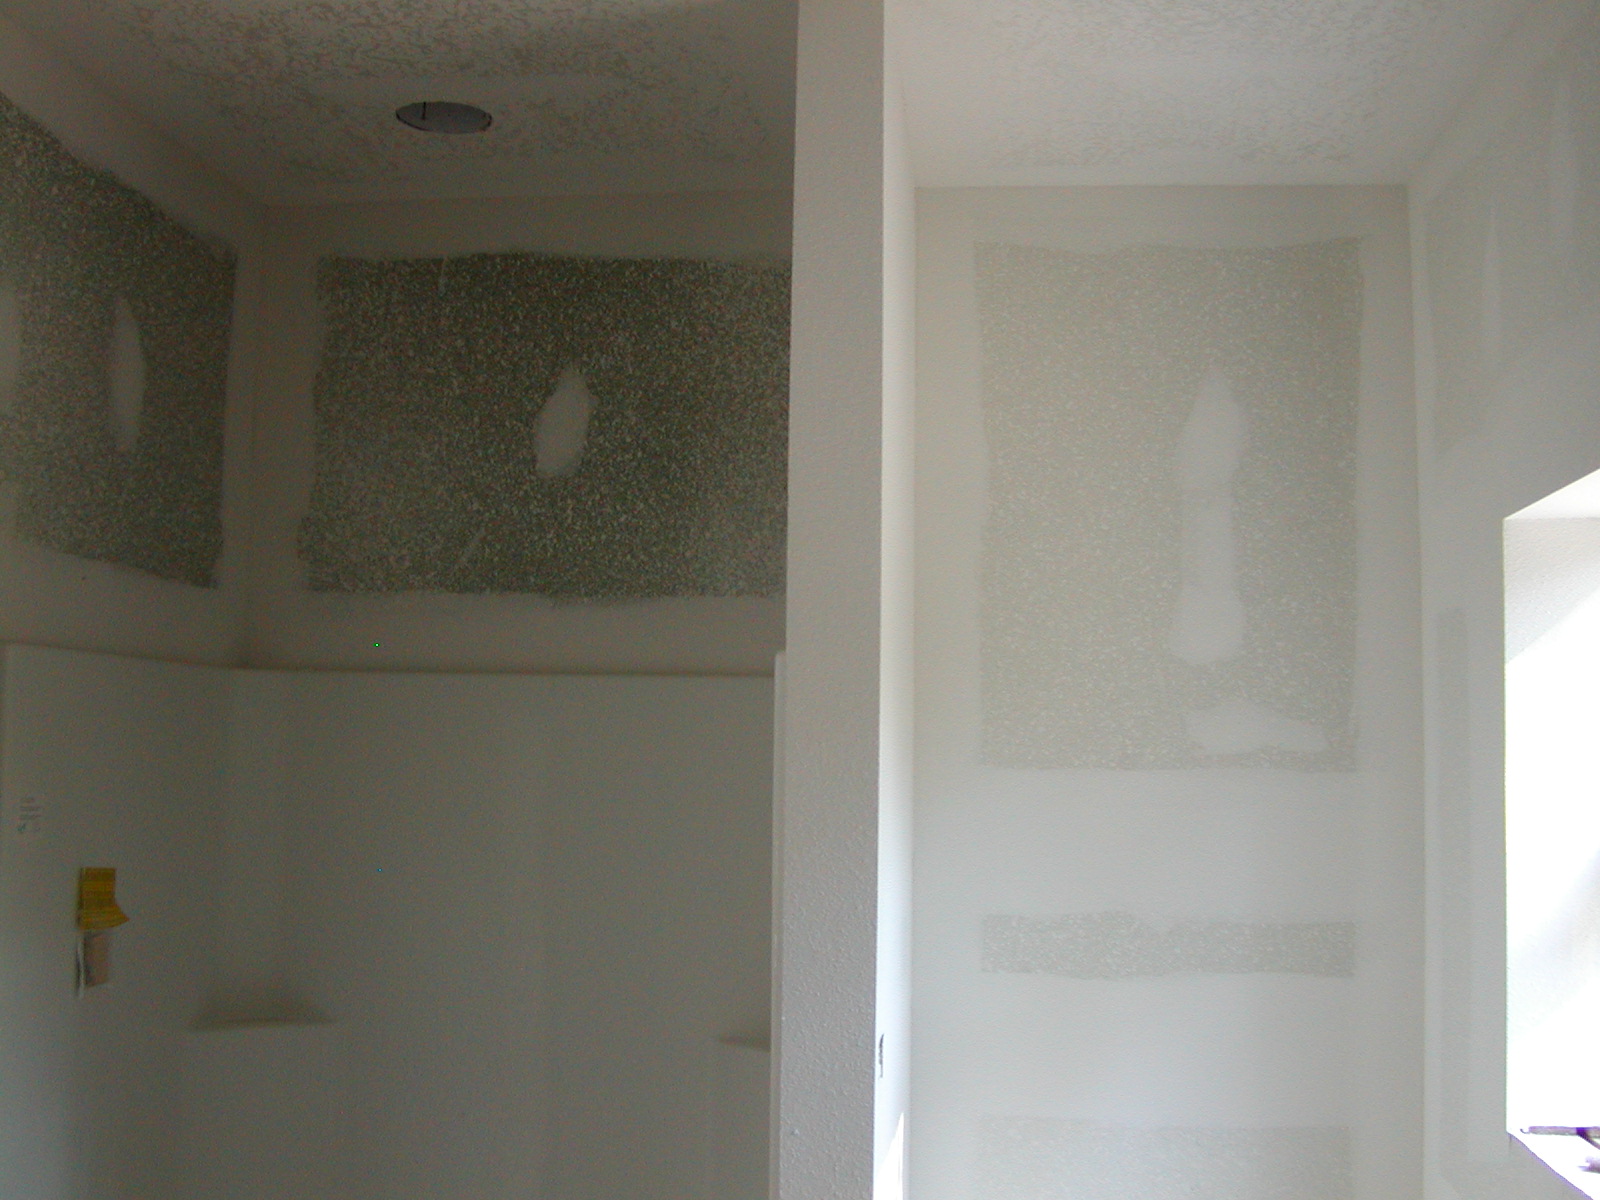
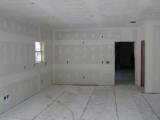
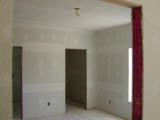
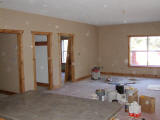
Sheetrock! View from the living room towards the kitchen
|
|

|
|
Towards the kitchen (refrigerator and desk)
|
|
|
|
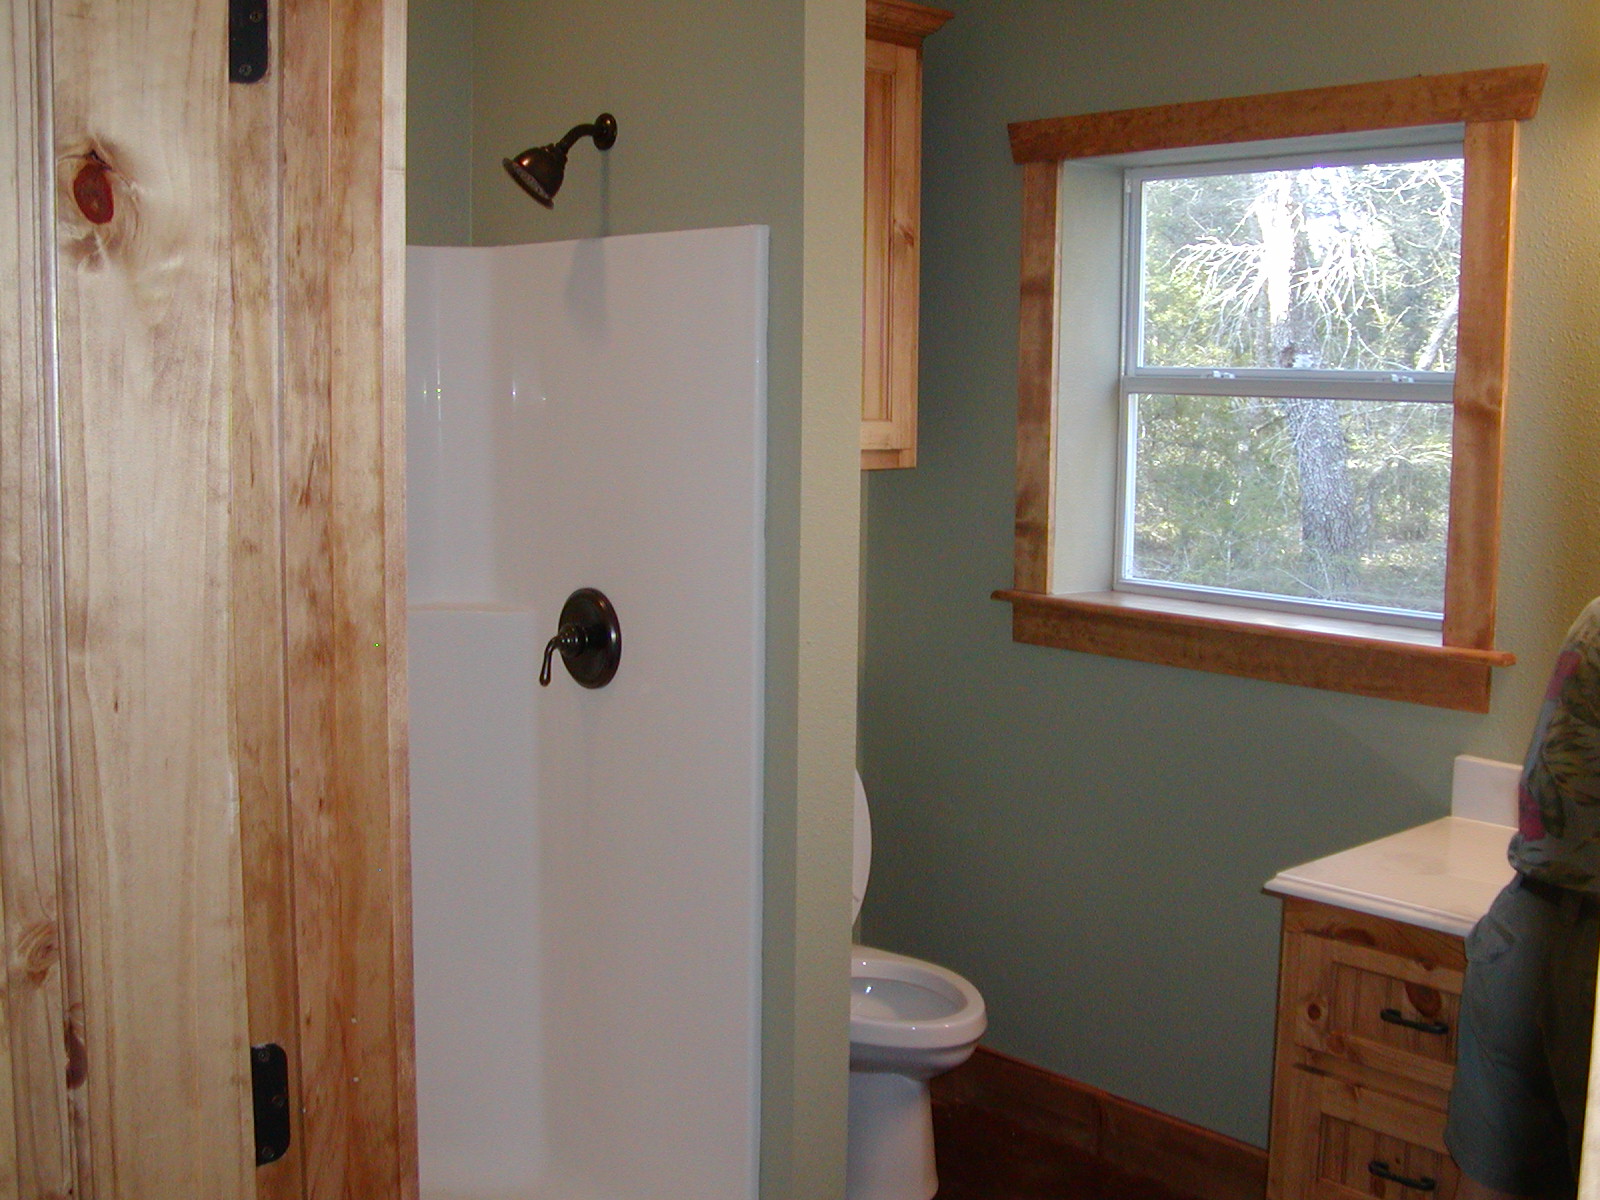
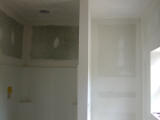
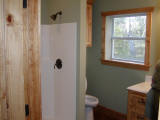
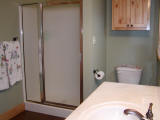
Master bath (to the left is the 4x3 shower)
|
|
|
|
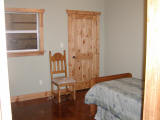
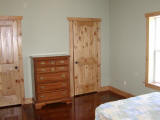
Master bedroom
|
|
|
|
|
|
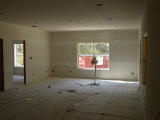
Towards the living room from the kitchen
|
|
|
|
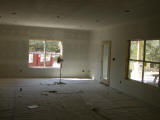
You can see the view out of the living room windows
|
|
|
|
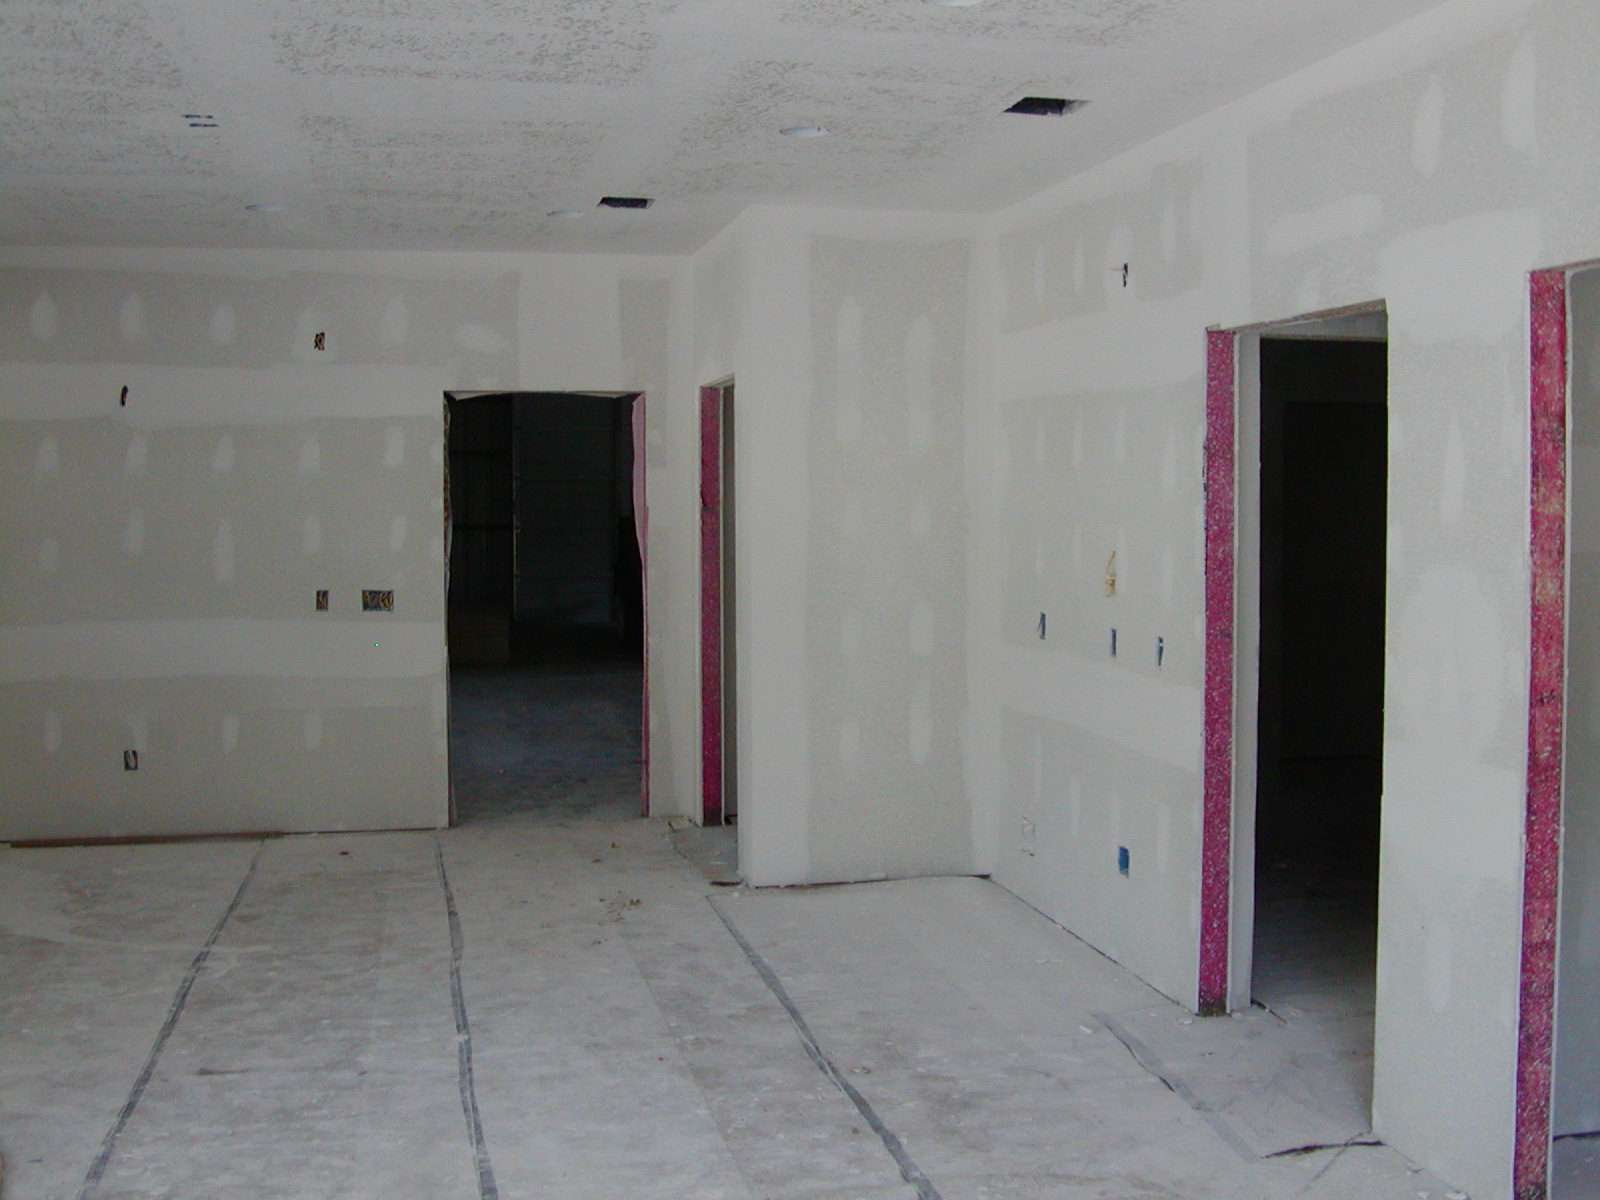
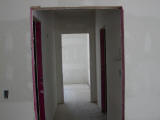
Down the hallway
|
|

|
|
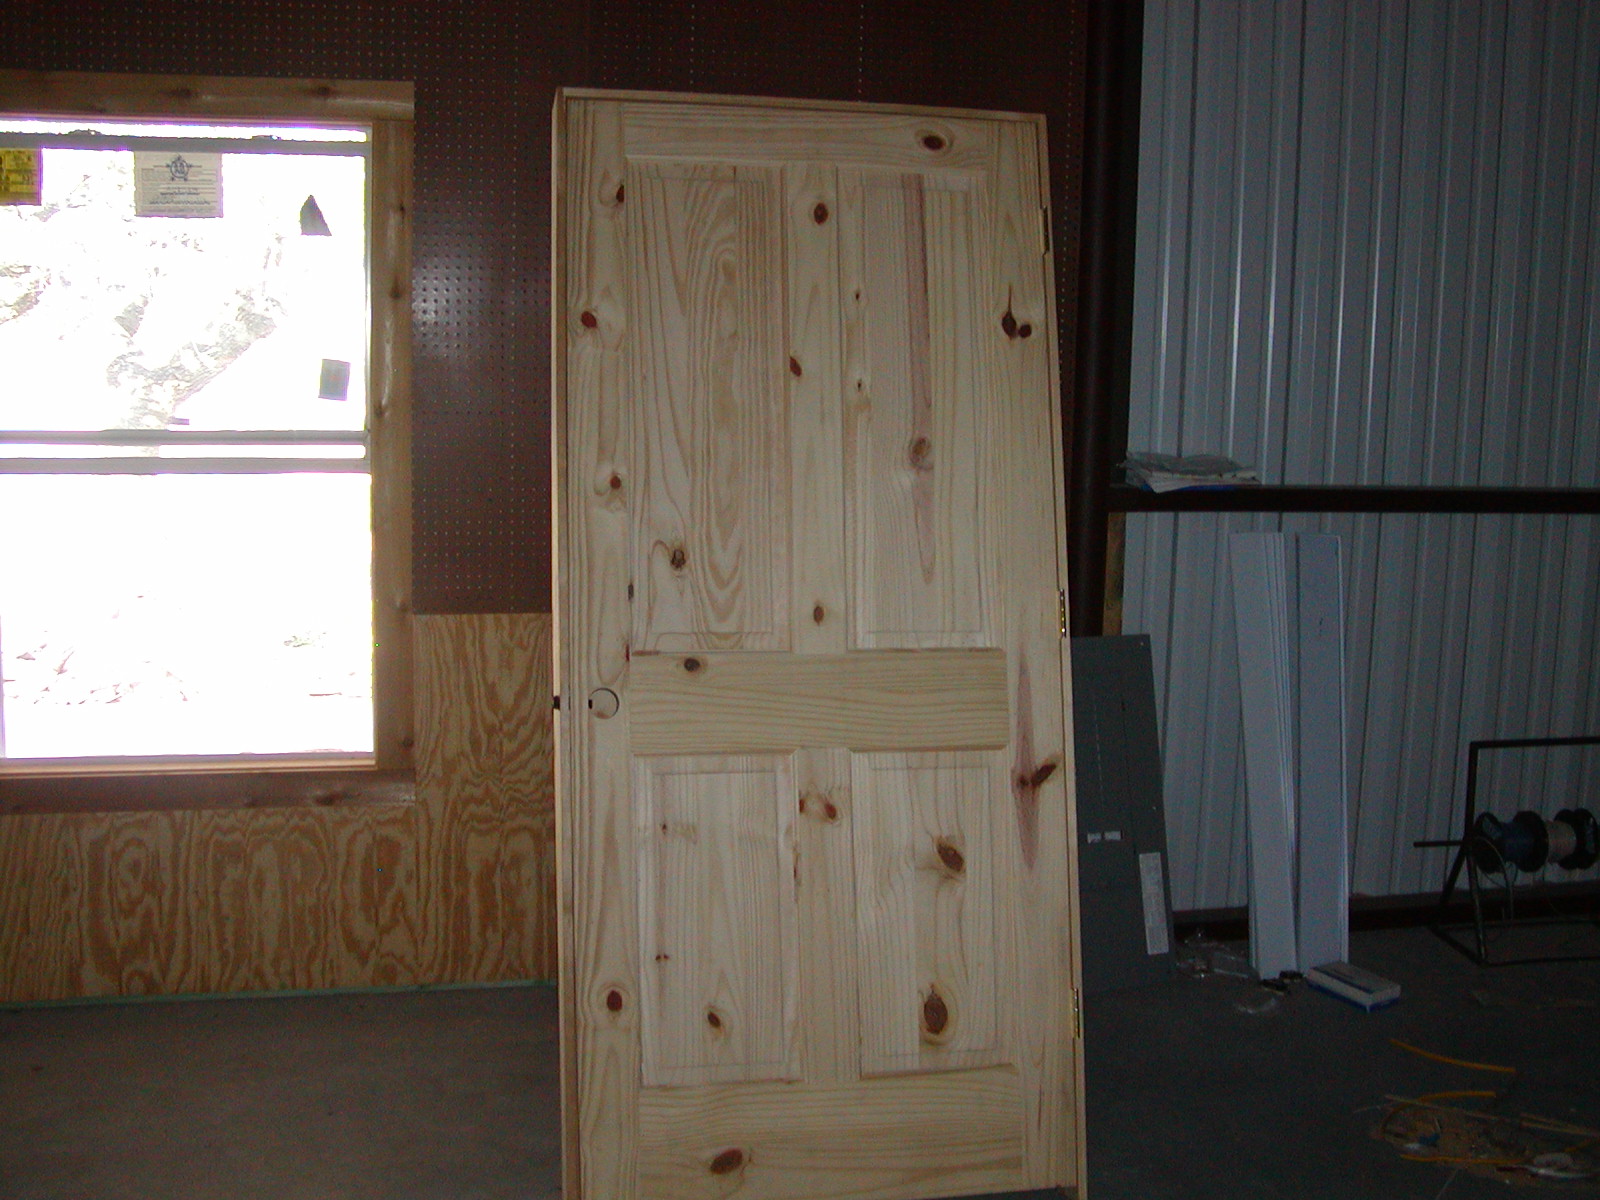
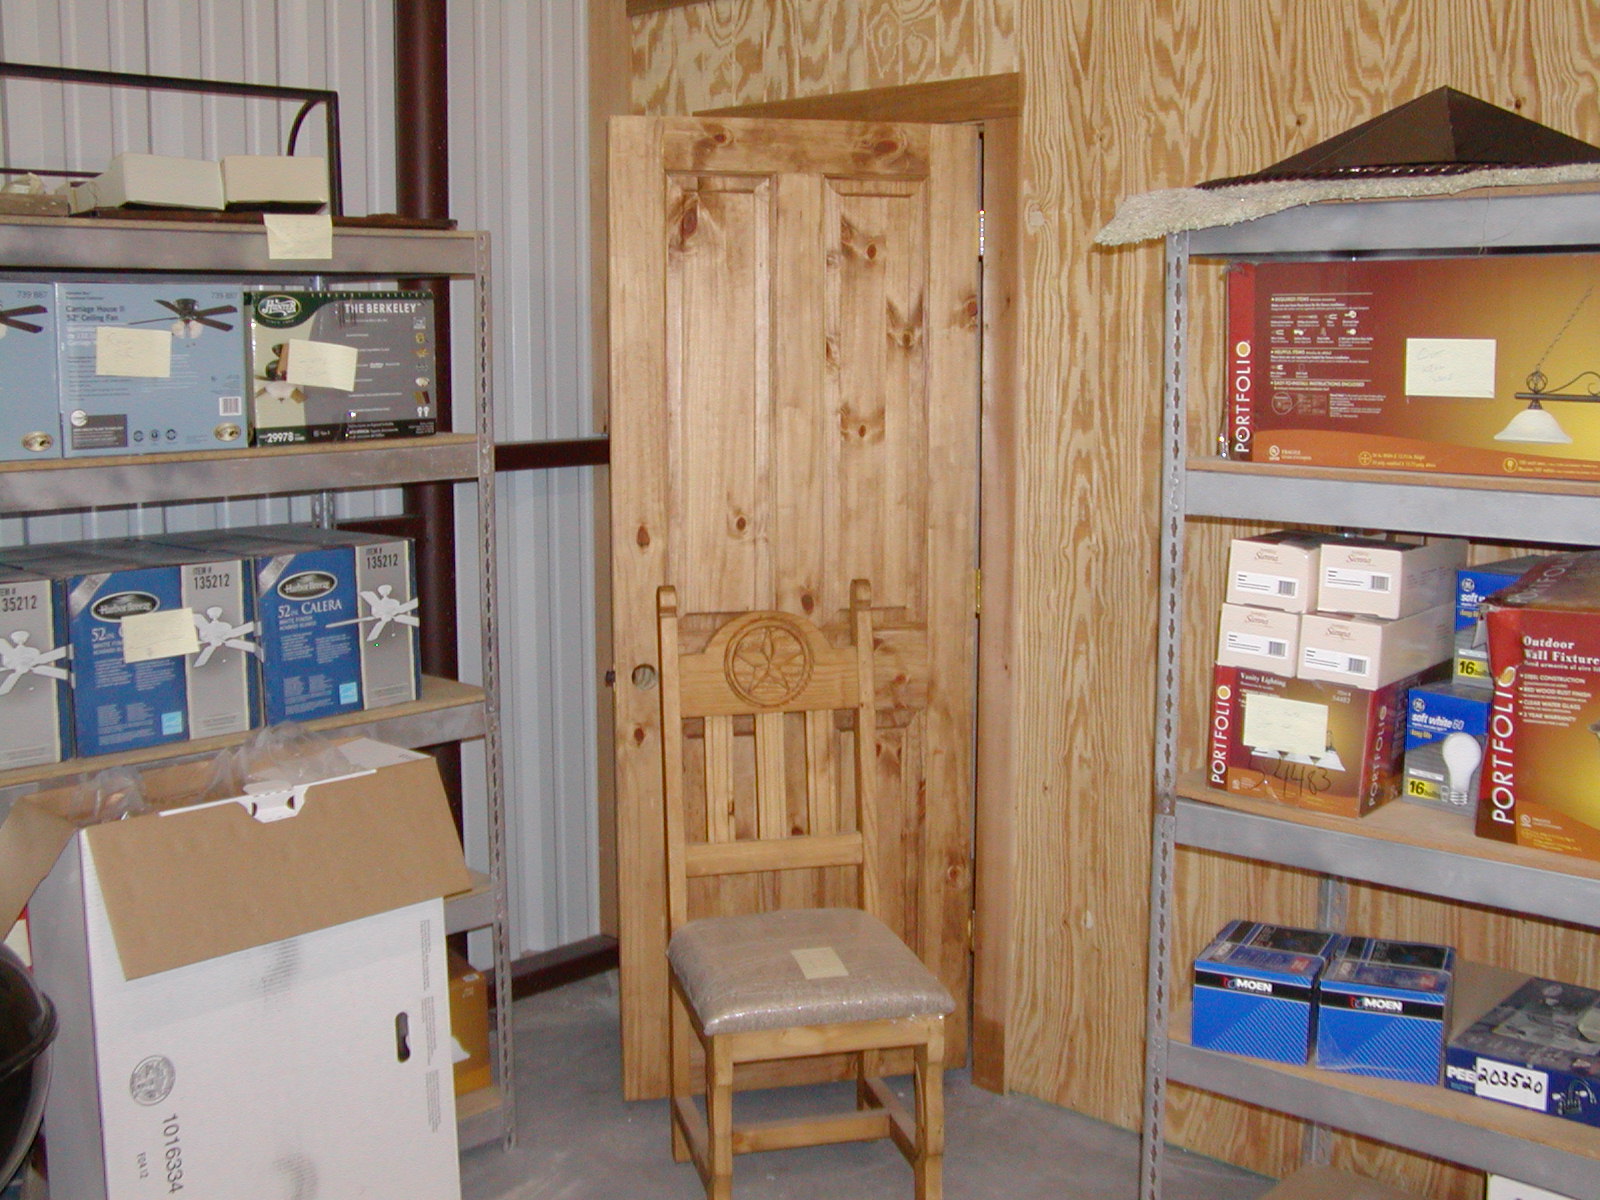
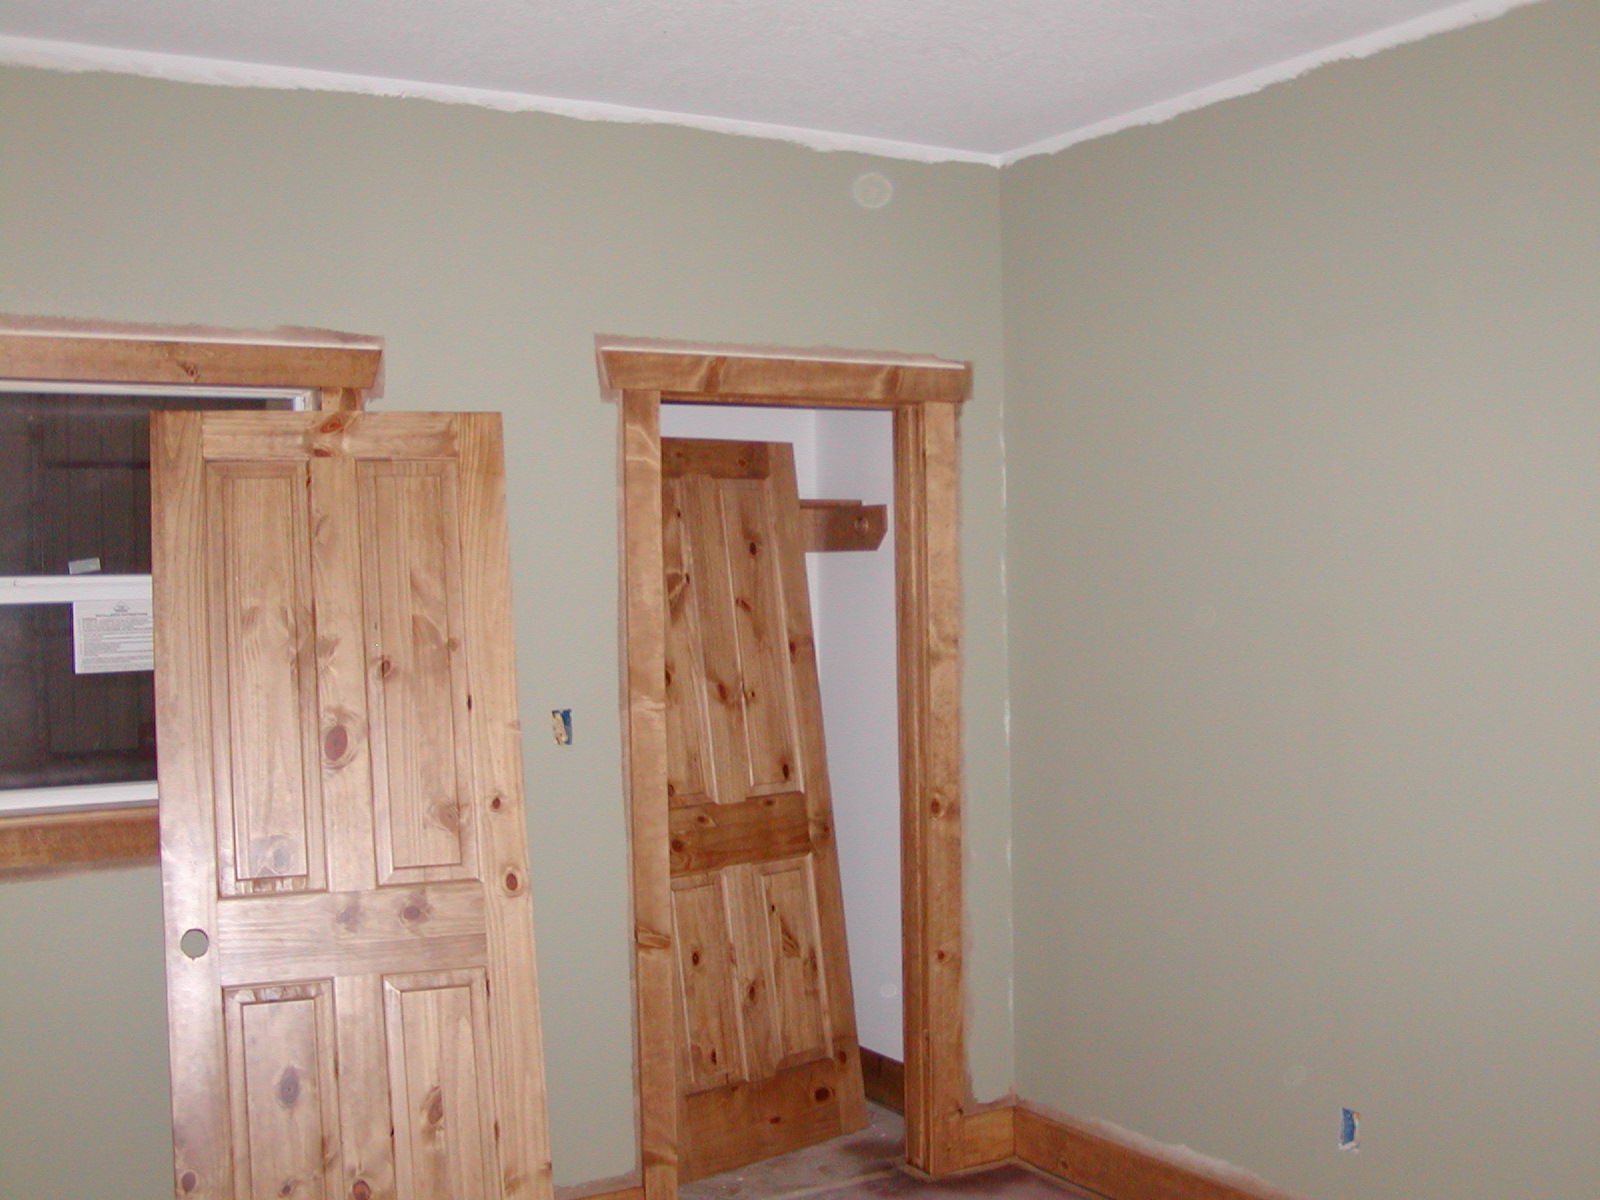
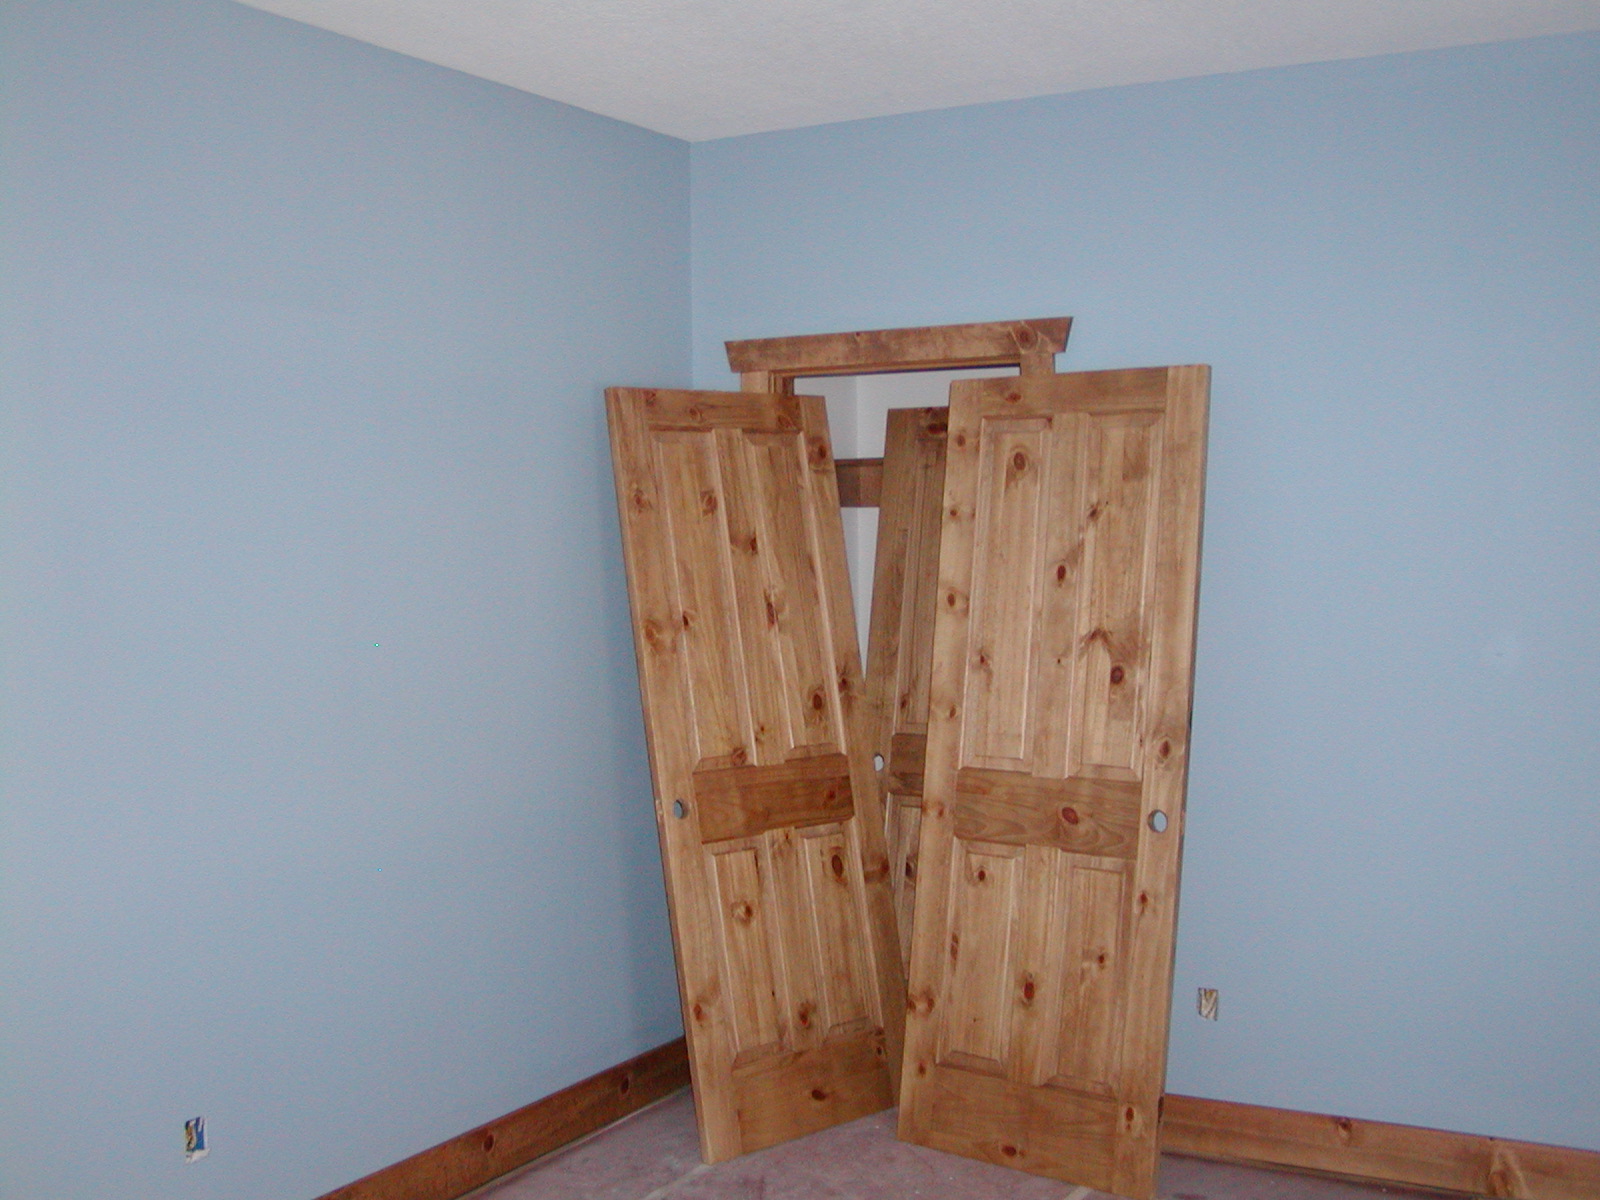
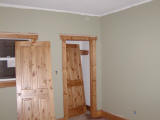
Knotty pine doors ready to be hung
|
|
|
|
|
|
Project Lifecycle View #10 (first time the stone was installed)
|
|

|
|
Project Lifecycle View #10 -- close-up (first time the stone was installed)
|
|
|
|
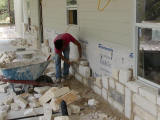
Let's just say Rodney didn't like the first attempt at installing the stone
|
|
|
|
Try again... This time with feeling!
|
|
|
|

|
|
Much better size and color variation now
|
|
|
|
Project Lifecycle View #11 (stone porch re-done)
|
|

|
|
Project Lifecycle View #11 -- close-up (stone porch re-done)
|
|
|
|
front door entrance
|
|
|
|

|
|
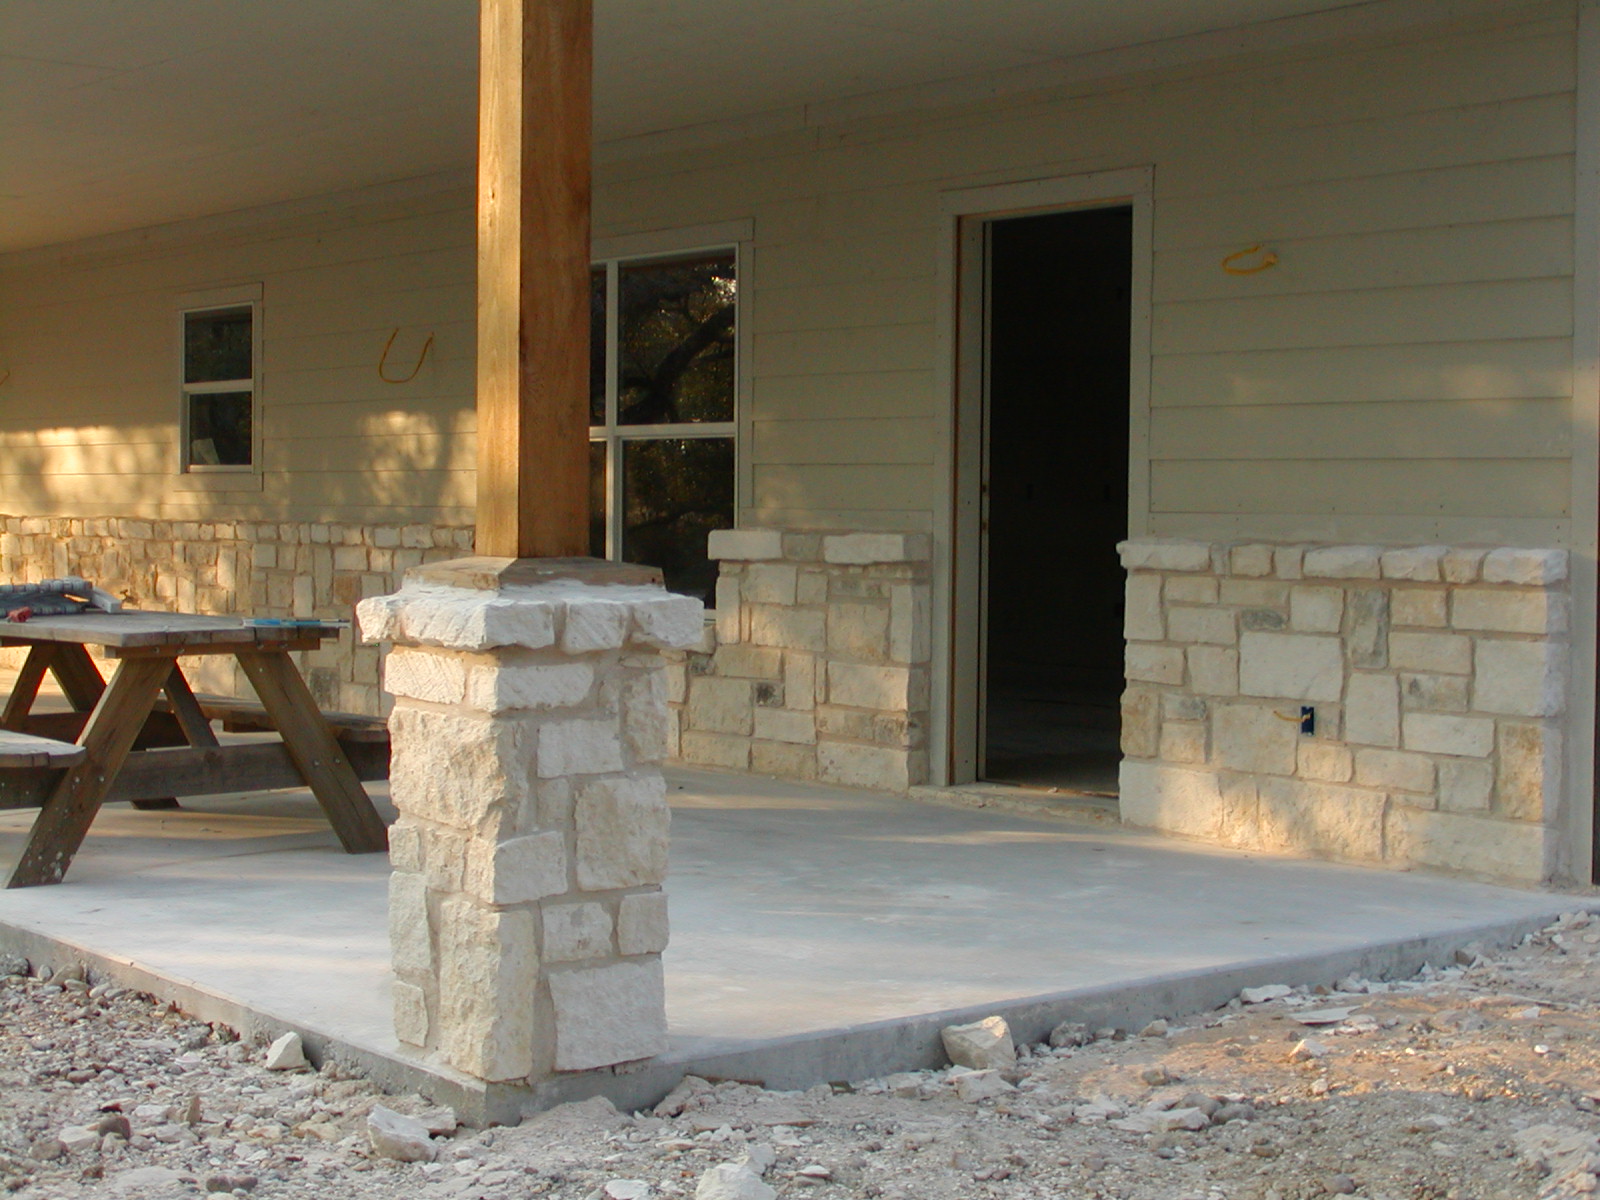
stone-wrapped columns on the porch tie it together (left-side of porch)
|
|
|
|
stone-wrapped columns on the porch tie it together (right-side of porch)
|
|

|
|
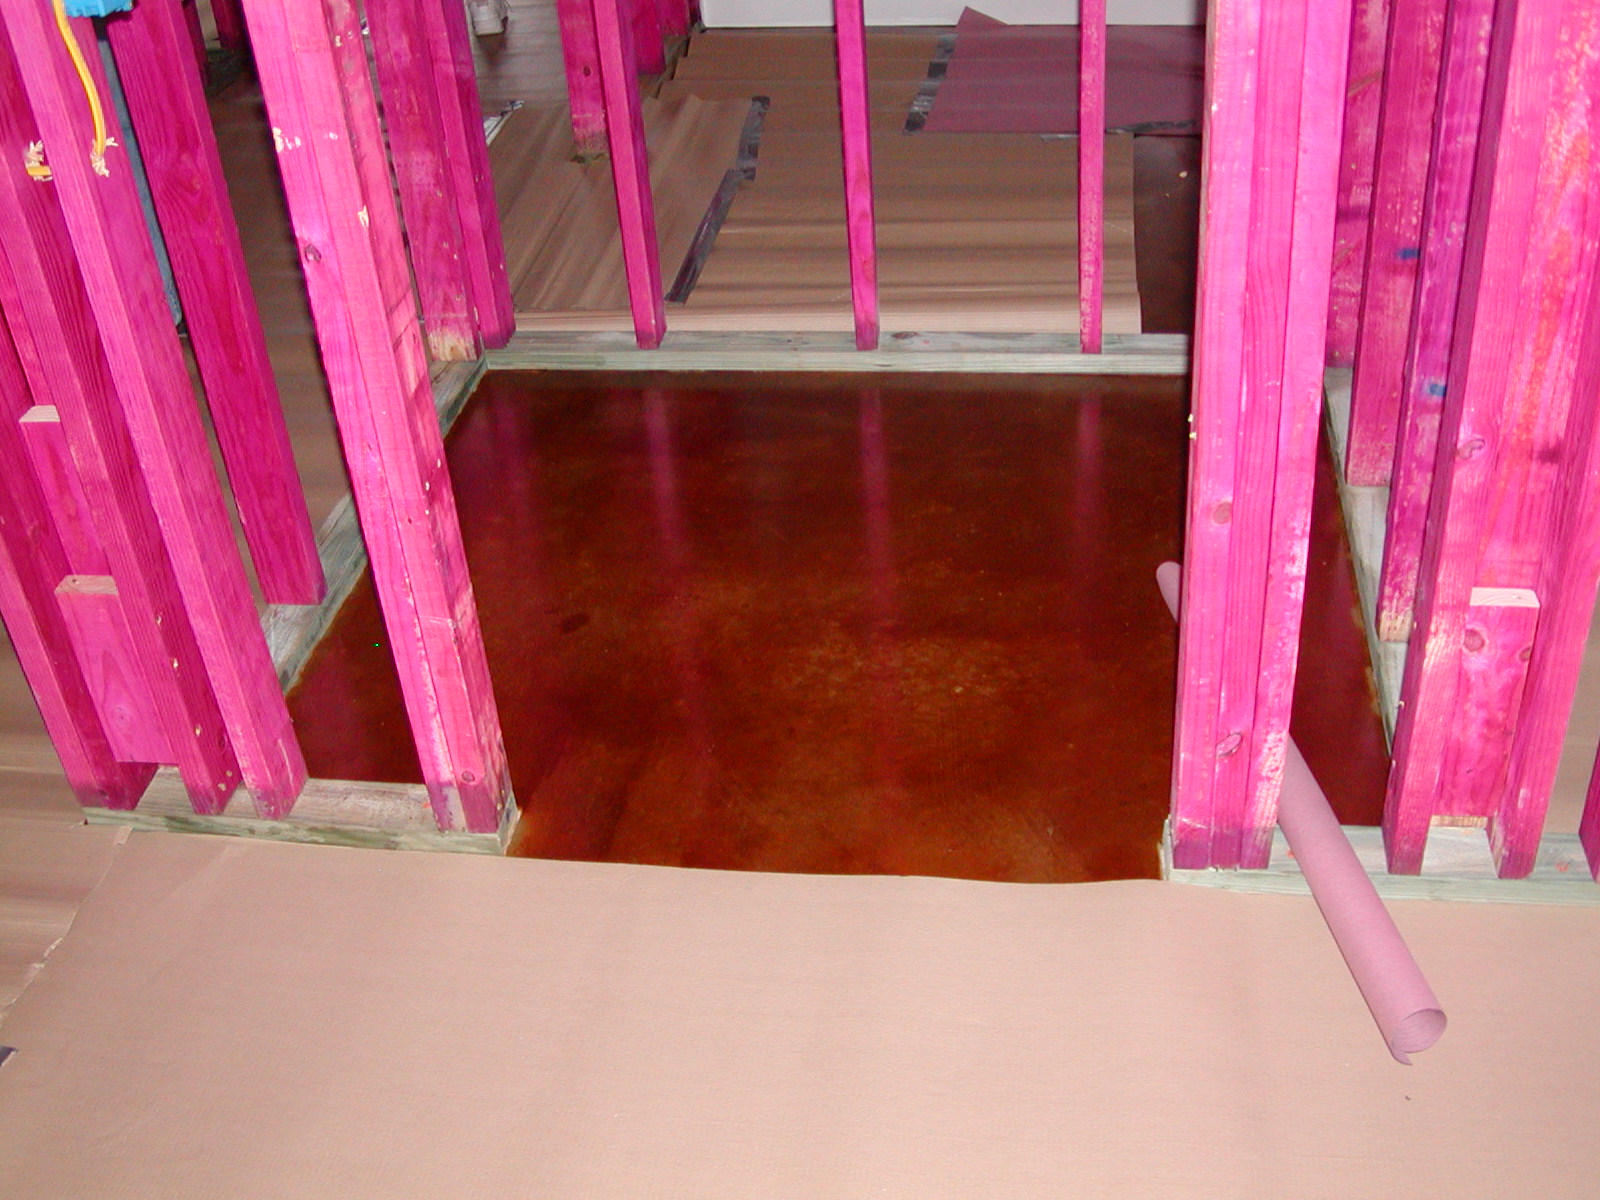
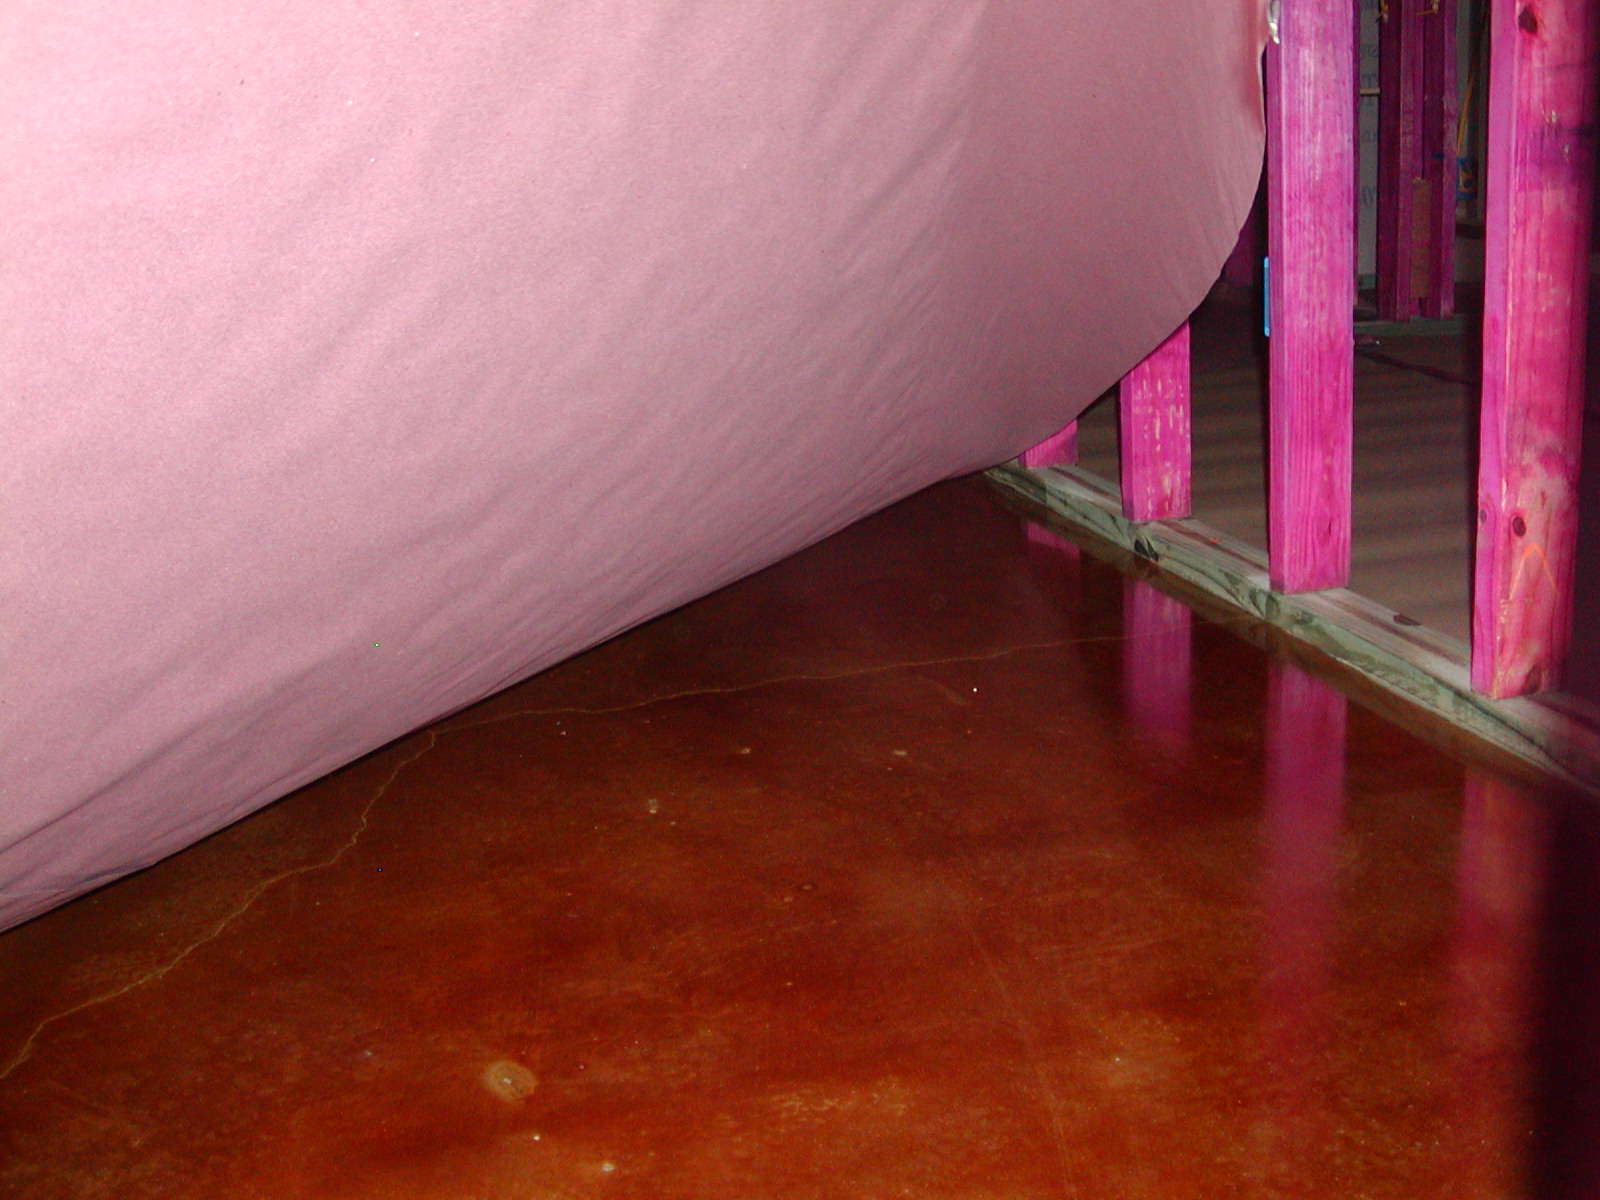
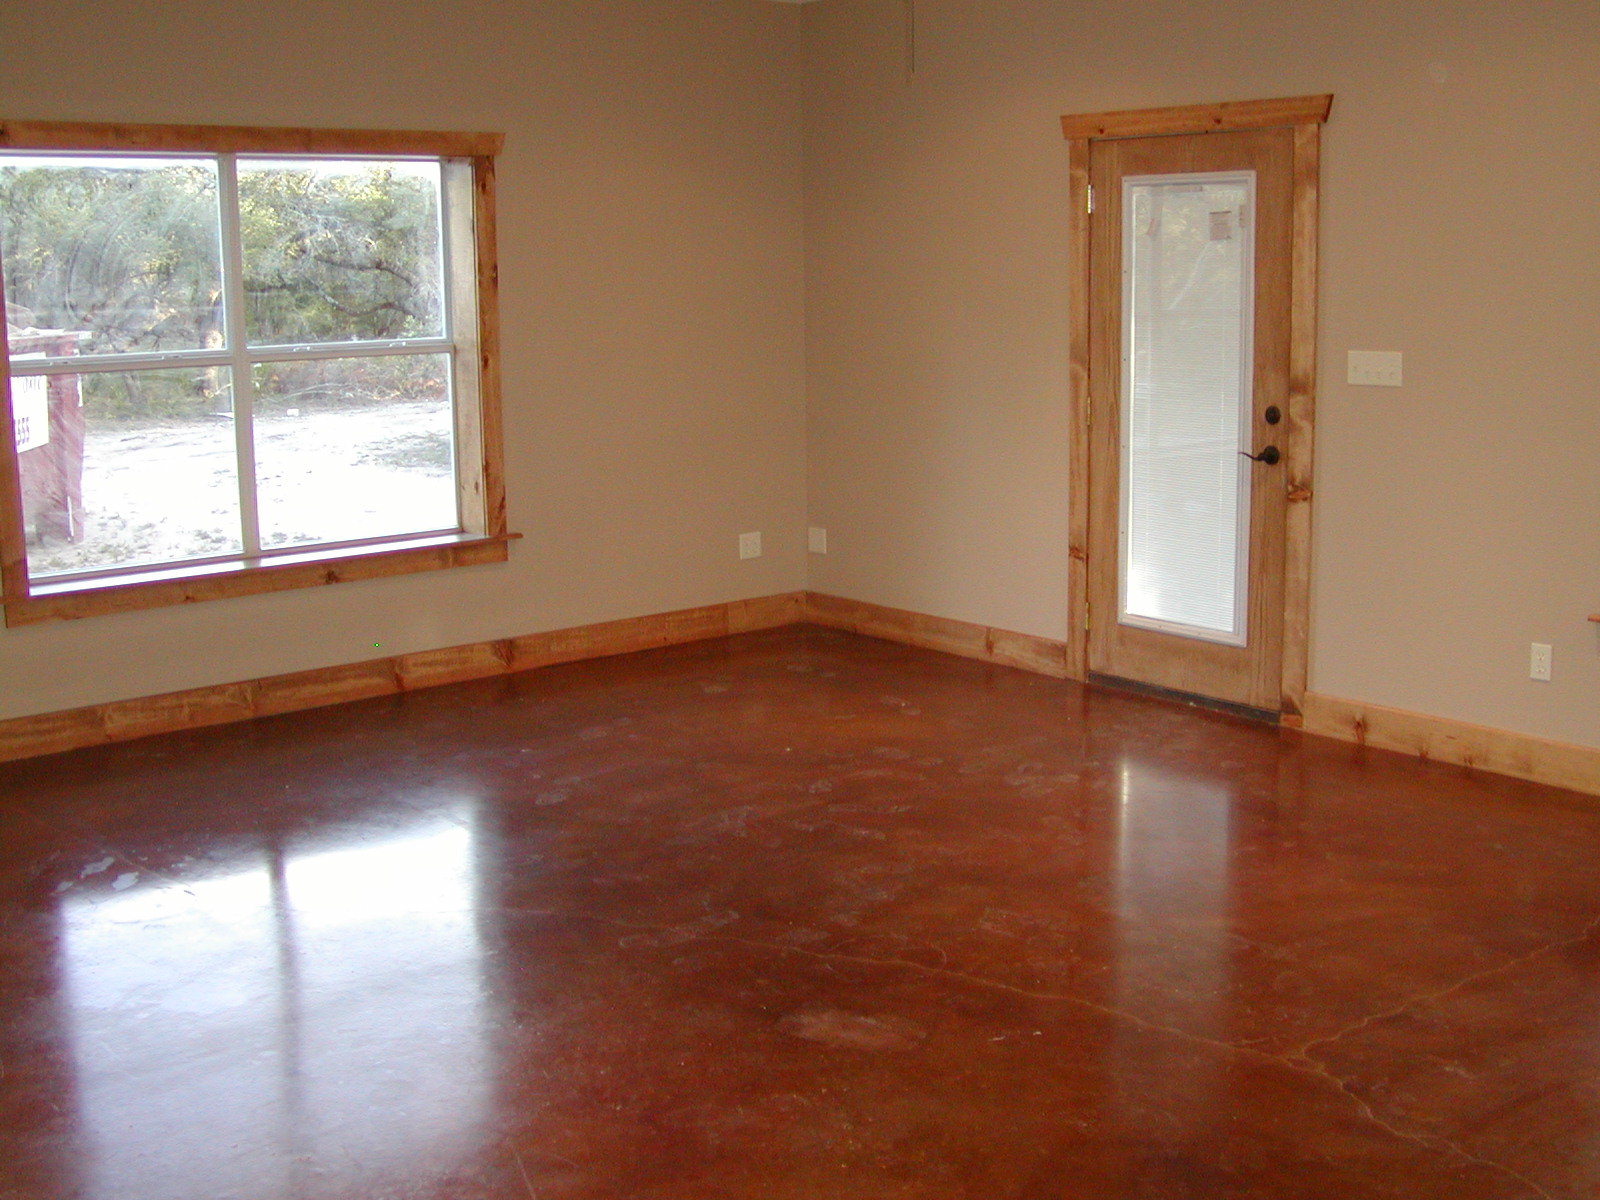
stained concrete ("Cola" stain color)
|
|
|
|
The cracks give it "character"
|
|
|
|
|
|
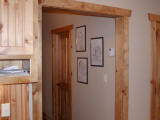
knotty pine door and trim installed
|
|
|
|
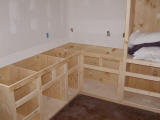
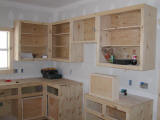
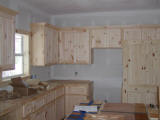
Kitchen cabinets in progress
|
|
|
|
Master bathroom cabinets in progress
|
|
|
|
View from the "second floor"
|
|
|
|
|
|
Air conditioning unit in the attic
|
|
|
|
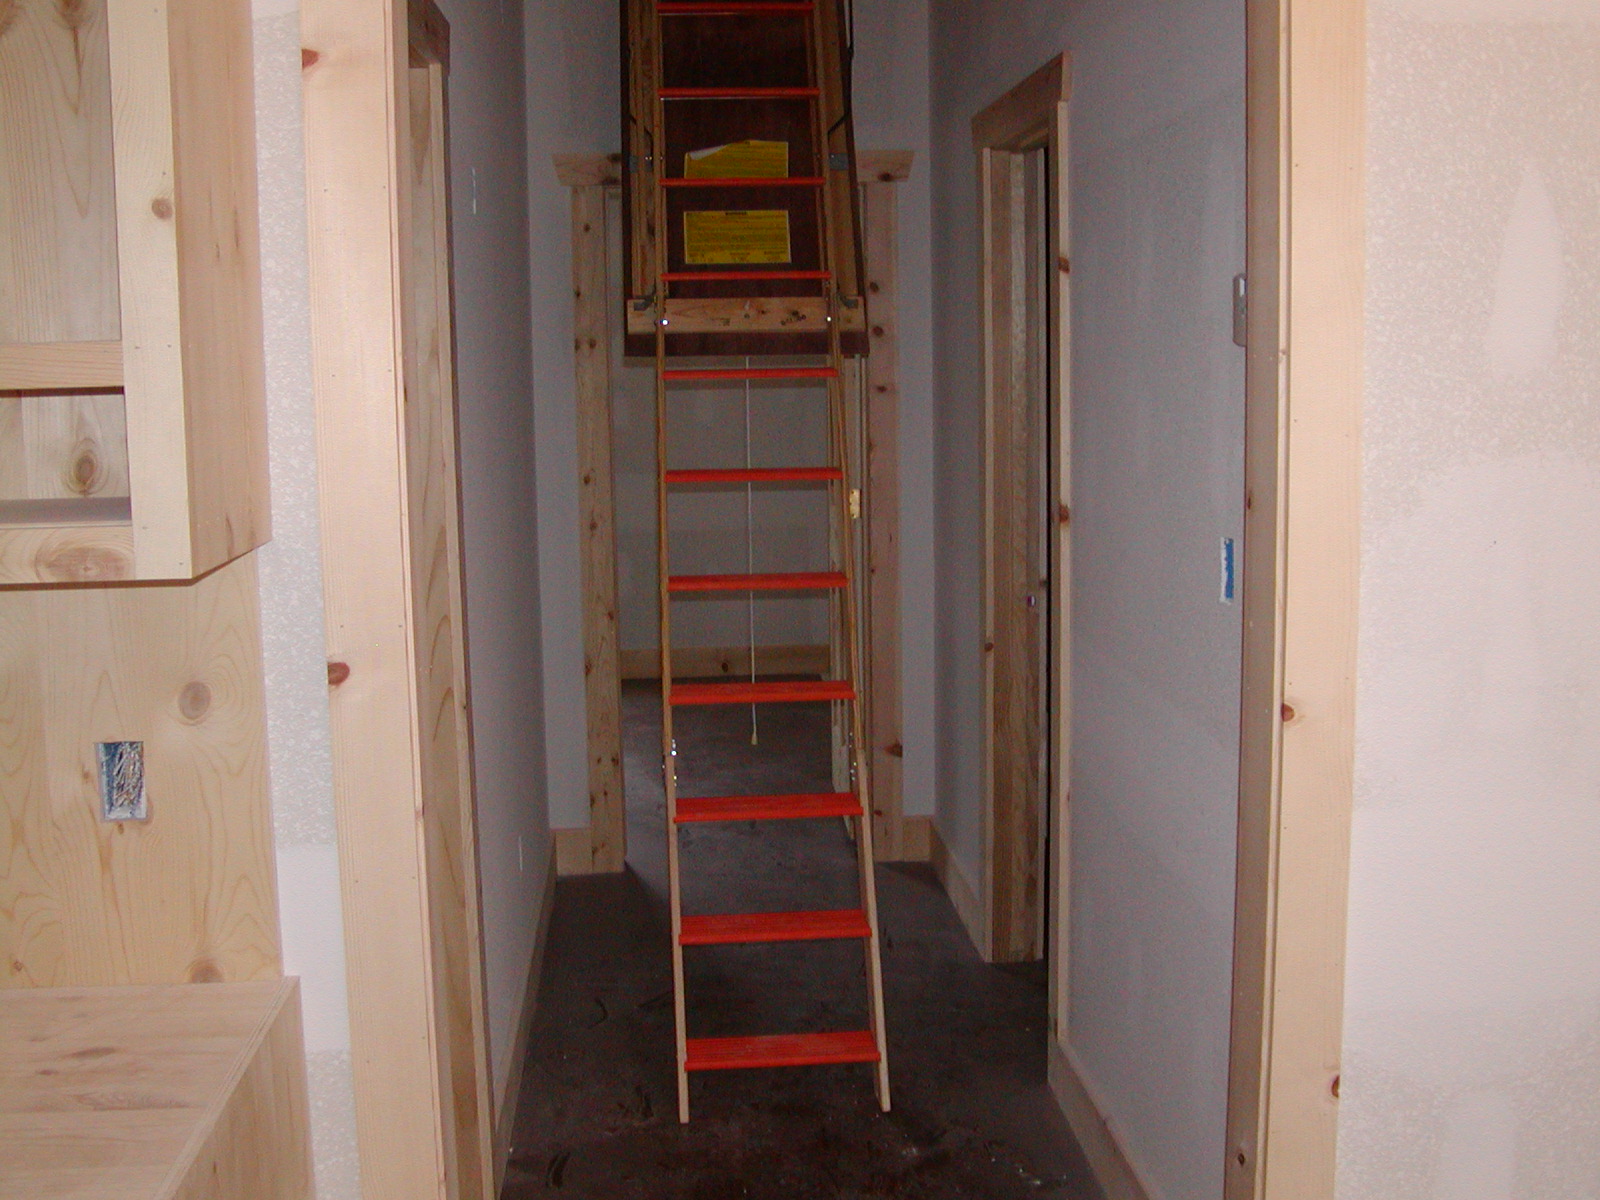
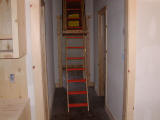
Drop-down stairs in the hallway
|
|
|
|
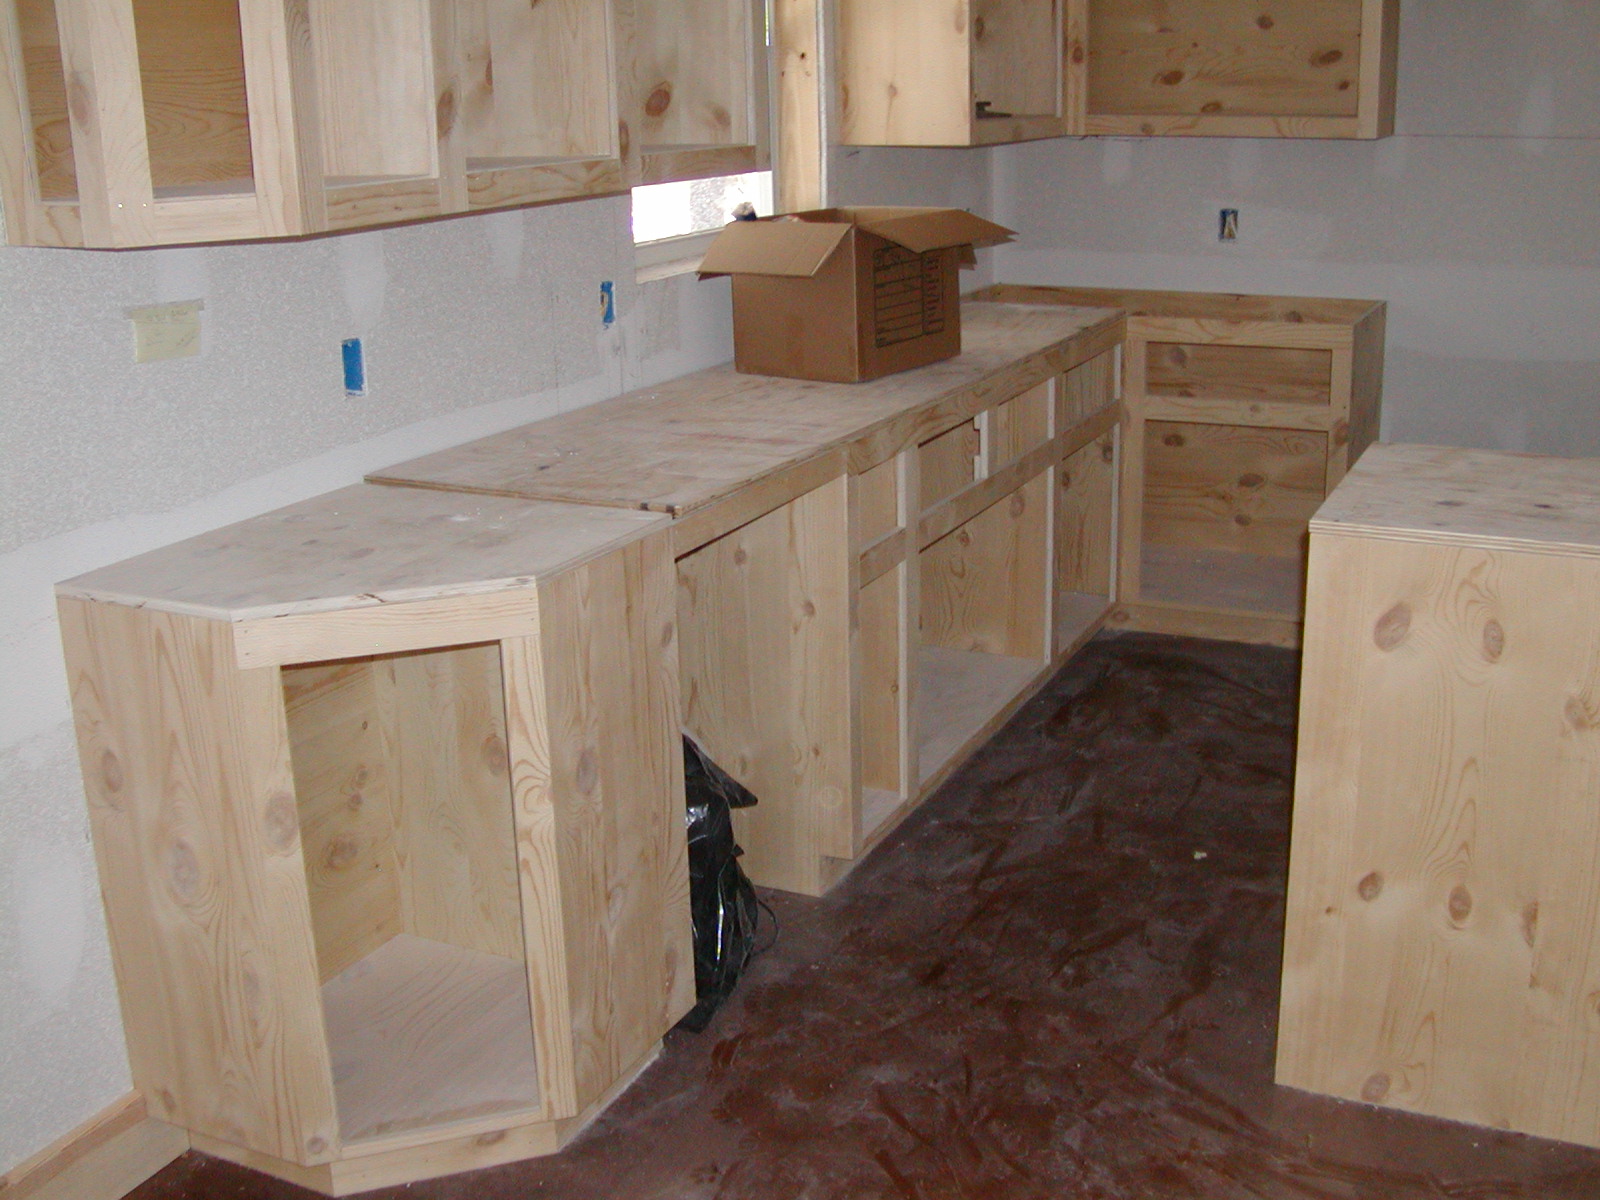
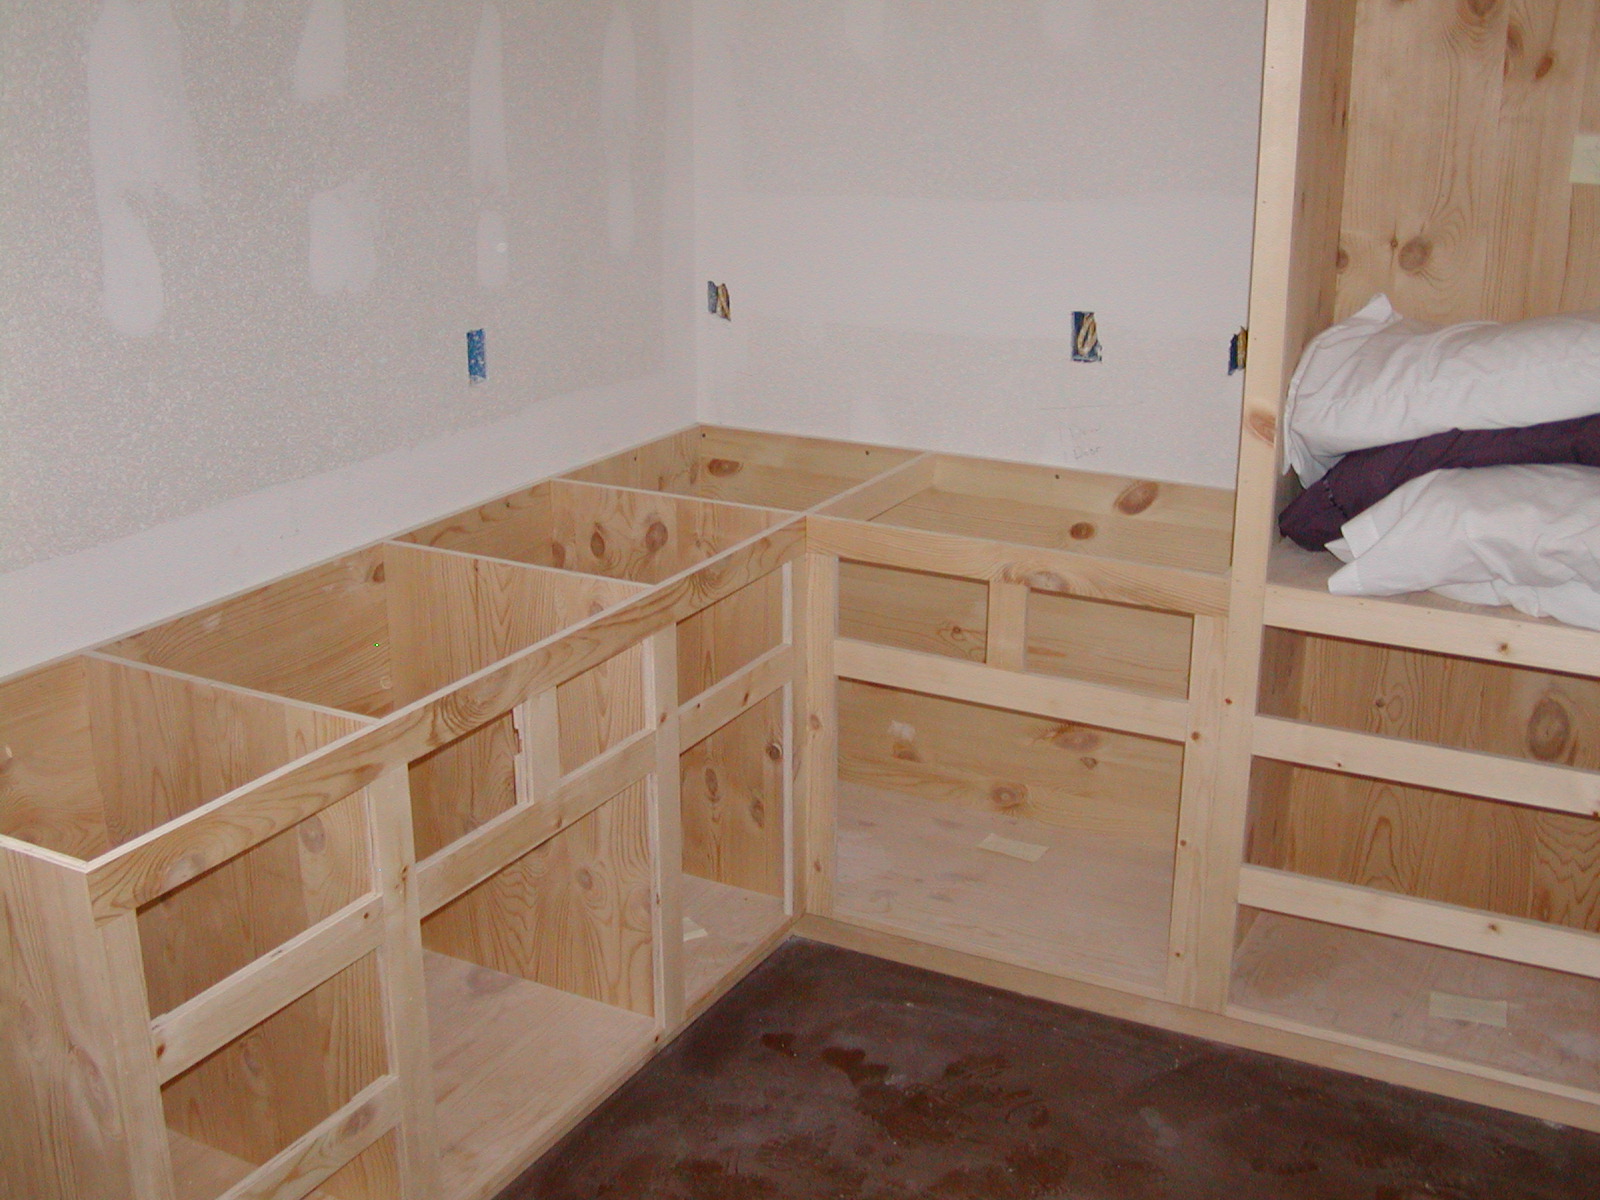
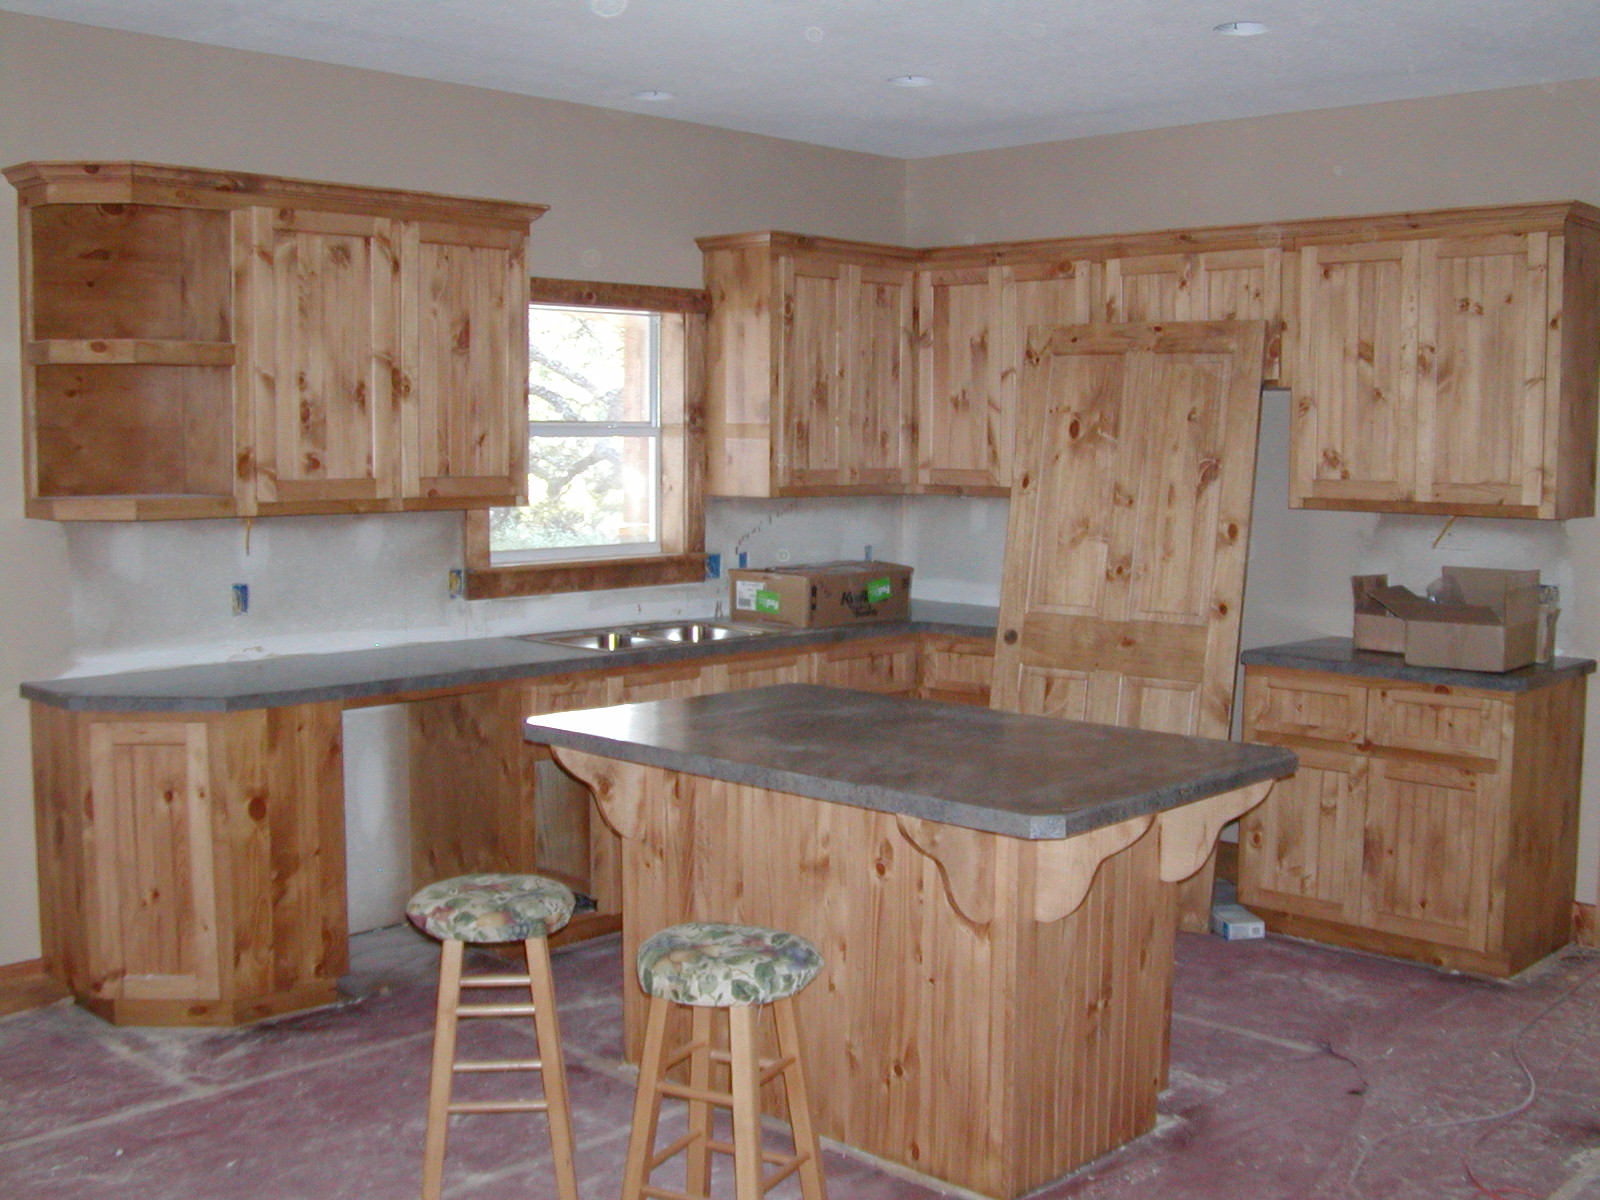
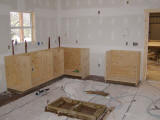
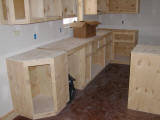
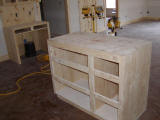
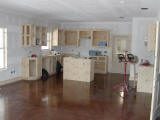
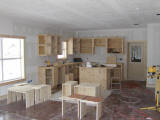
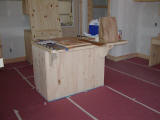
Base cabinets in the kitchen -- we angled the final cabinet
|
|

|
|
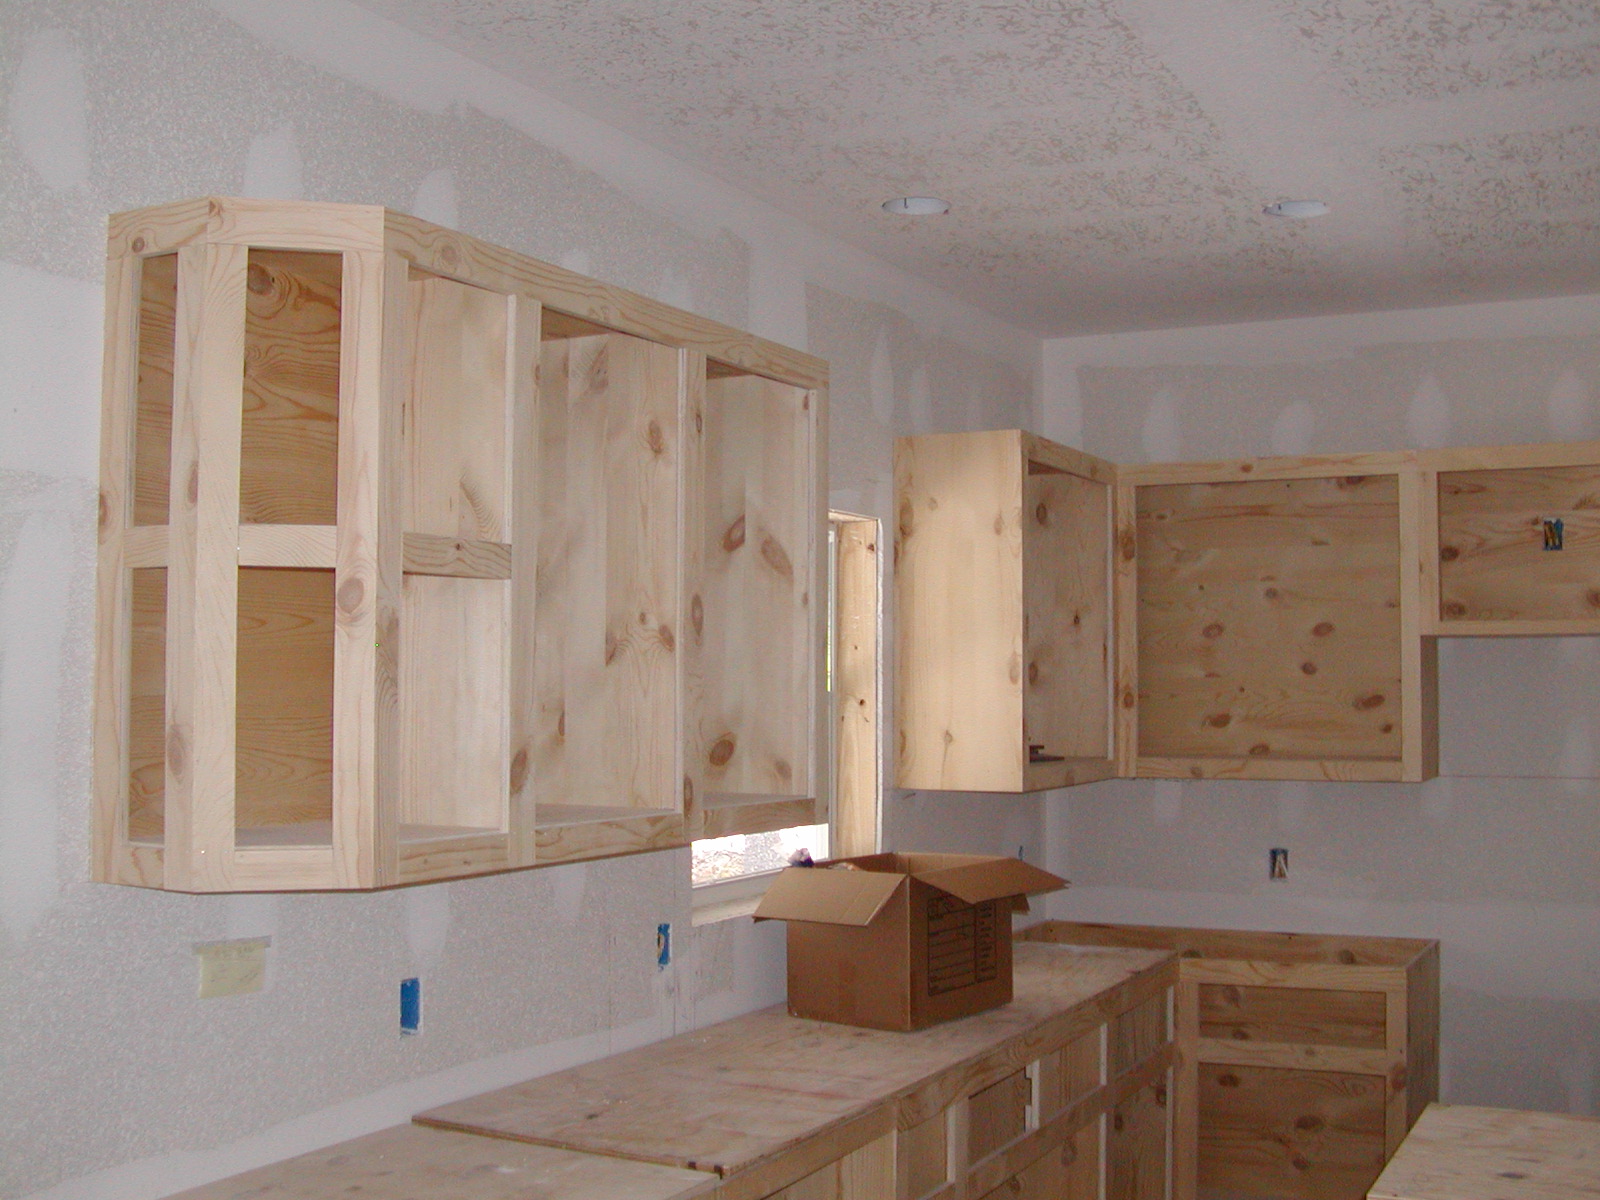
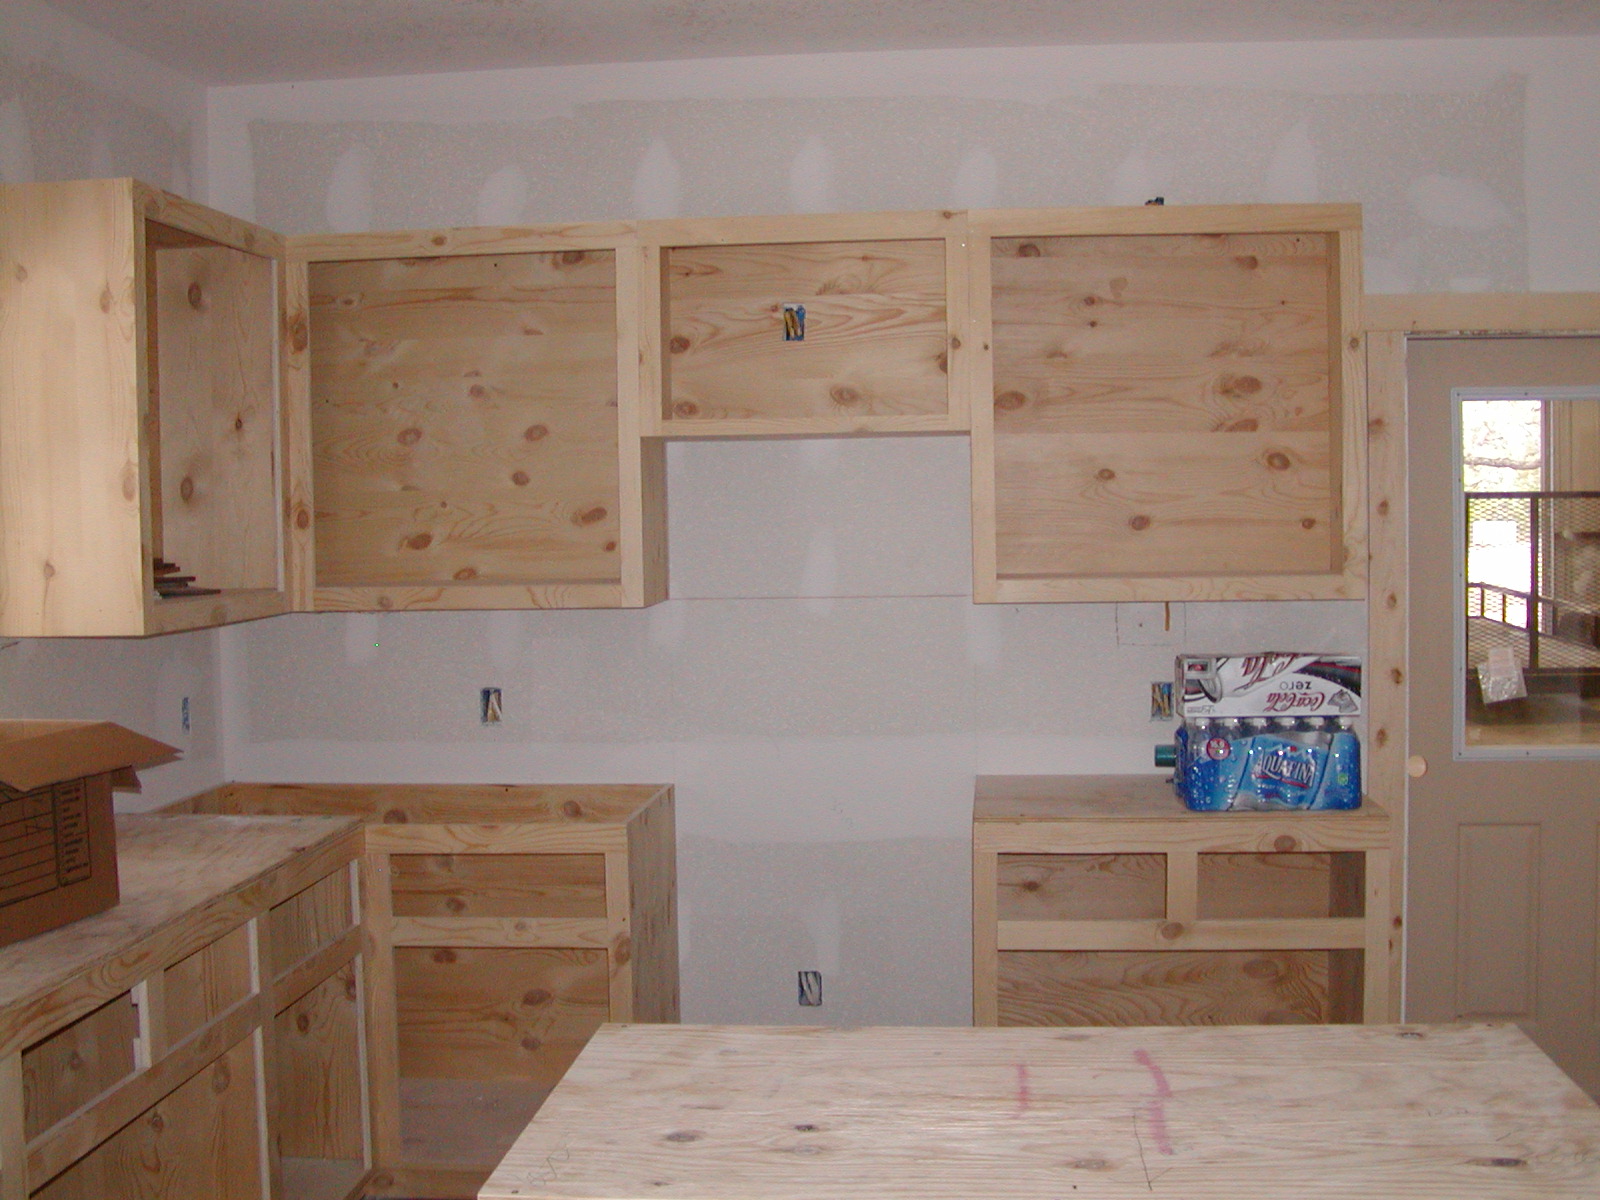
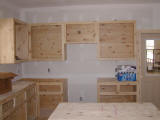
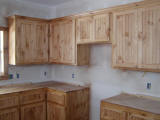
Upper cabinets -- we angled the final cabinet here too
|
|
|
|
|
|
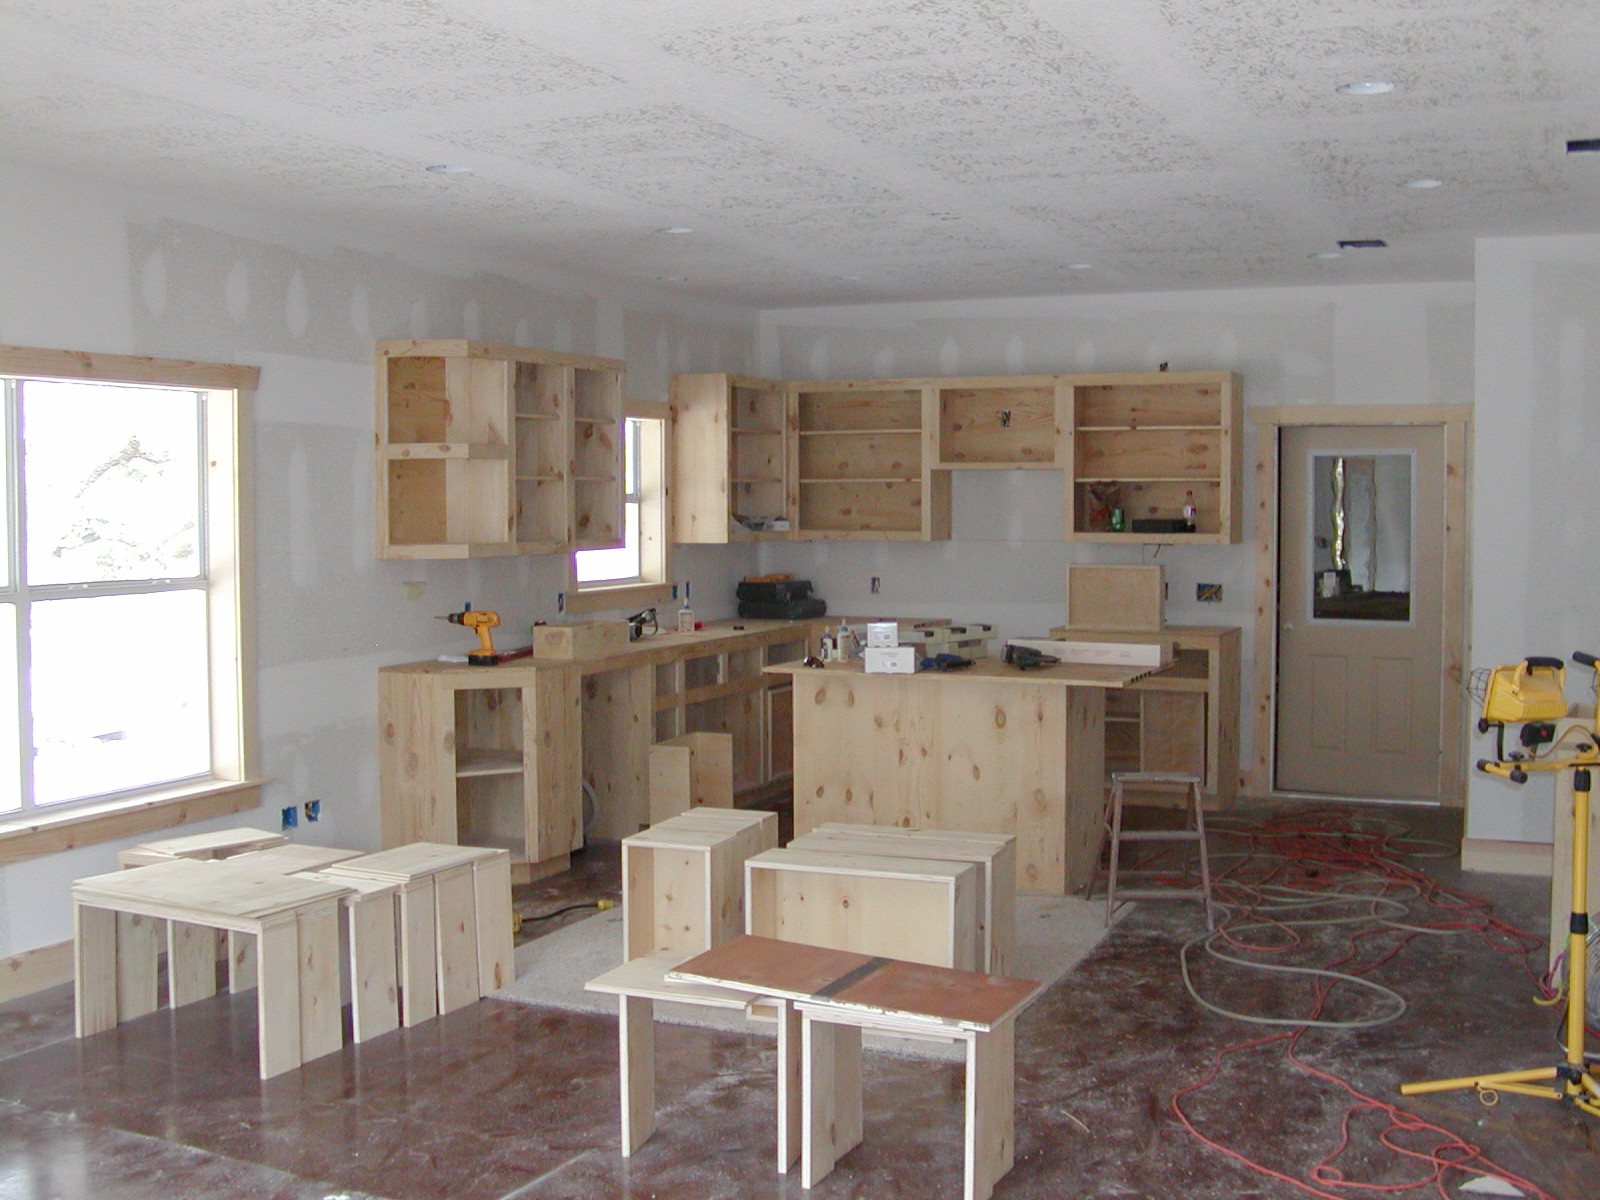
The opening is for the stove/oven and the microwave
|
|
|
|
Desk and opening for refrigerator
|
|
|
|
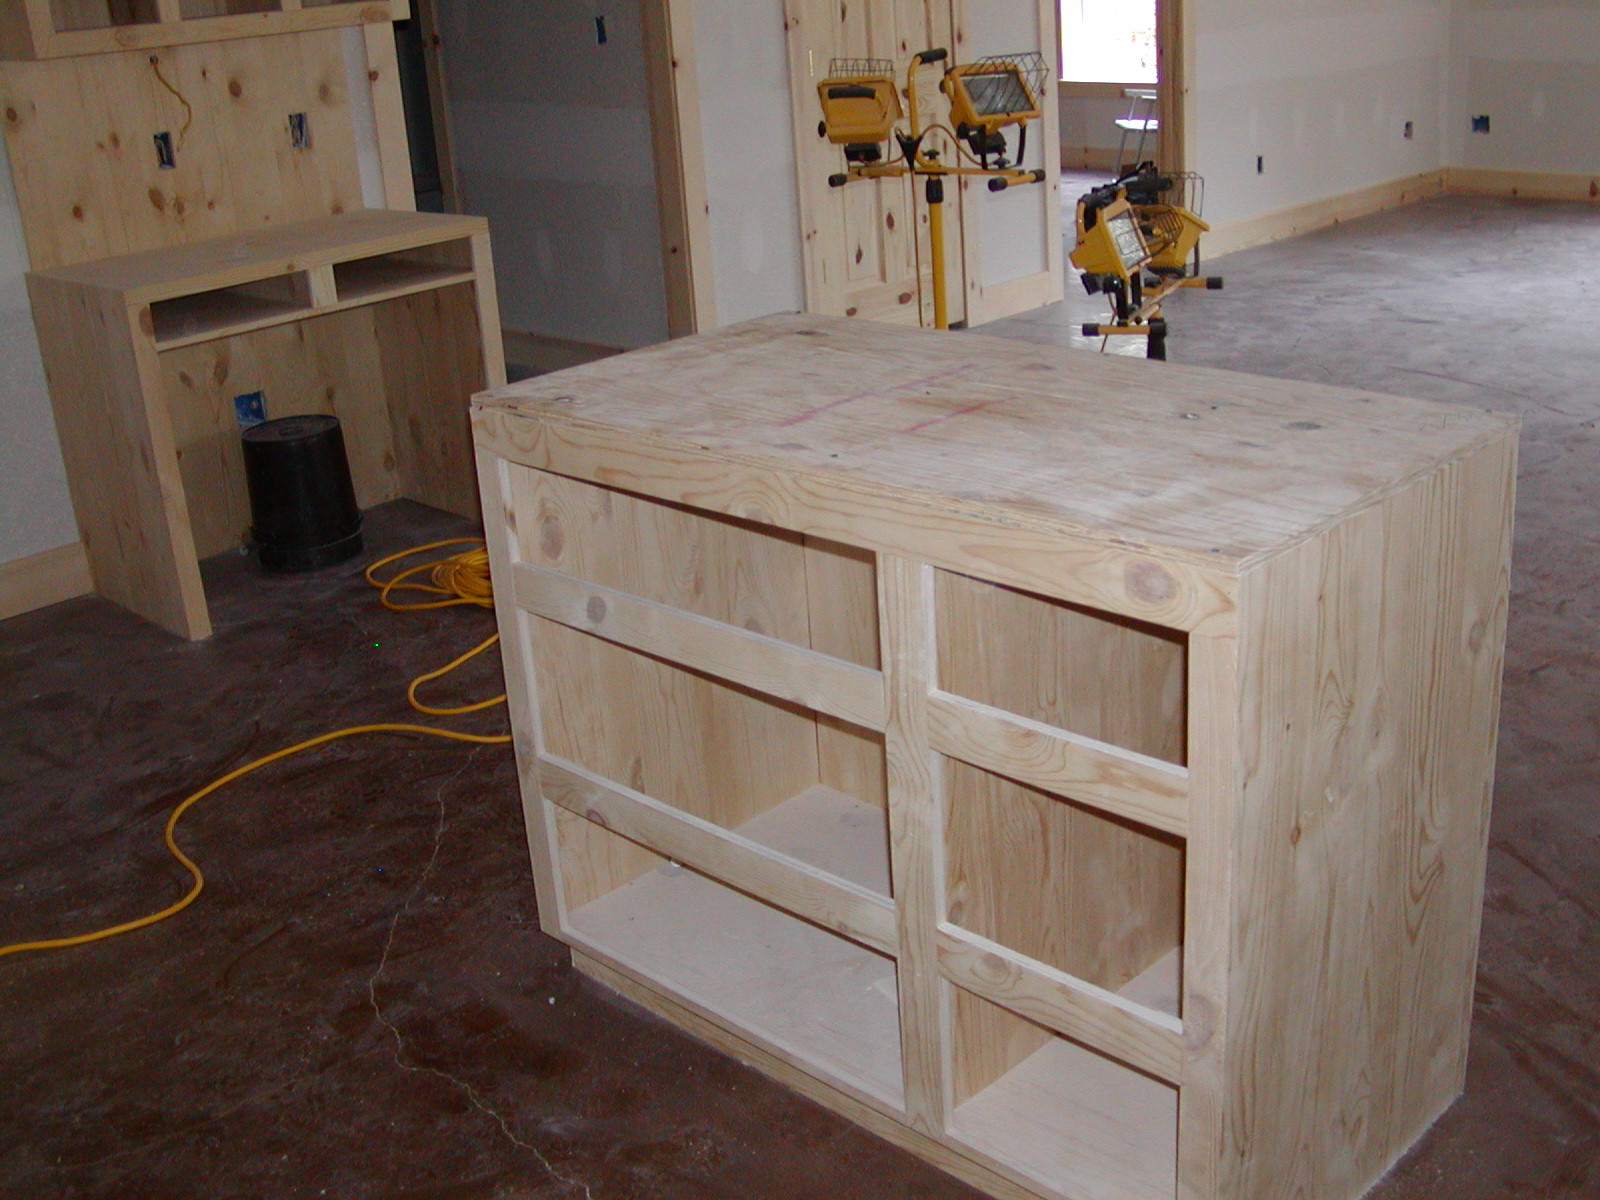
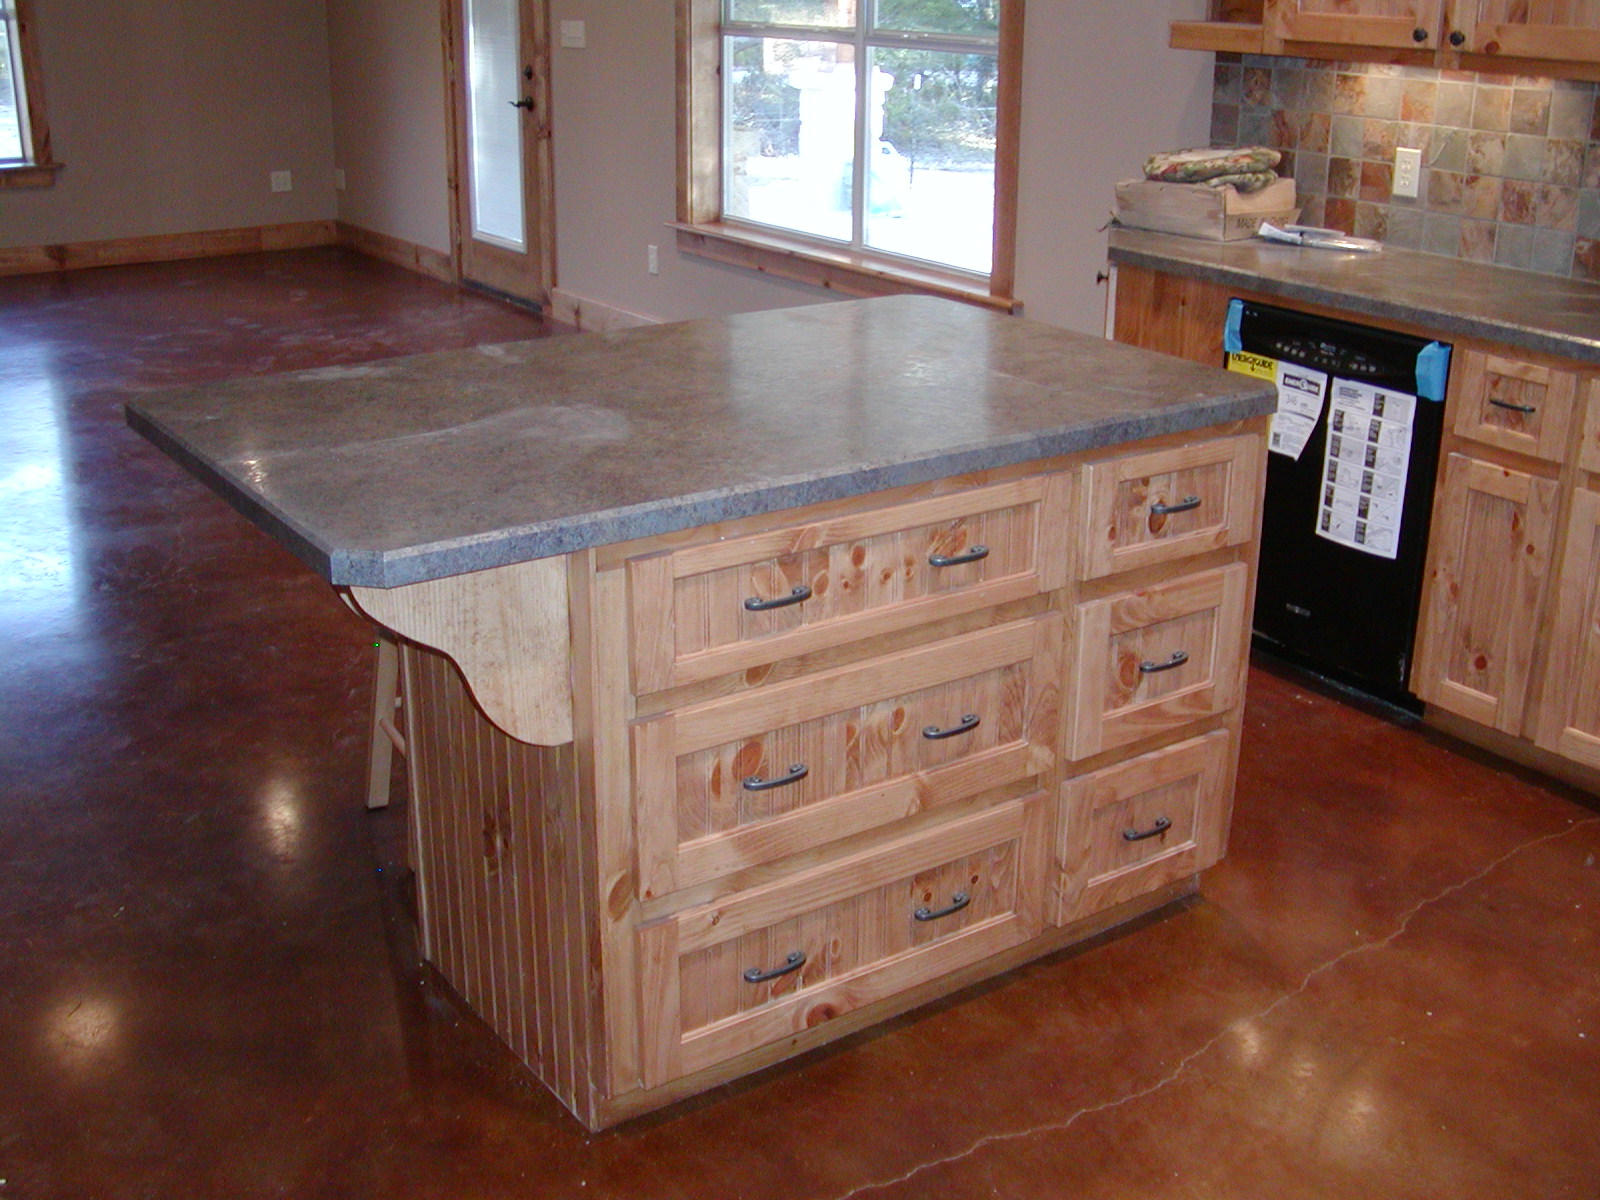
Kitchen island
|
|
|
|
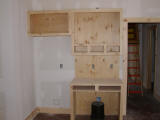
Master bathroom cabinets and armoire
|
|
|
|
|
|
These are some free cabinets we picked up in the neighborhood
|
|
|
|
We swept and lightly mopped the stained concrete
|
|
|
|
The stained concrete hasn't been sealed or buffed yet
|
|
|
|
Cabinet drawers are ready to be installed
|
|
|
|
|
|
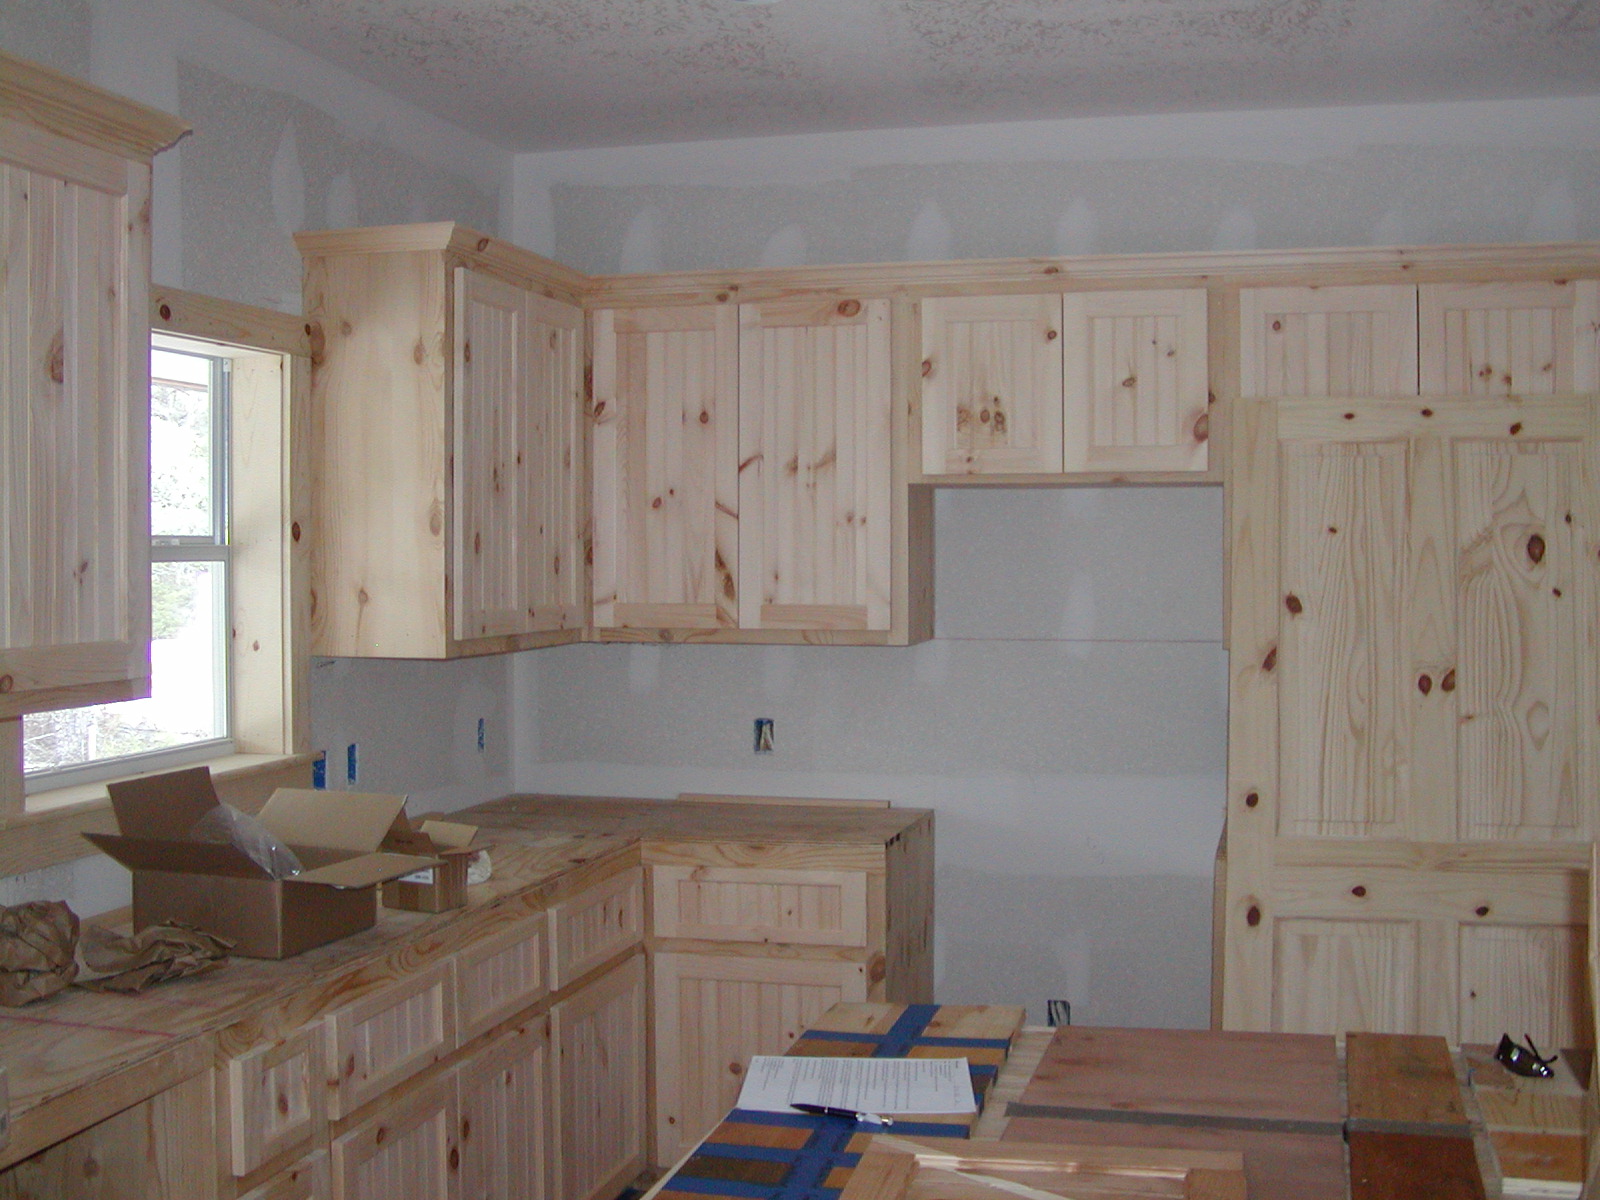
Shelves are in... now waiting for the cabinet doors
|
|
|
|
Cabinet doors have a 2" beaded panel; the hardware is all hidden inside the door
|
|
|
|
The island is 4'x3', with two sides ready for barstools; note the beaded pine around the island
|
|
|
|
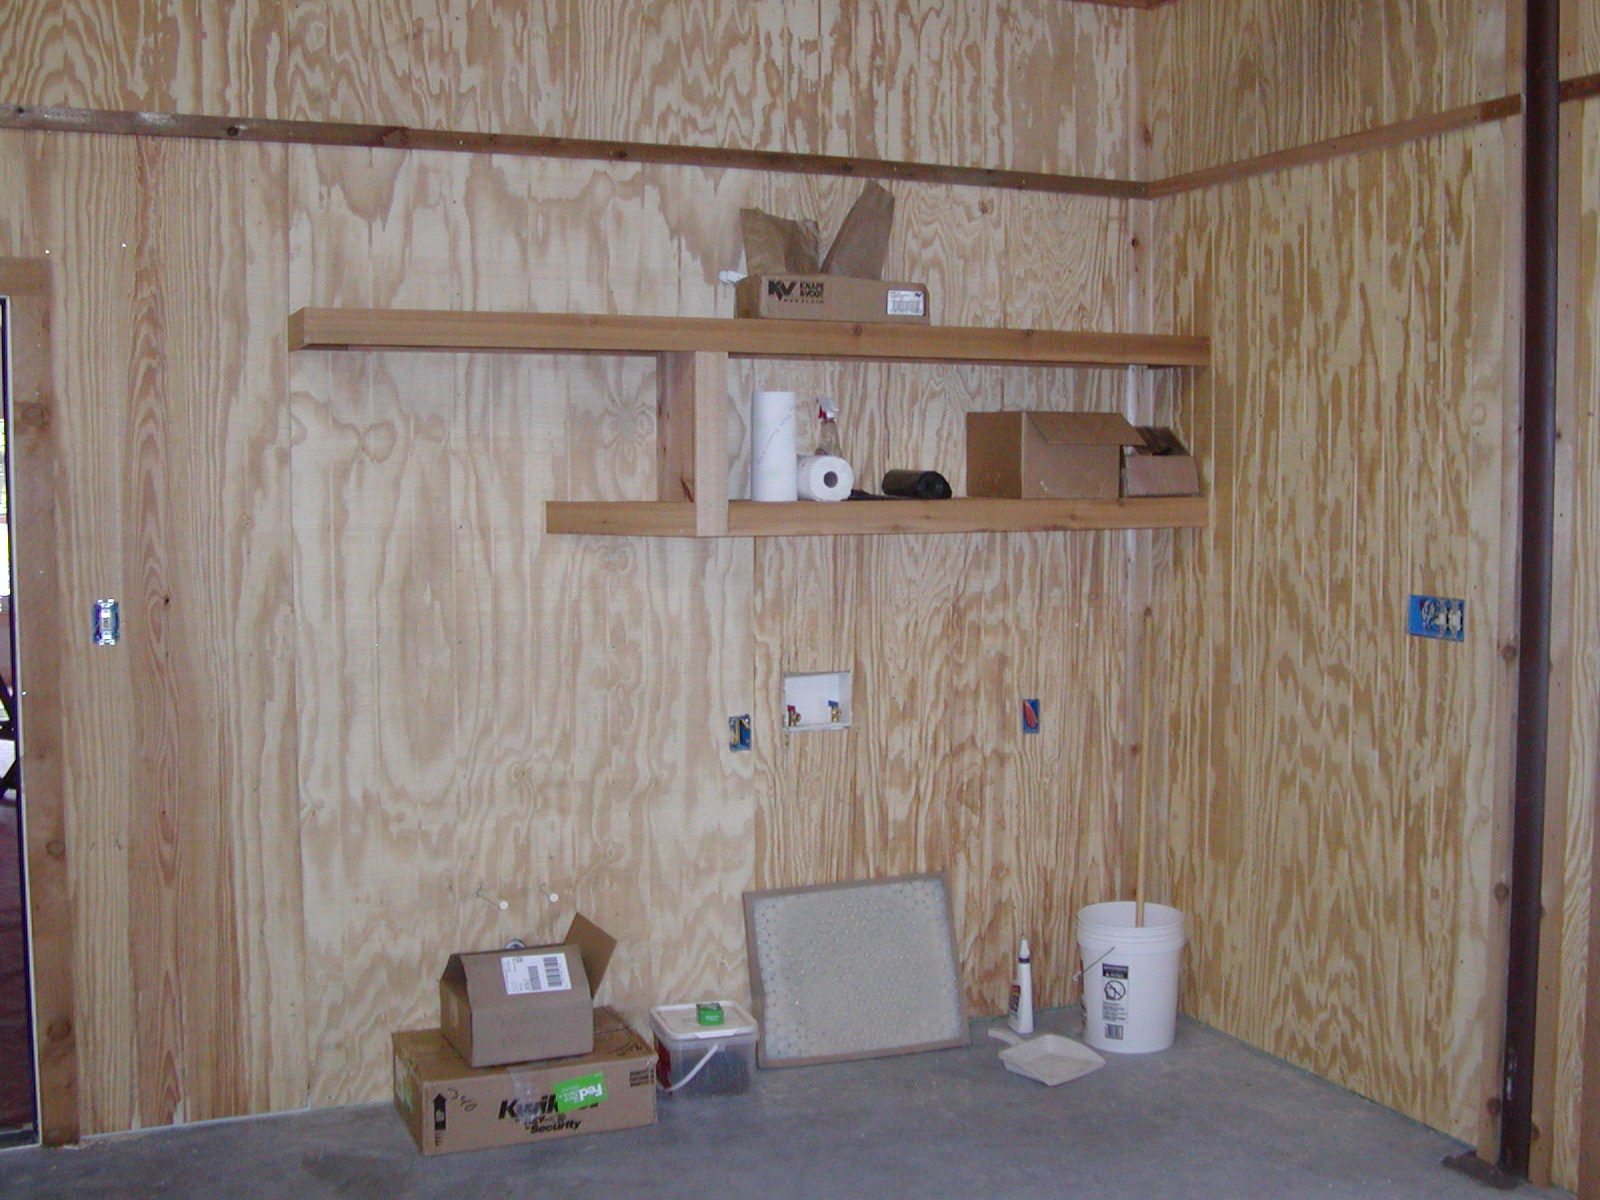
Shelves above the future washer/dryer/shopsink
|
|
|
|

|
|
The stain is 50% WoodClassics "Fruitwood" and 50% WoodClassics "Natural"; it's not too light or too dark... and it matches the table/chairs real well
|
|
|
|
We were real happy with the way the stain came out. It's a 50/50 mix of WoodClassics Fruitwood and Natural
|
|
|
|
Closeup of the kitchen cabinets -- the beaded inserts really make the cabinets "pop"
|
|
|
|
The master bedroom/bathroom and smallest bedroom are painted Sherwin Williams "Clary Sage"
|
|
|
|
|
|
Project Lifecycle #12 -- painter preparing to paint the porch
|
|

|
|
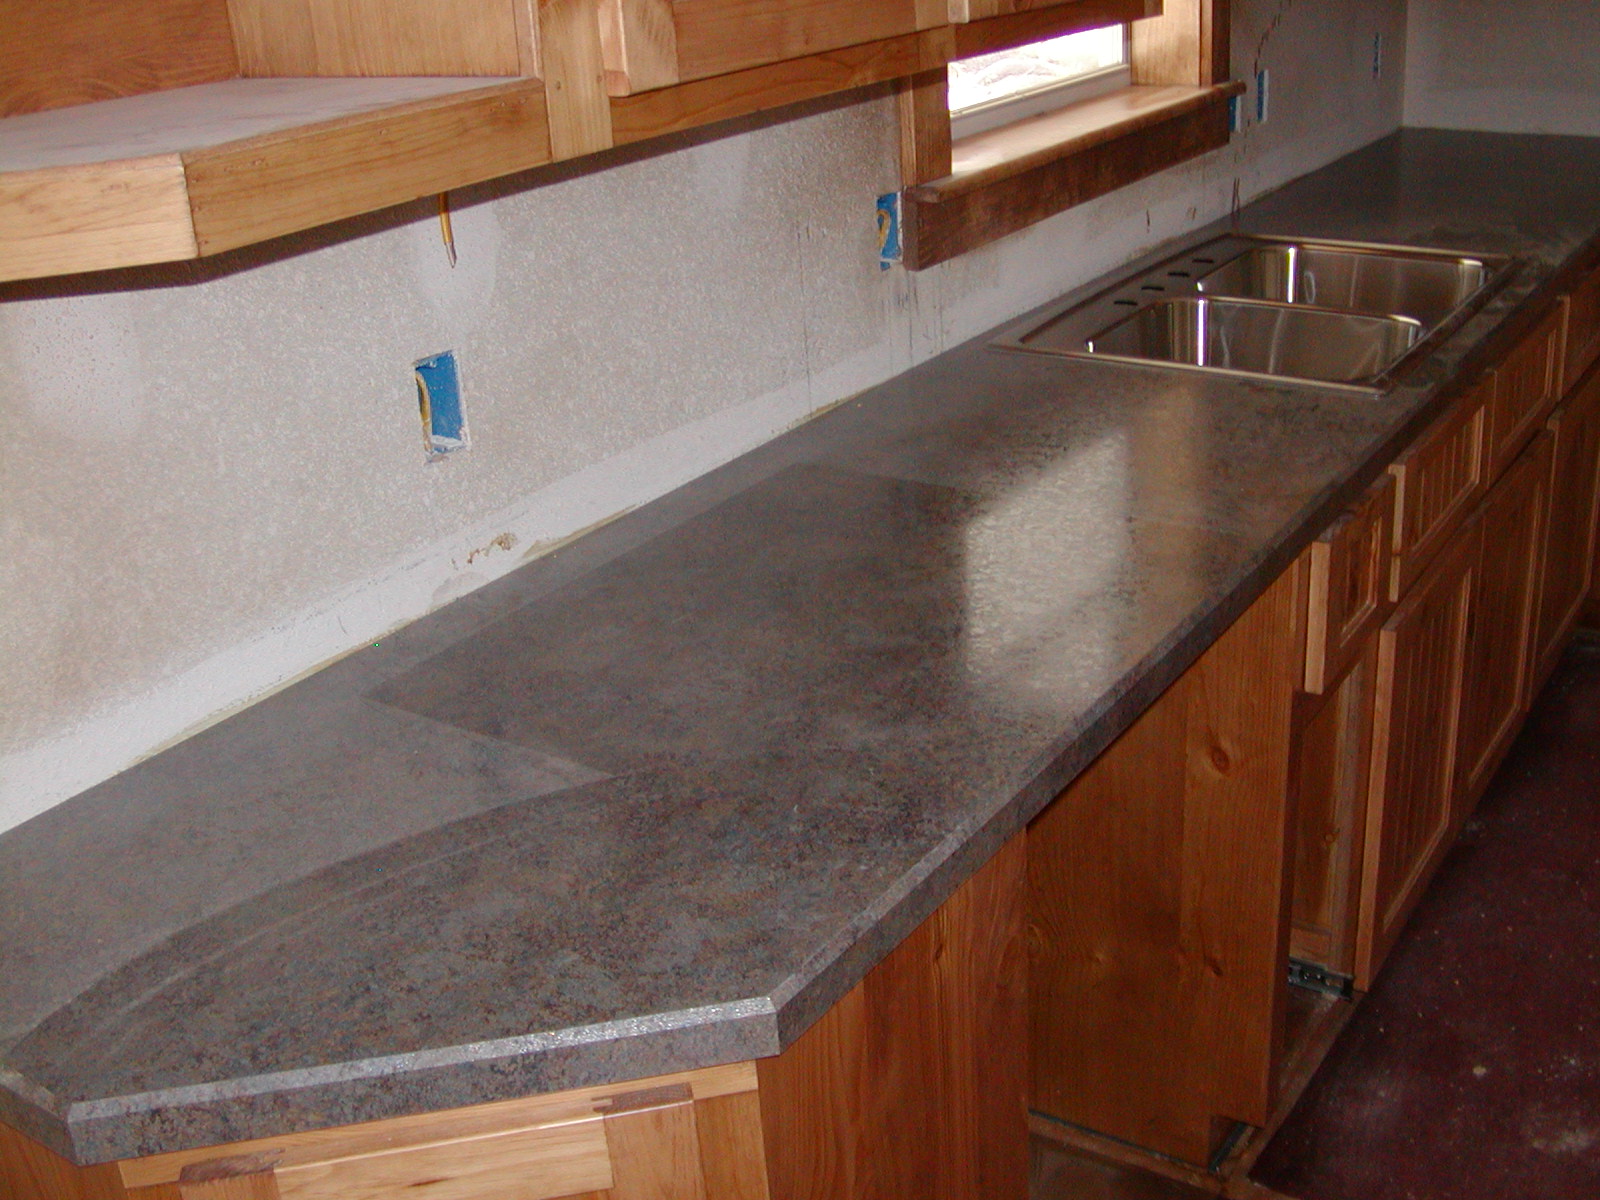
Countertops installed (laminate called Deepstar Flint)
|
|

|
|
note the beveled edge... a very nice touch
|
|

|
|
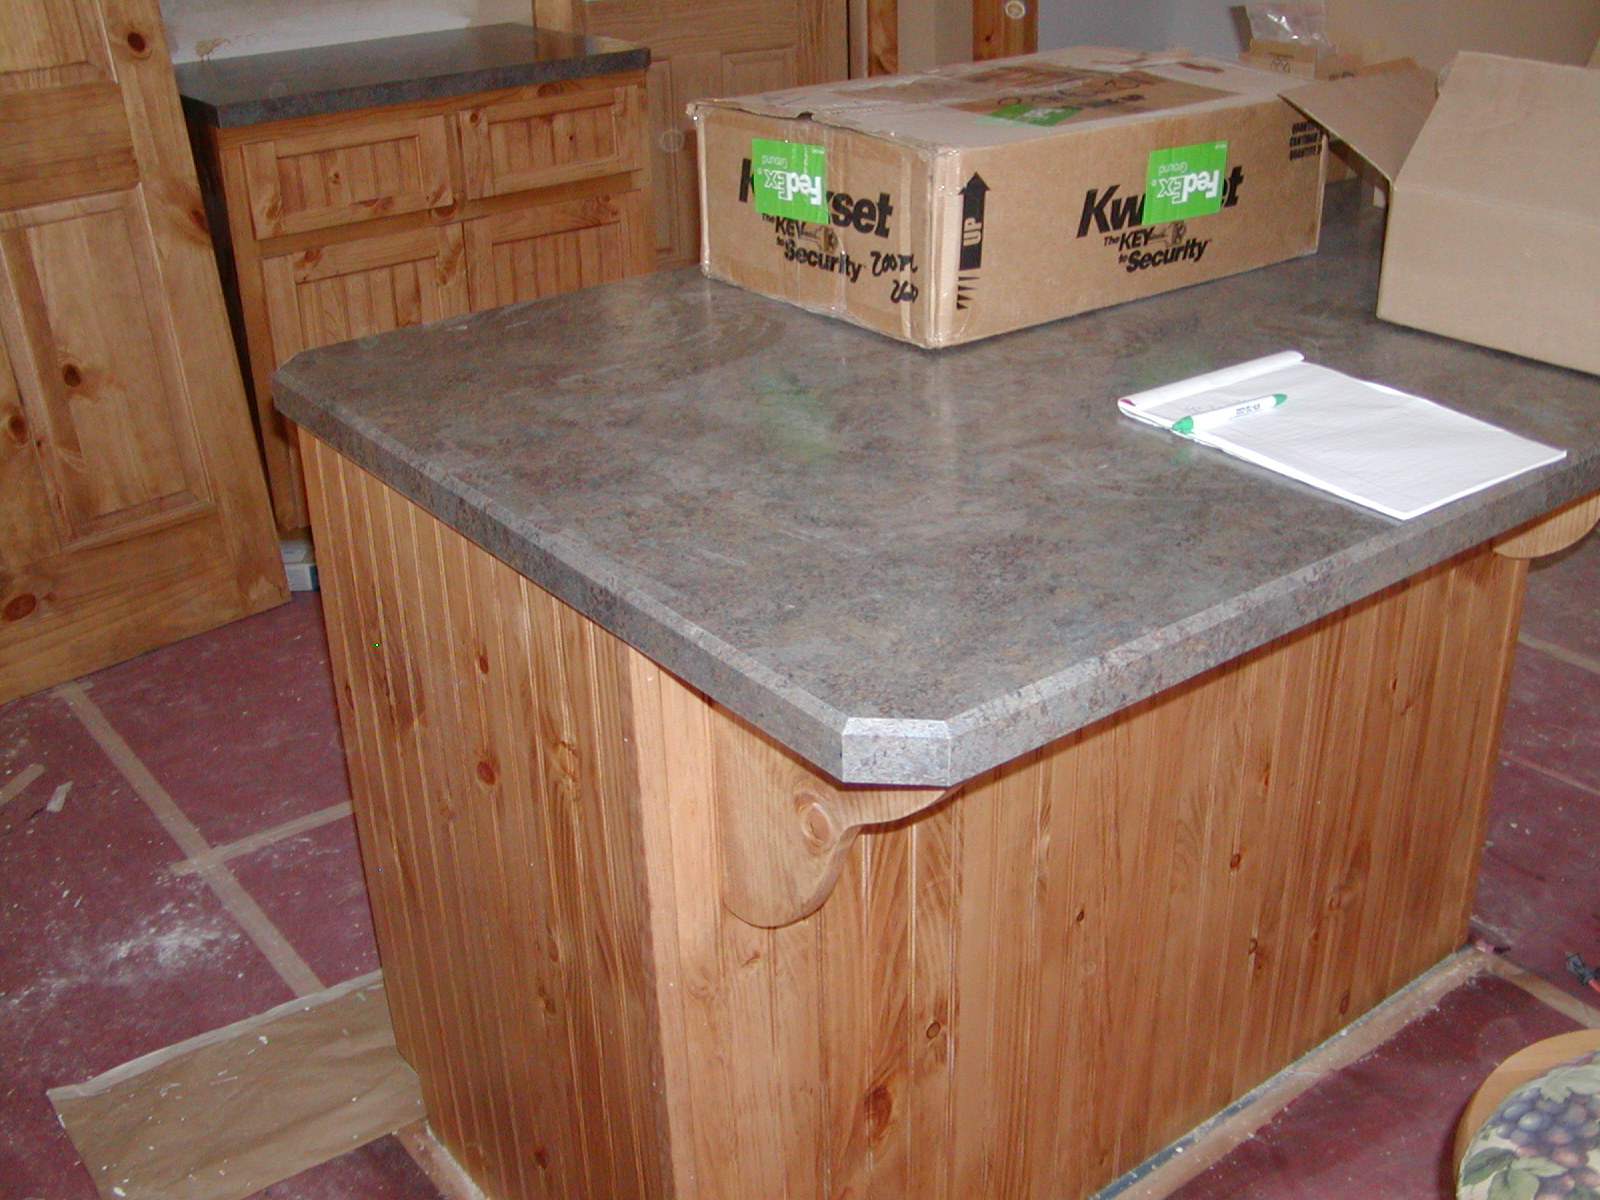
They clipped the corners on the island
|
|
|
|
|
|
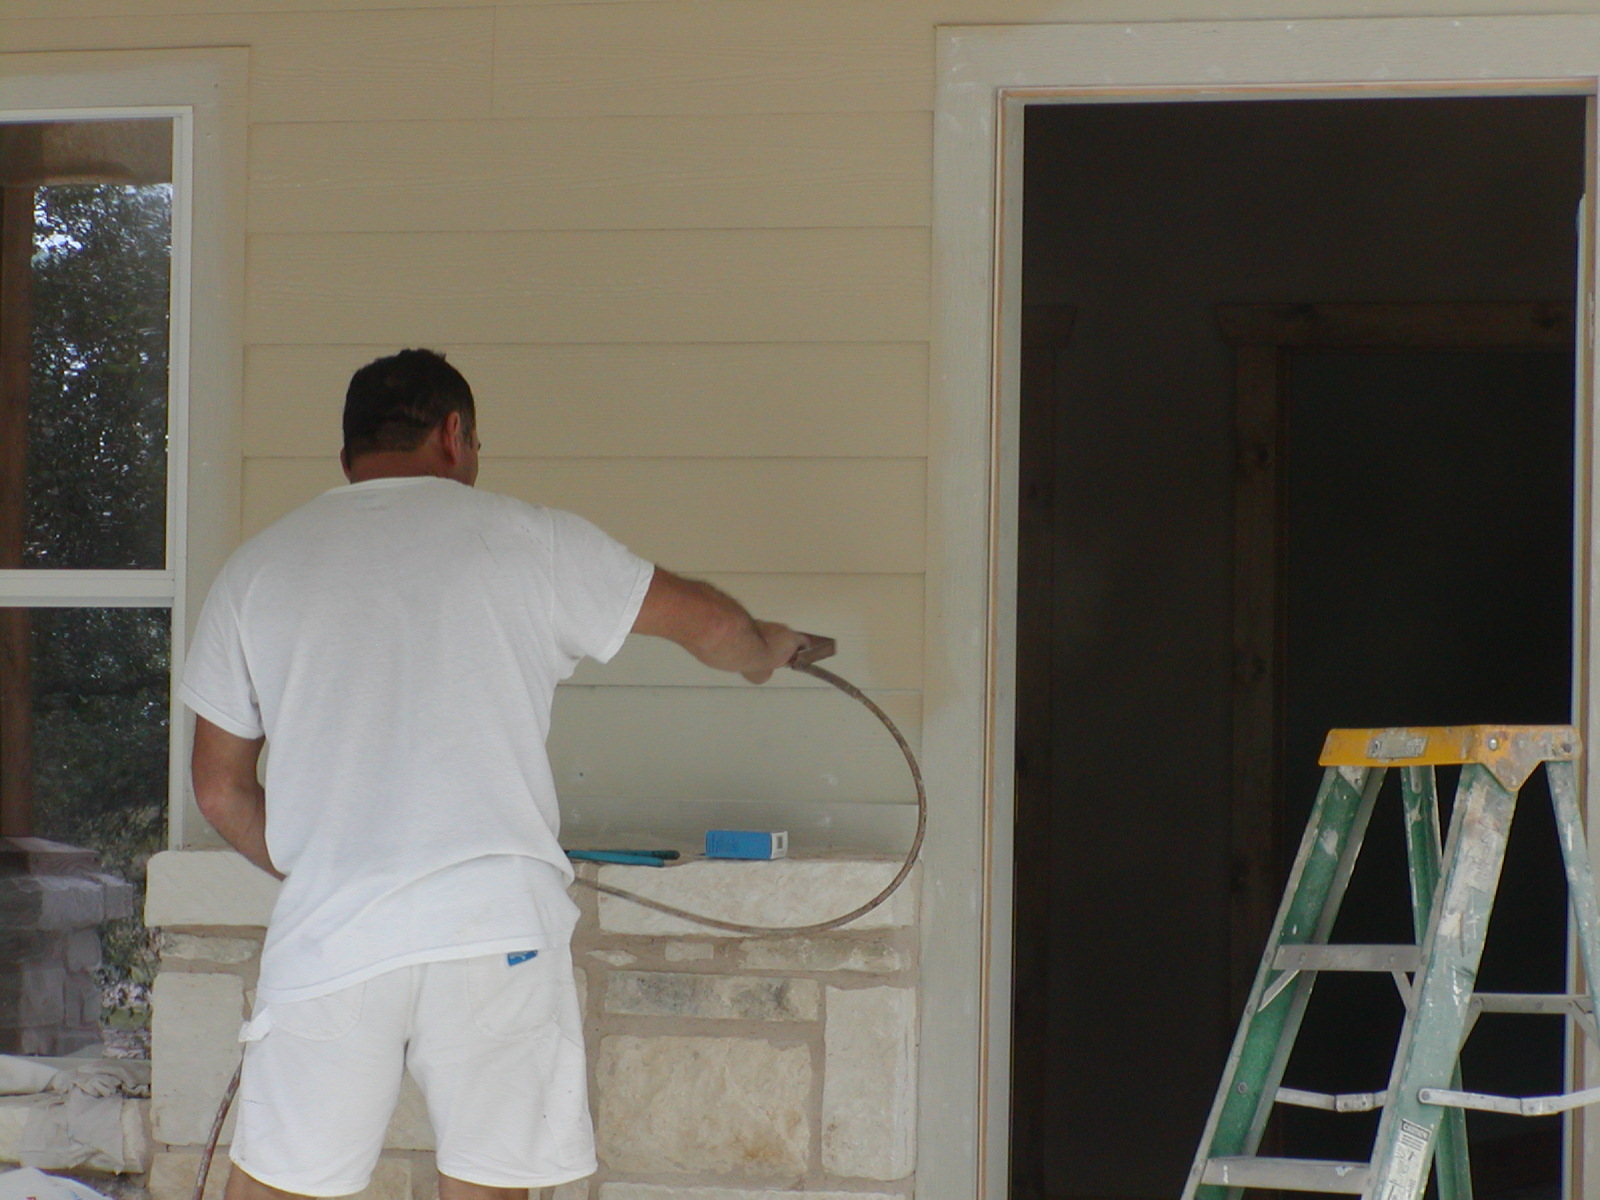
Paint in progress on the front porch (SW Basket Beige)
|
|
|
|
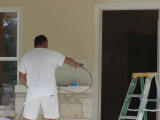
Spraying the paint on
|
|

|
|
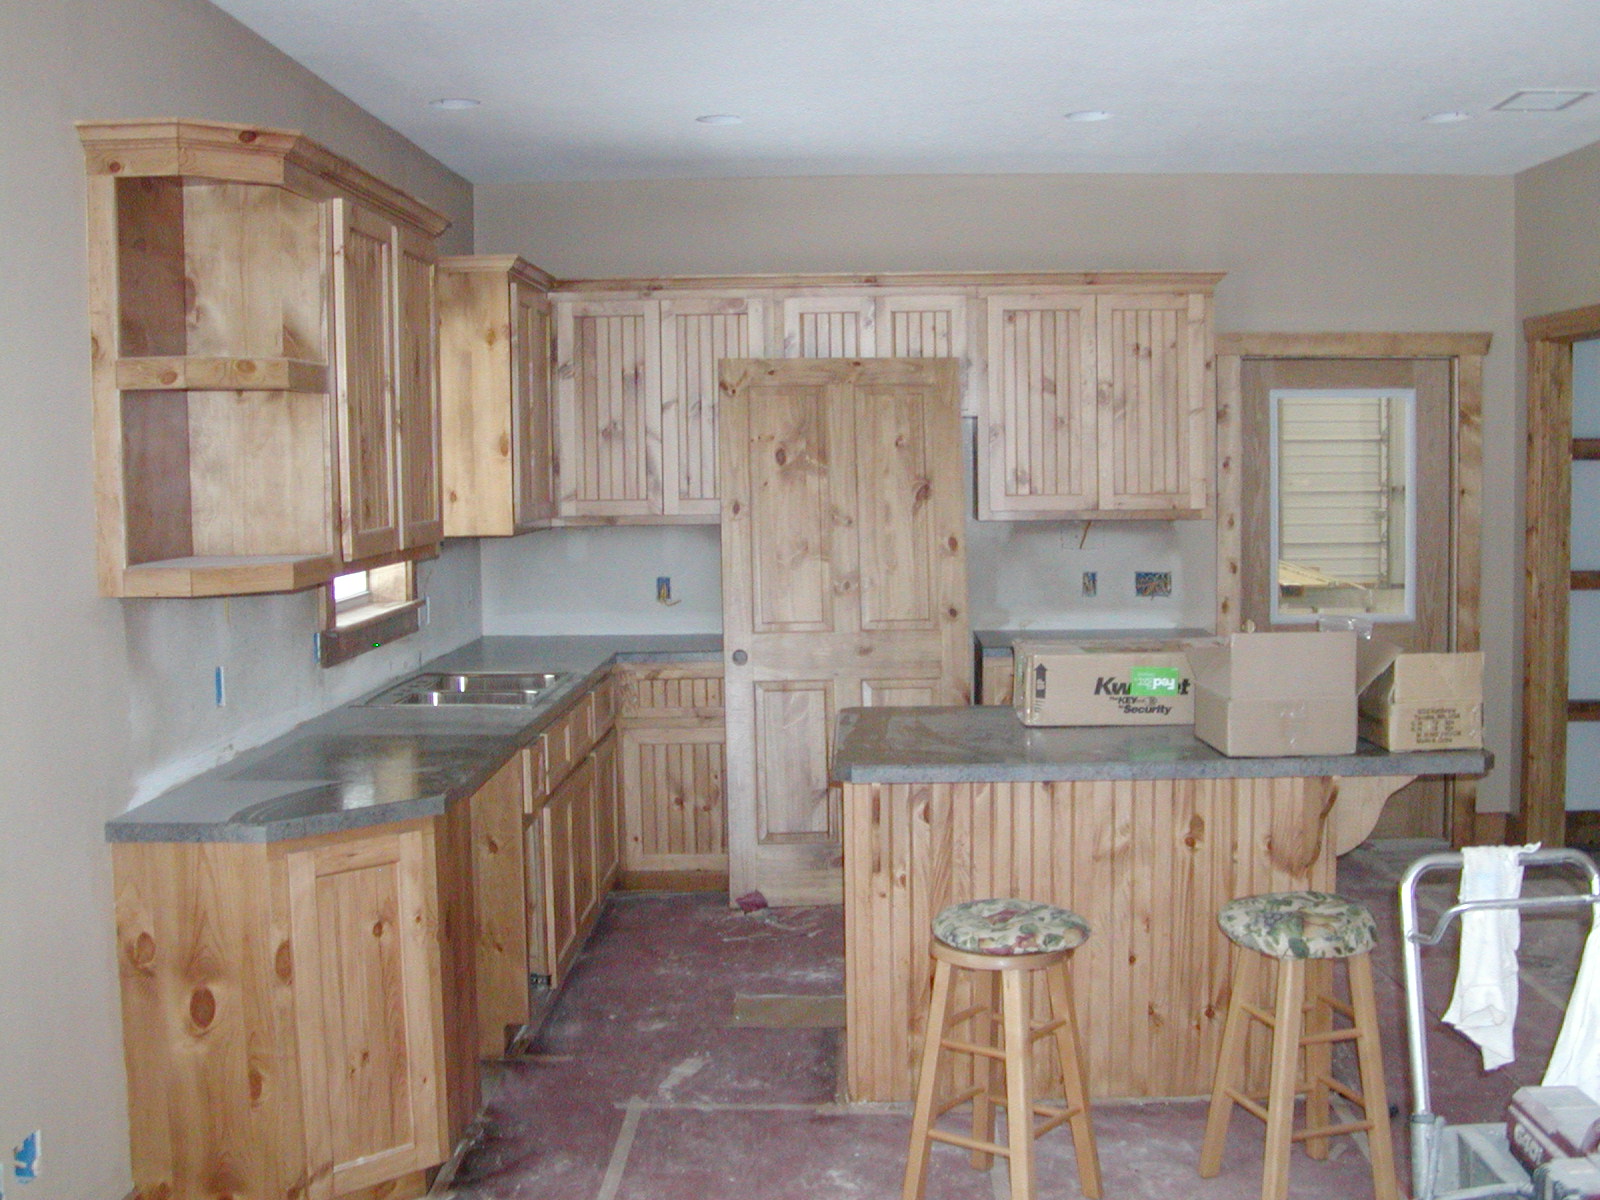
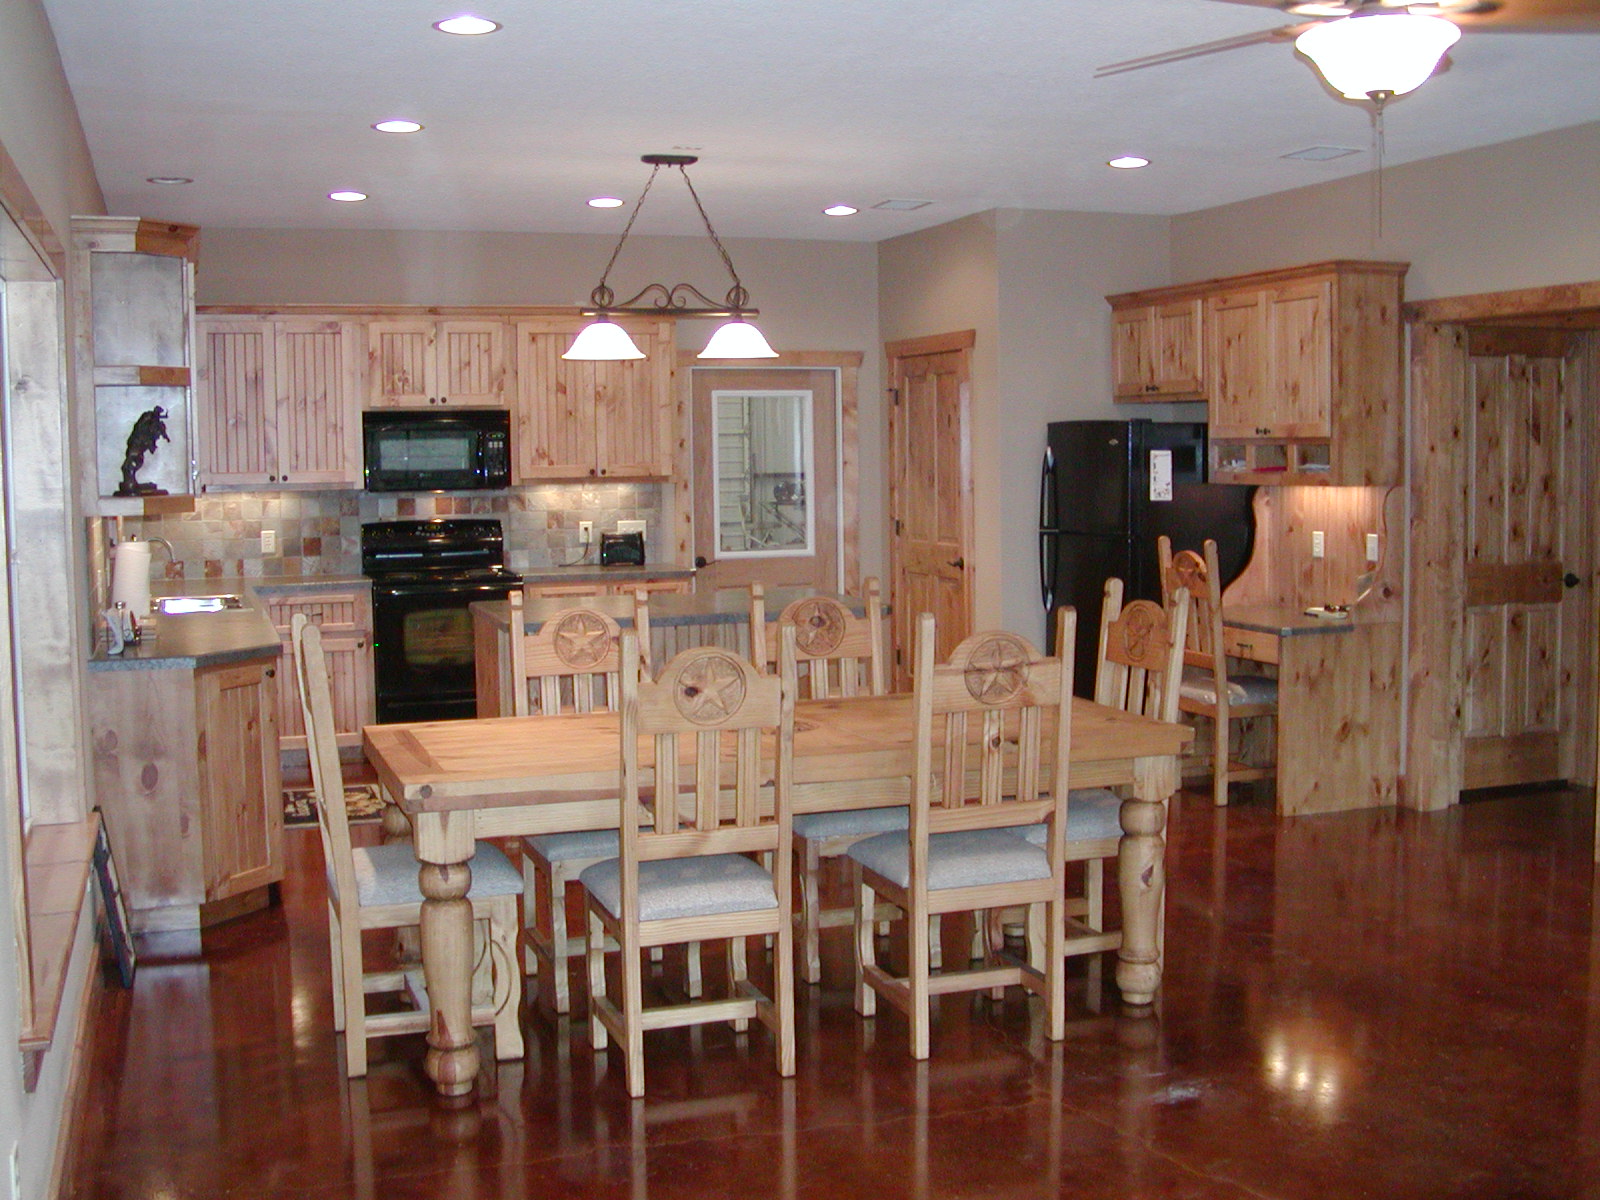
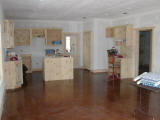
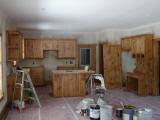
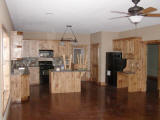
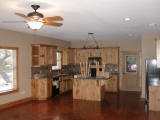
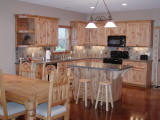
kitchen with stained cabinets and installed countertops
|
|
|
|
Living room painted SW Nomadic Desert
|
|
|
|

|
|
Bedroom #2 painted SW Respite
|
|
|
|
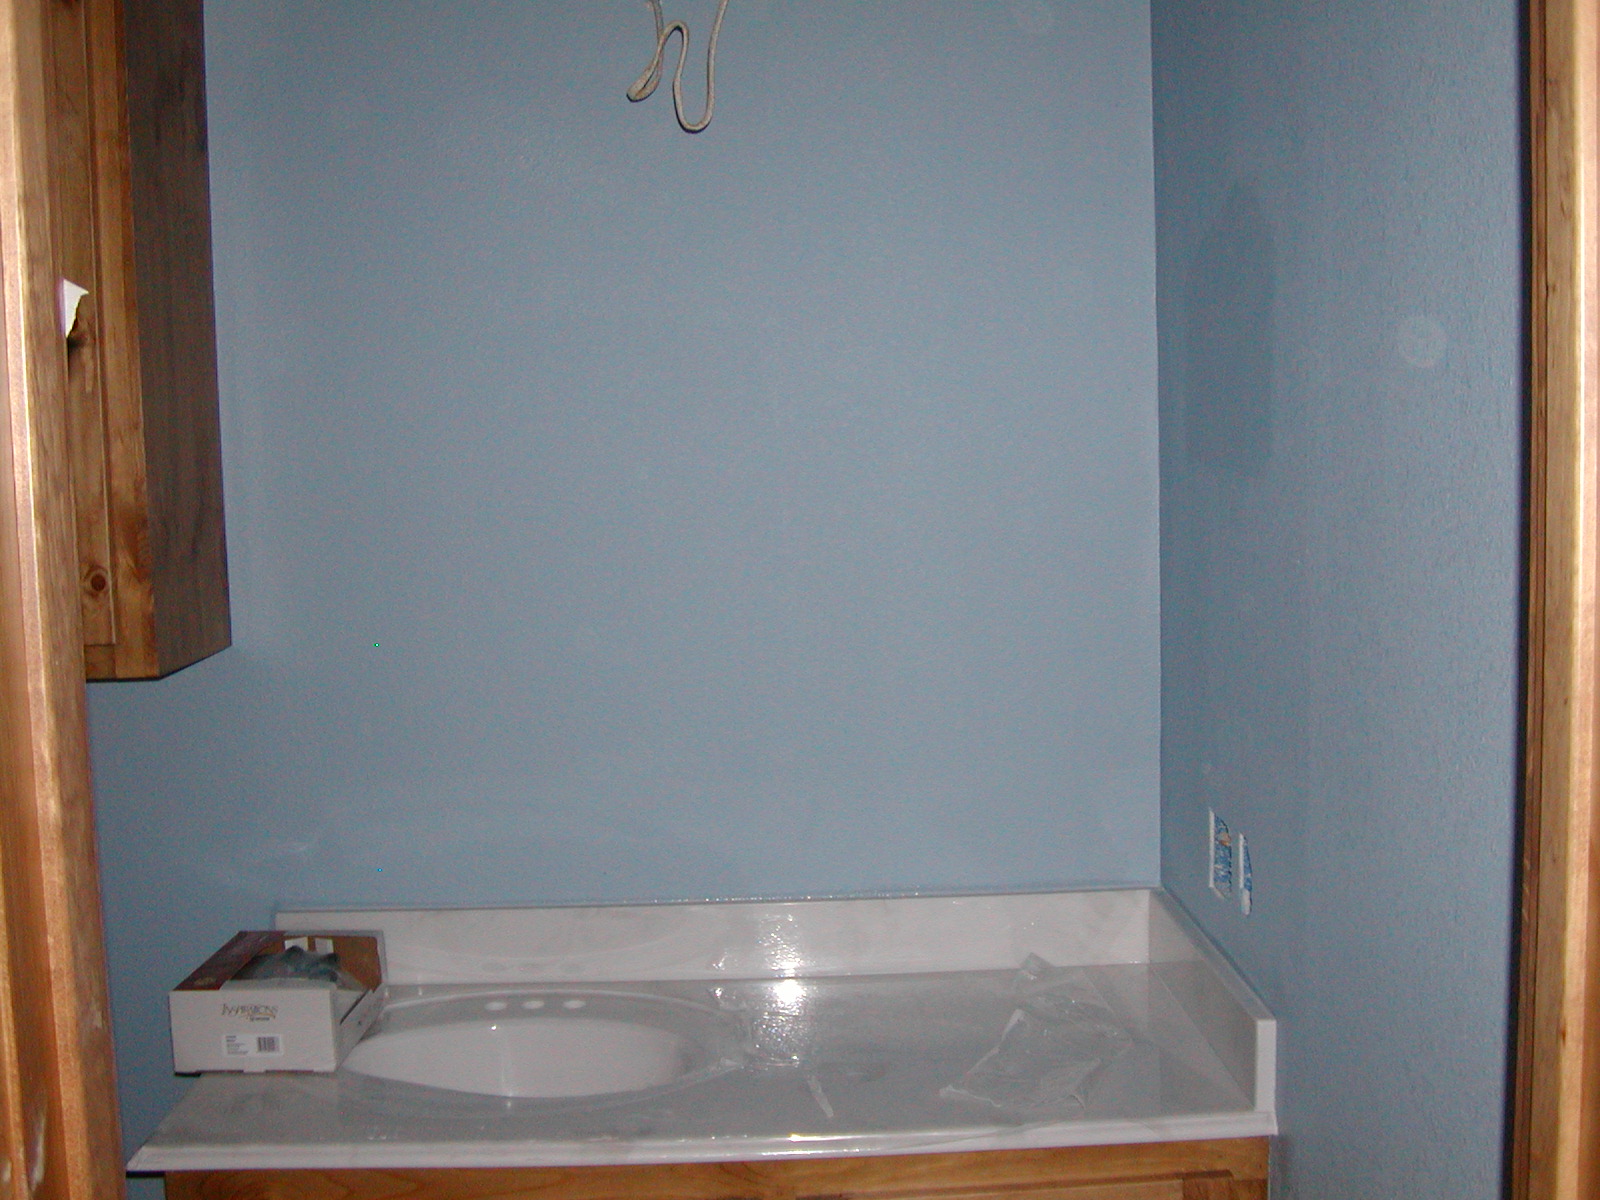
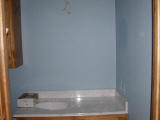
Cultured marbled countertop installed in hallway bath
|
|
|
|
The 1/2 bath has Antique Brown marble
|
|
|
|
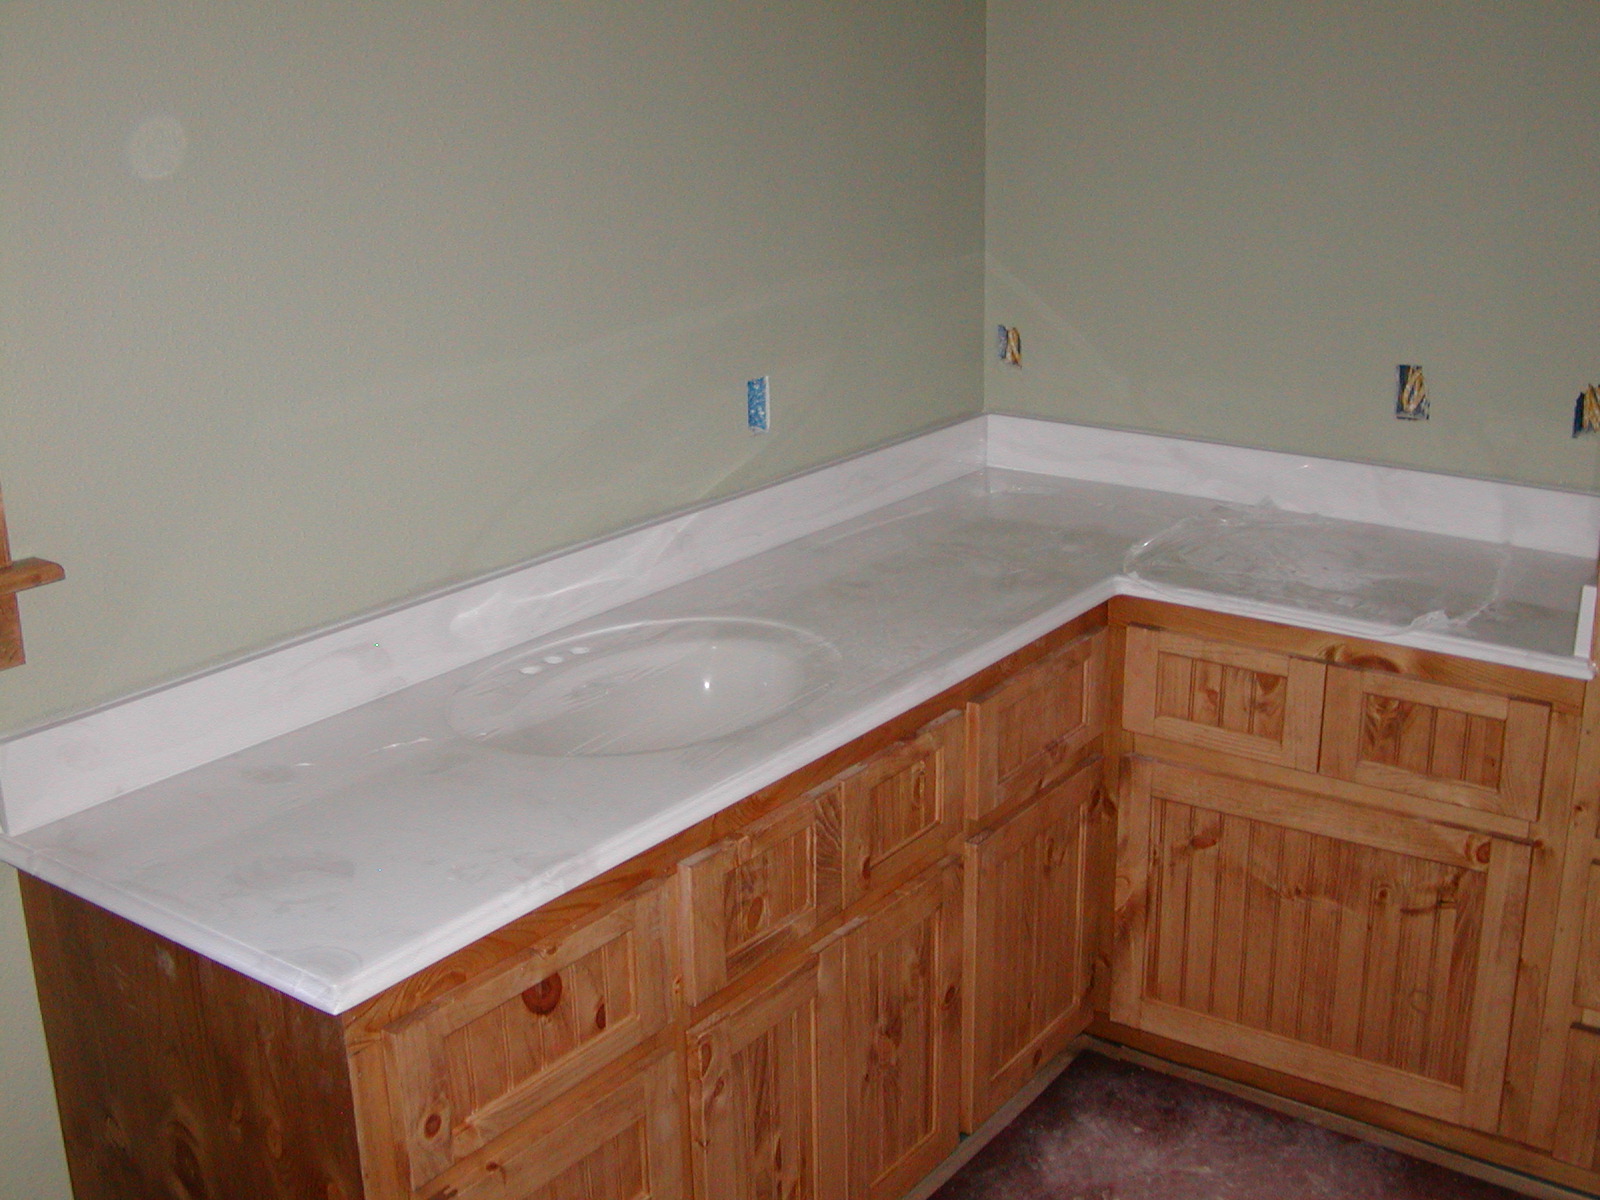
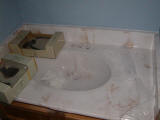
Master bath has a nice swath of Antique White cultured marble
|
|
|
|
|
|
Project Lifecycle #13 -- main color painted on the walls (awaiting trim color)
|
|
|
|
Project Lifecycle #13 (closeup) -- main color painted on the walls (awaiting trim color)
|
|
|
|
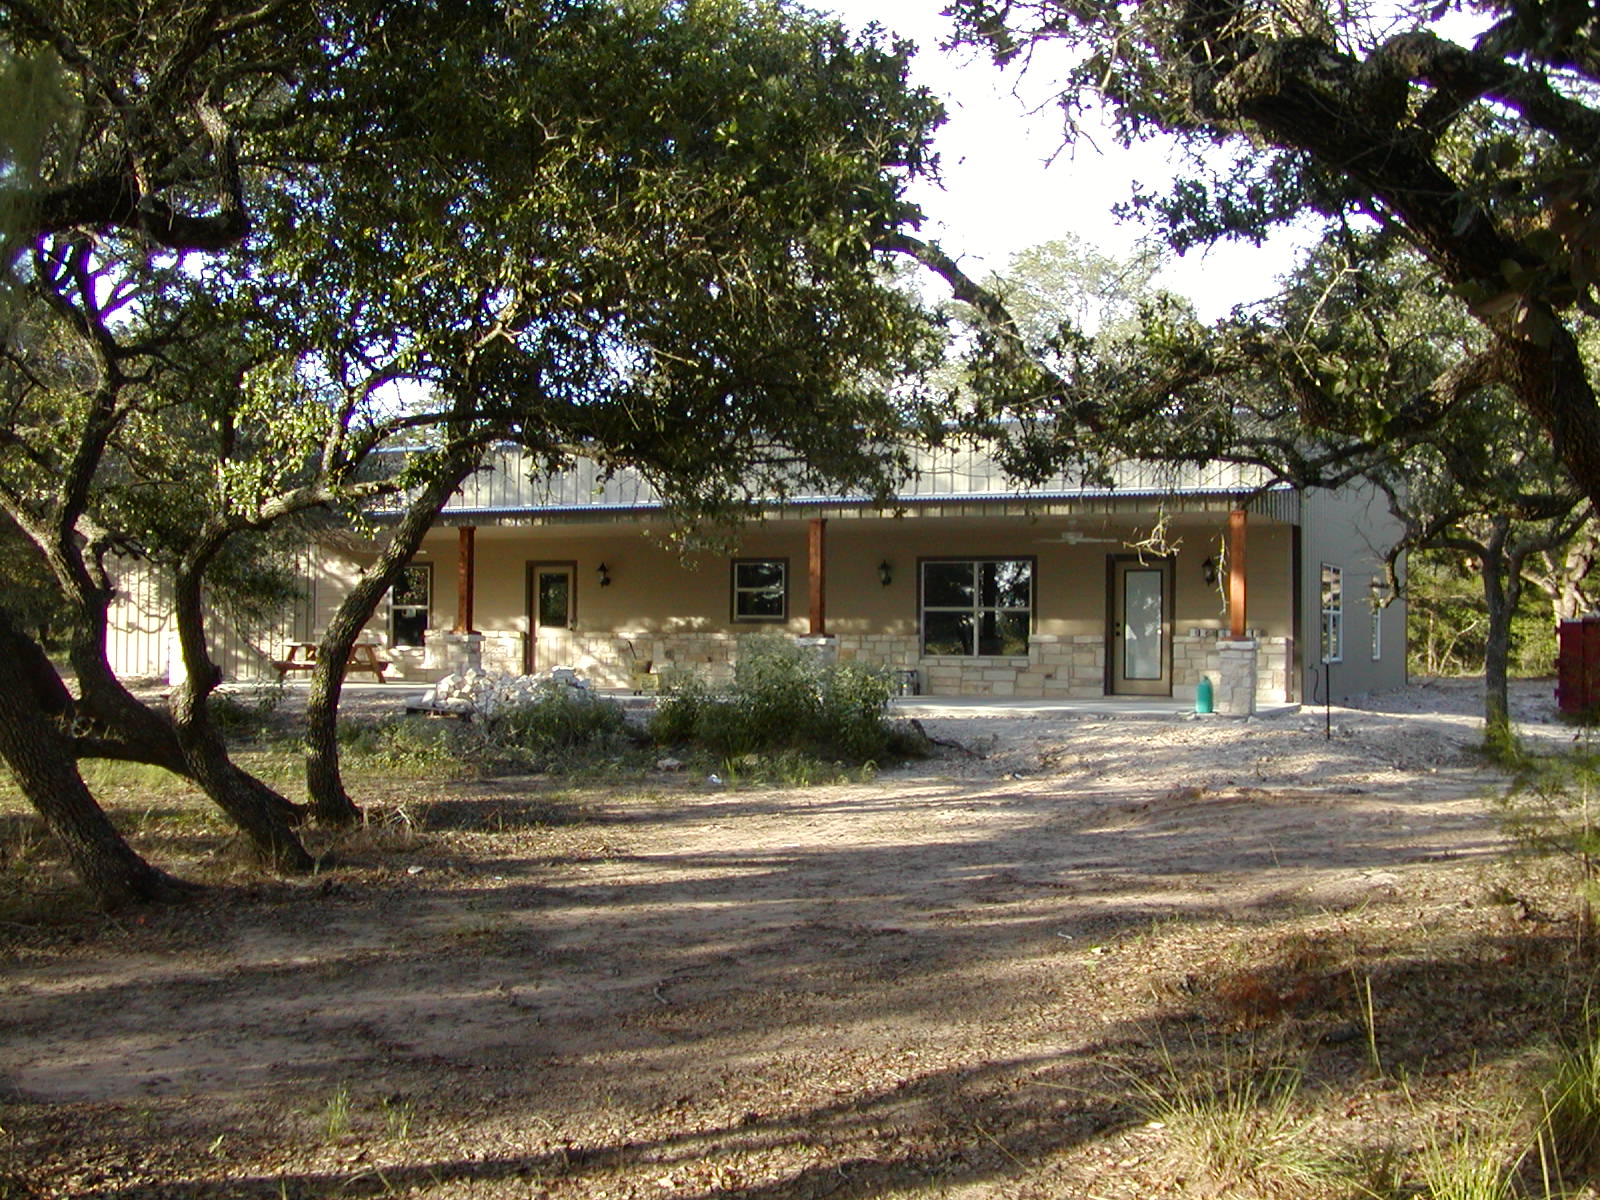
Project Lifecycle #14 -- exterior paint completed and fans/lights installed
|
|
|
|
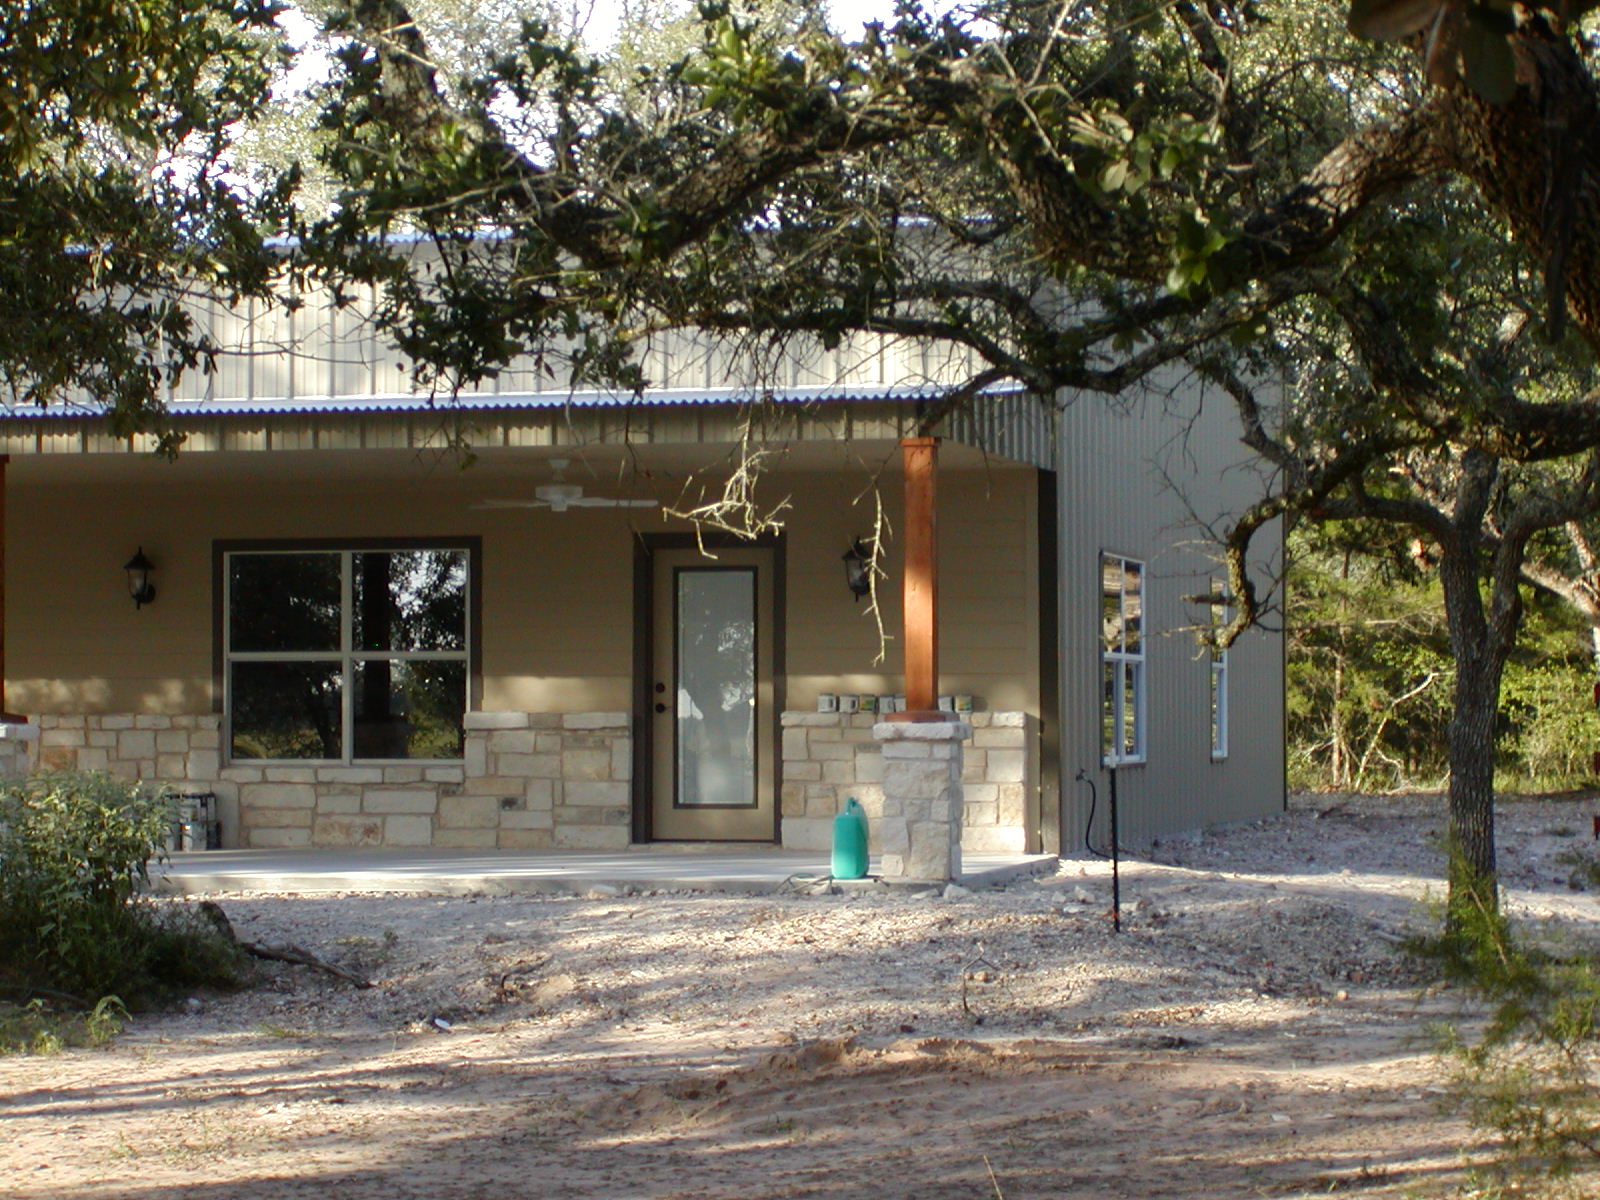
Project Lifecycle #14 (closeup) -- exterior paint completed and fans/lights installed
|
|
|
|
|
|
The white ceiling fans accent the stone, and the lights are well-positioned
|
|

|
|
"Mini-me" (the well pumphouse) all painted
|
|
|
|
electrical trim-out, plus appliances and cabinet hardware
|
|
|
|
plumbing trim-out (the toilets work!)
|
|
|
|
|
|
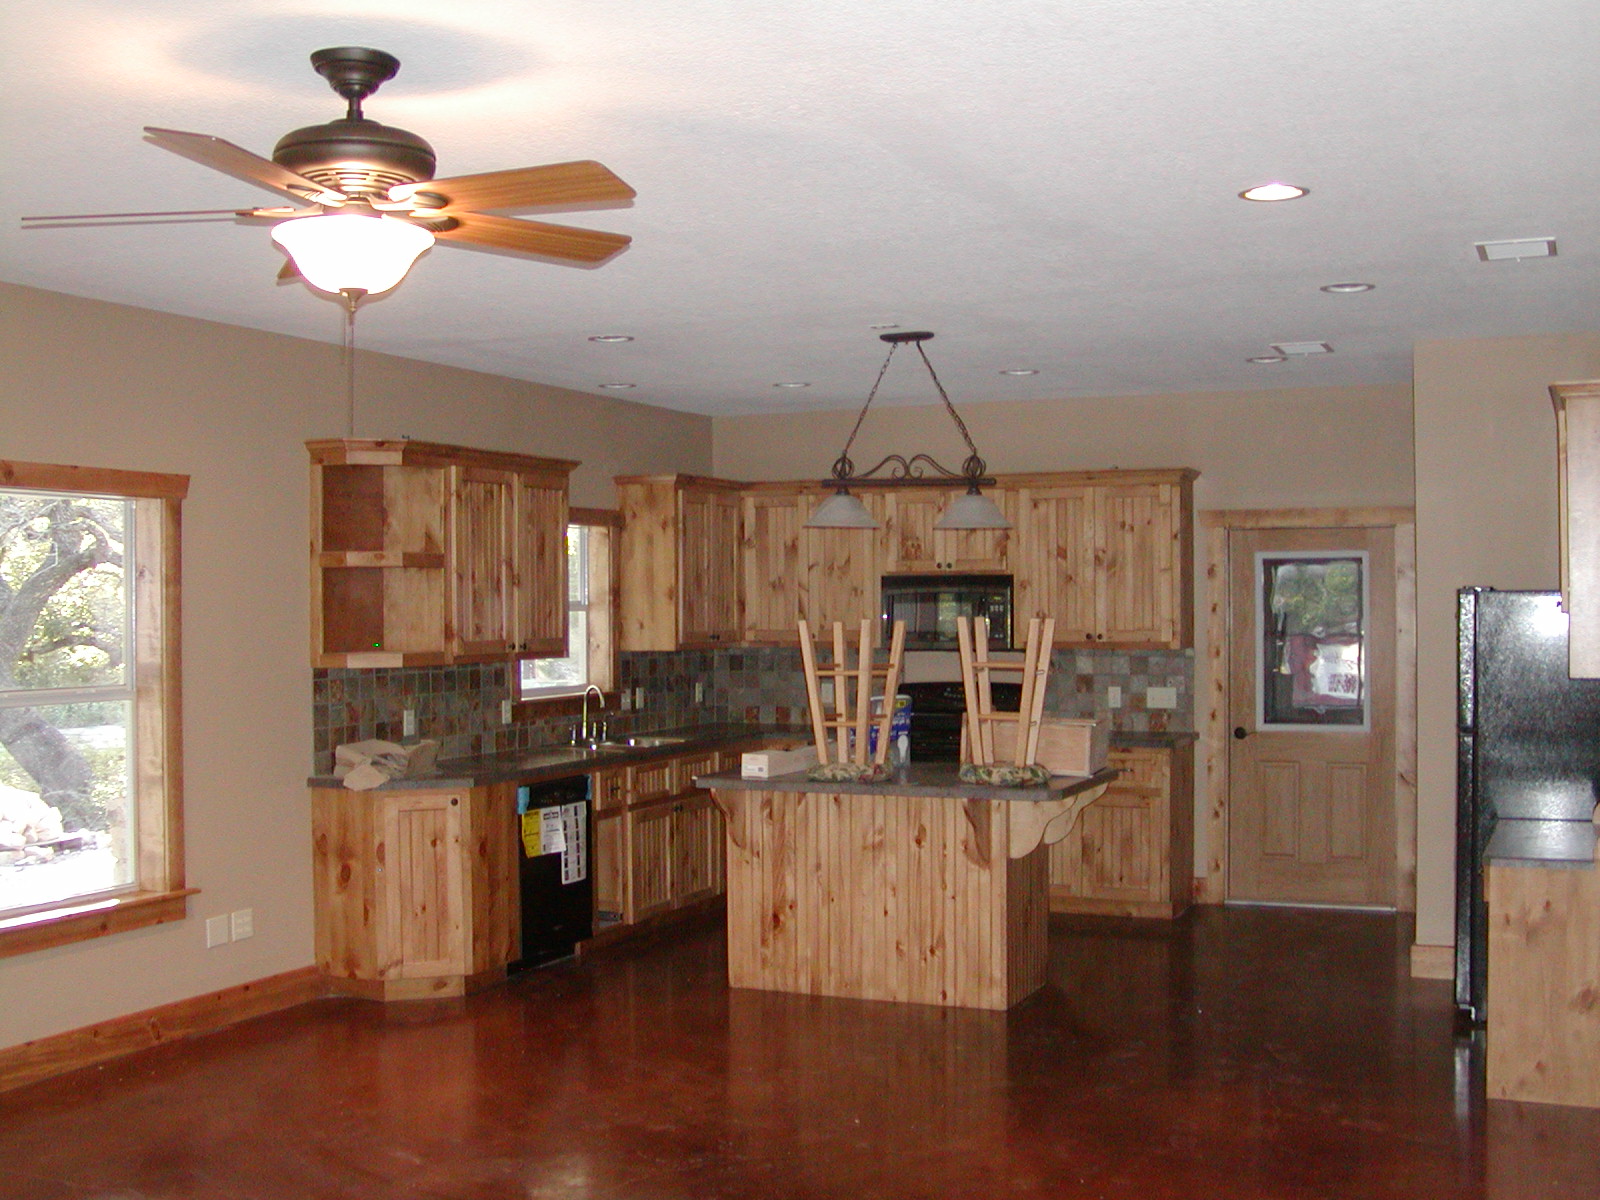
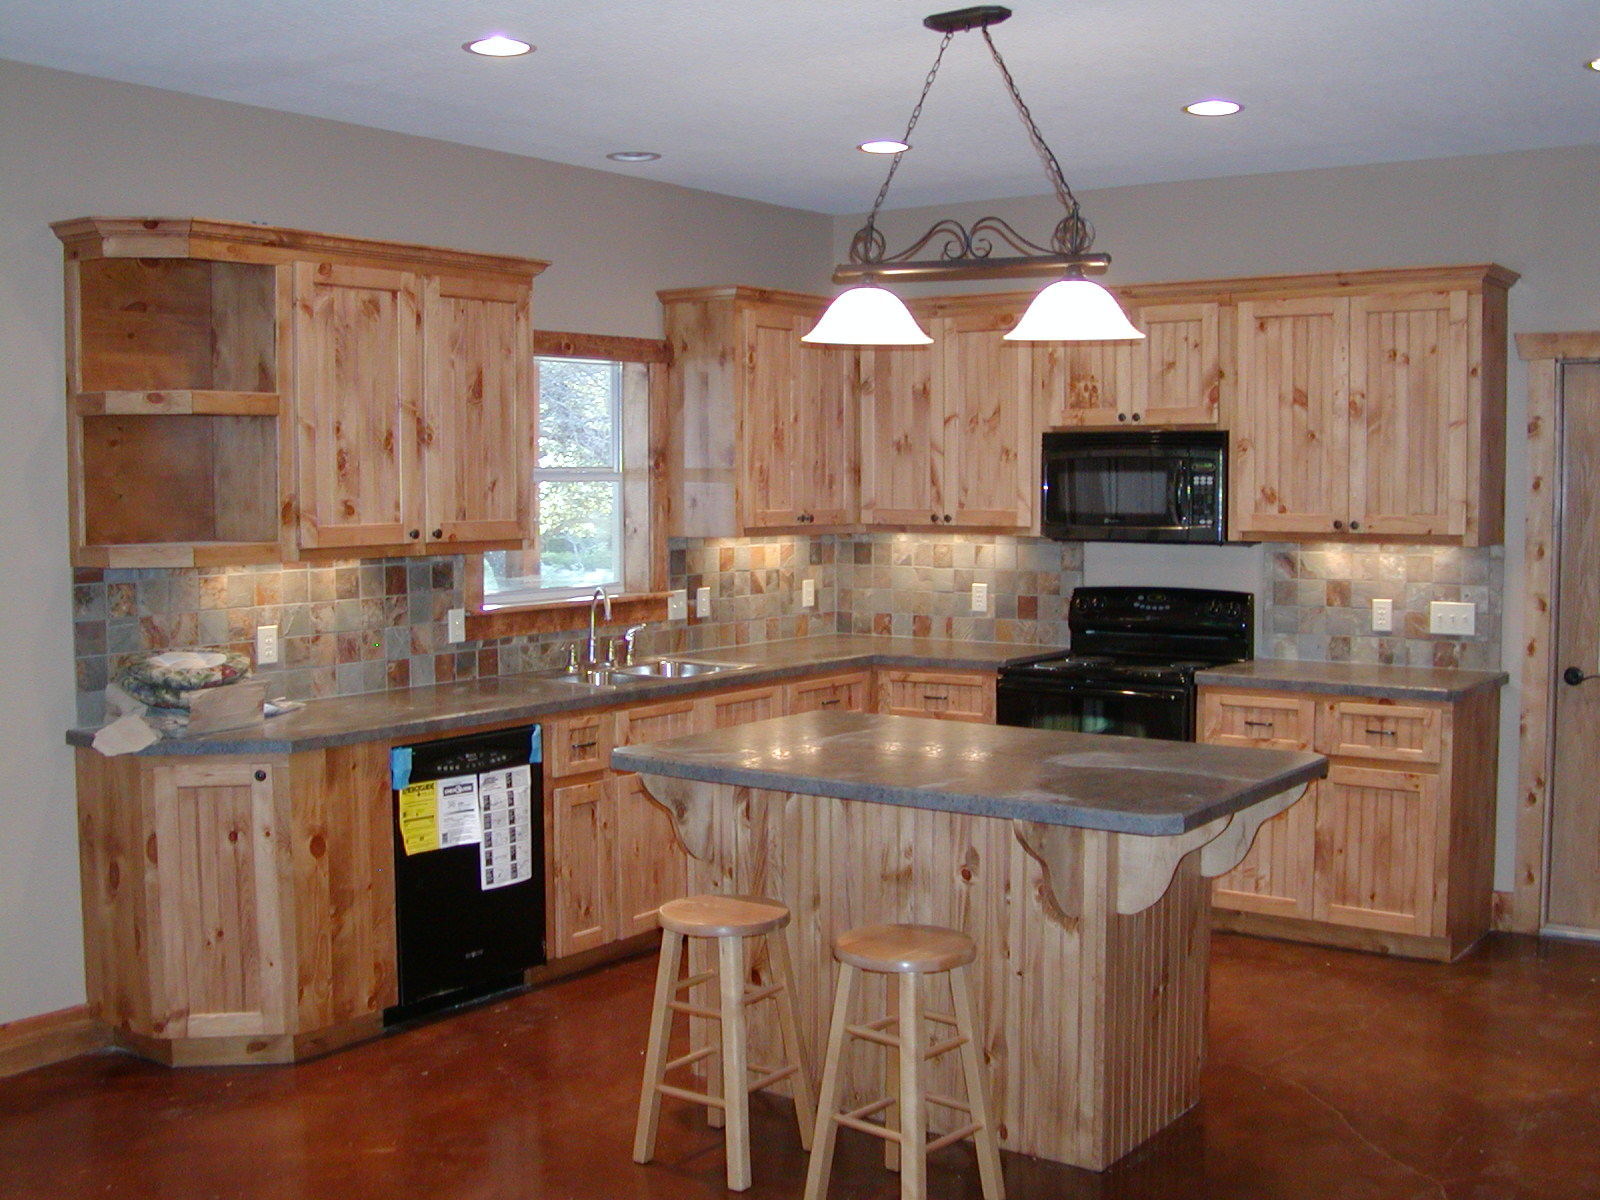
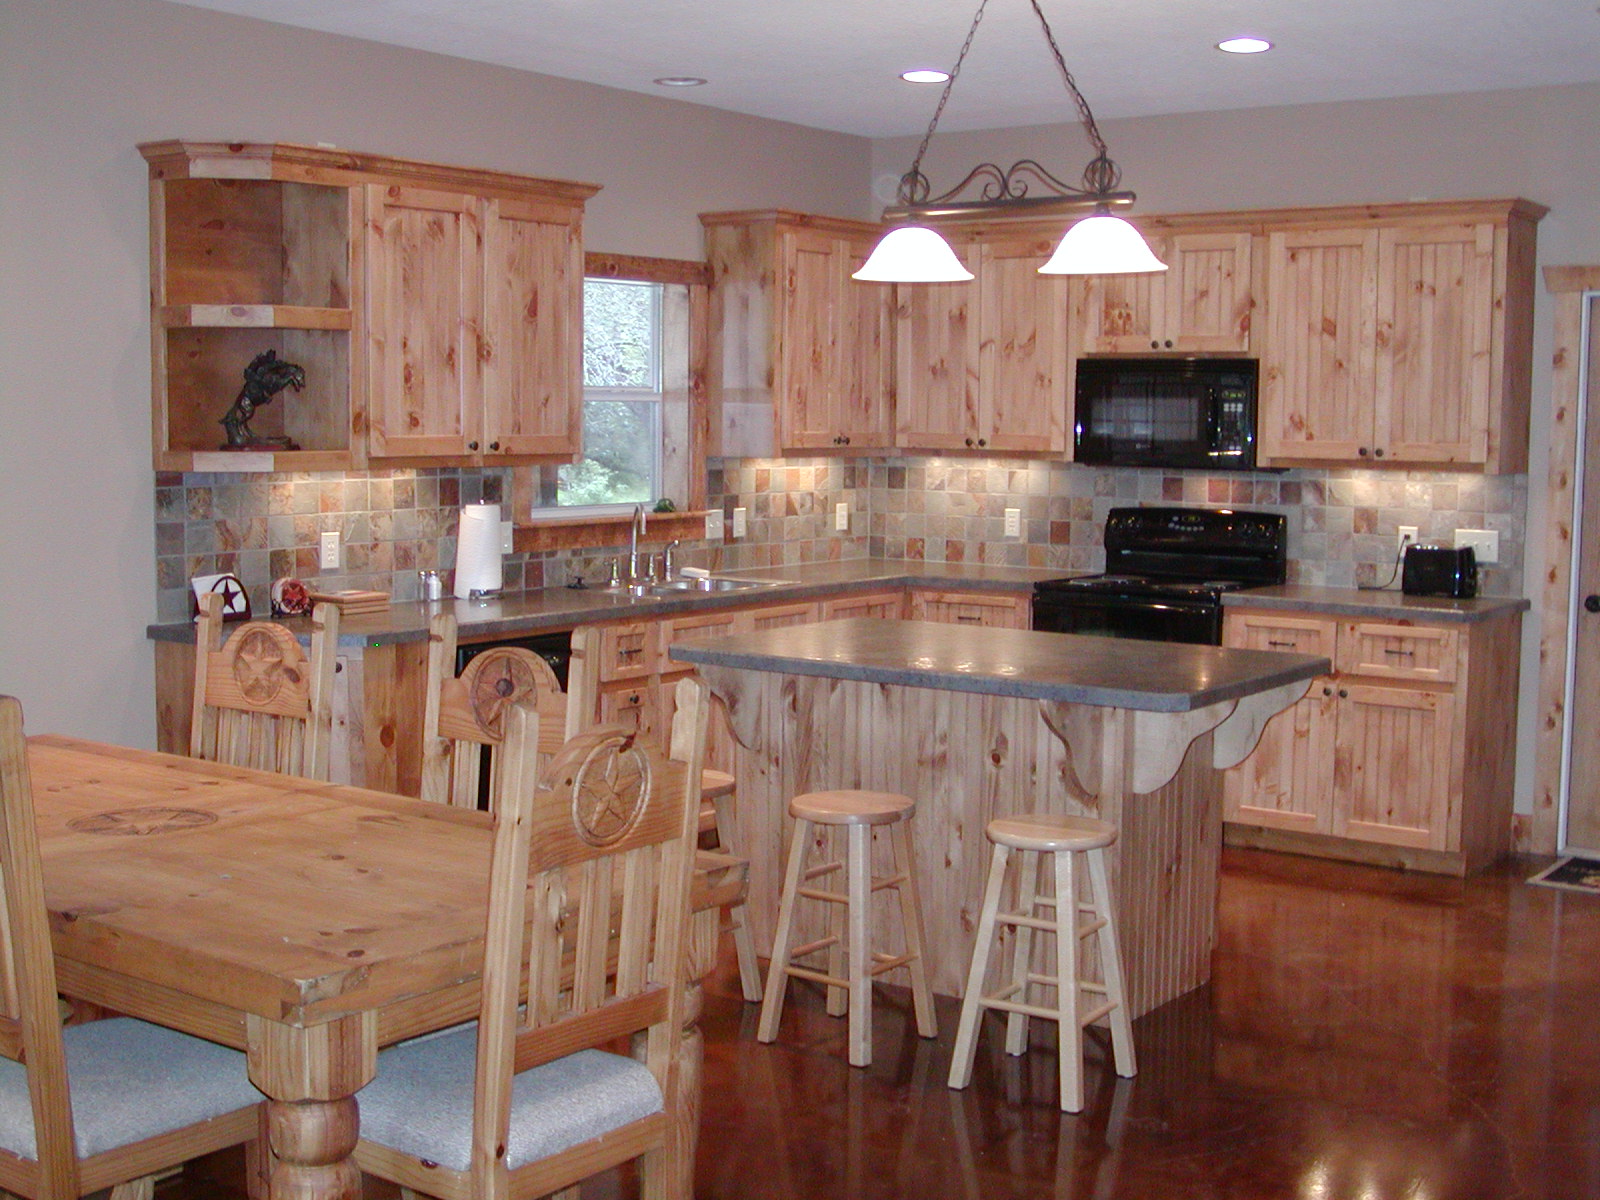
ceiling fan and light over the island look nice
|
|

|
|
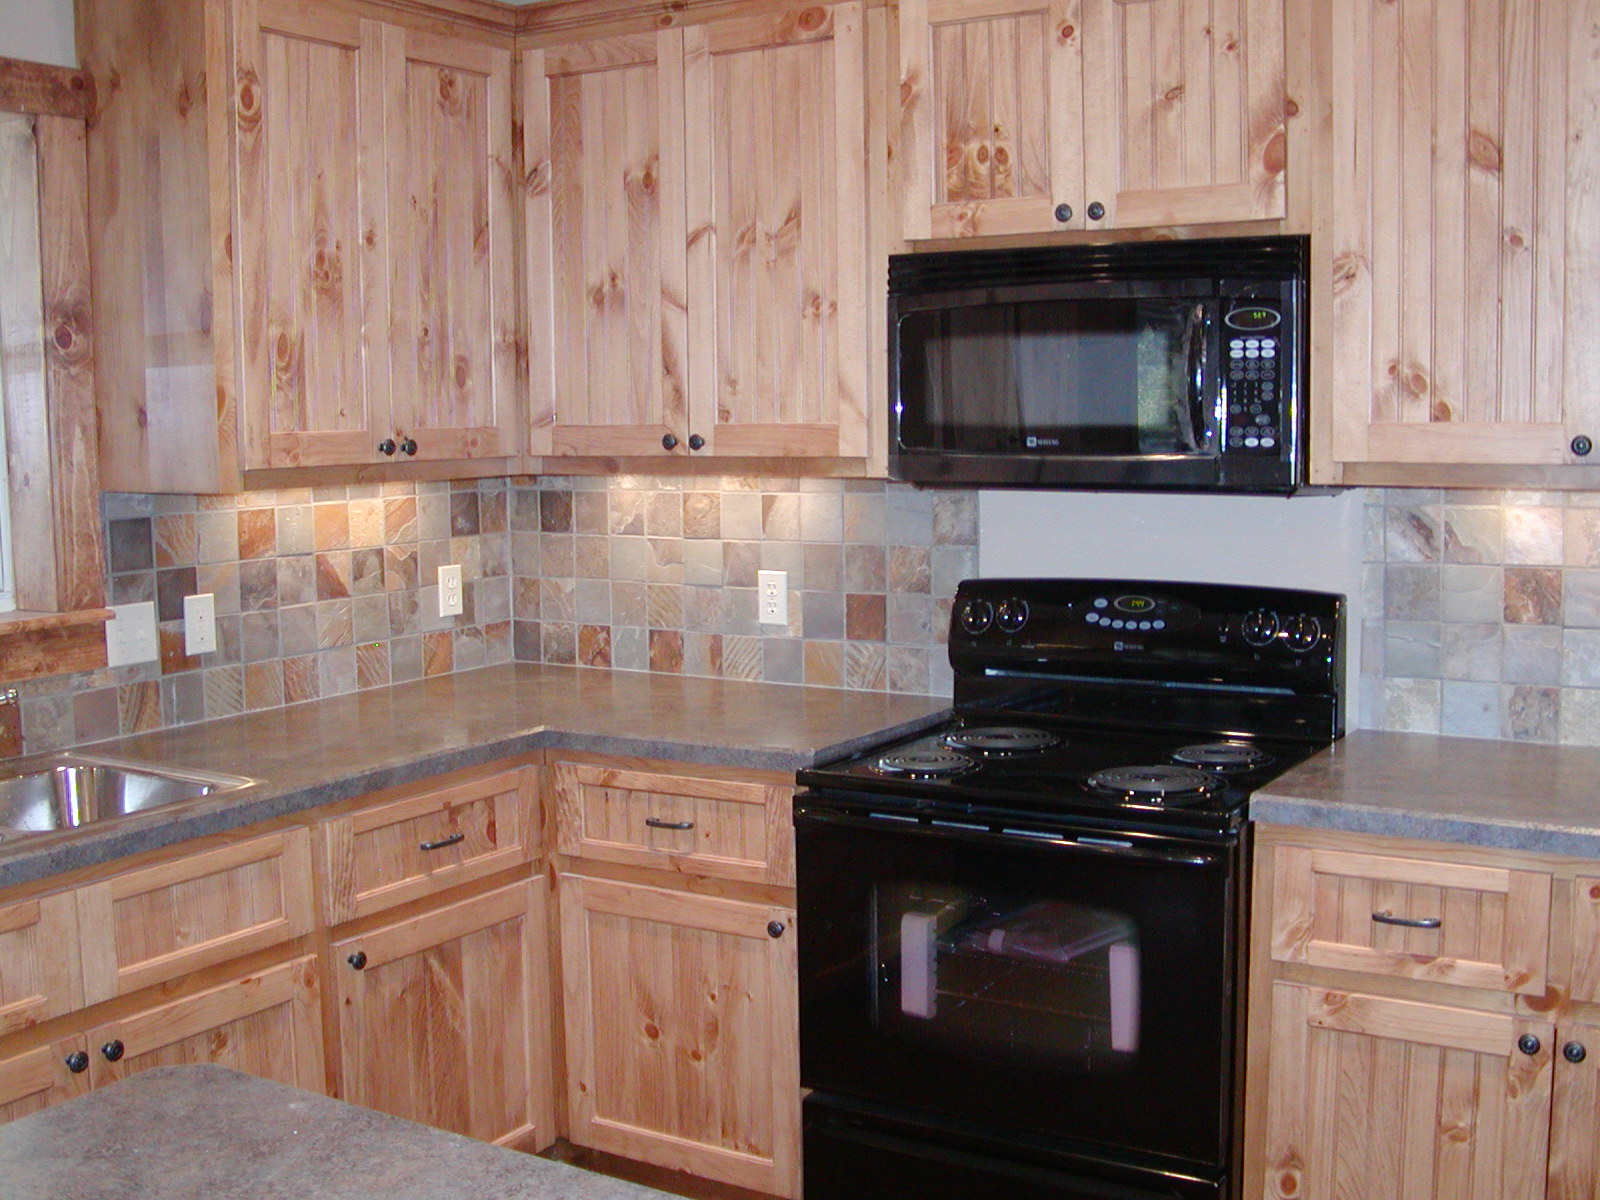
slate tile backsplash installed with under-cabinet lighting
|
|

|
|
stove and microwave installed
|
|

|
|
view of the living room from the kitchen
|
|
|
|

|
|
I like the way the kitchen island turned out
|
|

|
|
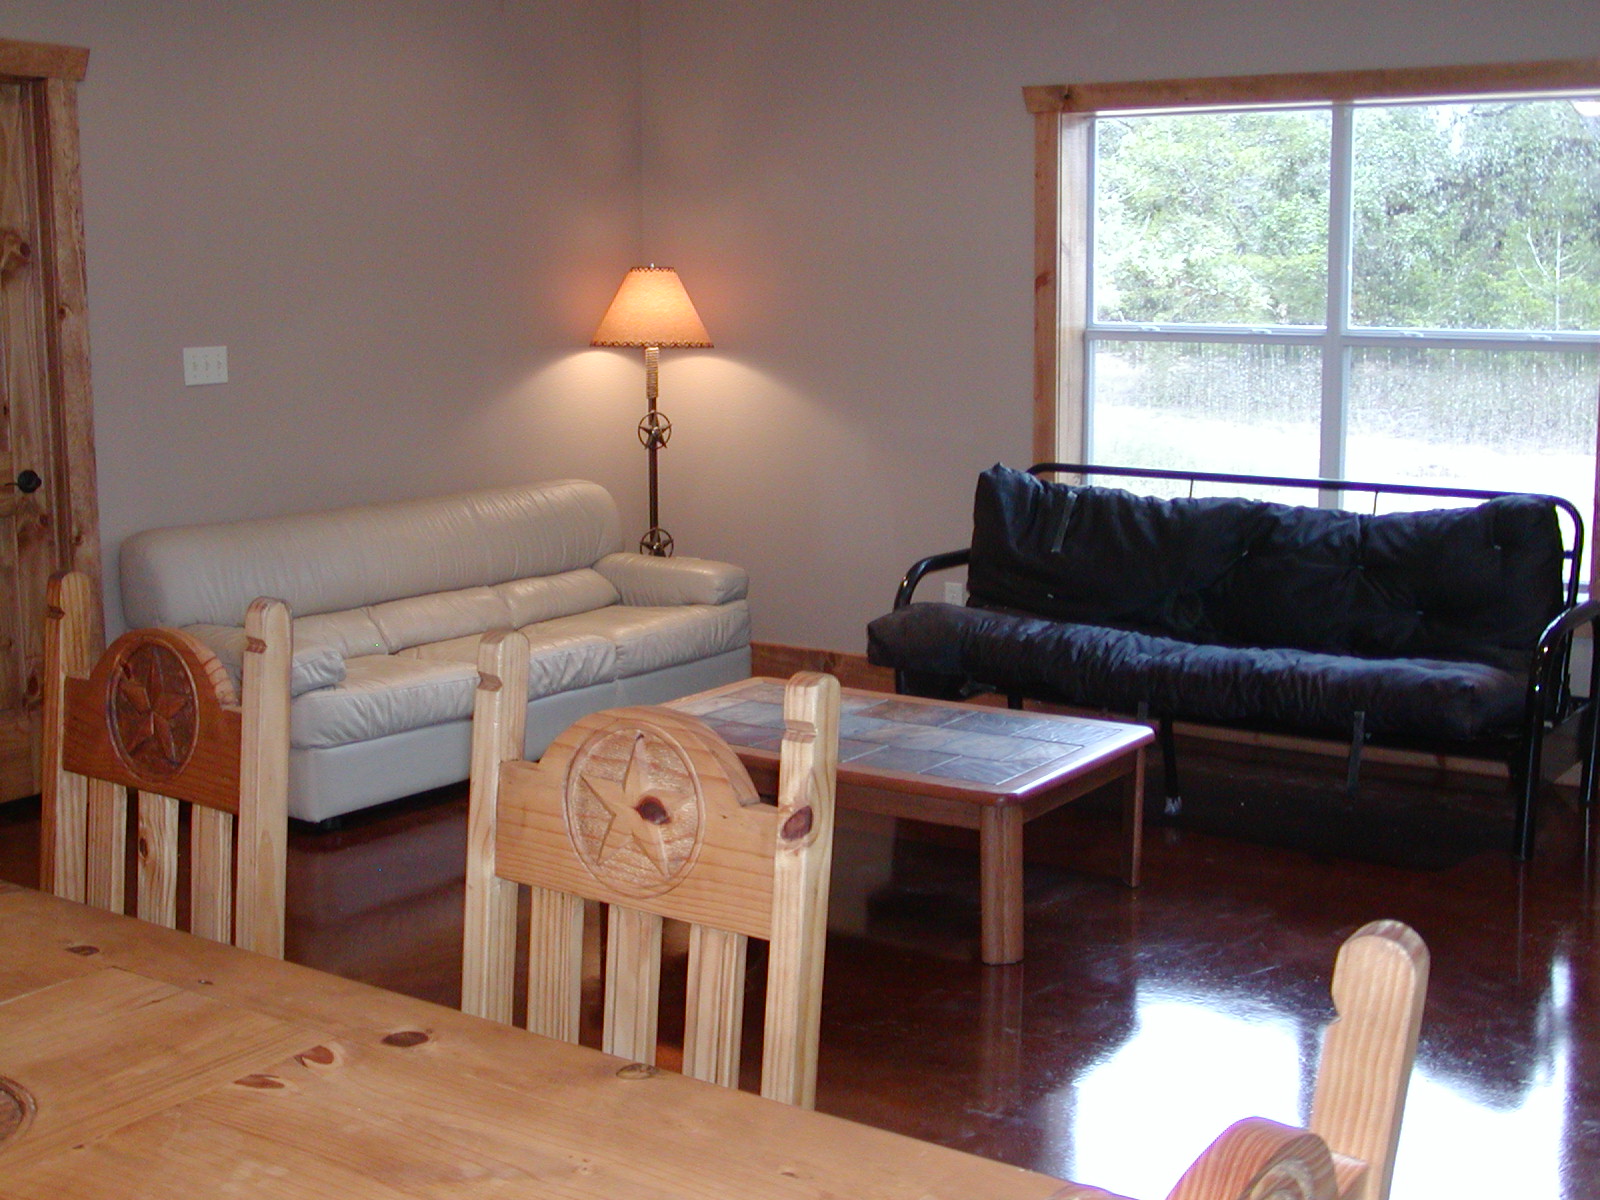
view of the living room, towards the front door
|
|

|
|
Move-in! The large wood table wih carved Texas stars looks great in the room
|
|
|
|
The island supports 3 to 4 barstools; the overhead light fixture sets the island off nicely
|
|
|
|
|
|
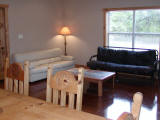
Comfortable seating in the living room makes the cabin a great place to hang out
|
|
|
|
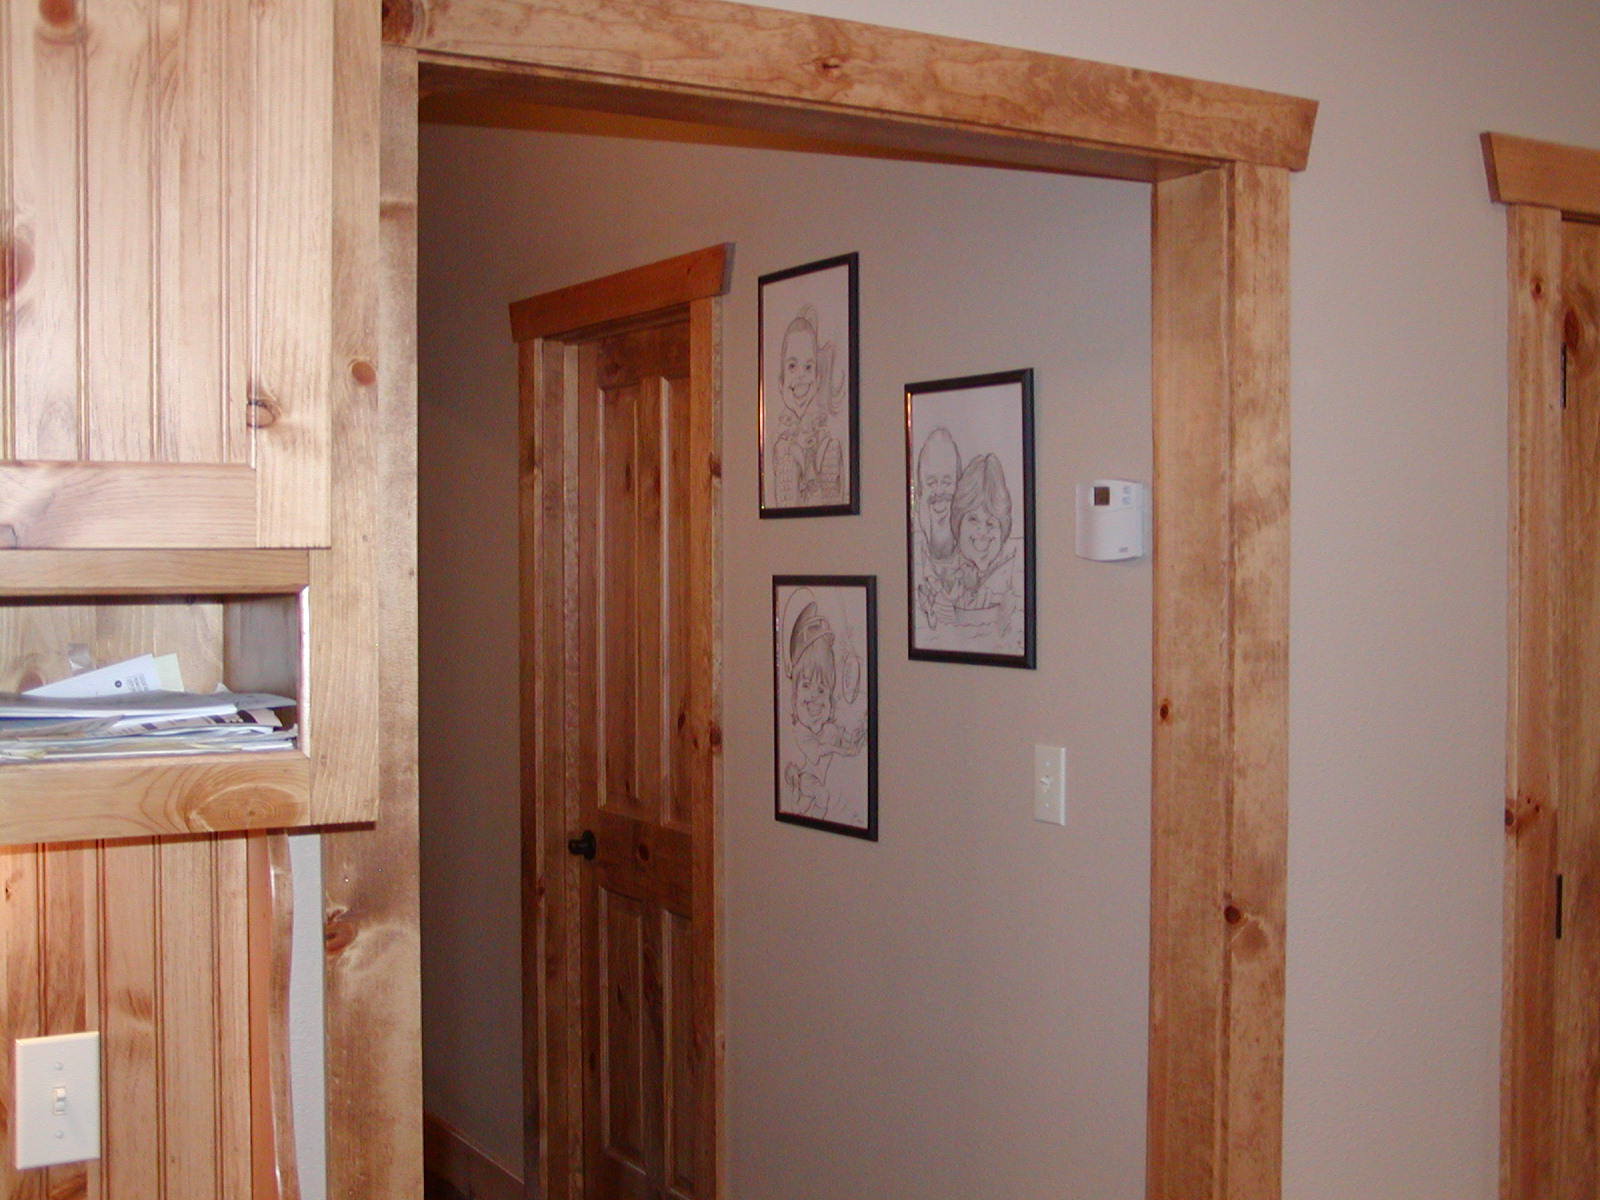
A little personalized touch, with caricatures from our trip to Florida
|
|
|
|
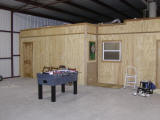
The shop area is a huge gameroom, with a foosball table, a ping-pong table, and a dartboard, with a family-made backboard
|
|
|
|
Trundle bed in the small bedroom
|
|
|
|
|
|
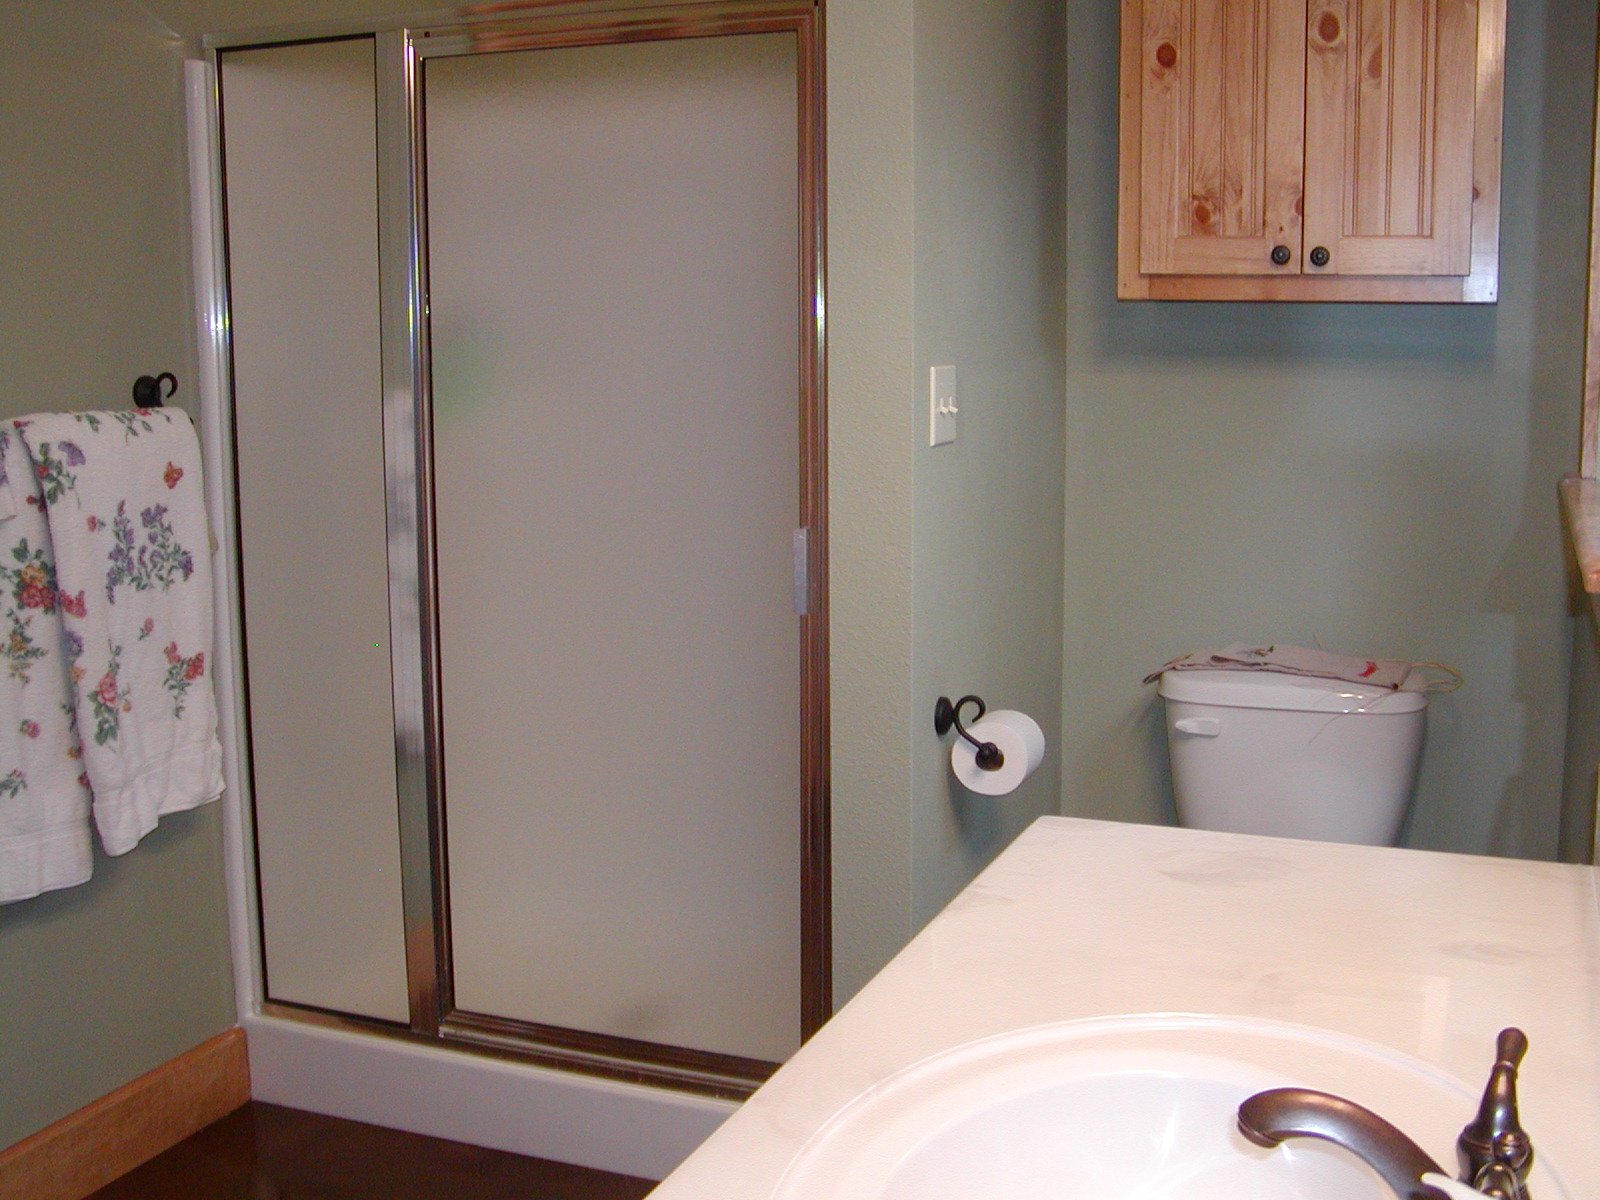
Master bath is a very nice size
|
|

|
|
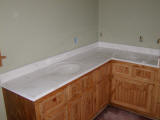
Plenty of room for storage, on and underneath the countertop
|
|

|
|
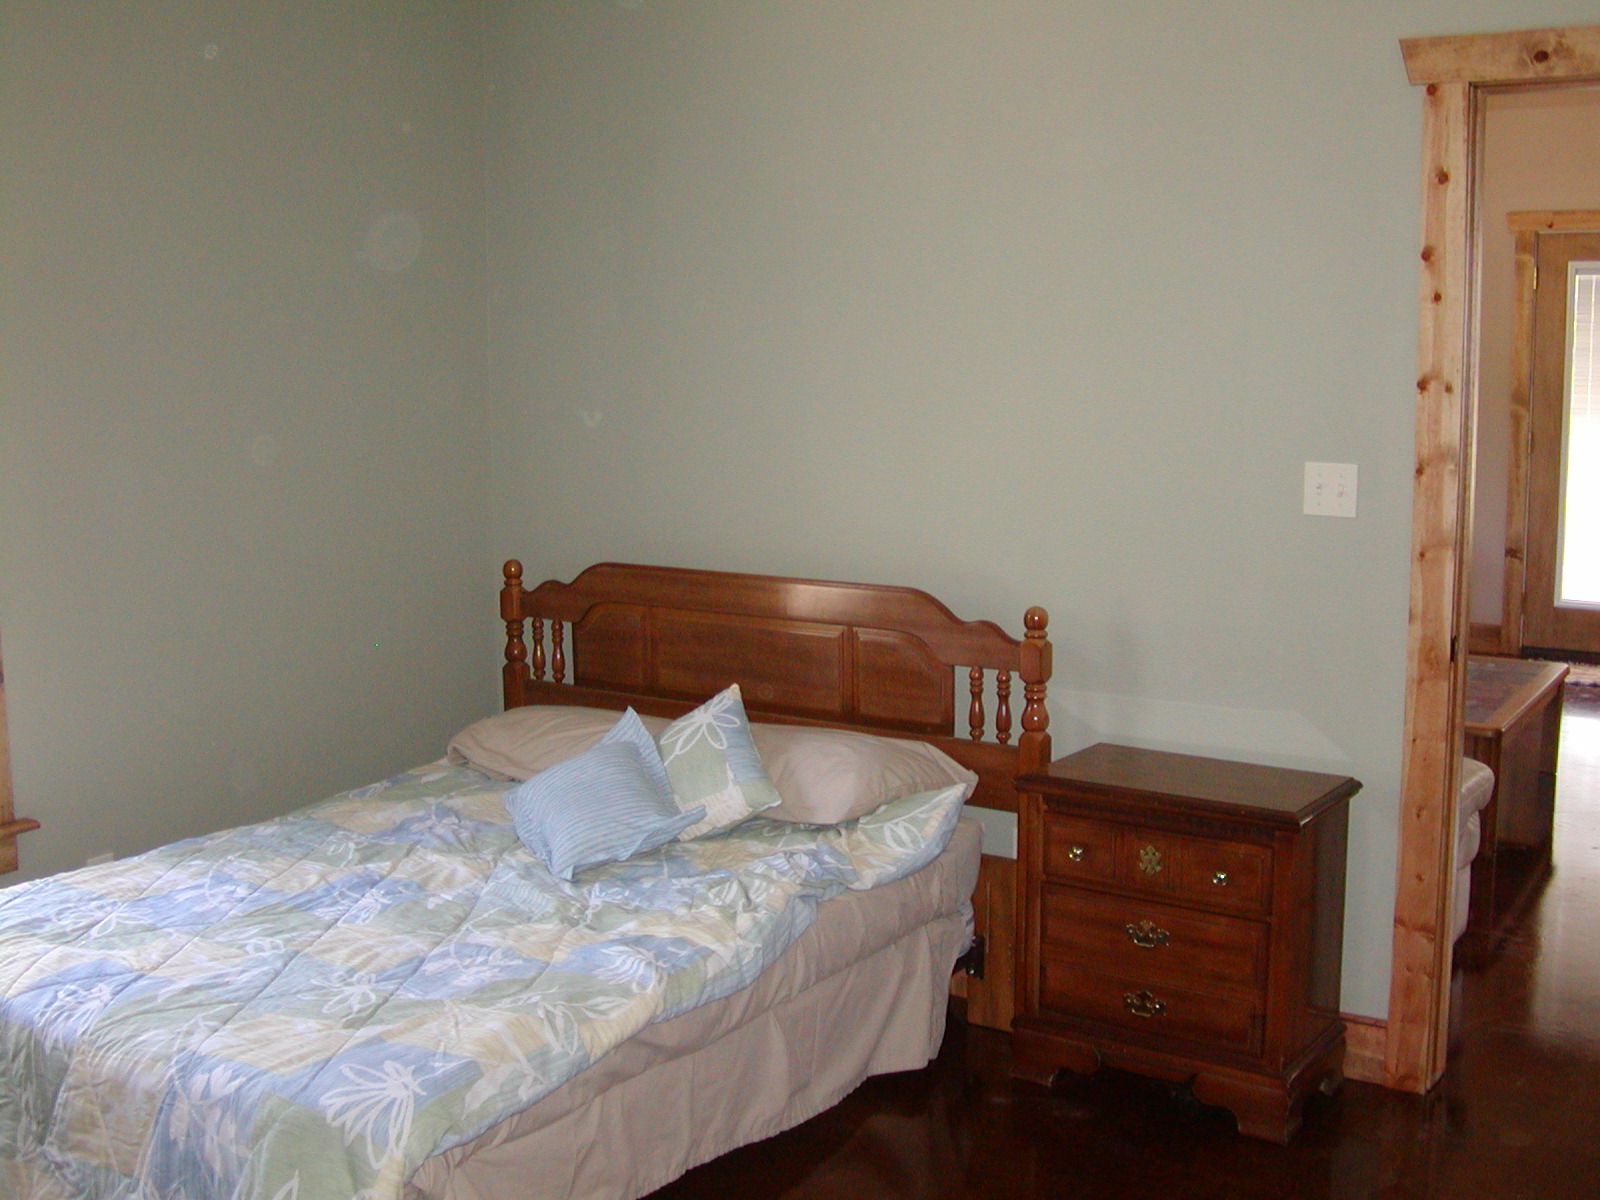
Master bedroom has a window at the foot of the bed
|
|
|
|
The paint color is very soothing!
|
|
|
|
|
|
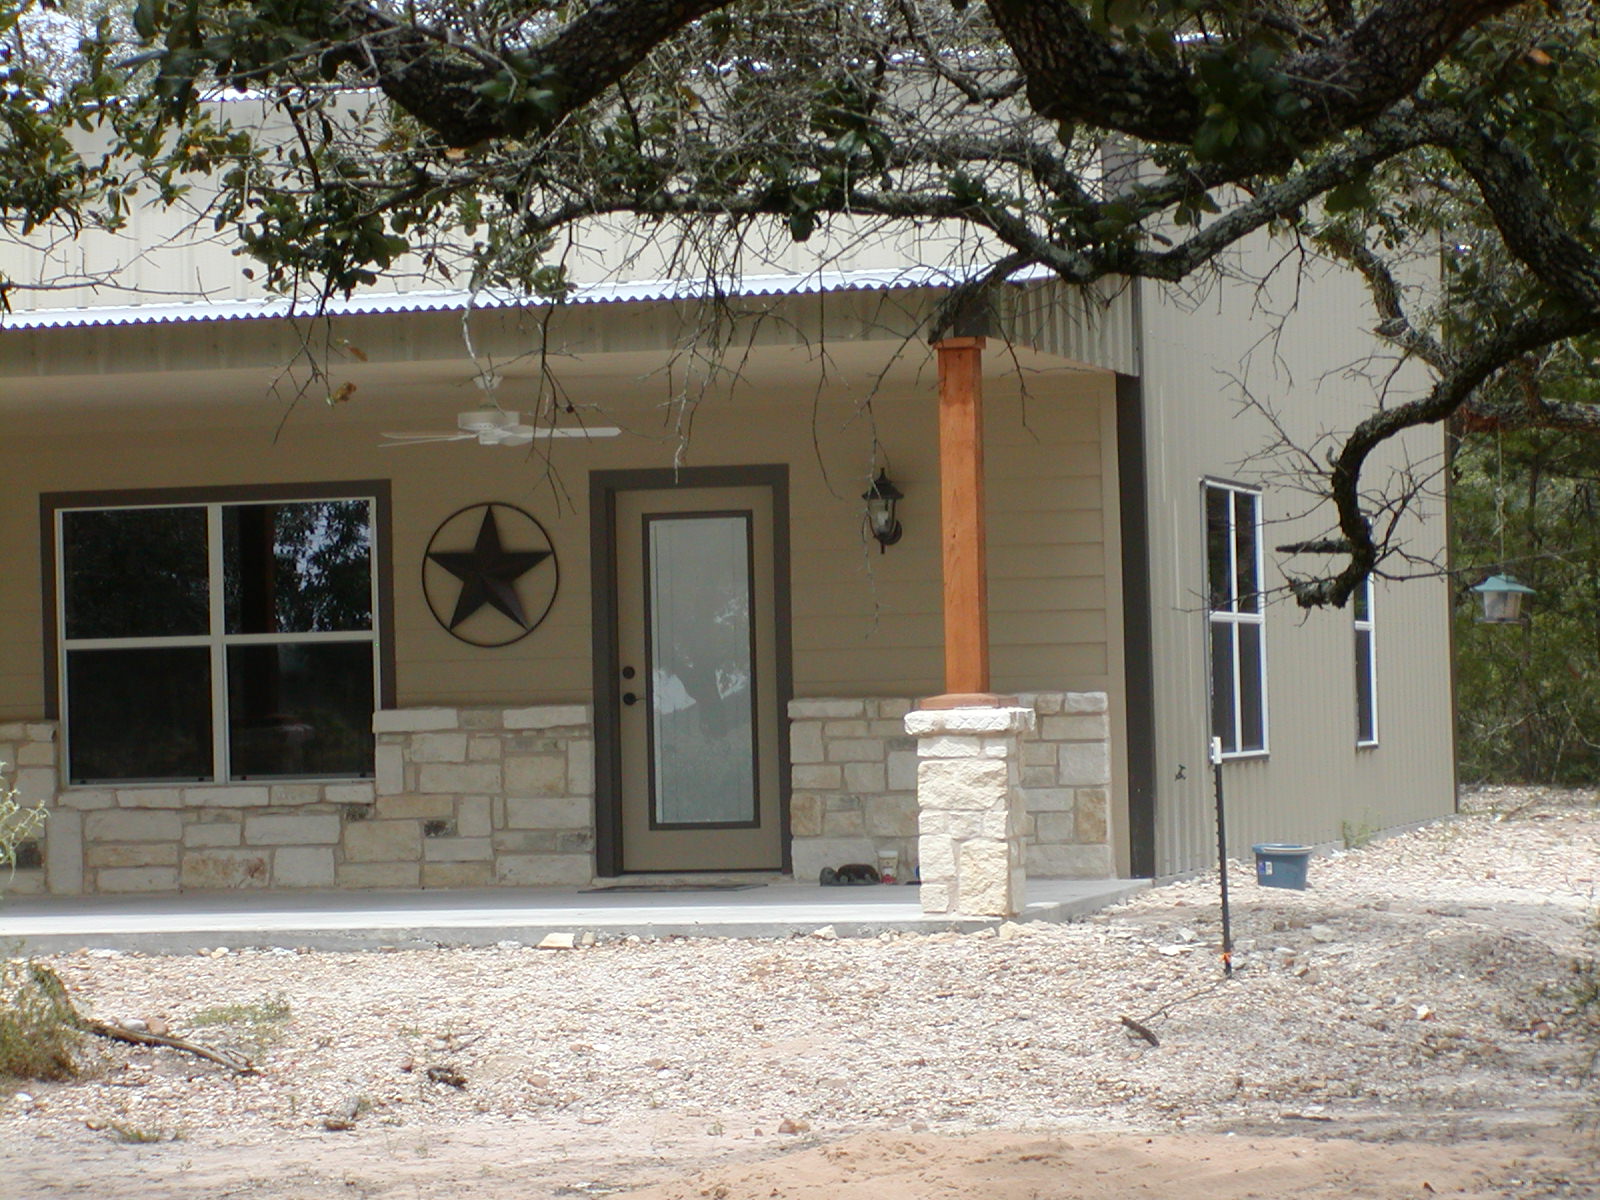
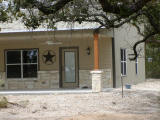
Project Lifecycle #15 -- move-in complete; Texas star now installed
|
|
|
|
Project Lifecycle #15 (close-up) -- move-in complete; Texas star now installed
|
|
|